Introduction
Welcome to the world of virtual meetings! With the rise of remote work and the need for seamless communication, platforms like Zoom have become indispensable tools for individuals and businesses alike. One of the great features offered by Zoom is the ability to create recurring meetings, which saves you the hassle of setting up a new meeting every time you want to connect with your team, clients, or friends.
In this article, we will guide you through the process of creating a recurring Zoom meeting, from accessing the platform to managing and customizing your meetings. Whether you want to schedule weekly team catch-ups or monthly client presentations, Zoom’s recurring meeting feature will ensure that your meetings are always on the calendar.
Before we dive into the steps, it’s worth noting that Zoom provides both free and premium accounts. The features and limitations may vary based on your subscription plan, but the process of creating a recurring meeting is generally the same.
We will take you on a journey through the realm of recurring Zoom meetings, equipping you with the knowledge to effortlessly stay connected and collaborate with others. So, let’s get started with step one: accessing Zoom!
Step 1: Accessing Zoom
Before you can create a recurring Zoom meeting, you need to have access to the Zoom platform. Here’s what you need to do to get started:
1. If you haven’t already, download the Zoom application on your computer or mobile device. You can find the application on the official Zoom website or through your device’s app store.
2. Once the application is installed, open it and sign in to your Zoom account. If you don’t have an account, you can easily create one by clicking on the “Sign Up” or “Sign Up, It’s Free” button on the login page.
3. After signing in, you will be greeted with the Zoom dashboard, which is your control center for all things Zoom. Here, you can schedule and manage your meetings, access settings, and much more.
4. Familiarize yourself with the navigation menu on the left side of the dashboard. This menu provides quick access to various Zoom features, such as meetings, webinars, recordings, and contacts. For now, we’ll focus on the “Meetings” tab.
5. Click on the “Meetings” tab to access the meeting management page. Here, you can view and manage all your scheduled meetings, including the option to create a recurring meeting.
Now that you have successfully accessed the Zoom platform, you are ready to move on to the next step: creating a recurring meeting. Keep reading to discover how to do just that!
Step 2: Creating a Recurring Meeting
Now that you’re familiar with accessing Zoom, it’s time to create your recurring meeting. Follow these simple steps:
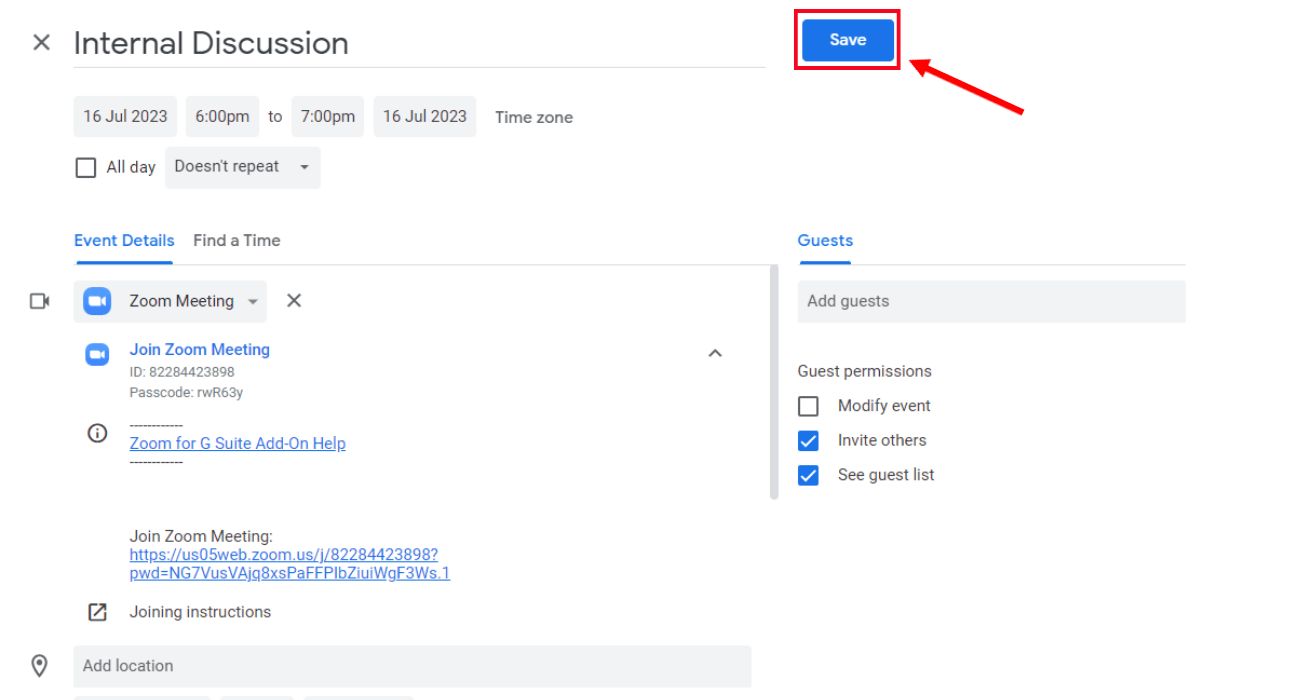
1. In the Zoom dashboard’s “Meetings” tab, click on the “Schedule a New Meeting” button. This will open the scheduling page where you can input the details for your recurring meeting.
2. In the scheduling page, fill in the necessary information for your recurring meeting. Start by entering the topic or title of your meeting, which should be concise and descriptive.
3. Under the “When” section, select the date and time for your first occurrence of the meeting. This sets the foundation for the recurring meetings. Choose a time that works best for you and your participants.
4. Next, decide on the recurrence pattern for your meetings. Zoom offers several options, such as recurring daily, weekly, monthly, or on specific days. Select the appropriate recurrence pattern that suits your needs.
5. Determine the duration of your meetings by selecting the start and end times. This will help ensure that your meetings don’t run longer than intended.
6.
Specify the time zone for your meetings. This is especially important when participants are located in different regions to avoid any confusion about meeting times.
7. If you want to add advanced options, such as requiring a meeting password or enabling waiting rooms, toggle the relevant settings. These options add an extra layer of security and control to your recurring meetings.
8. Once you have filled in all the necessary details, click on the “Save” button to create your recurring meeting. Zoom will generate a unique meeting ID and a joining link that you can share with your participants.
Now you have successfully created your recurring meeting! In the next step, we will explore the various meeting settings you can configure to enhance your meeting experience. Keep reading to find out more!
Step 3: Configuring Meeting Settings
After creating your recurring meeting, it’s essential to configure the meeting settings to ensure a smooth and productive session. Follow these steps to customize your meeting settings:
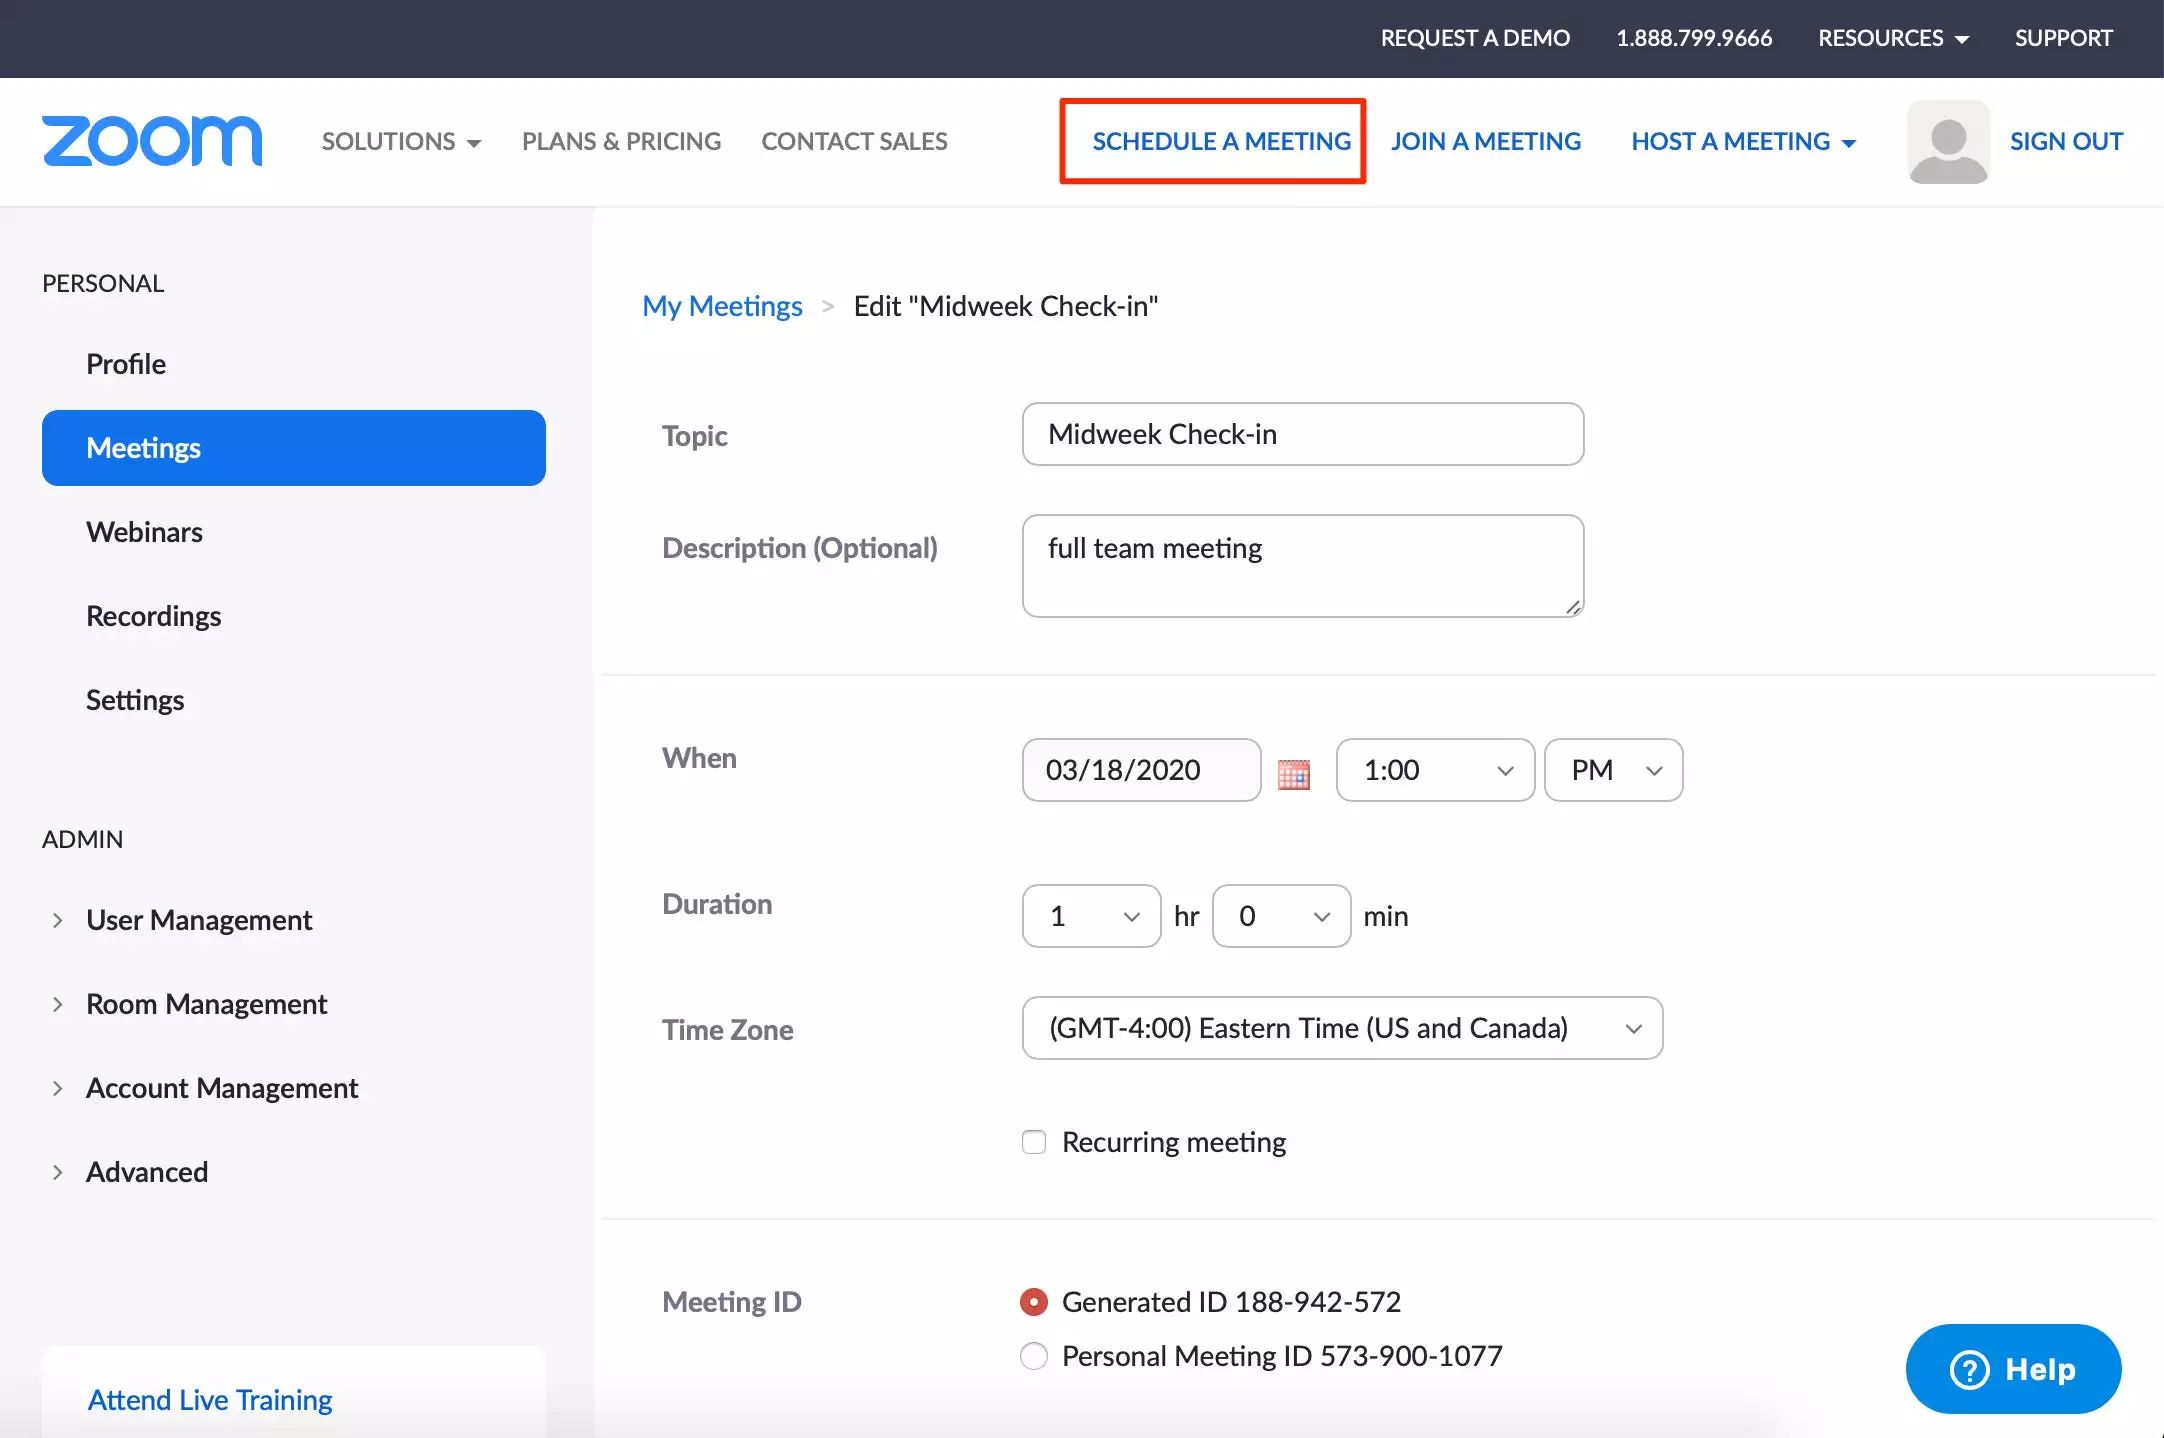
1. In the Zoom dashboard’s “Meetings” tab, locate the recurring meeting you created and click on the meeting title to access the meeting settings page.
2. In the meeting settings page, you will find a range of options to customize your recurring meeting. These options include general settings, audio and video settings, and participant settings.
3. Under the general settings section, you can change the meeting topic, add an agenda, and set up an alternative host if needed. Take the time to provide clear and concise information to keep your participants well-informed.
4. Next, explore the audio and video settings. Here, you can choose whether participants will join the meeting with video and audio enabled or disabled by default. Consider the nature of your meetings and the preferences of your participants when making these selections.
5. Review the participant settings to adjust options like screen sharing, chat capabilities, and private messaging. Decide whether participants should have the ability to share their screens or engage in private conversations during the meeting.
6. If you’re planning to record your recurring meetings for future reference or absent participants, enable the recording feature in the meeting settings. Zoom provides options for local recording or cloud recording, depending on your subscription plan.
7. Don’t forget to explore other advanced settings, such as breakout rooms, virtual backgrounds, and polling. These additional features can enhance engagement and interaction during your recurring meetings.
8. Once you have configured the meeting settings according to your preferences, click on the “Save” or “Apply” button to save the changes.
By customizing the meeting settings, you can tailor your recurring meetings to suit your specific needs and create an optimal environment for collaboration and communication. In the next step, we will discuss how to invite participants to your recurring meetings. Keep reading to find out more!
Step 4: Inviting Participants
Now that you have configured your meeting settings, it’s time to invite participants to your recurring Zoom meeting. Here’s how:
1. In the Zoom dashboard’s “Meetings” tab, locate your recurring meeting and click on the meeting title to access its details.
2. In the meeting details page, you will see the joining link and meeting ID. This information is essential for participants to join your meeting. You can either share the joining link directly or provide the meeting ID along with instructions on how to join.
3. To send invitations to specific participants, click on the “Invite” button within the meeting details page. This will give you options to invite participants via email or by copying the meeting invitation.
4. If you choose to invite participants via email, enter their email addresses in the provided field, separating each address with a comma or semicolon. You can also add a personalized message to the email invitation to provide additional context or instructions.
5. Alternatively, if you prefer to copy the meeting invitation, click on the “Copy the invitation” option. This will copy a complete meeting invitation template, including the meeting details and joining instructions. You can then paste this invitation into an email or a messaging platform of your choice.
6. If you wish to invite participants manually without using the Zoom invitation features, you can simply share the meeting details, including the joining link and meeting ID, through your preferred communication channels such as email, chat, or project management tools.
7. It’s important to ensure that participants receive the meeting details well in advance of the scheduled meeting time. Make sure to provide clear instructions on how to join the meeting, including any necessary passwords or meeting room controls.
Now that you have successfully invited participants to your recurring Zoom meeting, you are one step closer to productive collaboration. In the next step, we will explore how to efficiently manage your recurring meetings. Keep reading to find out more!
Step 5: Managing Recurring Meetings
Once your recurring Zoom meetings are up and running, it’s important to effectively manage them to ensure seamless communication and productivity. Here are some tips for managing your recurring meetings:
1. Regularly review and update meeting details: As circumstances change, you may need to update the meeting topic, agenda, or other details. Take the time to review and make any necessary adjustments to keep your recurring meetings relevant.
2. Send reminders to participants: To ensure attendance, send regular reminders to participants about upcoming meetings. This can be done through Zoom’s built-in reminder feature or by sending email or calendar invitations with meeting details.
3. Monitor attendance and engagement: During your recurring meetings, keep an eye on participant attendance and engagement levels. Take note of recurring absentees or participants who are less engaged and address any concerns or issues they may have.
4. Encourage active participation: Foster participation and collaboration by creating an inclusive environment that encourages attendees to share their thoughts, ask questions, and contribute to the discussion. Consider using interactive features like polling or breakout rooms to encourage engagement.
5. Record and share meeting summaries: Record your recurring meetings and create summaries or highlights that can be shared with participants who couldn’t attend or for future reference. This ensures that everyone stays updated and informed.
6. Collect feedback and make improvements: Regularly seek feedback from participants on the recurring meetings. Ask for suggestions and ideas on how to improve the format, content, or overall experience. Use this feedback to make necessary adjustments and enhancements.
7. Stay organized with a meeting schedule: Maintain a centralized meeting schedule that clearly outlines the dates, times, and recurring frequency of your meetings. This helps everyone involved to stay informed and plan their schedules accordingly.
By effectively managing your recurring meetings, you can create a productive and collaborative atmosphere that promotes engagement and fosters meaningful interactions. In the next step, we will explore how to customize meeting options to suit your specific needs. Keep reading to find out more!
Step 6: Customizing Meeting Options
Customizing the meeting options allows you to tailor your recurring Zoom meetings to suit your specific needs and enhance the overall meeting experience. Follow these steps to customize your meeting options:
1. In the Zoom dashboard’s “Meetings” tab, locate your recurring meeting and click on the meeting title to access its details.
2. In the meeting details page, you will find various customizable options. Let’s explore a few of them:
– Meeting Password: Enable or disable a meeting password to add an extra layer of security.
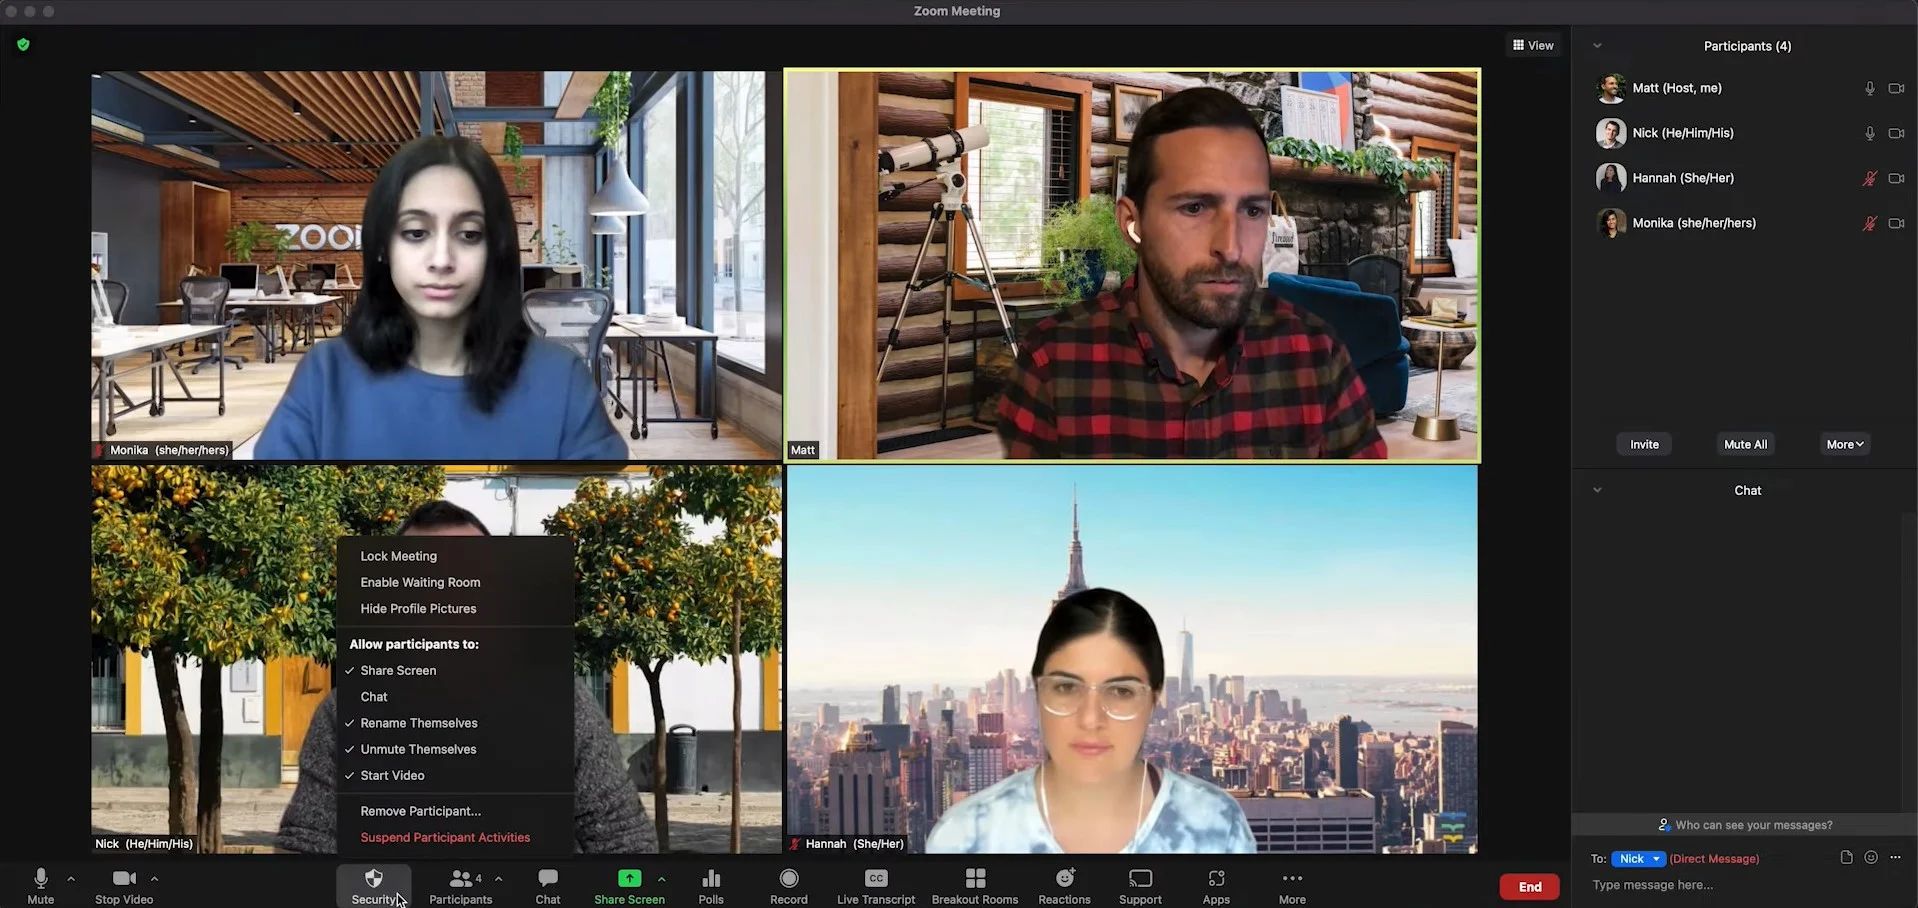
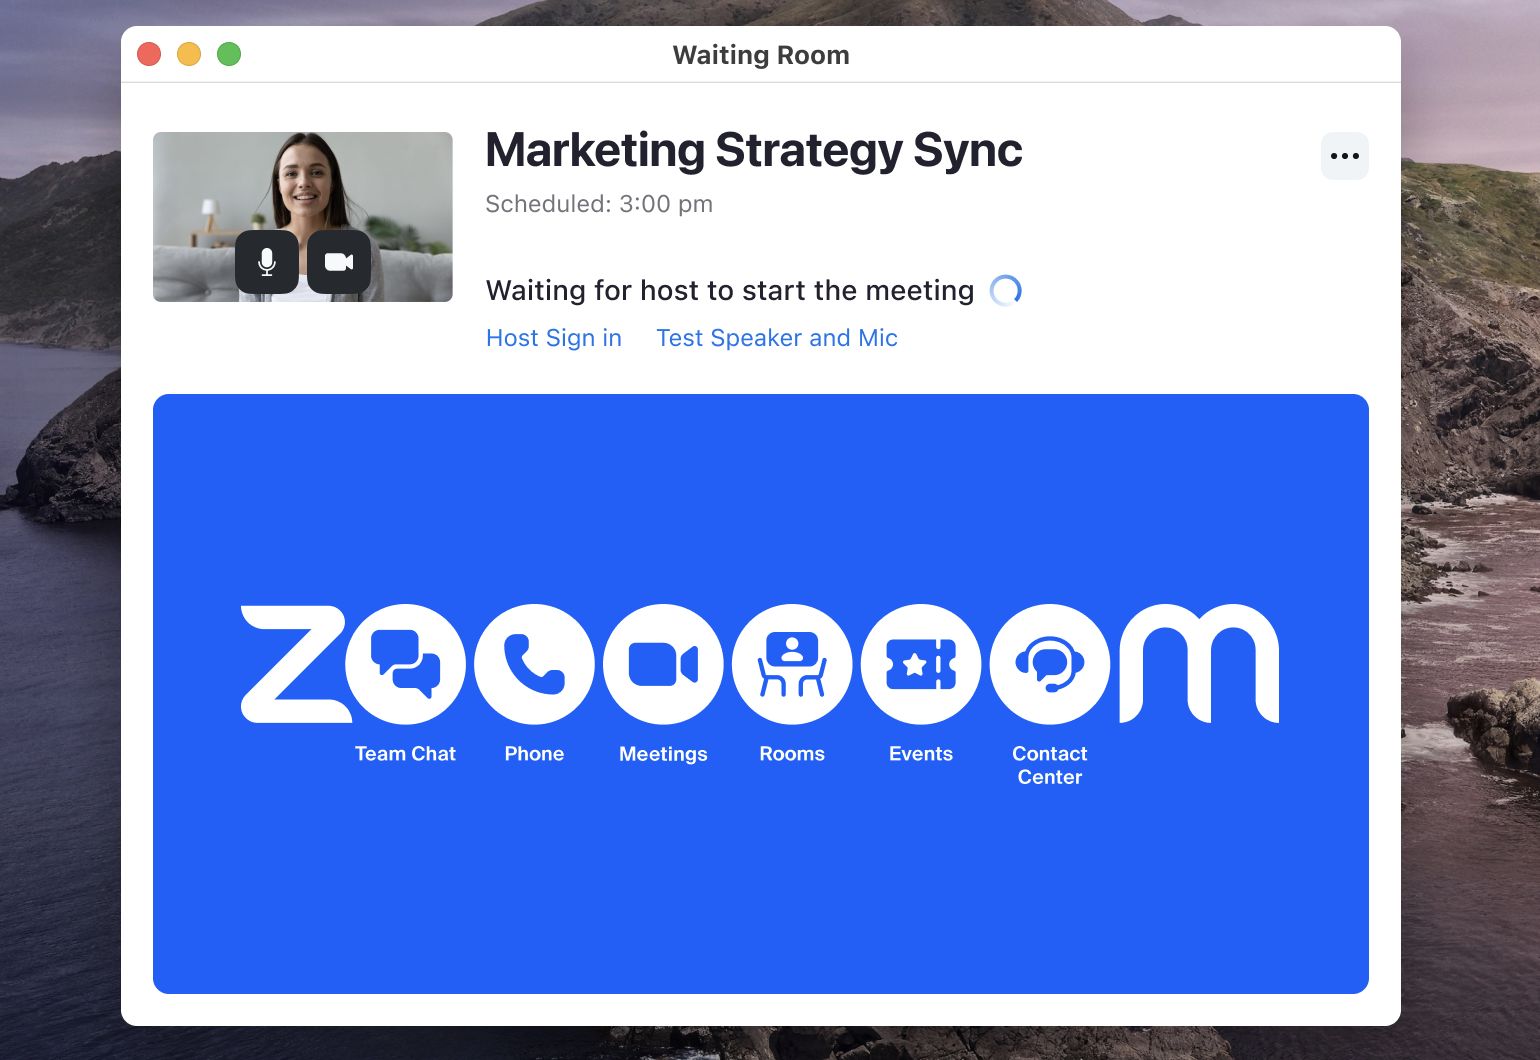
– Waiting Room: By turning on the waiting room feature, participants will be placed in a virtual waiting area before being admitted to the meeting. This allows you to manually control who enters the meeting.
– Joining Options: Customize how participants can join the meeting, such as joining with or without video/audio, allowing or disabling the use of personal meeting IDs, and enabling or disabling one-click join.
– Screen Sharing: Choose whether you want to allow participants to share their screens during the meeting.
– Recording Options: Determine whether participants can record the meeting, and if so, decide between local recording or cloud recording.
3. Explore other advanced options, such as enabling or disabling virtual backgrounds, allowing or disallowing file transfer, and enabling non-verbal feedback reactions.
4. Take advantage of calendar integration features, such as syncing meeting schedules with popular calendar applications like Google Calendar or Microsoft Outlook. This helps ensure that participants are aware of upcoming recurring meeting dates and times.
5. Once you have customized the meeting options according to your preferences, click on the “Save” or “Apply” button to save the changes.
By customizing the meeting options, you can create a personalized and seamless meeting experience that aligns with your specific requirements. In the final step, we will explore common issues with recurring meetings and how to troubleshoot them. Keep reading to find out more!
Step 7: Troubleshooting Common Issues
While Zoom provides a user-friendly platform for recurring meetings, occasionally, you may encounter common issues that can disrupt the smooth flow of your meetings. Here are some troubleshooting tips to help you resolve these issues:
1. Poor Internet Connection: Inadequate internet bandwidth can result in choppy audio or video during meetings. Make sure you have a stable internet connection by connecting to a reliable network or troubleshooting your connection if needed.
2. Audio and Video Issues: If participants are having trouble with their audio or video, ask them to check their device settings and ensure that their microphone and camera are properly connected and enabled. Encourage participants to use wired headphones or headsets for better audio quality.
3. Joining Issues: If participants are unable to join the meeting, verify that they have the correct joining link or meeting ID. Double-check any passwords or meeting requirements that may be in place. If necessary, resend the meeting invitation or provide participants with the correct details.
4. Meeting Controls: As the host, familiarize yourself with the meeting controls and features to confidently navigate and manage the meeting. Troubleshoot any issues by reviewing the Zoom support documentation or seeking assistance from the Zoom support team.
5. Software Updates: Ensure that you and your participants are using the latest version of the Zoom application. Outdated versions may lead to compatibility issues or missing features. Regularly update the Zoom application to access the latest improvements and bug fixes.
6. Participant Engagement: If participants are less engaged or distracted during meetings, consider implementing techniques to increase engagement, such as encouraging active participation through discussion prompts or utilizing interactive features like polls or breakout rooms.
7. Meeting Disruptions: If you encounter disruptive participants during meetings, utilize Zoom’s meeting controls to mute or remove participants as necessary. Enable the waiting room feature to manually admit participants and prevent unauthorized access to the meeting.
Remember, Zoom provides comprehensive support resources, including documentation, video tutorials, and a support team that can assist you with troubleshooting specific issues or answering any questions you may have.
By being prepared to address common issues and utilizing the available troubleshooting techniques, you can ensure that your recurring Zoom meetings are productive, efficient, and enjoyable for all participants.
Conclusion
Congratulations! You have successfully learned how to create and manage recurring Zoom meetings. With the ability to schedule meetings in advance, customize meeting options, and invite participants effortlessly, Zoom provides a powerful platform for seamless and efficient communication.
By accessing Zoom and creating recurring meetings, you can save time and avoid the hassle of scheduling individual meetings repeatedly. Setting up the meetings with the appropriate recurrence pattern and configuring the meeting settings according to your needs allows you to tailor the experience for both you and your participants.
It’s important to remember to invite participants using the provided joining link or meeting ID and to regularly communicate with them regarding upcoming meetings. Managing your recurring meetings effectively, including monitoring attendance, encouraging engagement, and collecting feedback, will ensure that your meetings are productive and successful.
Customizing meeting options, such as enabling additional security features, adjusting audio and video settings, and exploring advanced features, allows you to create a personalized meeting environment that caters to your specific requirements and preferences.
Should you encounter any issues during your recurring Zoom meetings, remember the troubleshooting tips mentioned earlier, such as verifying internet connectivity, addressing audio and video challenges, ensuring proper joining procedures, and staying up to date with the latest Zoom software.
By mastering the art of creating and managing recurring Zoom meetings, you can foster effective collaboration, maintain strong connections, and achieve your goals in a virtual environment. So, what are you waiting for? Start scheduling your recurring Zoom meetings and enjoy the convenience and efficiency it brings to your professional and personal life!