Enabling the Waiting Room feature in Zoom
Zoom’s Waiting Room feature is a powerful tool that allows meeting hosts to control the flow of participants entering their meetings. By enabling the Waiting Room, hosts can ensure that every participant is individually admitted, providing an extra layer of security and preventing unauthorized access.
To enable the Waiting Room feature in Zoom, follow these simple steps:
- Sign in to your Zoom account and navigate to the Zoom web portal.
- Click on “Settings” on the left-hand navigation menu.
- In the “Meeting” tab, scroll down to the “Waiting Room” section.
- Toggle the button to turn on the Waiting Room feature.
- Click on “Save” to apply the changes.
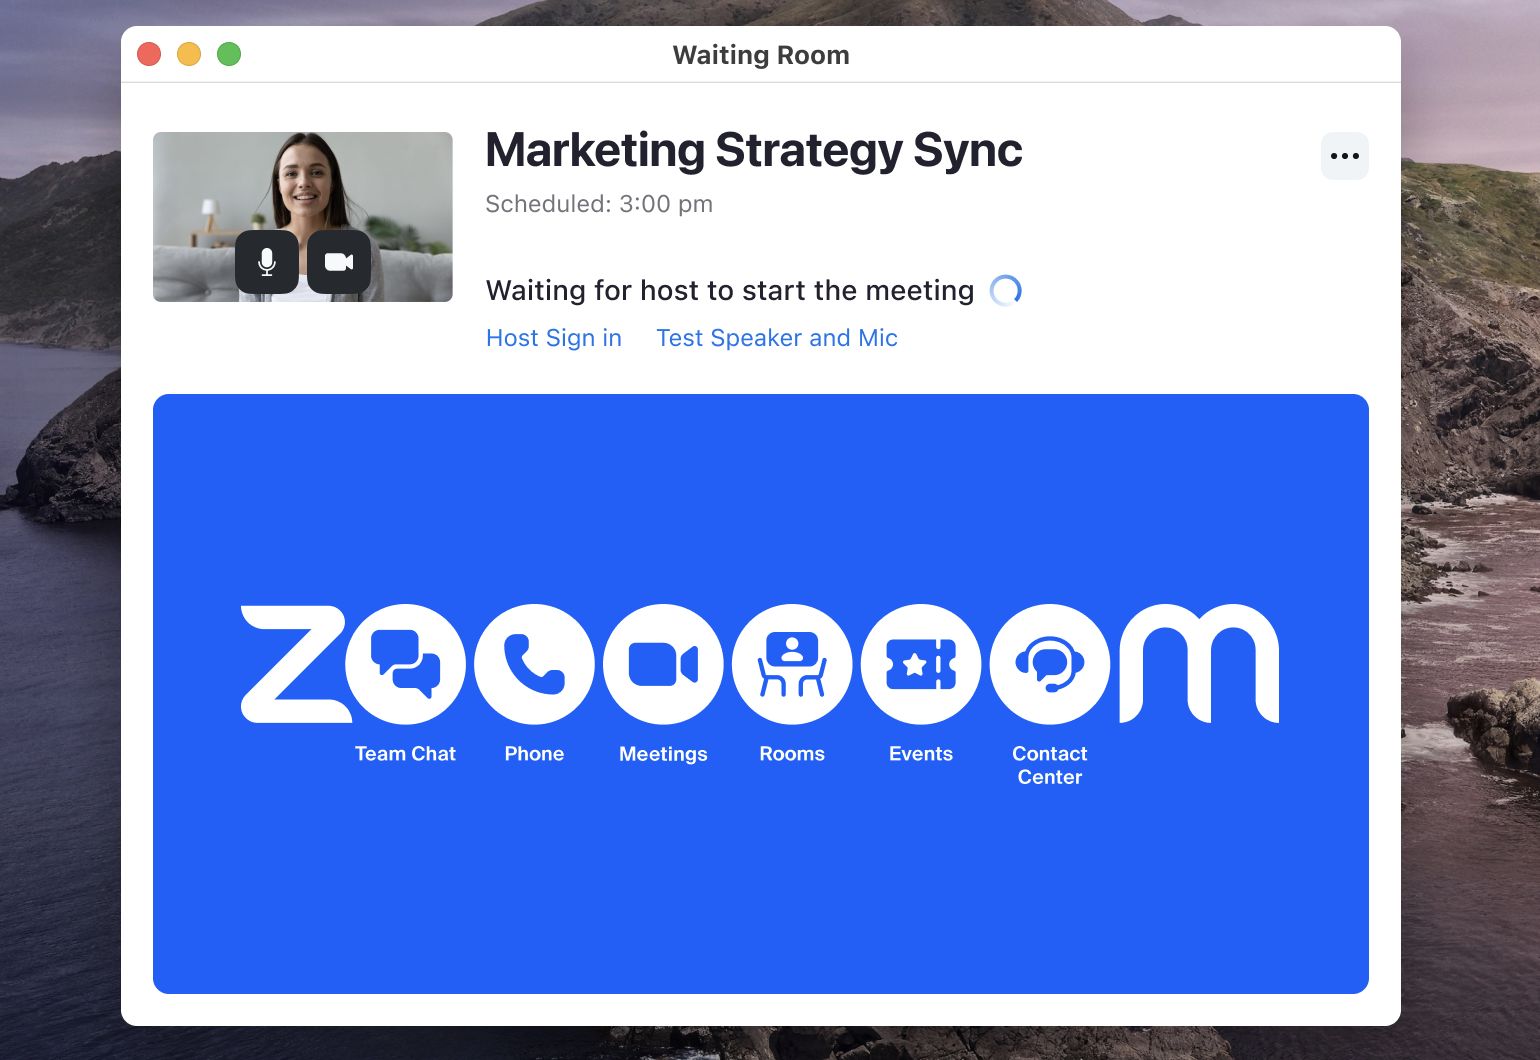
Once the Waiting Room is enabled, participants attempting to join your meeting will be placed in a virtual waiting area until the host admits them. This allows the host to verify their identity and ensure a secure and controlled meeting environment.
It is important to note that the Waiting Room feature is available for both Zoom meetings and webinars. However, it is recommended to use the Waiting Room feature for meetings that require stricter access control, such as confidential discussions or business meetings.
By enabling the Waiting Room feature, hosts can have peace of mind knowing that only authorized individuals are granted access to the meeting, minimizing the risk of unauthorized attendees or disruptions.
Next, let’s explore how you can customize the Waiting Room settings to enhance your meeting experience and cater to your specific requirements.
Customizing the Waiting Room settings
Zoom provides several customization options that allow hosts to tailor the Waiting Room feature to suit their specific needs. By customizing the Waiting Room settings, hosts can enhance security, streamline the admission process, and provide a personalized experience for participants. Here are some key customization options:
- Waiting Room Description: When enabling the Waiting Room feature, hosts can provide a brief description or instructions that will be displayed to participants while they are in the waiting area. This can be helpful for conveying any specific guidelines or information participants need to know before joining the meeting.
- Customize Waiting Room Experience: Zoom allows hosts to create a customized experience for participants in the Waiting Room. This includes options like uploading a custom image or logo that will be displayed to participants, as well as the ability to modify the music played while participants are in the waiting area.
- Waiting Room Hold Time: Hosts can set a specific duration for how long participants can wait in the Waiting Room before being automatically removed. This can be useful to ensure that participants do not stay in the waiting area indefinitely if the host is not available to admit them.
- Individual Meeting or User-level Settings: Zoom gives hosts the flexibility to customize the Waiting Room settings at both the individual meeting and user-level. This allows for greater control over the waiting experience, depending on the specific requirements of each meeting or user.
Customizing the Waiting Room settings allows hosts to personalize the waiting experience and create a seamless and tailored meeting environment. By providing clear instructions and incorporating branding elements, hosts can enhance professionalism and make participants feel more engaged and at ease.
Now that you have learned about customizing the Waiting Room settings, the next step is to invite participants to join the Waiting Room. We will explore various methods of inviting participants in the next section.
Inviting participants to join the Waiting Room
Once the Waiting Room feature is enabled and the settings are customized to your liking, it’s time to invite participants to join the Waiting Room. There are several ways to invite participants and ensure a seamless entry into the meeting:
- Sending Meeting Invitations: When sending out meeting invitations, hosts can include a message informing participants about the Waiting Room feature. This can be done by adding the instructions in the body of the invitation or by attaching a separate document providing guidelines on joining the meeting and entering the Waiting Room.
- Communicating via Email: If you have a list of participants’ email addresses, you can proactively send them an email before the meeting, providing clear instructions on how to join the Waiting Room. This method allows you to communicate directly with participants and ensure they are aware of the process.
- Sharing Meeting Links: When sharing meeting links via chat platforms or other communication channels, hosts can include a note indicating the presence of a Waiting Room. By informing participants about the Waiting Room in advance, you can set the expectations and avoid confusion during the meeting.
- Using Passcodes: In addition to the Waiting Room feature, Zoom also offers passcodes to ensure an extra layer of security. Hosts can share the meeting passcode along with the Waiting Room instructions to ensure only intended participants can access the meeting.
By effectively communicating and inviting participants to join the Waiting Room, you can streamline the meeting entry process and provide a smooth experience for everyone involved. Additionally, providing clear instructions and utilizing communication channels that participants are familiar with will help ensure that participants are aware of the Waiting Room and can join the meeting without any difficulties.
Now that participants are invited to join the Waiting Room, let’s learn how to manage participants effectively while they are in the waiting area.
Managing participants in the Waiting Room
Managing participants in the Waiting Room is crucial for maintaining control and ensuring a secure and organized meeting environment. As the host, you have various options to manage participants effectively:
- Viewing Waiting Room: When participants join the Waiting Room, you, as the host, have the ability to view their names and profile pictures. This allows you to identify participants and make informed decisions about admitting them to the meeting.
- Admitting Participants: As the host, you have the authority to admit participants from the Waiting Room to the meeting. You can perform this action individually by selecting each participant to admit, or you have the option to admit all participants at once.
- Removing Participants: In situations where participants do not follow meeting guidelines or behave inappropriately, hosts can remove them from the Waiting Room. This helps maintain a respectful and professional meeting environment.
- Chatting with Participants: Hosts can communicate with participants in the Waiting Room via the chat feature. This allows for information sharing, clarifying any questions, or providing instructions to participants before admitting them to the meeting.
Effectively managing participants in the Waiting Room helps ensure that only authorized individuals are admitted to the meeting. It also helps maintain a productive atmosphere and minimizes the risk of disruptions or unauthorized access.
When managing participants, it’s important to be attentive and proactive. Regularly monitor the Waiting Room to admit participants promptly and address any concerns or questions they may have. By providing clear communication and a seamless entry process, participants will feel valued and engaged from the moment they join the meeting.
Next, we will explore the process of admitting participants to the Zoom meeting from the Waiting Room.
Admitting participants to the Zoom meeting from the Waiting Room
Once participants have joined the Waiting Room, it’s time to admit them to the Zoom meeting. As the host, you have full control over who gets admitted, ensuring a secure and organized meeting. Here’s how you can admit participants:
- Admitting Participants Individually: To admit participants individually, you can review their names or profile pictures in the Waiting Room and select each participant to admit them to the meeting. This allows you to verify their identity before granting them access.
- Admitting All Participants: If you have multiple participants in the Waiting Room and want to expedite the admission process, you can admit all participants at once. This allows you to quickly bring everyone into the meeting.
- Using the “Admit” Button: Zoom provides a convenient “Admit” button next to each participant’s name in the Waiting Room. Simply click on the “Admit” button to allow participants to join the meeting.
- Chatting with Participants: Before admitting participants, you can communicate with them via the chat feature in the Waiting Room. This allows you to provide any additional instructions or ask for any necessary clarifications before they enter the meeting.
By carefully admitting participants from the Waiting Room, you ensure that only authorized individuals join the Zoom meeting. This not only prevents any unauthorized access but also helps create a more secure meeting environment where participants can freely collaborate and engage.
As a host, it’s beneficial to be prompt and efficient in admitting participants. Regularly monitor the Waiting Room, especially during the meeting’s initial stages, to admit participants quickly and avoid delays in starting the meeting.
In the next section, we will explore how to enable automatic admission for specific attendees, saving you the hassle of manually admitting them each time they join a meeting.
Enabling automatic admission for specific attendees
Zoom provides the option to enable automatic admission for specific attendees, allowing them to bypass the Waiting Room and directly join the meeting. This feature is particularly useful for trusted participants or recurring meetings where certain attendees need immediate access. Here’s how you can enable automatic admission:
- Accessing the Zoom web portal: Sign in to your Zoom account and navigate to the Zoom web portal.
- Clicking on “Settings”: On the left-hand navigation menu, click on “Settings” to access the meeting settings.
- Selecting “Meeting”: In the settings menu, select the “Meeting” tab to view the meeting-specific options.
- Scrolling down to “Waiting Room Options”: Within the meeting settings, scroll down to the “Waiting Room Options” section.
- Enabling “Automatic Admission”: Toggle the button next to “Automatic Admission” to turn on the automatic admission feature.
- Adding specific attendees: To add specific attendees for automatic admission, enter their email addresses in the designated field. You can add multiple email addresses by separating them with a comma.
- Clicking on “Save”: Once you have added the email addresses, click on “Save” to apply the automatic admission settings.
By enabling automatic admission for specific attendees, you streamline their entry process and save time by eliminating the need for manual admission. This is especially useful for participants who regularly attend your meetings or for trusted individuals who require immediate access.
However, it’s important to exercise caution when using this feature. Make sure to only add trusted attendees to the automatic admission list to maintain the security and integrity of your meetings.
In the next section, we will explore some best practices for utilizing the Waiting Room feature in Zoom effectively.
Best practices for using the Waiting Room in Zoom
To make the most out of the Waiting Room feature in Zoom and ensure a seamless and secure meeting experience, it’s important to follow some best practices. By implementing these practices, you can maximize the effectiveness of the Waiting Room feature. Here are some key suggestions:
- Enable the Waiting Room for important meetings: Consider enabling the Waiting Room feature for meetings that require heightened security or confidentiality. This ensures that only authorized participants gain access to the meeting.
- Customize the Waiting Room experience: Personalize the Waiting Room by adding a brief description, customizing the display image, or selecting appropriate background music. This helps maintain professionalism and creates an inviting atmosphere for participants.
- Communicate the Waiting Room instructions: Clearly communicate the use of the Waiting Room in meeting invitations, emails, or chat messages. Provide participants with clear instructions on how to join the Waiting Room and what to expect before being admitted to the meeting.
- Regularly monitor the Waiting Room: Keep an eye on the Waiting Room to admit participants promptly. Avoid delays in admitting participants to ensure they feel valued and engaged right from the start of the meeting.
- Use the chat feature in the Waiting Room: Engage with participants in the Waiting Room by utilizing the chat feature. This allows you to communicate any necessary instructions, address concerns, or answer questions before admitting participants to the meeting.
- Admit participants purposefully: Take the time to review participants in the Waiting Room before admitting them individually or all at once. Verify their identity, especially for meetings with sensitive or confidential discussions.
- Regularly update automatic admission settings: If you have recurring meetings or specific attendees who require automatic admission, regularly update the list to ensure it remains relevant and up to date.
By following these best practices, you can leverage the full potential of the Waiting Room feature in Zoom. You will create a secure, controlled, and professional meeting environment while ensuring smooth entry for participants.
In the next section, we will address common issues that may arise when using the Waiting Room feature and provide troubleshooting tips to overcome them.
Troubleshooting common issues with the Waiting Room feature
While the Waiting Room feature in Zoom is generally reliable and easy to use, there can be occasional issues that you may encounter. It’s important to be aware of these common issues and have troubleshooting strategies in place to address them. Here are some common issues with the Waiting Room feature and ways to resolve them:
- Participants not appearing in the Waiting Room: If participants are not appearing in the Waiting Room, double-check that the feature is enabled in your meeting settings. Additionally, ensure that participants are joining the correct meeting link and have not bypassed the Waiting Room due to incorrect settings.
- Participants unable to join the meeting: If participants are experiencing difficulties joining the meeting from the Waiting Room, ensure that they have the correct meeting ID and passcode (if applicable). Verify that you have admitted them from the Waiting Room, or check if there are any network connectivity issues on their end.
- Waiting Room settings not saving: If you encounter issues with saving your Waiting Room settings, try clearing your browser cache and cookies or using a different browser. If the issue persists, reach out to Zoom support for further assistance.
- Confusion or lack of awareness about the Waiting Room: If participants are not aware of the Waiting Room feature or are confused about its purpose, provide clear instructions and communicate the presence of the Waiting Room in your meeting invitations or communications. Consider providing additional guidance or resources to help participants understand the process.
- Technical glitches or compatibility issues: Occasionally, technical glitches or compatibility issues may arise with the Waiting Room feature. To troubleshoot these issues, ensure that you and participants have the latest version of the Zoom app installed. It may also help to clear temporary files or restart the device before joining the meeting.
If you encounter any other specific issues or error messages related to the Waiting Room feature, refer to the Zoom Help Center or reach out to Zoom support for further guidance and troubleshooting steps.
By being proactive and addressing these common issues, you can mitigate any disruptions and ensure a smooth and secure meeting experience for both hosts and participants.
In the next section, we will cover the process of closing the Waiting Room and ending the Zoom meeting.
Closing the Waiting Room and ending the Zoom meeting
As the host, it is important to know how to efficiently close the Waiting Room and properly end the Zoom meeting. Here are the steps to follow:
- Admit all participants: Before closing the Waiting Room, make sure that all the participants who are in the Waiting Room have been admitted to the meeting. This ensures that nobody is left behind and that everyone is given the opportunity to join the meeting.
- Announce meeting closing: Once all participants are admitted and the meeting is about to conclude, announce to the participants that the meeting will be ending soon. This allows them to wrap up any remaining discussions or tasks.
- End the meeting: To officially end the Zoom meeting, click on the “End Meeting” button. This will close the meeting room and terminate the connection for all participants.
- Follow-up actions: After ending the meeting, you may want to follow up with participants by sharing any relevant documents, providing summary notes, or sending a follow-up email to ensure continued communication and collaboration.
It is important to ensure a smooth closure when ending a Zoom meeting. Providing clear communication about the end time of the meeting allows participants to plan accordingly and wrap up their discussions or activities. Ending the meeting promptly also shows respect for everyone’s time and ensures an efficient flow of meetings.
Remember to review any post-meeting tasks or actions that need to be completed, such as sharing recordings or scheduling follow-up meetings. This helps maintain productivity and ensures that the objectives of the meeting are met even after the meeting has ended.
With these steps in mind, you can confidently close the Waiting Room and end your Zoom meeting, ensuring a successful and productive meeting experience for all participants.
Now that you have learned how to close the Waiting Room and end the meeting, you have a comprehensive understanding of how to effectively utilize Zoom’s Waiting Room feature throughout the meeting lifecycle.