Introduction
Welcome to the wonderful world of Zoom, the popular video conferencing platform that has revolutionized the way we communicate and connect with others. Whether you’re a business professional, a student, or simply looking to catch up with friends and family, Zoom provides a seamless and user-friendly interface for holding virtual meetings. It allows you to see and interact with participants from all around the globe, making distance a thing of the past.
In this article, we will walk you through the process of joining and participating in a Zoom meeting. From downloading and installing Zoom to exploring its various features, you’ll learn everything you need to know to make the most out of your Zoom experience.
During these challenging times, when face-to-face meetings are not always possible, Zoom has become an essential tool for remote collaboration and communication. It enables you to connect with colleagues, classmates, and loved ones, fostering a sense of togetherness even when physically apart.
Whether you’re attending a business conference, joining an online class, or having a virtual family gathering, understanding how to navigate Zoom and make use of its features is crucial. By following the step-by-step instructions in this article, you’ll be able to confidently call into Zoom meetings, ensuring a smooth and enjoyable experience for everyone involved.
So, let’s dive in and discover the ins and outs of joining and participating in Zoom meetings. Whether you’re a tech-savvy individual or a complete novice, this article will provide you with the knowledge and skills necessary to make the most of your Zoom engagements.
Downloading and Installing Zoom
Before you can start calling into Zoom meetings, you’ll need to download and install the Zoom application on your device. Zoom is compatible with various platforms, including Windows, Mac, iOS, and Android. Follow these simple steps to get started:
- Visit the official Zoom website at zoom.us or the respective app store for your device.
- Click on the “Sign In” button if you already have a Zoom account, or “Sign Up, It’s Free” to create a new account. It’s quick and straightforward!
- Once signed in or signed up, click on the “Download” button to download the Zoom application.
- Open the downloaded file and follow the on-screen instructions to install Zoom on your device. The process may vary slightly depending on your operating system.
- Once the installation is complete, launch the Zoom application and sign in using your Zoom credentials.
- Voila! You now have Zoom installed on your device and are ready to start calling into meetings.
Downloading and installing Zoom is a one-time process, and you’ll only need to do it once. Once the application is installed, you can conveniently access Zoom meetings with just a few clicks.
Now that you have Zoom up and running on your device, let’s move on to the next section to learn how to set up your Zoom account.
Setting up a Zoom Account
Setting up a Zoom account is an essential step to access all the features and functionalities available on the platform. Here’s how you can create your Zoom account:
- If you haven’t already, open the Zoom application on your device.
- Click on the “Sign Up, It’s Free” button on the login screen.
- Enter your email address in the provided field and click on “Sign Up”.
- Check your email inbox for a confirmation email from Zoom.
- Open the email and click on the verification link to confirm your account.
- Once your account is verified, you’ll be prompted to set up your profile with your name, profile picture, and other personal information. Fill in the required details and click on “Continue”.
- Next, you’ll have the option to connect your Zoom account with your Google or Facebook credentials. If you prefer, you can also skip this step and continue with your Zoom account.
- Congratulations! You’ve successfully set up your Zoom account.
With a Zoom account, you can easily schedule and host meetings, customize settings, and manage your profile information. Additionally, having an account allows you to join meetings with a single click, provides access to cloud storage for recorded meetings, and enables you to take advantage of other advanced features that Zoom offers.
Now that you have your Zoom account set up, let’s move on to the next section to learn how to schedule a Zoom meeting.
Scheduling a Zoom Meeting
Now that you have your Zoom account set up, it’s time to schedule your first Zoom meeting. Scheduling a meeting allows you to send invitations to participants, set the meeting date and time, and configure other settings. Here’s how you can schedule a Zoom meeting:
- Launch the Zoom application on your device and sign in to your account.
- Click on the “Schedule” button from the home screen.
- In the meeting scheduling window, enter the meeting topic and description. This information will help participants understand the purpose of the meeting.
- Select the date and time for the meeting. You can also choose to make it a recurring meeting if needed.
- Specify the meeting duration to ensure that participants are aware of the expected time commitment.
- Configure additional meeting settings as per your requirements. These settings include enabling or disabling participants’ microphones and cameras, enabling waiting rooms for participants to join, and more.
- Once you have set all the necessary details, click on the “Schedule” button to create the meeting.
- A new window will open, displaying the meeting details and options to copy the invitation or add the meeting to your calendar.
- To invite participants, click on the “Copy Invitation” button and share the meeting details via email, messaging apps, or any other preferred method.
By scheduling a Zoom meeting, you ensure that participants have all the information they need to join at the designated time. It also allows you to conveniently manage and keep track of your meetings from within the Zoom application.
Now that you know how to schedule a Zoom meeting, let’s move on to the next section to learn how to join a Zoom meeting using a meeting link.
Joining a Zoom Meeting Using a Meeting Link
Joining a Zoom meeting is a breeze when you have the meeting link handy. The meeting link contains all the necessary information, including the meeting ID and password. Here’s how you can join a Zoom meeting using a meeting link:
- Open the meeting link that you received from the host. You can usually find the link in the invitation email or message.
- If you have the Zoom application installed on your device, the link will automatically open the Zoom application and take you directly to the meeting. If not, you’ll be prompted to download and install the Zoom application first.
- Once in the Zoom application, you may be prompted to enter your name before joining the meeting. Enter your name and click on “Join” to proceed.
- If the meeting has not started yet, you’ll be placed in a waiting room until the host starts the meeting. Once the meeting starts, you’ll be automatically joined in.
- Voila! You are now successfully connected to the Zoom meeting and can engage with other participants.
Joining a meeting using a meeting link is the most straightforward method, requiring just a few clicks. It eliminates the need to remember lengthy meeting IDs and passwords, making the process seamless and convenient.
In the next section, we will explore how to join a Zoom meeting using the meeting ID and password.
Joining a Zoom Meeting Using the Meeting ID and Password
If you don’t have a meeting link but know the meeting ID and password, you can still easily join a Zoom meeting. Here’s how:
- Open the Zoom application on your device.
- Click on the “Join” button from the home screen.
- In the meeting ID field, enter the provided meeting ID. This is typically a 9 to 11-digit number.
- If required, enter the meeting password in the provided field. This is provided by the meeting host to ensure only authorized participants can join.
- Enter your name in the designated field.
- Choose whether to join the meeting with audio and video enabled or disabled by toggling the corresponding options.
- Click on the “Join” button to join the meeting.
- If the meeting has not started yet, you’ll be placed in a waiting room until the host starts the meeting. Once the meeting starts, you’ll be automatically joined in.
- That’s it! You have successfully joined the Zoom meeting using the meeting ID and password.
Joining a meeting using the meeting ID and password provides you with flexibility, especially if you don’t have a direct meeting link. It ensures that you can still participate in the meeting by simply knowing the relevant details provided by the host.
Now that you know how to join a Zoom meeting using the meeting ID and password, let’s explore the Zoom meeting interface in the next section.
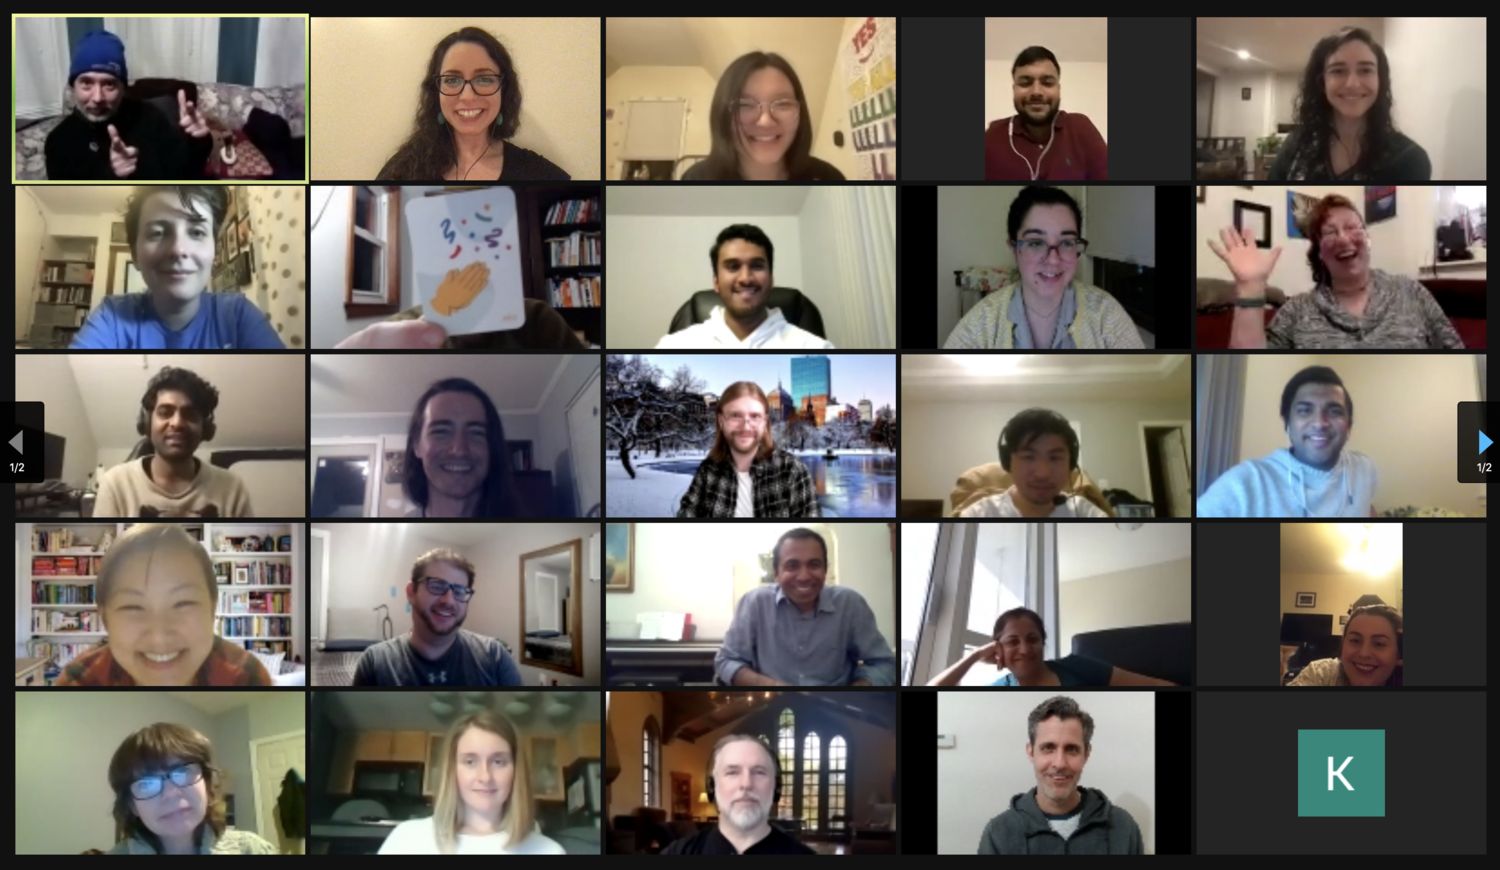
Navigating the Zoom Meeting Interface
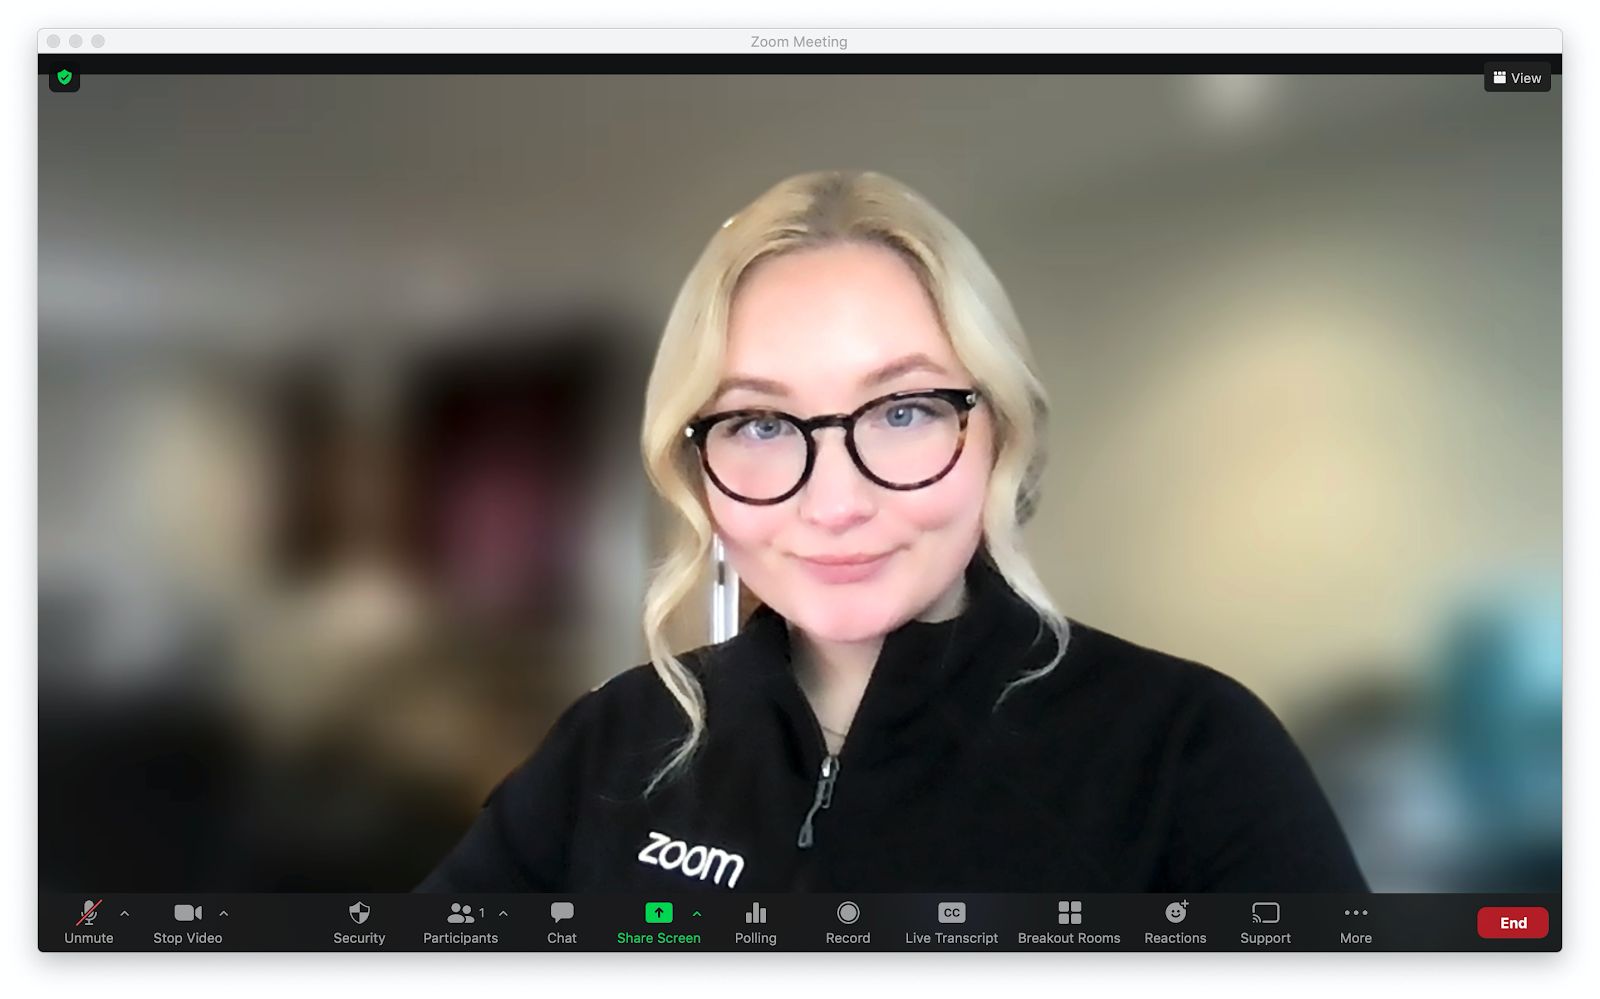
Once you’ve successfully joined a Zoom meeting, it’s important to familiarize yourself with the meeting interface. Understanding how to navigate the various controls and features will enable you to fully engage and participate in the meeting. Here’s a breakdown of the Zoom meeting interface:
- Video: This section displays the video feed of the active speaker or participants, depending on the meeting layout.
- Audio: Use this section to control your audio settings. You can mute or unmute your microphone, adjust the speaker volume, and choose the audio source.
- Share Screen: This option allows you to share your screen with other participants. You can choose to share your entire screen, a specific application window, or a portion of your screen.
- Participants: Clicking on this icon will open the Participants panel. Here, you can view a list of all meeting participants, raise your hand, and manage participant settings if you are the host.
- Chat: The Chat feature allows you to send text messages to individual participants or the entire meeting. You can also save the chat history for future reference.
- Reactions: Use this feature to send quick reactions such as applause, thumbs up, or laughter to show your responses during the meeting.
- Record: If allowed by the host, you can record the meeting for later reference. Click on the Record button to start or stop the recording.
- Leave: This button allows you to exit the meeting when you’re ready to leave. Clicking on it will prompt a confirmation message to ensure you want to leave the meeting.
Take some time to explore and familiarize yourself with the Zoom meeting interface. Understanding these key components will enable you to actively participate and engage with other participants during the meeting.
In the next section, we will delve into the audio and video settings in Zoom, allowing you to customize your audio and video experience.
Audio and Video Settings in Zoom
Having the right audio and video settings in Zoom is crucial for a smooth and seamless meeting experience. Zoom offers a range of customizable options to ensure optimal audio and video quality. Here’s how you can adjust your audio and video settings:
- Audio Settings:
- Click on the “Audio” button at the bottom of the Zoom meeting interface.
- Select the desired microphone from the available options. Make sure the correct device is chosen if you have multiple microphones connected.
- Test your microphone by speaking into it and adjusting the input volume as needed using the slider.
- Next, select the appropriate speaker or audio output device. You can adjust the volume level using the slider to ensure clear audio playback.
- If you encounter audio issues, click on the “Troubleshoot audio” option for troubleshooting tips and recommendations.
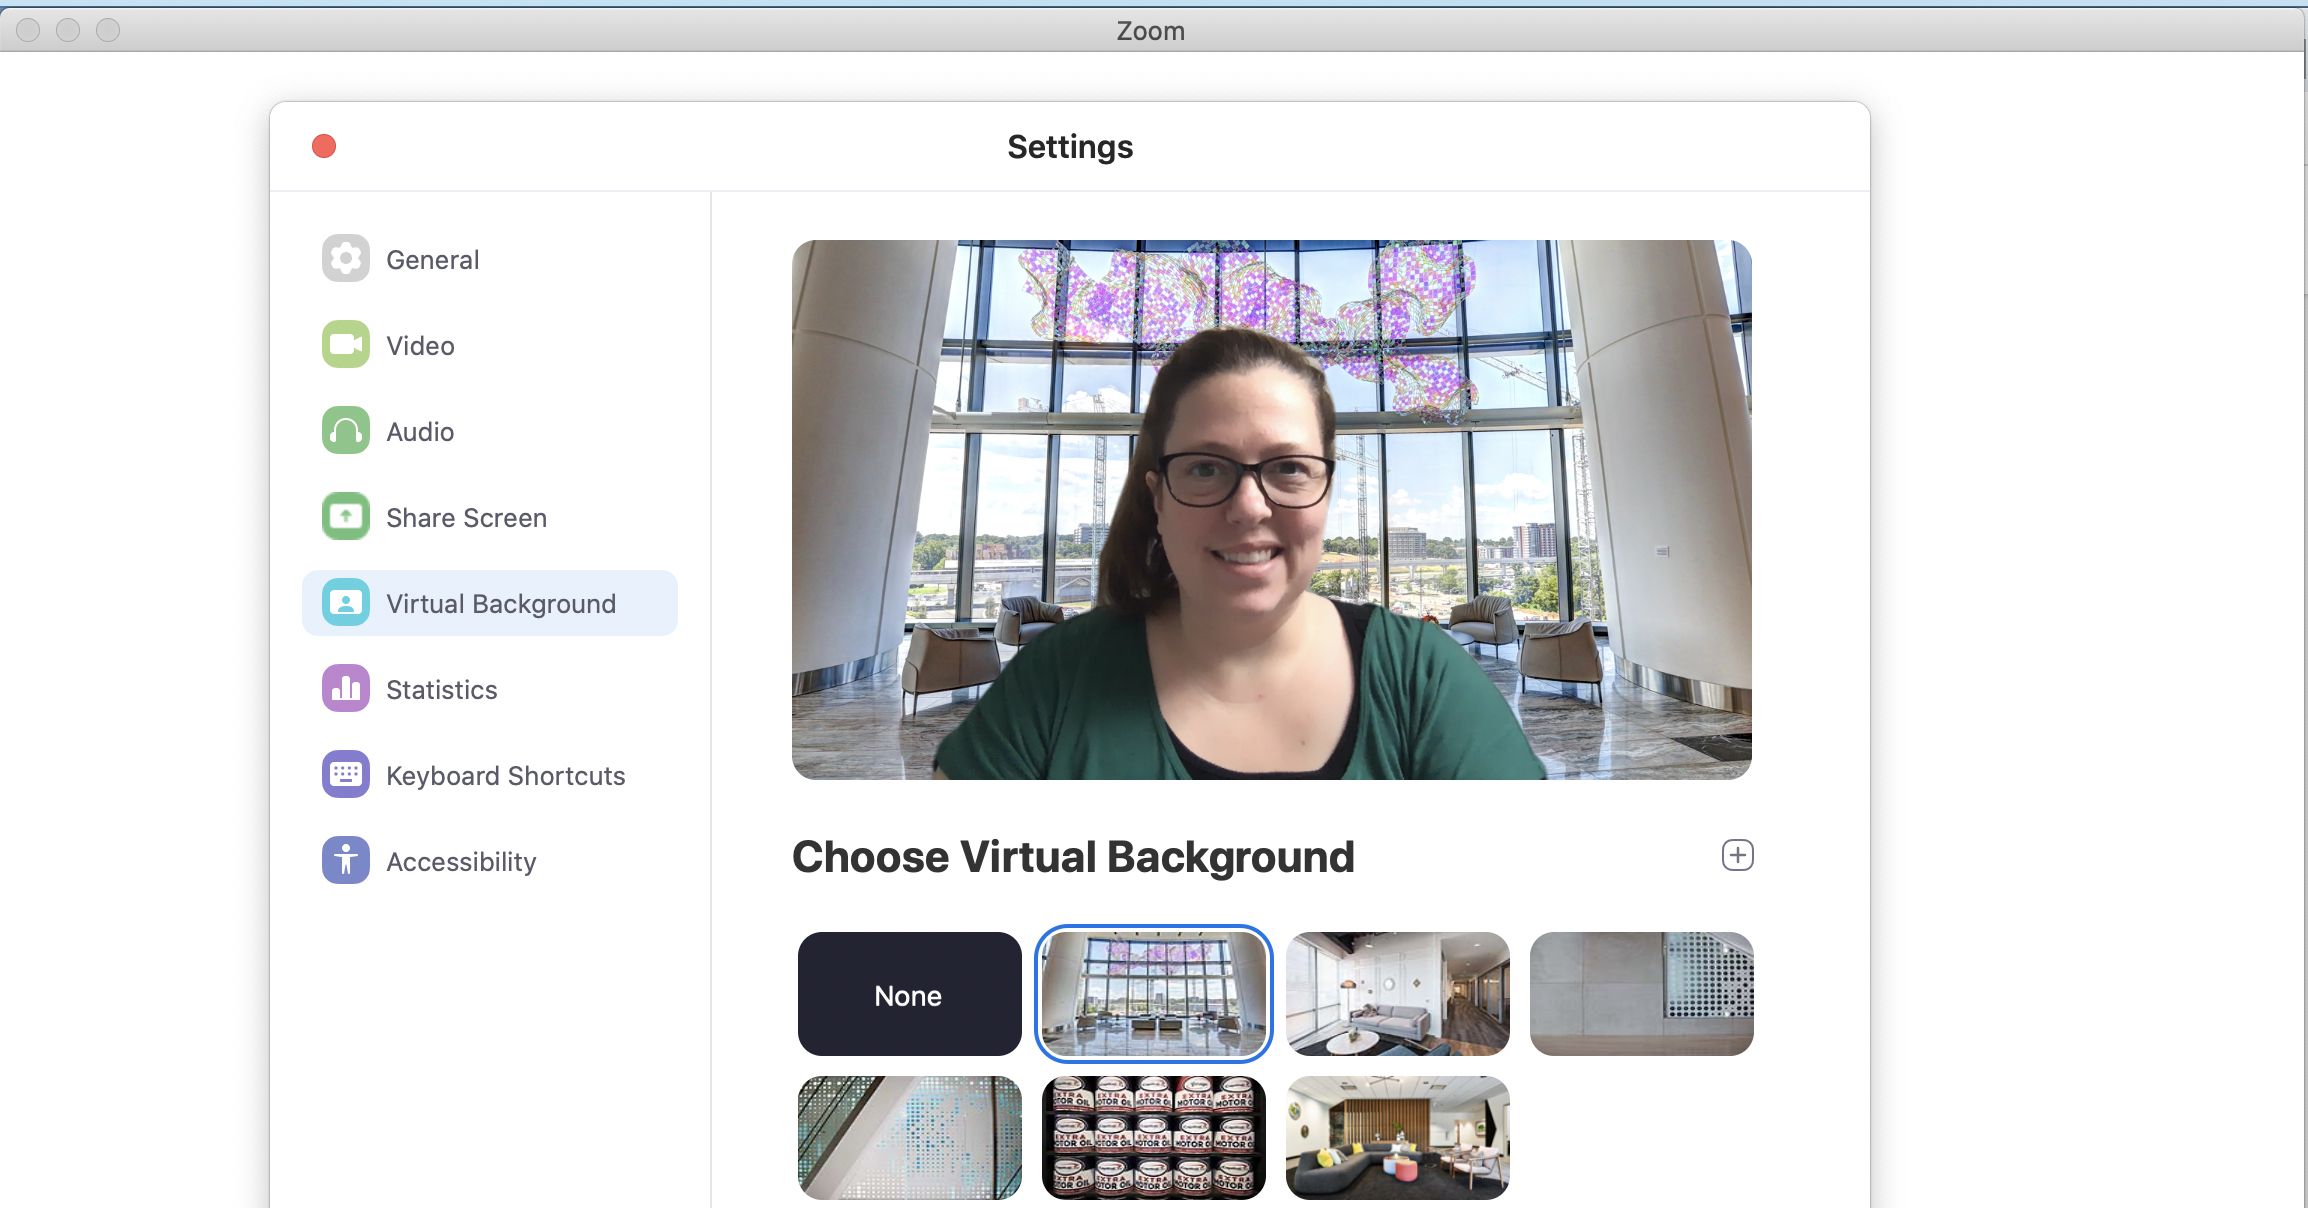
- Video Settings:
- Click on the “Video” button at the bottom of the Zoom meeting interface.
- Select the desired camera from the available options. Ensure that the correct camera is selected if you have multiple cameras connected.
- If needed, you can mirror your video display by clicking on the checkbox next to “Mirror my video.” This will horizontally flip your video feed.
- Test your camera by looking into it, and make any necessary adjustments to the lighting or position for optimal video quality.
- If you encounter video issues, click on the “Troubleshoot video” option for troubleshooting tips and recommendations.
By adjusting your audio and video settings, you can ensure that your voice is clear, your video feed is crisp, and you have an overall pleasant meeting experience. It’s essential to test your settings before joining a meeting to avoid any potential audio or video issues.
In the next section, we will explore how to share your screen during a Zoom meeting, allowing you to present information or discuss visuals with other participants.
Sharing Your Screen During a Zoom Meeting
Screen sharing is a powerful feature in Zoom that allows you to present content, documents, or slideshows to other participants during a meeting. Here’s how you can easily share your screen:
- Click on the “Share Screen” button located in the Zoom meeting toolbar.
- A window will open, showing your available screens and applications for sharing.
- Select the screen or application you want to share. You can choose to share your entire screen or a specific application window.
- Click on the “Share” button to start sharing your screen.
Once you start sharing your screen, other participants in the meeting will be able to see the content you’re presenting. You can navigate through documents, slides, or any other material on your screen, and changes will be visible to everyone in real-time.
While sharing your screen, you can access additional options in the Zoom meeting toolbar:
- Stop Share: Use this button to stop sharing your screen and return to the normal meeting view.
- Annotate: The annotate feature allows you to draw, highlight, or add text to the shared screen. Click on the “View Options” button and select “Annotate” to access these tools.
- Pause Share: If needed, you can pause screen sharing temporarily without stopping it completely. This can be useful if you want to hide sensitive information or take a break from presenting.
- Advanced Sharing Options: By clicking on the arrow next to the “Share Screen” button, you can access additional sharing options such as sharing computer audio or optimizing for video.
Screen sharing in Zoom is an invaluable tool for collaboration, presentations, and online teaching. It allows you to visually engage with other participants and adds an interactive element to your meetings.
In the next section, let’s explore how to use the chat feature in Zoom to send messages and communicate with other participants during a meeting.
Using the Chat Feature in Zoom
The chat feature in Zoom provides a convenient way to communicate with other participants during a meeting. Whether you want to ask a question, share a link, or provide additional information, the chat feature allows for real-time text-based communication. Here’s how you can use the chat feature:
- Click on the “Chat” button located in the Zoom meeting toolbar.
- A chat panel will open on the right side of the meeting window, displaying the conversation history.
- Type your message in the text input box at the bottom of the chat panel.
- Press “Enter” or click on the “Send” button to send the message to all participants.
- If you want to send a private message to a specific participant, click on the drop-down menu next to “To: Everyone” and select the desired participant’s name.
- Other participants will receive your message in the chat panel, and they can respond or react accordingly.
- You can also share URLs, images, or other files by clicking on the “File” button within the chat panel.
- To save the chat history, click on the “More” button (three dots) at the bottom of the chat panel and select “Save Chat.” This will save the chat as a .txt file on your device.
The chat feature in Zoom is a valuable tool for collaboration and engagement during a meeting. It allows for quick and efficient communication, especially when audio may not be ideal or when participants prefer to type their comments or questions.
Next, let’s explore how to manage participants in a Zoom meeting, empowering you to control and organize your virtual gatherings.
Managing Participants in a Zoom Meeting
As the host or co-host of a Zoom meeting, you have the ability to manage participants, ensuring a smooth and organized meeting experience. Here’s how you can manage participants in a Zoom meeting:
- To view a list of participants, click on the “Participants” button located in the Zoom meeting toolbar. The participants panel will appear on the right side of the meeting window.
- In the participants panel, you can see a comprehensive list of all the participants currently in the meeting. You can also see their status, such as active speaker or muted microphone.
- As the host, you have several options to manage participants:
- To mute or unmute a participant’s microphone, click on the “Mute” or “Unmute” button next to their name.
- To disable a participant’s video, click on the “Stop Video” button next to their name. This will turn off their camera feed.
- You can also adjust other settings for participants by hovering over their name and clicking on the “More” button (three dots). This will open a menu with options such as renaming the participant, making them a co-host, and more.
- To remove a participant from the meeting, click on the “More” button next to their name and select “Remove.” Be cautious when using this option, as it will instantly remove the participant from the meeting.
- Additionally, you can control the meeting environment by using features such as the waiting room, which allows you to review and admit participants before they enter the meeting. You can enable the waiting room option in the meeting settings.
- If needed, you can also lock the meeting to prevent additional participants from joining. To do this, click on the “Security” button in the Zoom meeting toolbar and select “Lock Meeting.”
Managing participants in a Zoom meeting gives you control over the meeting dynamics, ensuring that discussions remain organized and focused. It also allows you to address any disruptions or issues that may arise during the meeting.
Now that you know how to manage participants, let’s move on to the next section to learn how to record a Zoom meeting for future reference.
Recording a Zoom Meeting
Recording a Zoom meeting can be incredibly useful for future reference, note-taking, or sharing the meeting’s content with others who couldn’t attend. Zoom provides an effortless way to record your meetings. Here’s how you can record a Zoom meeting:
- Click on the “Record” button located in the Zoom meeting toolbar. A menu will appear with recording options.
- Choose whether you want to record the meeting locally (on your device) or to the Zoom cloud (if enabled by the host and available in your plan).
- If you select “Record to the Cloud,” Zoom will automatically start recording the meeting and store the recording in the cloud. You can access it later from your Zoom account.
- If you choose “Record on this Computer,” Zoom will prompt you to specify the storage location on your device. Select the appropriate folder and click “Record” to start the recording.
- During the meeting, a recording indicator will appear in the top-left corner of the Zoom meeting window, indicating that the meeting is being recorded.
- To stop the recording, click on the “Stop Recording” button in the Zoom meeting toolbar. Zoom will finalize the recording and prepare it for storage.
- After the meeting ends, Zoom will automatically convert and save the recording to the designated storage location or upload it to the Zoom cloud, depending on your selected recording option.
- You can access your recorded meetings by navigating to the “Recordings” tab in the Zoom application or by signing in to your Zoom account on the web.
Recording your Zoom meetings allows you to capture all the important details, discussions, and presentations for future reference. It ensures that you don’t miss any valuable information shared during the meeting.
Keep in mind that recording meetings should be done in compliance with privacy laws, company policies, and with the consent of all participants involved.
In the final section, we’ll cover how to end a Zoom meeting properly.
Ending a Zoom Meeting
Wrapping up a Zoom meeting properly is essential to ensure a smooth and conclusive end to the session. Here’s how you can end a Zoom meeting:
- Click on the “End Meeting” button located in the Zoom meeting toolbar. A confirmation dialog box will appear.
- In the confirmation dialog, click on “End Meeting for All” to conclude the meeting for all participants.
- Zoom will then initiate the process of closing the meeting. Participants will be disconnected, and the meeting room will no longer be accessible.
- Once the meeting has ended, you and other participants will see the meeting summary and be directed back to the Zoom main screen or the meeting list.
It’s important to make sure all participants have had the opportunity to ask questions or provide final input before ending the meeting. This helps to ensure a productive and inclusive meeting experience.
Ending the meeting promptly allows participants to move on to their next tasks and responsibilities without any unnecessary delays.
Whether you’re the host or a participant, it’s important to follow meeting etiquette and wait for the host to officially end the meeting rather than leaving abruptly. This shows respect and acknowledges the host’s role in managing the meeting.
Now that you know how to properly end a Zoom meeting, you can confidently conclude your virtual gatherings with professionalism and efficiency.
Conclusion
Zoom has become an integral part of our lives, providing a seamless and efficient way to connect with others through virtual meetings. In this article, we covered the essential steps and techniques for calling into Zoom meetings with ease and proficiency.
We began by discussing the importance of downloading and installing Zoom, ensuring that you have the necessary software to participate in meetings. Setting up a Zoom account was the next step, allowing you to access all the features and benefits Zoom has to offer.
We then explored how to schedule a Zoom meeting, join meetings using a meeting link or ID and password, and navigate the Zoom meeting interface. Adjusting audio and video settings ensures optimal audio and visual experiences, while screen sharing and the chat feature enhance collaboration and communication during meetings.
Managing participants gives hosts control over the meeting dynamics, and recording meetings allows for future reference and sharing of valuable content. Finally, we discussed the proper way to end a Zoom meeting, wrapping up the session smoothly and considerately.
By following these steps and utilizing the various functionalities in Zoom, you can make the most out of your virtual meetings, whether for work, learning, or socializing.
Remember to always be mindful of meeting etiquette, engage with other participants respectfully, and make use of the tools and features to create an inclusive and efficient meeting experience.
So, go ahead and embark on your Zoom journey with confidence. Stay connected, collaborate effectively, and make every Zoom meeting count!