Introduction
Welcome to the fascinating world of DIY projectors! In this guide, we will show you how to transform a simple flashlight into a powerful projector, allowing you to enjoy a big-screen experience from the comfort of your own home. Whether you want to watch movies, share presentations, or display photos, this fun and cost-effective project is sure to impress your friends and family.
The best part? You don’t need any specialized equipment or technical expertise. With a few common materials and some creative tinkering, you’ll be able to construct a homemade projector that rivals the quality of commercial devices. So, grab your tools and let’s get started!
In this step-by-step tutorial, we will guide you through the process of choosing the right flashlight, creating a projection lens, building the projection box, and mounting the flashlight. We will also discuss how to add the projection lens to the box, adjust the focus, and test the performance of your DIY projector.
Keep in mind that this DIY projector is a fun and educational project, perfect for casual use. It may not compete with high-end projectors in terms of image quality and brightness, but it’s a great option for small gatherings, movie nights, or impromptu presentations.
Now, let’s gather the necessary materials and embark on this exciting journey to create your very own projector!
Materials Needed
Before we dive into the construction process, let’s gather all the essential materials and tools required to build your DIY projector. Don’t worry, you probably have most of these items lying around your house.
Here’s what you’ll need:
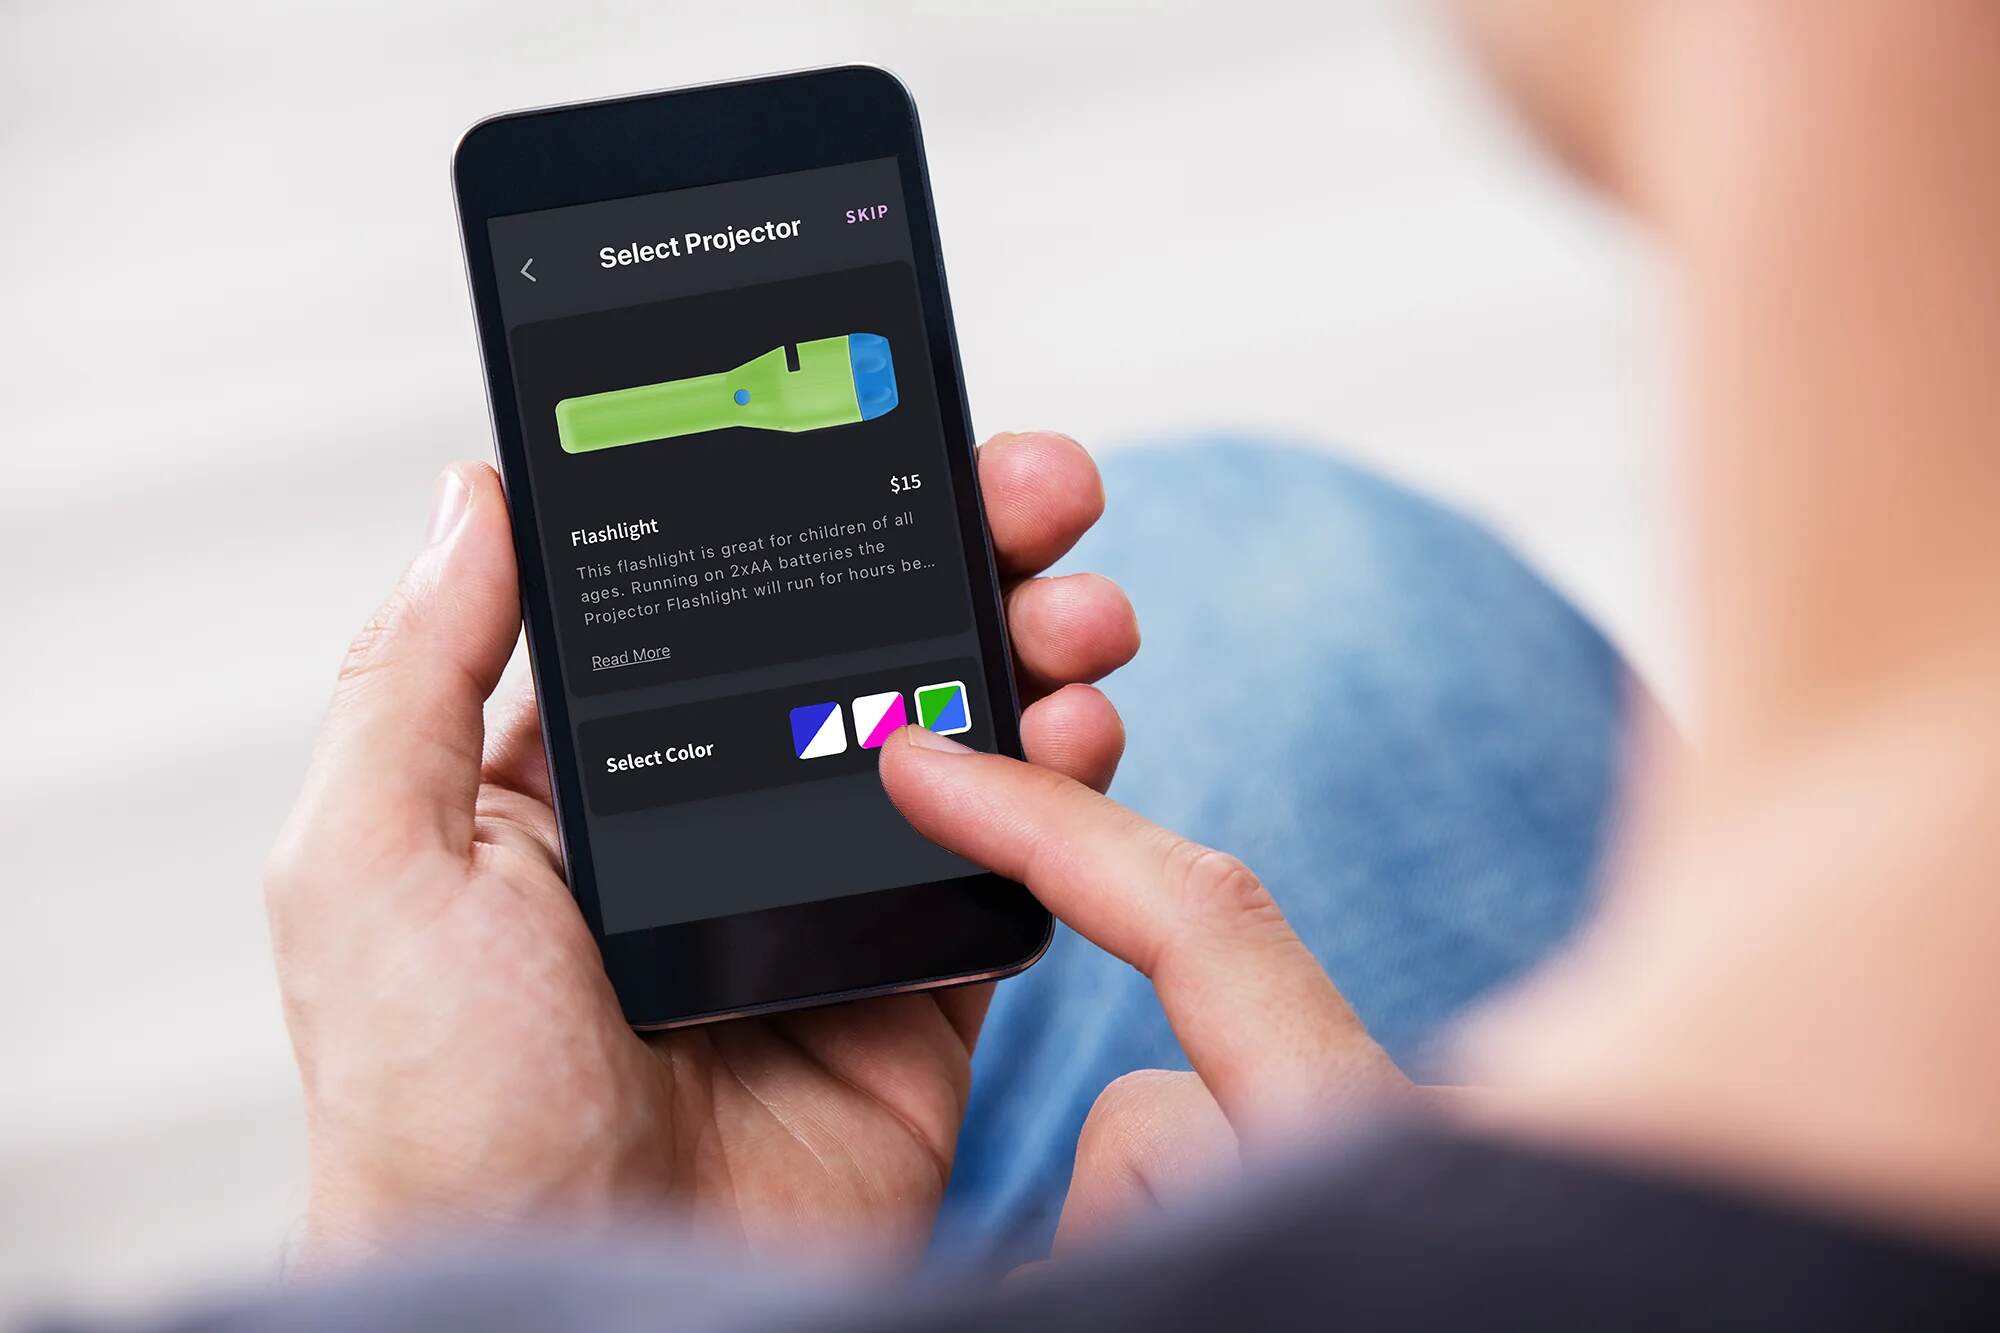
- A flashlight: Choose a flashlight with a good amount of brightness. Look for one that has an adjustable beam or focus, as this will come in handy during the projection setup.
- A magnifying glass or lens: This will serve as the projection lens and help magnify the light from the flashlight onto the viewing surface. It’s important to find a lens with a larger diameter for better image quality.
- Cardboard or a small box: You’ll need cardboard or a small box to create the projection box. Make sure it’s sturdy enough to hold the components securely.
- A utility knife or scissors: These will be used to cut the cardboard and make precise adjustments to fit the components.
- Duct tape or adhesive: You’ll need a strong adhesive or duct tape to secure the various components together and ensure they stay in place.
- A tripod or stable surface: This will help you position the projector at the desired angle and maintain stability during the projection.
- A white or light-colored surface: To achieve the best image quality, use a white or light-colored wall, screen, or projector screen for projection. Avoid textured surfaces, as they may affect the sharpness of the image.
Optional materials include black cloth or cardboard for light blocking, an HDMI adapter or wireless streaming device for connecting media sources, and a Bluetooth speaker for enhanced audio output.
Now that you have the necessary materials and tools, it’s time to start building your DIY projector. Get ready to unleash your creativity and enjoy the immersive experience of your homemade cinema!
Step 1: Choosing the Right Flashlight
The foundation of a successful DIY projector lies in selecting the right flashlight. While there are many options to choose from, a few key features can make a significant difference in the performance of your projector.
Here are some considerations to keep in mind when choosing a flashlight:
- Brightness: Look for a flashlight with a high lumen count. The higher the lumens, the brighter the light output, which will result in a clearer and more vibrant projection.
- Adjustable Beam: Opt for a flashlight that allows you to adjust the beam or focus. This feature will enable you to fine-tune the projection size and clarity, giving you more control over the viewing experience.
- Battery Life: Consider the battery life of the flashlight. You don’t want the battery to drain quickly, as it can interrupt your viewing session. Look for flashlights with long-lasting batteries or ones that are rechargeable.
- Size and Portability: Think about how you plan to use the DIY projector. If you want a portable solution that can be easily carried around, choose a compact and lightweight flashlight.
- Durability: Ensure the flashlight is durable and built to withstand regular usage. You want a reliable flashlight that won’t break or malfunction while you enjoy your projected content.
Remember, the brightness and clarity of your projection will largely depend on the flashlight you select. Aim for a powerful, adjustable flashlight that meets your specific requirements.
Once you have chosen your ideal flashlight, you’re ready to move on to the next step: creating a projection lens. Stay tuned!
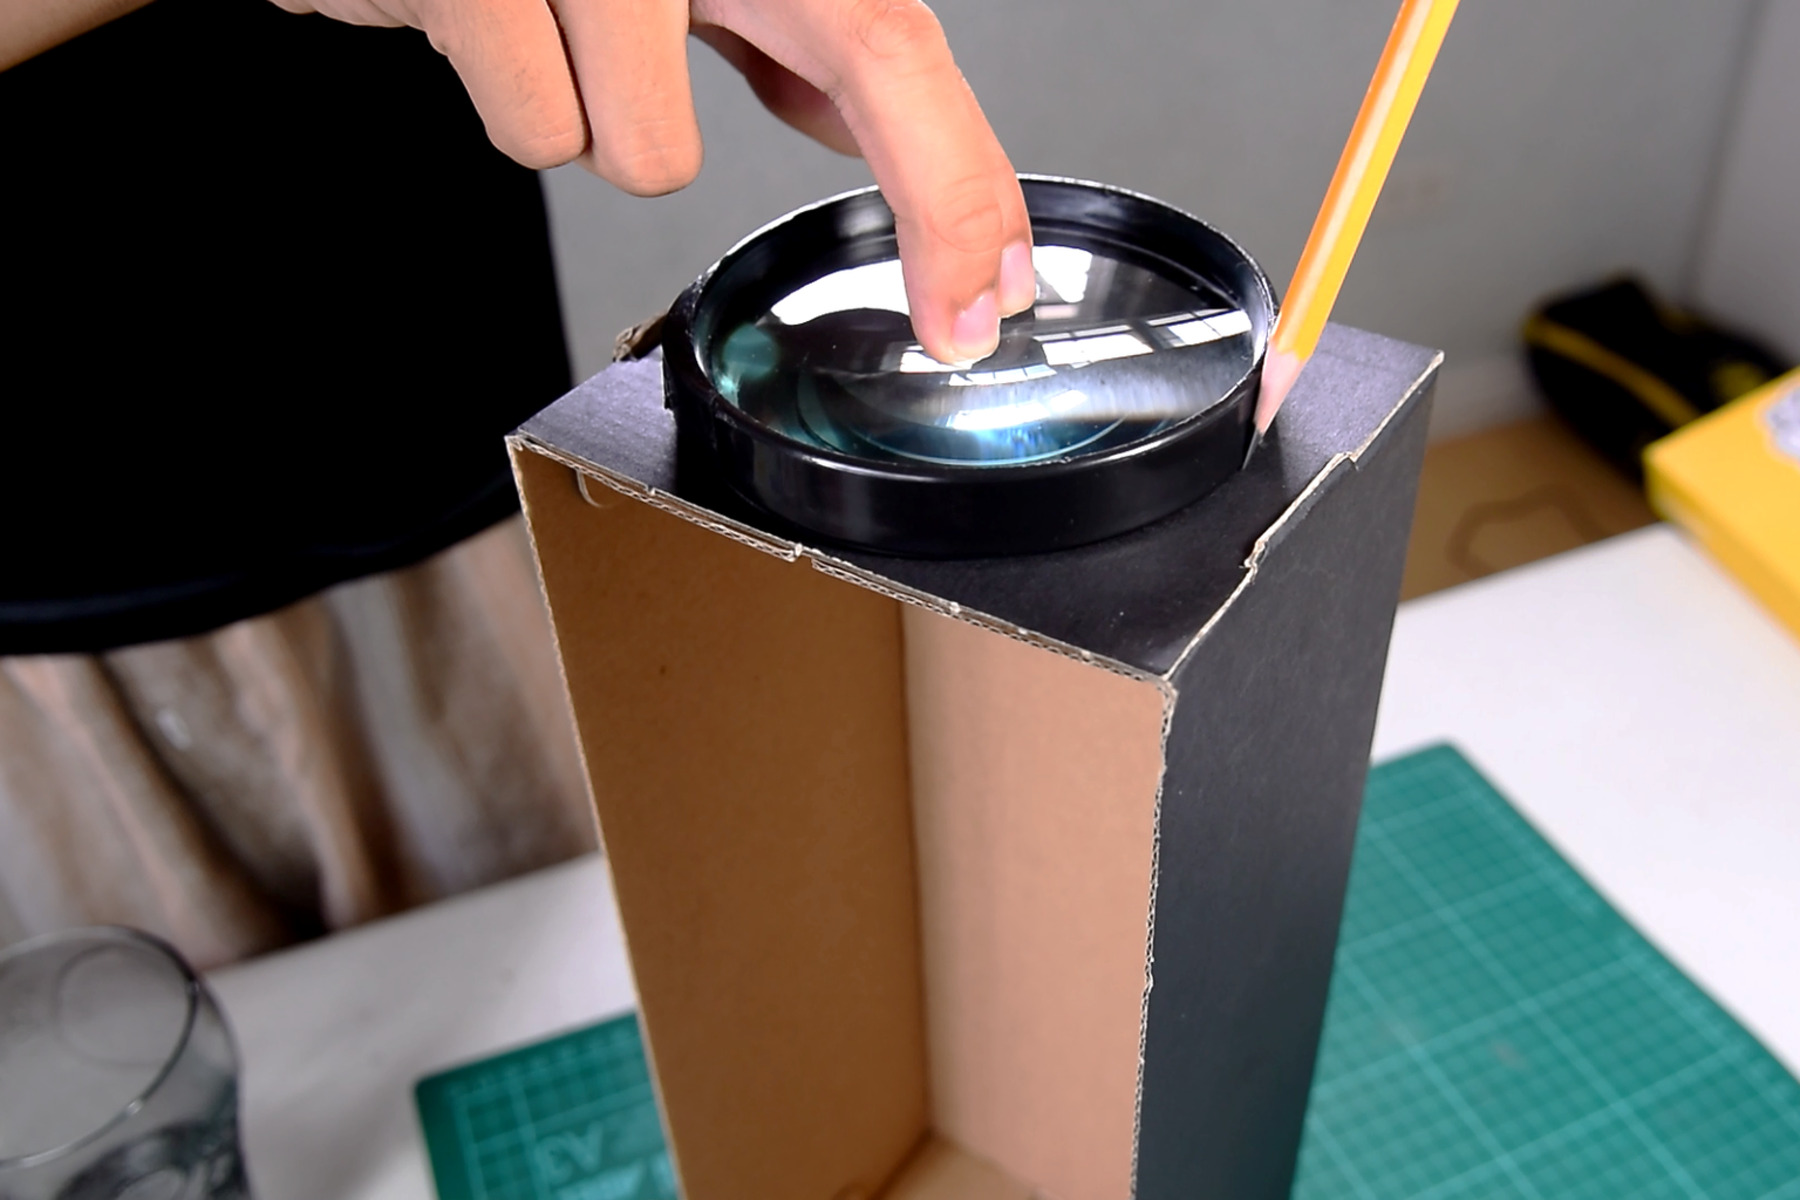
Step 2: Creating a Projection Lens
Now that you have your flashlight, it’s time to create a projection lens that will help magnify the light and project an image onto your desired surface. For this step, you will need a magnifying glass or lens with a larger diameter.
Follow these steps to create your projection lens:
- Remove the handle or any unnecessary parts from the magnifying glass or lens. You want to be left with just the convex lens, which will help focus the light.
- Find the right size and position on the projection box where the lens will sit. Use a utility knife or scissors to carefully cut a hole that matches the diameter of the lens.
- Gently insert the lens into the hole, making sure it fits securely. You can use a small amount of adhesive or duct tape to hold it in place if necessary.
- Ensure that the lens is centered and aligned properly. This will help achieve a sharp and focused image during projection.
It’s important to note that the quality of your projection lens can greatly impact the clarity and focus of the projected image. Look for a lens that is clear, free from scratches, and has a larger diameter for better light transmission.
Once you have created and positioned your projection lens, you’re ready to move on to the next step: building the projection box. Stay tuned for the exciting part of constructing your DIY projector!
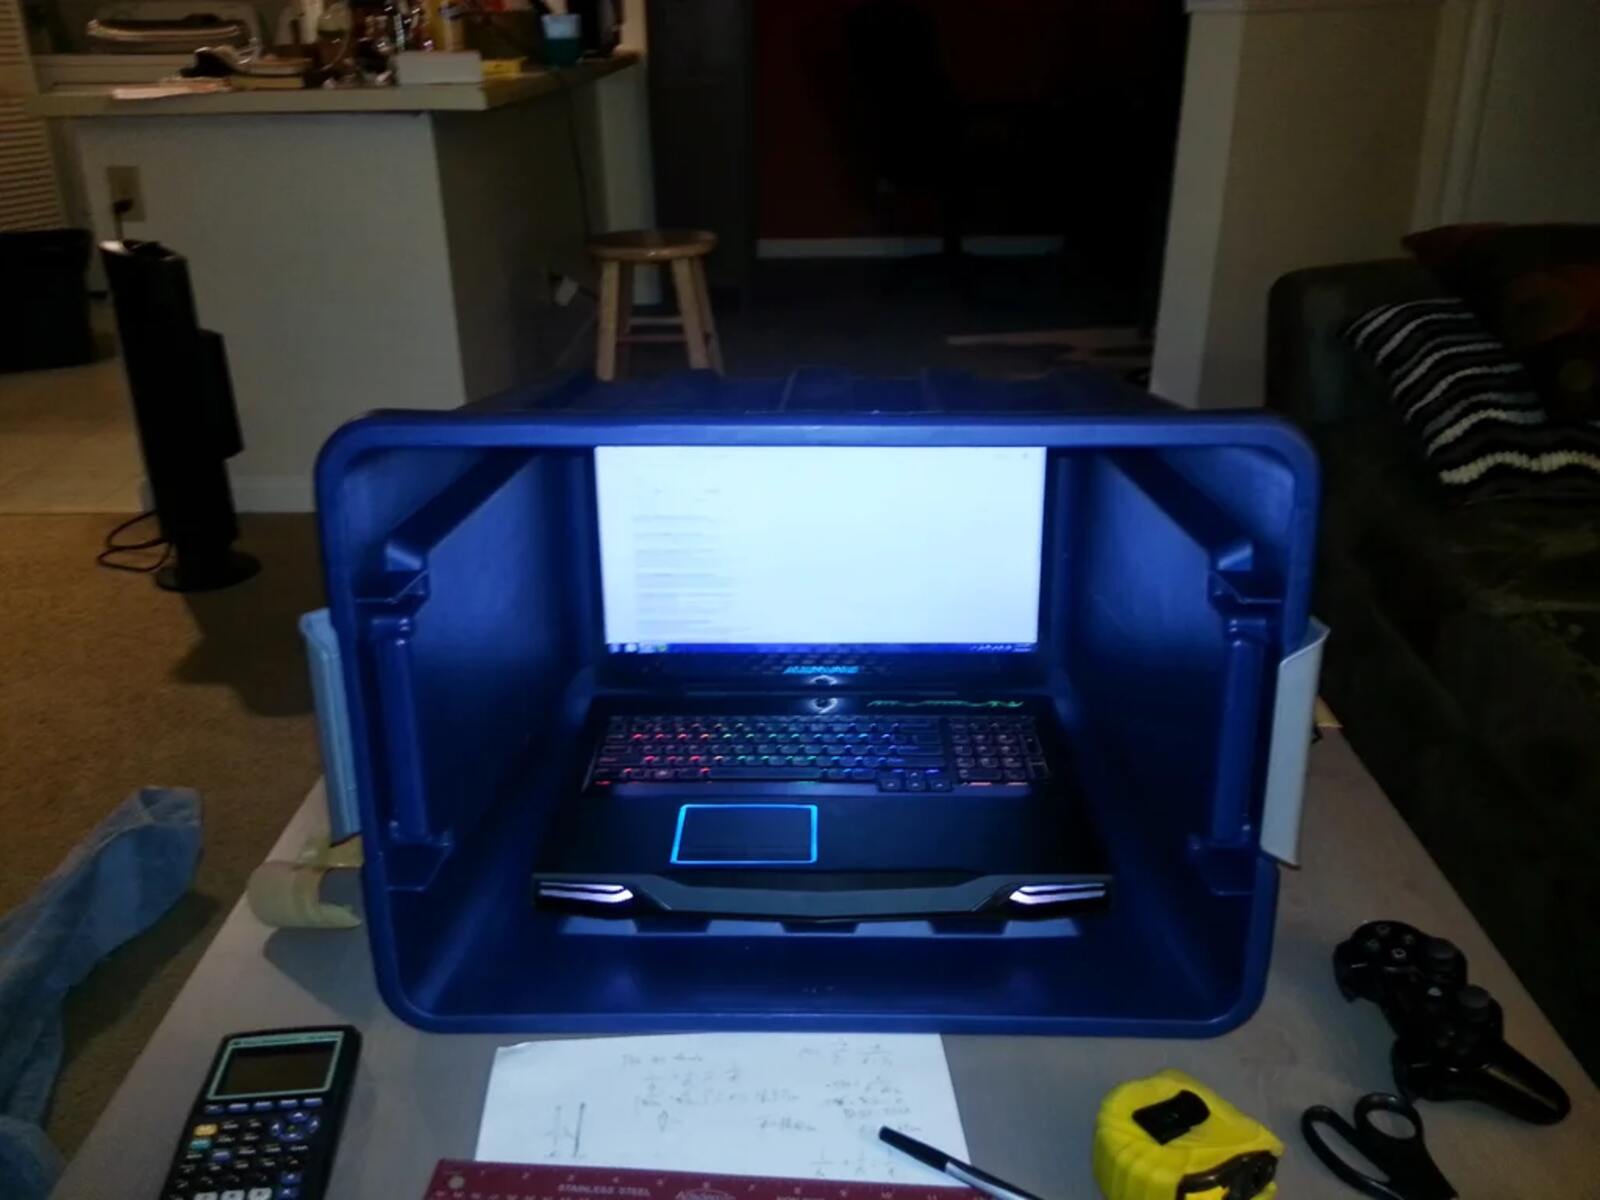
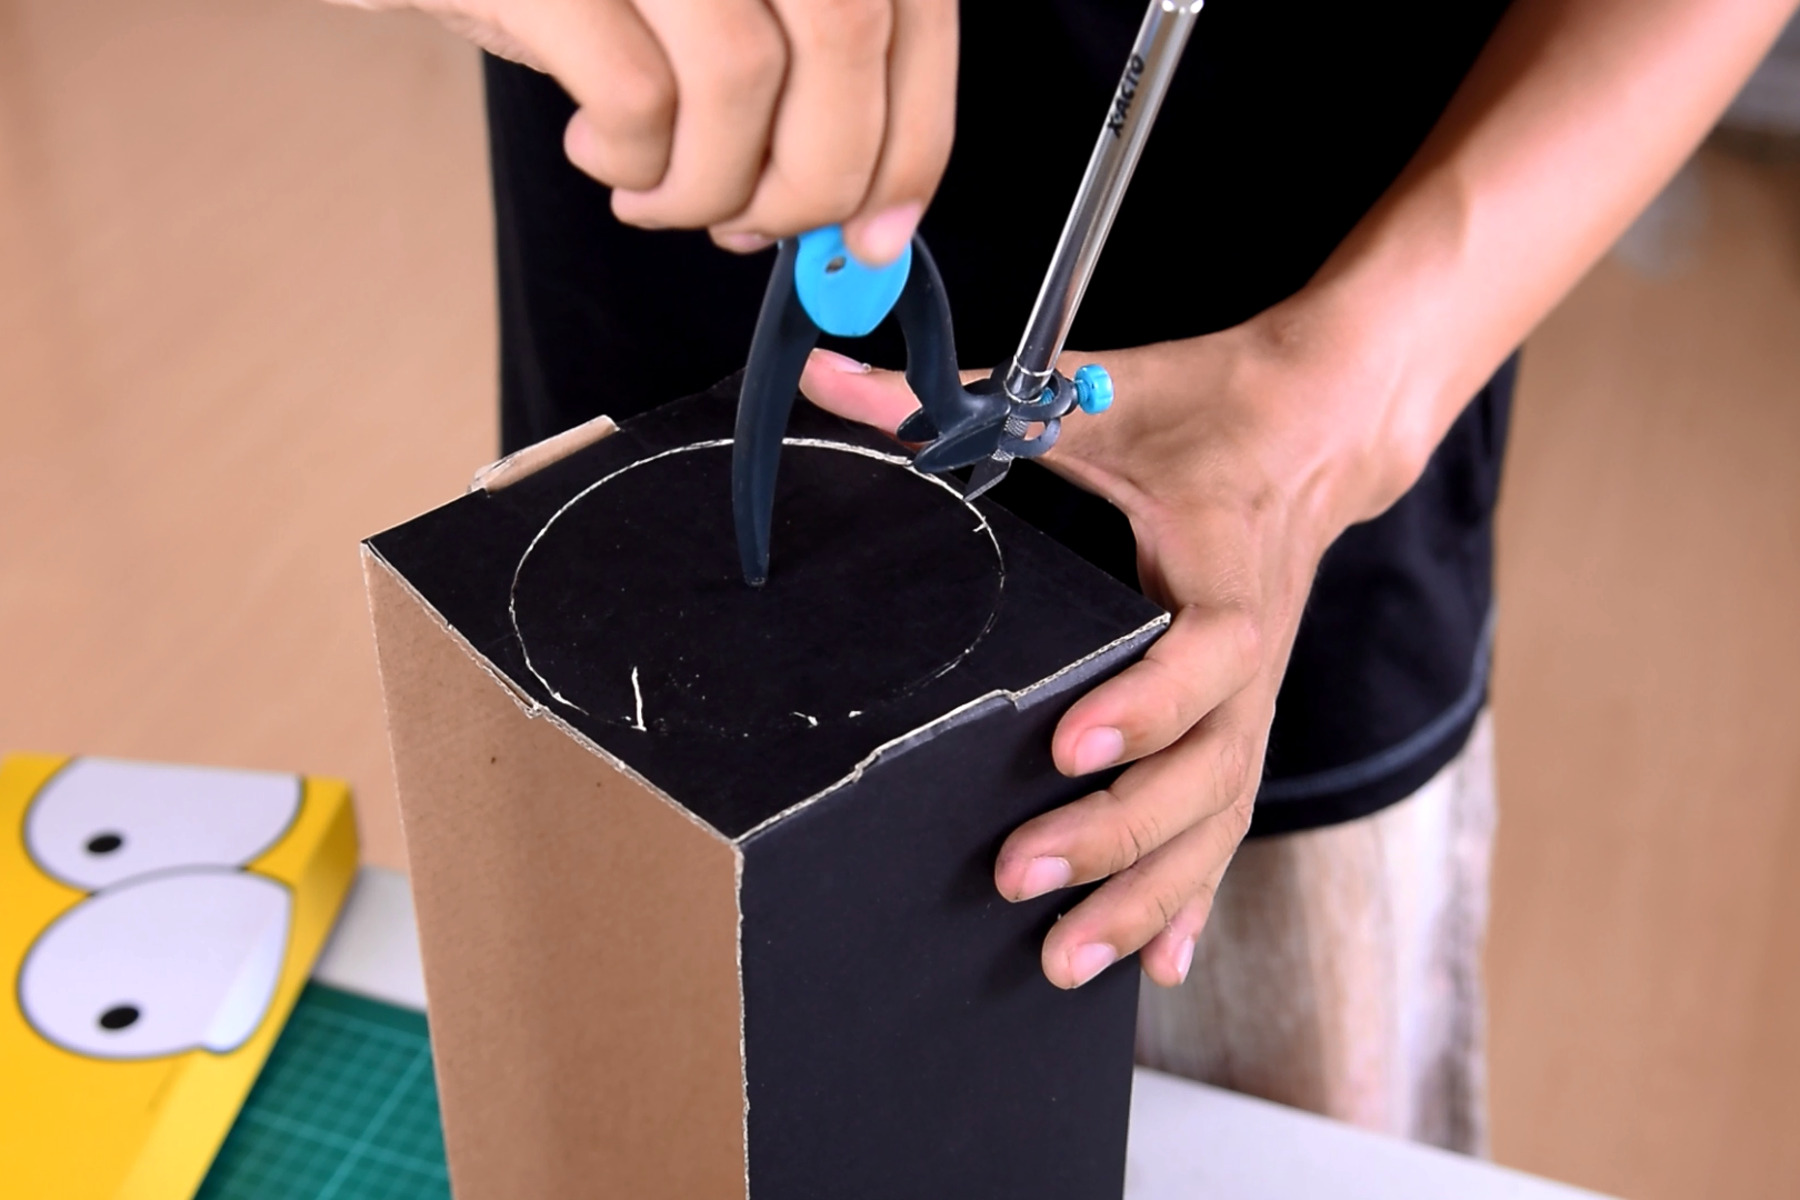
Step 3: Building the Projection Box
Now that you have your flashlight and projection lens ready, it’s time to construct the projection box, which will house the components and provide a stable platform for your DIY projector.
Follow these steps to build the projection box:
- Take a sturdy piece of cardboard or a small box and measure the dimensions you need. Make sure it’s large enough to accommodate the flashlight and the projection lens.
- Draw the outlines of the flashlight and lens on the cardboard, leaving enough space around each component for secure placement.
- Using a utility knife or scissors, carefully cut out the marked areas to create holes for the flashlight and lens.
- Test the fit of the flashlight and lens in their respective holes. Make any necessary adjustments to ensure a snug fit.
- If desired, you can paint the inside of the box with black paint or cover it with black cloth to minimize light leakage and enhance the contrast of your projected image. This will create a more immersive viewing experience.
- Leave an opening at the back of the box for accessing the flashlight’s power switch and adjusting its settings, if applicable.
Remember to take your time and be precise when cutting and assembling the projection box. A well-constructed box will provide stability to your DIY projector and help maximize the image quality.
Once the projection box is built, you’re ready to move on to the next step: mounting the flashlight. Stick around for the next section to learn how to securely position your flashlight within the projection box!
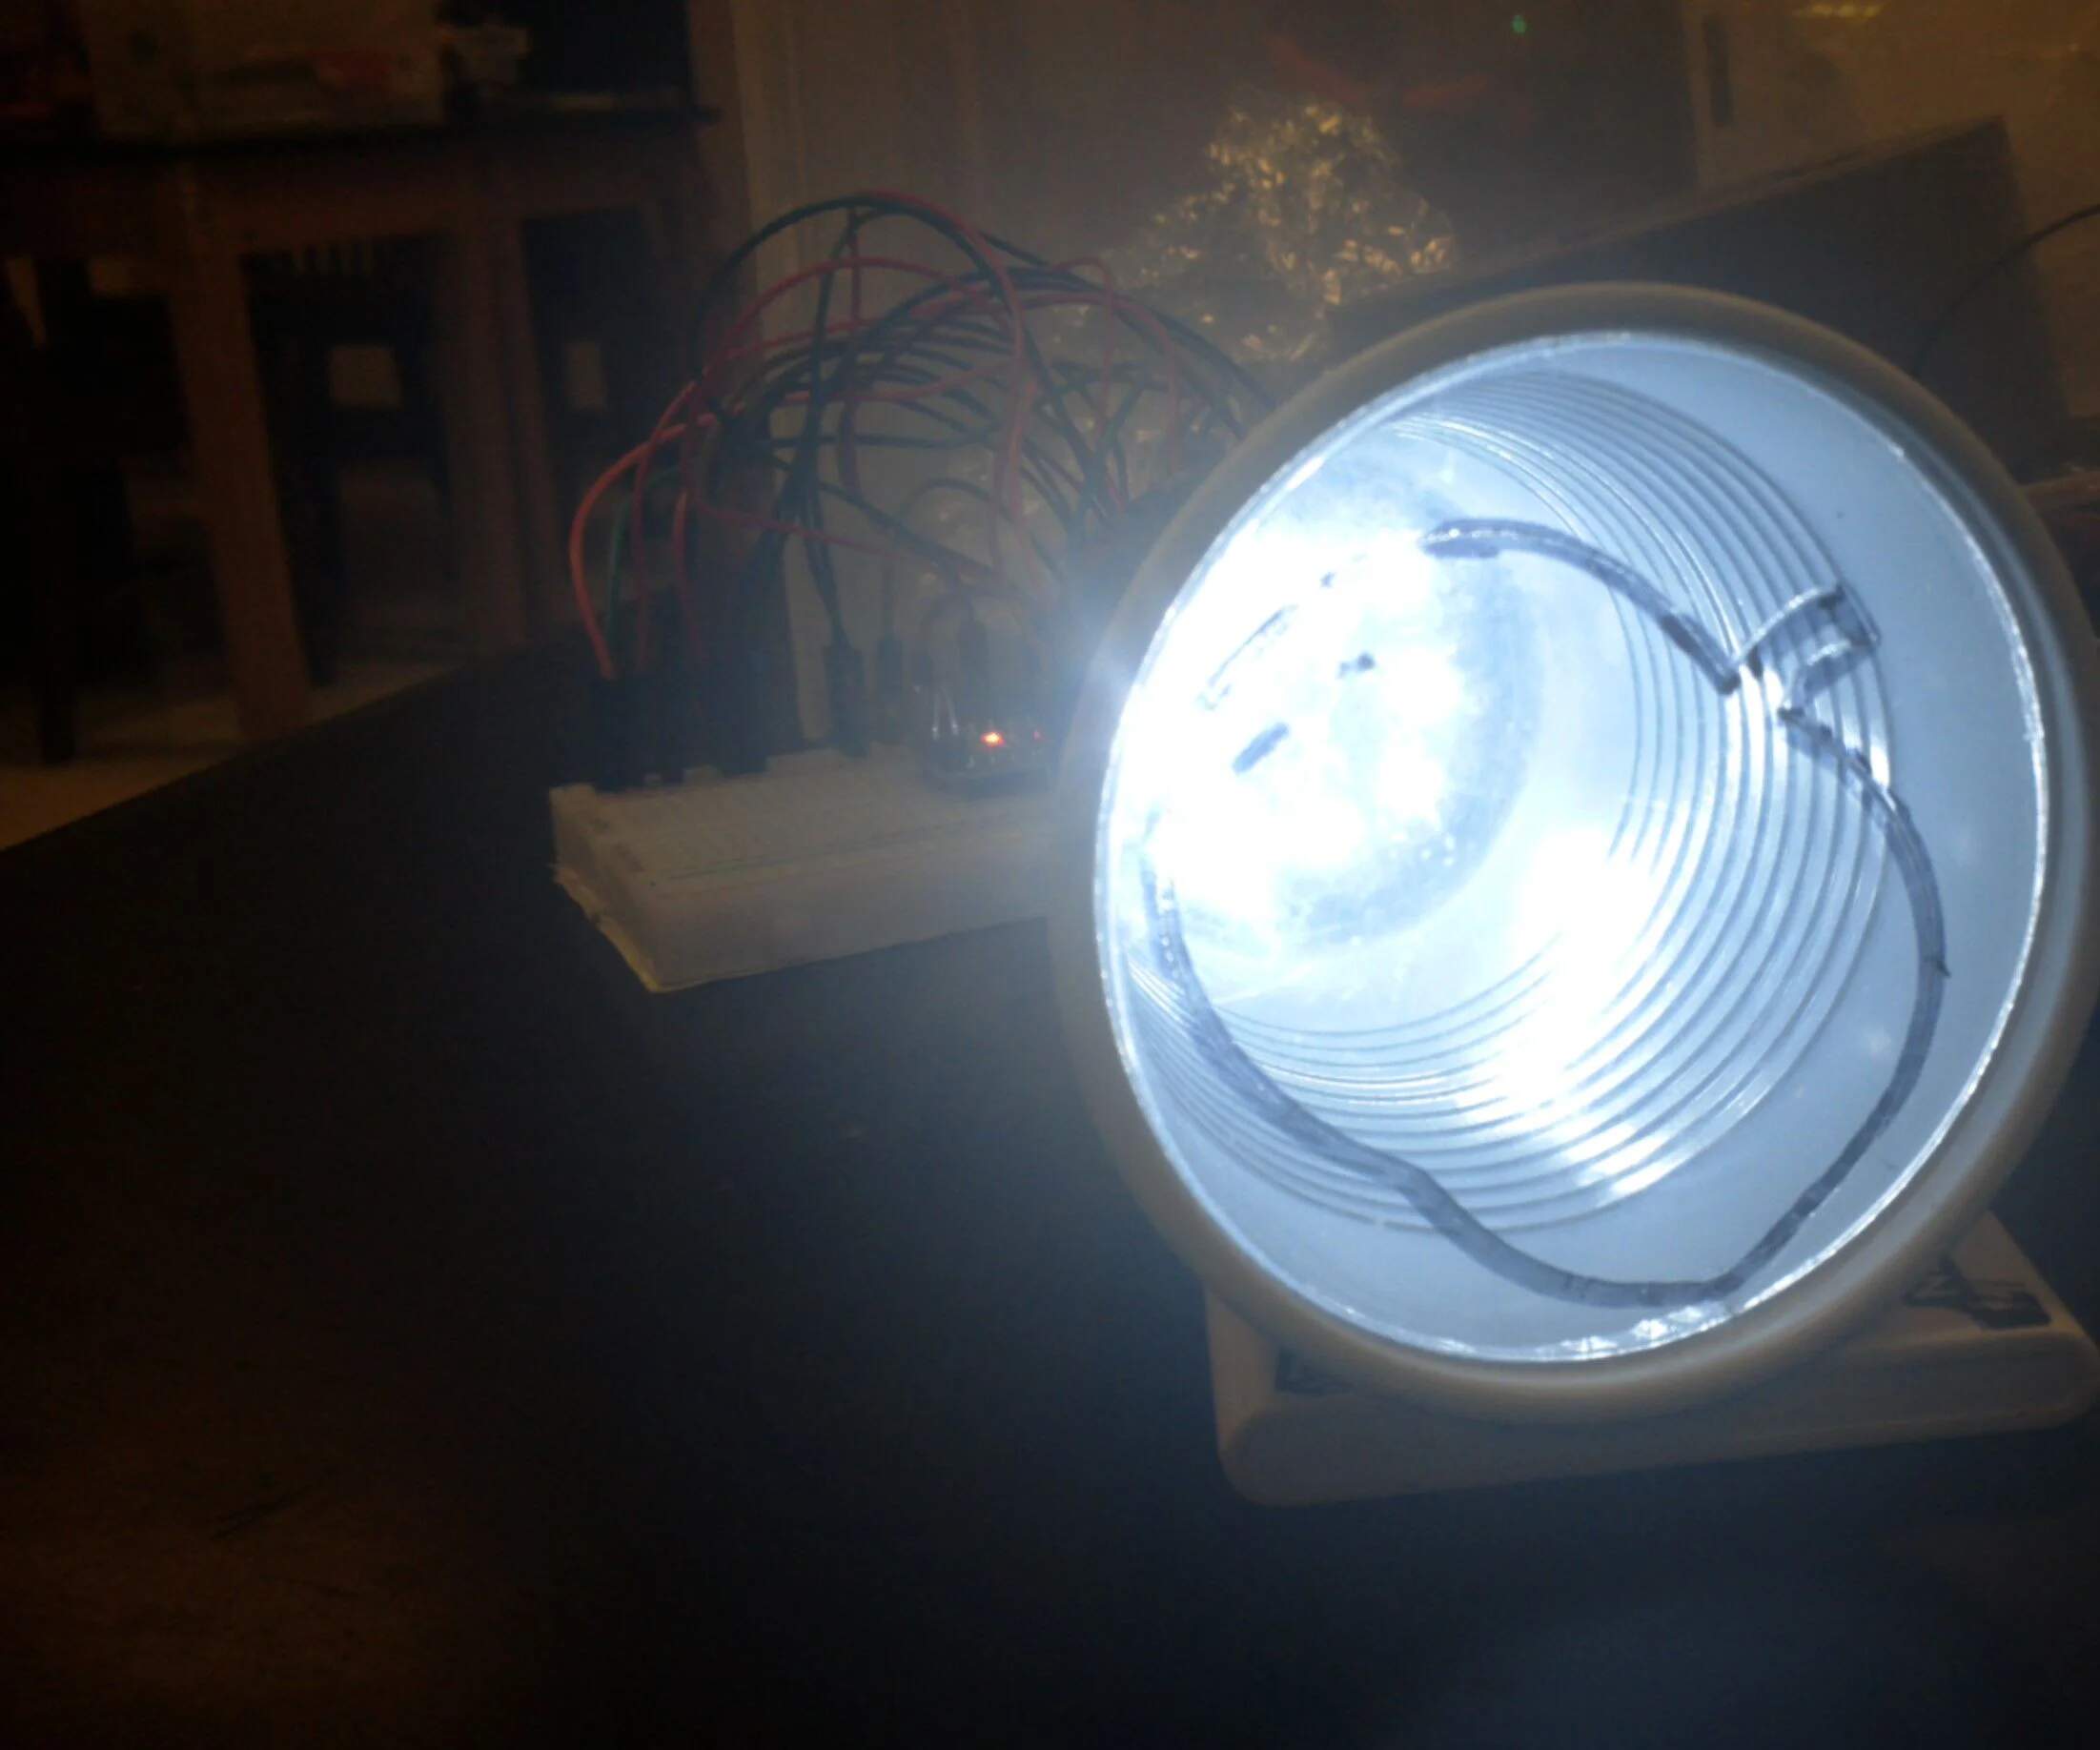
Step 4: Mounting the Flashlight
With the projection box ready, it’s time to mount the flashlight securely inside. Proper mounting will ensure stability and allow you to position the light source accurately for optimal projection.
Follow these steps to mount the flashlight:
- Position the flashlight inside the projection box, aligning it with the hole you cut out for it.
- Depending on the design of your flashlight, you may need to use adhesive or duct tape to secure it in place. Apply tape or adhesive around the flashlight’s body, ensuring it is firmly held within the box.
- Ensure that the lens of the flashlight is aligned with the projection lens hole in the box. This alignment will facilitate the smooth passage of light and improve the clarity of the projected image.
- Take a moment to test the flashlight’s switch and adjust its settings, such as the beam or focus, if applicable. It’s essential to have the flashlight working optimally before moving on to the next steps.
By securely mounting the flashlight, you’ll have greater control over the projection angle and position. This will allow you to fine-tune the image and achieve the desired visual experience when projecting.
With the flashlight now mounted, you’re making progress! In the next step, we’ll cover adding the projection lens to the box. Stick around to learn how to complete your DIY projector construction!
Step 5: Adding the Projection Lens to the Box
With the flashlight securely mounted, it’s time to add the projection lens to the projection box. Properly aligning and securing the lens will ensure that the projected image is sharp and well-focused.
Follow these steps to add the projection lens to the box:
- Ensure that the lens hole in the projection box is clean and free of any debris or obstructions.
- Gently place the projection lens into the hole, aligning it properly with the flashlight’s lens. The projection lens should be flush with the exterior of the box.
- If needed, you can use a small amount of adhesive or duct tape to secure the projection lens in place. Be careful not to obstruct the lens or impede the passage of light.
- Check that the lens is centered within the hole and ensures that there are no gaps or misalignments. This will help maintain image sharpness and clarity.
By adding the projection lens to the box, you have successfully completed a crucial step in constructing your DIY projector. The proper alignment and secure placement of the lens will contribute to a clear and focused projected image.
With the projection lens in place, you’re nearing the completion of your DIY projector. Stay tuned for the next step, where we will discuss how to adjust the focus and fine-tune the image quality for the best viewing experience!
Step 6: Adjusting the Focus
Now that you have your DIY projector assembled, it’s time to fine-tune the focus and ensure a clear and sharp image. Adjusting the focus will allow you to optimize the projection based on the distance and size of your desired viewing surface.
Follow these steps to adjust the focus of your DIY projector:
- Position your DIY projector at the desired distance from the projection surface. Use a tripod or a stable surface to maintain stability.
- Turn on the flashlight and project the image onto the surface.
- Move the projector closer to or farther away from the surface to adjust the size of the projected image. This distance will determine the projection size.
- Use the adjustable beam or focus feature of the flashlight to adjust the focus of the projected image. Rotate the flashlight’s head or use the focus control if available to achieve a clear and crisp image.
- Continue fine-tuning the focus until you achieve the desired level of sharpness and clarity in the projected image.
It’s important to note that finding the perfect focus may require some trial and error. Experiment with different distances and adjust the flashlight’s focus to achieve the best results for your specific environment.
By adjusting the focus, you can ensure that your DIY projector produces a high-quality image that is not only well-sized but also sharp and detailed. Take your time to find the optimal focus, as it can significantly enhance your viewing experience.
With the focus now adjusted, you’re almost ready to enjoy your DIY projector in action. In the next step, we’ll discuss how to test the projector and make any final adjustments. Stay tuned!
Step 7: Testing the Projector
After all the hard work and careful construction, it’s time to put your DIY projector to the test! By testing the projector, you can ensure that everything is working as expected and make any final adjustments for the best possible viewing experience.
Follow these steps to test your DIY projector:
- Find a suitable multimedia source, such as a laptop, DVD player, or smartphone.
- Connect the multimedia source to the projector using the appropriate cable or wireless streaming device. Ensure that both the audio and video connections are secure.
- Turn on the projector and the multimedia source. Check that the image is being projected onto the desired surface.
- Play a video, presentation, or photo slideshow on the multimedia source and observe the quality of the projected image.
- Assess the brightness, clarity, and color accuracy of the projected image. Make any necessary adjustments to the positioning, focus, or settings to enhance the image quality.
- Test the projector in different lighting conditions, such as dimming the lights or projecting in a dark room, to see how it performs in various environments.
During the testing phase, pay attention to any potential issues or areas for improvement. It’s normal to make minor adjustments to optimize the performance of your DIY projector. These adjustments may include refining the focus, improving light-blocking, or enhancing the audio quality.
By thoroughly testing your DIY projector, you can ensure that it meets your expectations and performs well for your specific use cases. Enjoy the process of fine-tuning and refining your projector to suit your preferences!
Congratulations! You have successfully completed the construction and testing of your DIY projector. Now it’s time to sit back, relax, and enjoy the big-screen experience right in the comfort of your own home.
Conclusion
Building your own DIY projector using a flashlight is not only a fun and rewarding project but also a cost-effective way to enjoy a big-screen experience at home. By following the steps outlined in this guide, you have learned how to choose the right flashlight, create a projection lens, build a projection box, mount the flashlight, add the projection lens, adjust the focus, and test the projector.
Remember, this DIY projector may not compete with high-end commercial projectors in terms of image quality and brightness. However, it offers an affordable and accessible option for small gatherings, movie nights, or impromptu presentations. It’s a great way to share movies, photos, and presentations with friends and family.
The key to a successful DIY projector lies in selecting the right flashlight, creating a high-quality projection lens, and constructing a sturdy and secure projection box. Properly aligning and adjusting the focus will ensure a clear and sharp image on your desired surface.
Throughout the construction process, don’t be afraid to experiment and make adjustments to optimize the performance of your DIY projector. Fine-tuning the focus, improving light-blocking, and enhancing audio quality can all contribute to an immersive and impressive viewing experience.
Now that your DIY projector is complete, gather your favorite multimedia sources, dim the lights, and enjoy the excitement of a big-screen theater right in your own living room. Sit back, relax, and immerse yourself in the captivating visuals and crisp sound of your homemade cinema!
Get ready to impress your friends and family with your creativity and technical skills as you share movies, presentations, and memories on the big screen. So, grab some popcorn, turn off the lights, and let the show begin!