Introduction
Are you tired of squinting at the small screen of your computer? Do you want a bigger and more immersive viewing experience for your favorite movies, videos, or presentations? Look no further – in this article, we will guide you through the process of making your very own projector for your computer. By following these simple steps, you can transform your computer screen into a large-scale display that will bring your content to life.
Using a projector is a fantastic way to enlarge the display size of your computer, making it ideal for watching movies, streaming videos, giving presentations, or even playing games. The best part? You can easily build a projector using affordable and readily available materials, saving you a considerable amount of money compared to purchasing a commercial projector.
In this guide, we will walk you through each step of the process, from gathering the necessary components to connecting the projector to your computer. We will also cover how to adjust the focus and mount the projector for optimal viewing. Whether you’re a DIY enthusiast or just looking for an exciting new project, making your own computer projector is a fun and rewarding experience.
As you embark on this project, be prepared to unleash your creativity and delve into the world of DIY electronics. While the process requires some technical knowledge, it is suitable for both beginners and those with more advanced skills. By following our step-by-step instructions, you’ll be able to build a fully functional projector in no time.
So, if you’re ready to take your computer viewing experience to the next level, let’s dive in and gather the materials needed for your DIY computer projector!
Materials Needed
Before starting your DIY projector project, it’s essential to gather all the necessary materials. The good news is that most of the components can be easily found at your local electronics store or online. Here’s a list of what you’ll need:
1. LCD or LED Panel: Look for a used or discarded LCD or LED screen that’s around 15 to 17 inches in size. Make sure it’s in working condition to ensure optimal image quality.
2. Lens: Acquire a convex lens, such as a fresnel lens, with a focal length of around 100 to 150mm. This lens will help magnify and focus the projected image.
3. Cardboard or Wooden Frame: You’ll need a sturdy frame to house and support the screen, lens, and other components. Use cardboard or wood to create a structure that can hold everything securely.
4. Reflective Sheet: Find a reflective material, such as a reflective film or aluminum foil, to create a surface that will bounce the light from the screen onto the projection surface.
5. Light Source: Choose a high-intensity light source, such as an LED light strip or a high-powered LED flashlight. This will provide the necessary brightness for your projector.
6. Power Supply: Make sure you have a suitable power supply for your light source. Depending on the type of light source you choose, you may need batteries or a power adapter.
7. Wire and Connectors: Get some wire and connectors to connect the various components together. Ensure they are compatible with the power supply and light source.
8. Mounting Hardware: Depending on how you plan to use your projector, you may need mounting brackets, screws, or adhesive to secure it in place.
9. Tools: Gather some basic tools, including a screwdriver, cutter or scissors, glue, and tape, to assemble and modify the components.
Remember, this list serves as a general guideline, and you may need to adapt it based on your specific project requirements and available resources. Once you have all the materials, you’re ready to move on to the next step: assembling your DIY computer projector!
Step 1: Gathering the Components
Now that you have a list of the materials needed, it’s time to gather them all together. Start by checking your local electronics store or online marketplaces for the LCD or LED panel. You can often find used or discarded screens that are still in good working condition. Look for a size that fits your desired projection size, typically around 15 to 17 inches.
Next, find a suitable lens for your projector. Look for a convex lens, such as a fresnel lens, with a focal length of around 100 to 150mm. This lens will help focus the projected image and ensure good clarity and sharpness.
Once you have the screen and lens, it’s time to create a frame to hold them together. You can use cardboard or wood to construct a sturdy frame that can support the weight of the components. Make sure to measure and cut the pieces to fit your screen and lens dimensions accurately.
After creating the frame, you’ll need a reflective sheet to bounce the projected light onto the projection surface. Reflective film or aluminum foil can be used for this purpose. Attach the reflective material securely to the frame, ensuring a smooth and even surface.
Now it’s time to choose the light source for your projector. LED light strips or high-powered LED flashlights work well as the light source. Plan how you will power them and make sure you have the appropriate power supply, whether it’s batteries or a power adapter.
To connect all the components together, gather some wires and connectors that are compatible with your power supply and light source. Measure and cut the wires to the appropriate lengths, ensuring a clean and organized setup.
Lastly, consider the mounting options for your projector. Depending on how you plan to use it, you may need mounting brackets, screws, or adhesive to secure it in place. Think about the positioning and stability of the projector to ensure a steady projection.
Take your time to gather all the components and double-check that you have everything you need before moving on to the next step. Once you have all the necessary materials, you’re ready to start assembling your DIY computer projector!
Step 2: Assembling the Projector
With all the components gathered, it’s time to put them together and assemble your DIY computer projector. Follow these steps to ensure a smooth assembly process:
1. Begin by placing the LCD or LED panel into the frame you created earlier. Position it securely and make sure it fits snugly. Use screws or adhesive to hold it in place if necessary.
2. Attach the lens in front of the LCD or LED panel. Ensure that it is centered and aligned properly. You can use adhesive or a mounting bracket to secure the lens to the frame.
3. Take the reflective sheet and carefully attach it to the frame, covering the area around the LCD or LED panel and the lens. Make sure there are no wrinkles or creases on the surface.
4. Connect the LED light source to the power supply using the wires and connectors. Double-check the polarity and make sure everything is properly connected. Test the light source to ensure it is working correctly.
5. Position the LED light source in a way that directs the light towards the reflective surface. You can experiment with different angles to achieve the best projection quality. Secure the light source in place using tape or mounting brackets.
6. Connect the power supply to the LED light source and ensure that it is securely connected. Double-check the power source and make sure it is providing the necessary voltage for the light source to function optimally.
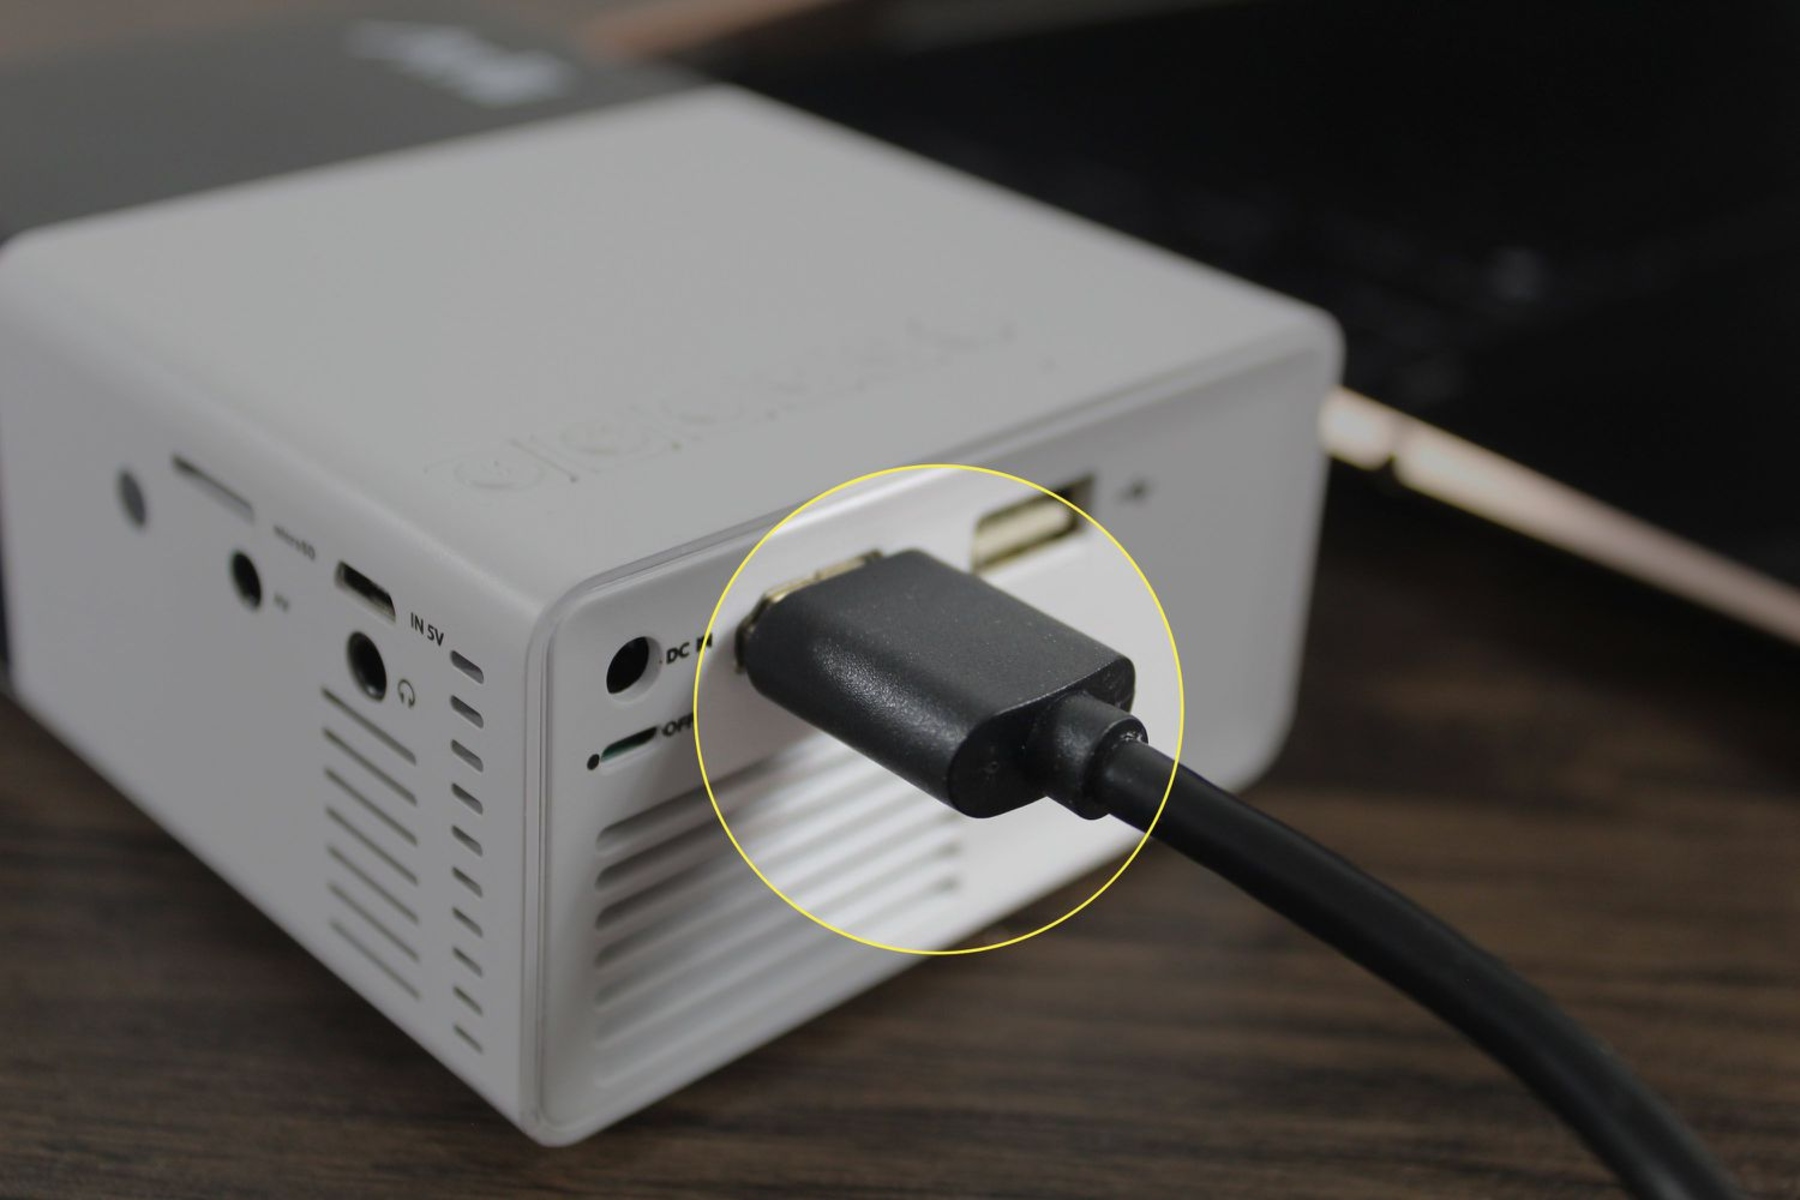
7. Turn on your computer and connect it to the projector using an appropriate video cable. Depending on your computer’s output ports, you may need an HDMI, VGA, or DVI cable. Connect the other end of the video cable to the corresponding input on the projector.
8. Power on the projector and adjust the settings on your computer to extend the display. Go to your computer’s display settings and select the option to extend the display to the projector. This will allow your computer to recognize the projector as a secondary display.
9. Test the projection by playing a video or displaying an image on your computer. Adjust the focus of the lens as needed to achieve a sharp and clear image. Play around with the distance between the projector and the projection surface to find the optimal size and clarity.
Congratulations! You have successfully assembled your DIY computer projector. Take some time to fine-tune the settings and experiment with different positioning to get the best projection experience. Now that your projector is ready, it’s time to move on to the next step: connecting it to your computer.
Step 3: Connecting to Your Computer
Now that you’ve assembled your DIY computer projector, it’s time to connect it to your computer to enjoy a larger display. Follow these steps to ensure a successful connection:
1. Start by powering on your computer and the projector. Wait for both devices to fully boot up.
2. Locate the video output port on your computer. Depending on your computer’s make and model, this could be VGA, HDMI, DVI, or DisplayPort. If you’re unsure of which port to use, consult your computer’s manual or look for labels near the ports.
3. Connect one end of the appropriate video cable to the video output port on your computer. Ensure a secure connection by inserting the cable fully and tightening any screws or fasteners.
4. Connect the other end of the video cable to the corresponding input port on your DIY computer projector. Again, ensure a secure connection.
5. Turn on the projector and switch it to the correct input source. Most projectors have a source or input button on the control panel or remote control. Use this button to select the input source that corresponds to the video cable you connected.
6. On your computer, navigate to the display settings. This can usually be done by right-clicking on your desktop and selecting “Display settings” or “Screen resolution” from the menu. Alternatively, you can search for “display settings” in the Start menu or System Preferences.
7. In the display settings, you should see the option to detect or identify the additional display. Click on this option to let your computer recognize the projector as a secondary display.
8. Once the computer detects the projector, you can adjust the display settings to customize how the projector is used. Depending on your operating system, you may have options to mirror the display (showing the same content on both screens) or extend the display (using the projector as an additional screen).
9. Test the connection and display by playing a video or opening an image file on your computer. Ensure that the content is displayed correctly on the projector and adjust the settings as needed.
10. Don’t forget to set the correct resolution and aspect ratio for your projector in the computer’s display settings. This will ensure that the content is displayed in the appropriate size and proportion.
By following these steps, you can successfully connect your DIY computer projector to your computer and enjoy a larger, more immersive viewing experience. Take some time to experiment with different settings to find the optimal display configuration for your needs. Now that your projector is connected, you’re ready to move on to the next step: adjusting the focus for a clear and crisp projection.
Step 4: Adjusting the Focus
Once your DIY computer projector is connected to your computer and displaying content, it’s important to ensure that the projection is clear and in focus. Follow these steps to adjust the focus of your projector:
1. Start by positioning the projector at the desired distance from the projection surface. This distance will depend on the size of the projection you want and the capabilities of your DIY projector. Refer to the instructions or specifications of your lens to determine the optimal distance.
2. Turn on the projector and display a high-resolution image or a clear text document on your computer screen.
3. Locate the focus adjustments on your projector, which are usually located near the lens or on the control panel. There may be separate adjustments for vertical and horizontal focus, or a single adjustment that controls both.
4. Begin by adjusting the vertical focus. Turn the focus knob or dial gently while observing the projected image. Keep adjusting until the image appears sharp and well-defined vertically.
5. Once you have adjusted the vertical focus, move on to adjusting the horizontal focus if necessary. Use the same process as for the vertical focus, turning the adjustment knob until the image becomes clear and sharp horizontally.
6. Take your time and make small adjustments, as even a slight turn can have a noticeable effect on the focus. Keep observing the image as you make adjustments to ensure the best possible focus.
7. Some projectors may have additional focus features, such as zoom or keystone correction. Experiment with these controls to further optimize the projection quality and rectify any distortion or misalignment.
8. After adjusting the focus, step back and evaluate the projected image from different viewing angles. Ensure that the image remains clear and focused from various perspectives.
By following these steps, you can fine-tune the focus of your DIY computer projector, allowing for a clear and crisp display. Remember to take the time to make precise adjustments and experiment with different settings to achieve the best results. Once you are satisfied with the focus, you can proceed to the final step: mounting the projector for a stable and convenient setup.
Step 5: Mounting the Projector
Once you have adjusted the focus of your DIY computer projector, it’s time to mount it in a stable position for a convenient and comfortable viewing experience. Follow these steps to securely mount your projector:
1. Evaluate the space where you plan to use the projector. Consider the distance from the projection surface, the size of the room, and any potential obstructions or limitations.
2. Choose a mounting location that provides a clear line of sight between the projector and the projection surface. Ensure that the location is stable and can support the weight of the projector.
3. Depending on the mounting options available, you can use different methods to secure the projector. If your projector has mounting holes on the bottom, you can attach it to a ceiling mount or wall bracket using screws or bolts. Alternatively, you can use adhesive hooks or Velcro strips if your projector is lightweight and portable.
4. If you are using a ceiling mount, ensure that it is installed securely and can handle the weight of the projector without any risk of falling or wobbling. Follow the manufacturer’s instructions for proper installation.
5. Adjust the angle and position of the projector to achieve the desired projection size and alignment with the projection surface. Most mounts provide options for adjusting tilt, swivel, and rotation. Take your time to find the optimal positioning.
6. Once you have mounted the projector, double-check that all connections are secure and cables are neatly managed. Avoid any strain on the cables or risking them becoming tangled.
7. Test the projection again and ensure that the image remains clear and in focus after mounting. Make any necessary adjustments to the position or alignment to achieve the best results.
8. Consider additional accessories for your mounted projector, such as cable covers or wire management solutions, to keep the setup clean and organized.
By following these steps, you can securely mount your DIY computer projector and create a stable and convenient setup. Ensure that the projector is positioned for optimal viewing and the projection is aligned with the projection surface. Take the time to make any necessary adjustments and ensure a hassle-free projection experience. With your projector successfully mounted, you can now enjoy a larger-than-life display for movies, videos, presentations, and more.
Conclusion
Congratulations! You have successfully completed the process of making your very own projector for your computer. By following the steps outlined in this guide, you have transformed your computer screen into a larger and more immersive display, allowing you to enjoy movies, videos, presentations, and more in a whole new way.
Throughout this project, you have learned how to gather the necessary components, assemble the projector, connect it to your computer, adjust the focus, and mount it securely. By utilizing affordable materials and your own DIY skills, you have created a cost-effective alternative to commercially available projectors.
Remember, the key to a successful DIY computer projector lies in paying attention to detail, making precise adjustments, and experimenting with different settings. Take the time to fine-tune your projector to achieve the best projection quality and ensure an enjoyable viewing experience.
Furthermore, don’t be afraid to get creative and customize your projector setup. Consider adding additional features, such as audio connections, speaker systems, or remote control options, to enhance your overall experience.
With your newly created DIY computer projector, the possibilities are endless. Whether you want to enjoy cinematic movie nights, give captivating presentations, or immerse yourself in immersive gaming sessions, your DIY projector will meet your needs.
Now that you have completed this project, take a moment to appreciate your accomplishment. Share your DIY computer projector with friends and family, and inspire others to embark on their own creative projects.
Remember, with DIY projects, there is always room for improvement and further exploration. Consider upgrading your projector with higher-quality components or exploring advanced techniques to enhance the performance and capabilities of your DIY creation.
So go ahead, sit back, relax, and enjoy the amazing display you have created with your DIY computer projector. Let your creativity shine and continue exploring the endless possibilities that this project opens up. Happy projecting!