Introduction
Welcome to this guide on how to connect your computer to a projector using an HDMI cable. Whether you’re giving a presentation, watching a movie on a larger screen, or using the projector for any other purpose, connecting your computer to it can be a simple and effective way to achieve your goals.
Using an HDMI (High Definition Multimedia Interface) cable is a popular choice because it provides high-quality audio and video transmission. It’s also widely available and compatible with most modern computers and projectors.
In this guide, we will walk you through the step-by-step process of connecting your computer to a projector using an HDMI cable. We will discuss the necessary equipment, compatibility requirements, and the specific steps to follow to establish the connection successfully.
By following these instructions, you will be able to connect your computer to a projector quickly and easily, allowing you to share your screen for presentations, enjoy multimedia content on a larger display, or use the projector for any other task you have in mind.
So let’s get started by gathering the necessary equipment to ensure a seamless connection between your computer and the projector.
Step 1: Gather the Necessary Equipment
Before you begin connecting your computer to a projector with an HDMI cable, it’s essential to gather all the necessary equipment. This will ensure that you have everything you need to successfully establish the connection. Here’s a list of the items you’ll need:
– Computer: Make sure you have the computer that you want to connect to the projector. This can be a desktop computer, laptop, or even a tablet, as long as it has an HDMI port.
– Projector: Ensure that you have the projector you intend to use. Check if your projector has an HDMI input port. If it doesn’t, you may need an adapter or use a different connection method.
– HDMI Cable: You’ll need an HDMI cable to connect your computer to the projector. HDMI cables come in different lengths, so choose one that suits your needs. It’s recommended to use a high-quality HDMI cable to ensure a reliable signal transmission.
– Power Cables: Make sure you have the power cables for both your computer and the projector. This will ensure they have sufficient power during the connection process.
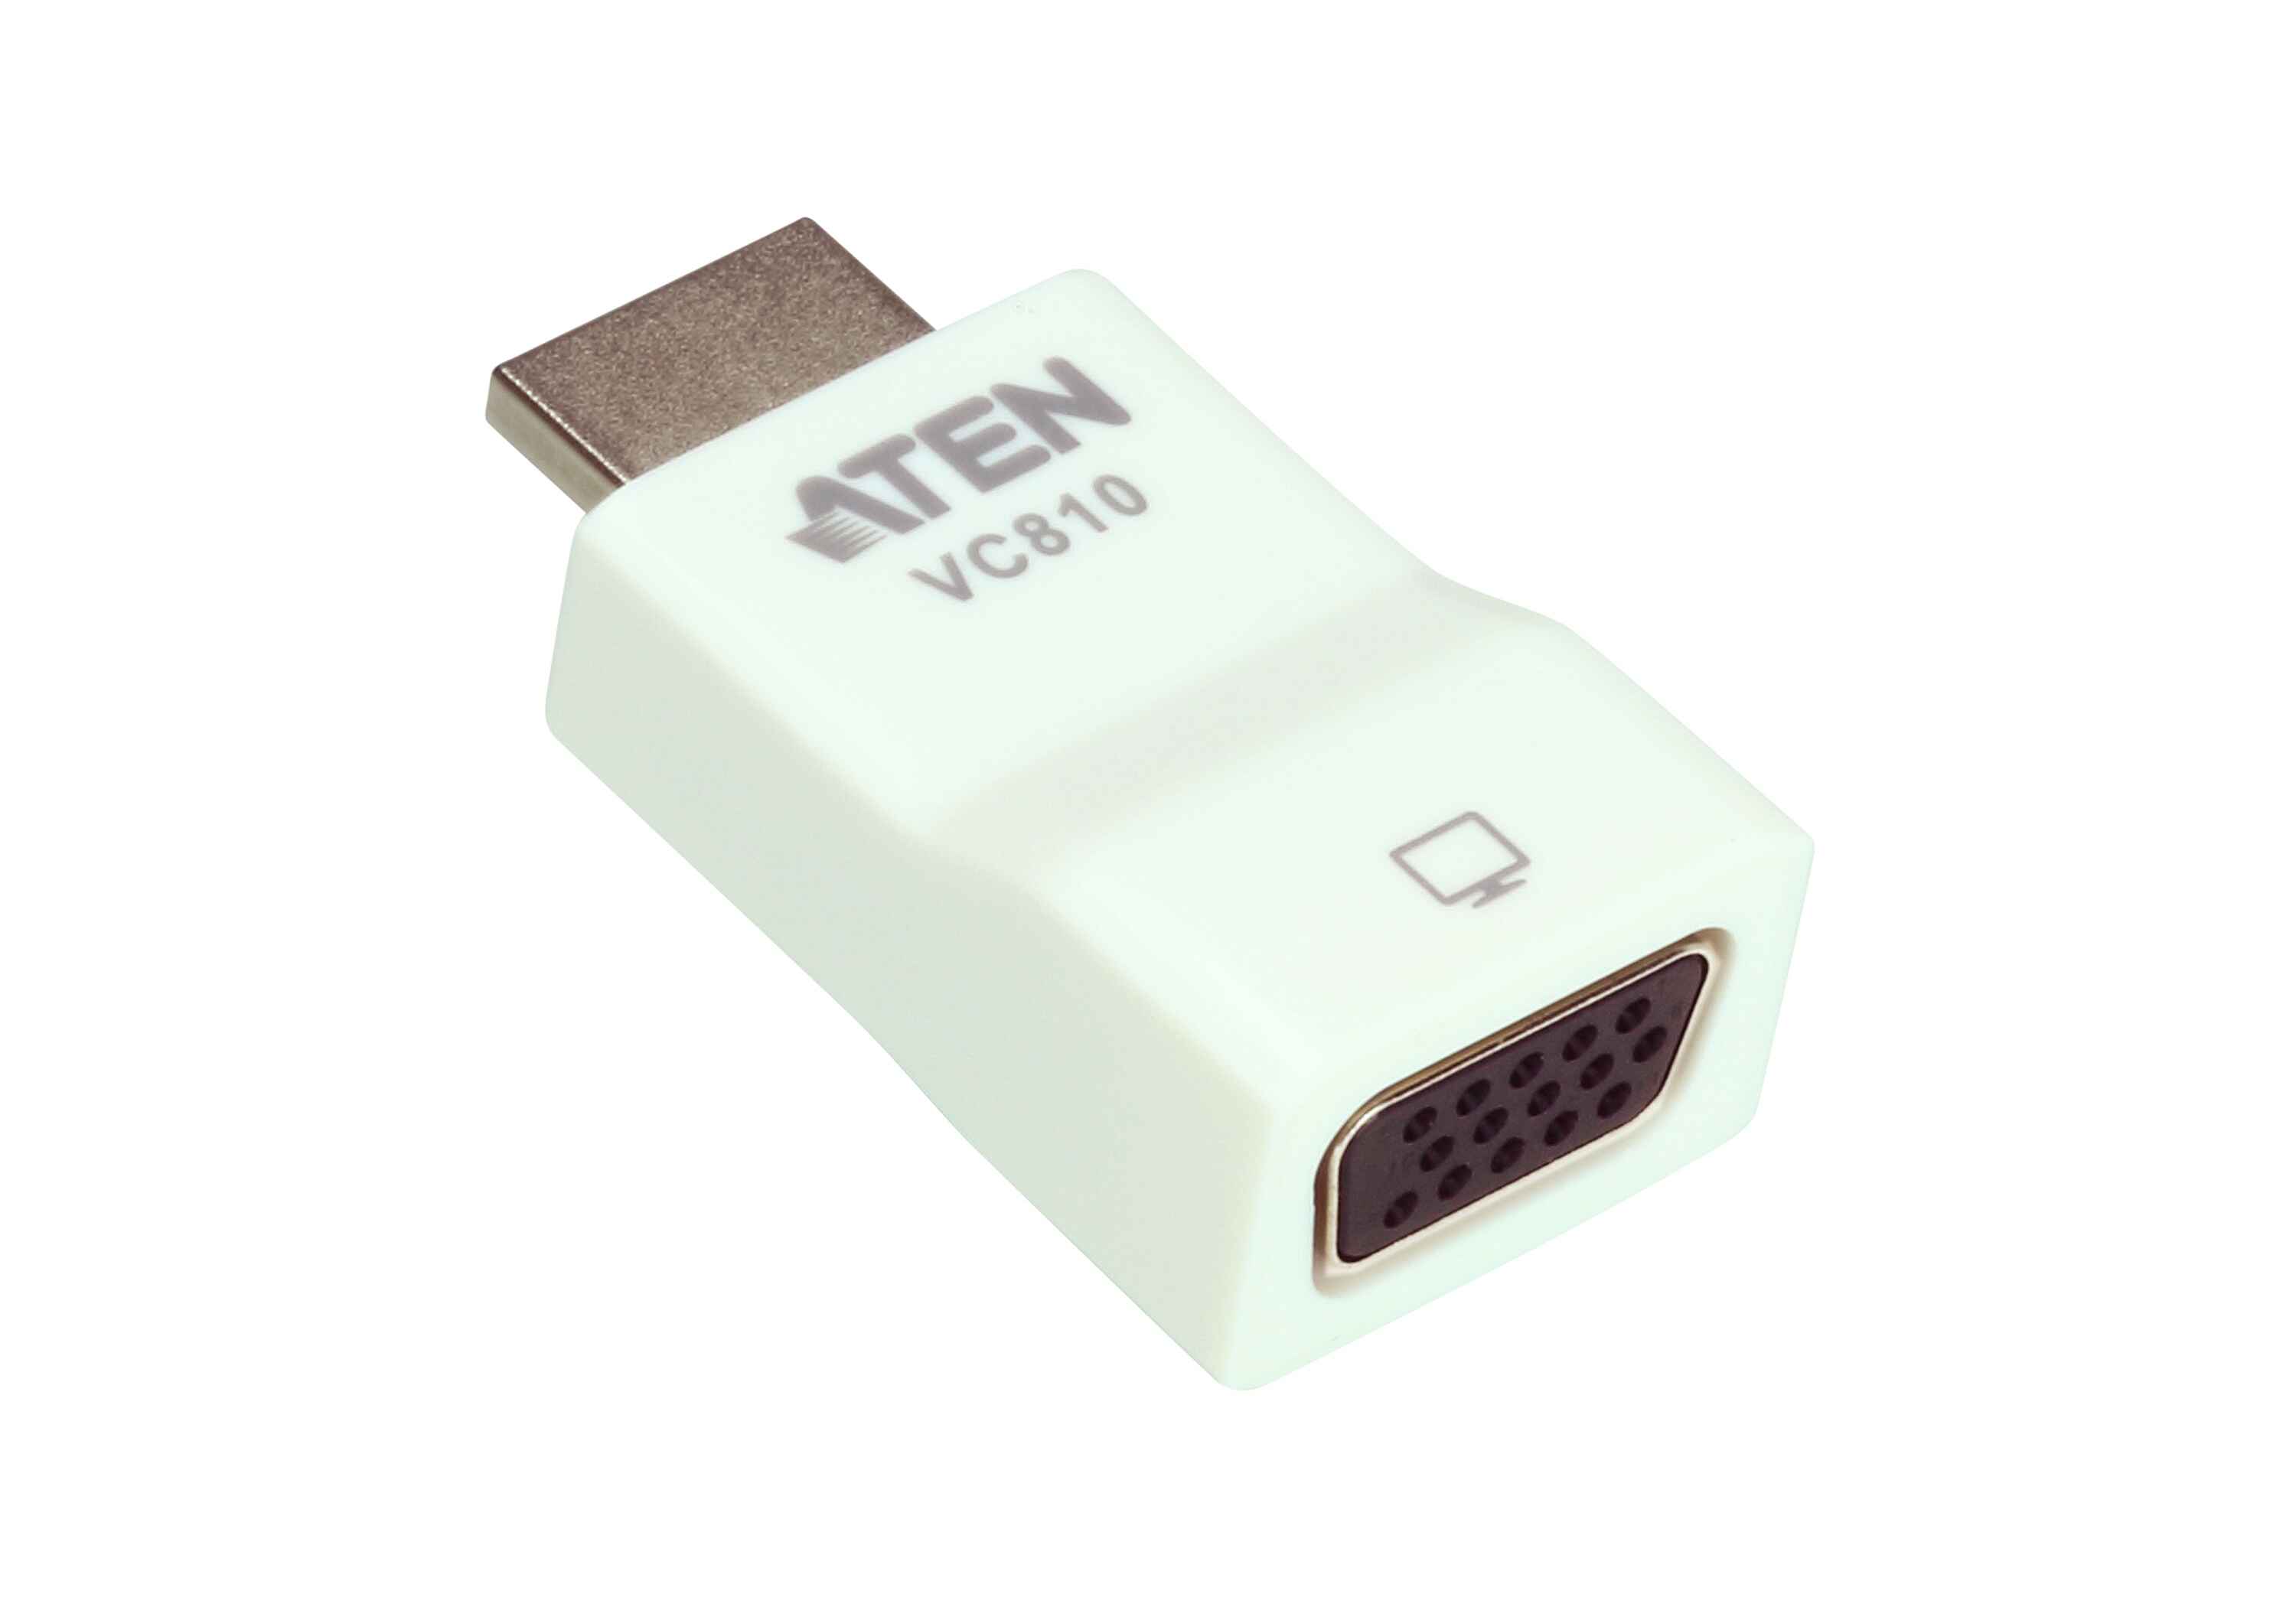
– Optional: If your computer or projector doesn’t have an HDMI port, you may need additional adapters or connectors to make the connection. These can include HDMI to VGA adapters or USB to HDMI converters. Check the specifications of your devices and consult the user manuals for compatibility.
Gathering all the necessary equipment will save you time and frustration during the connection process. Now that you have everything you need, let’s move on to checking the compatibility between your computer and projector.
Step 2: Check the Computer and Projector Compatibility
Before connecting your computer to the projector, it’s important to ensure compatibility between the two devices. Here are a few things to consider:
– HDMI Port: Check if your computer and projector have HDMI ports. Most modern computers and projectors come equipped with HDMI ports, but it’s always good to double-check. If your computer or projector doesn’t have an HDMI port, you may need to use an adapter or find an alternative connection method.
– HDMI Version: Verify the HDMI version of both your computer and projector. HDMI versions can differ, with newer versions offering improved features and capabilities. Ideally, both devices should have the same or compatible HDMI versions for optimal performance.
– Resolution Compatibility: Ensure that your computer and projector support the same or compatible display resolutions. This will ensure that you can display content without any distortion or compatibility issues. Refer to the user manuals or specifications of your computer and projector to determine their resolution capabilities.
– Operating System Compatibility: Check if your computer’s operating system is compatible with the projector. Most projectors are compatible with popular operating systems like Windows, macOS, and Linux. However, it’s always a good idea to confirm compatibility to avoid any potential issues.
– Graphics Settings: Make sure that your computer’s graphics settings are configured appropriately for external display. You may need to adjust the display settings to extend or duplicate your desktop onto the projector screen. Refer to your computer’s user manual or operating system documentation for instructions on adjusting the graphics settings.
Taking the time to check compatibility between your computer and projector will ensure a smooth and successful connection process. Once you’ve confirmed compatibility, you can proceed to the next step of turning off the computer and projector.
Step 3: Turn off the Computer and Projector
Before connecting your computer to the projector, it’s important to turn off both devices to avoid any potential damage. Here’s how to do it:
1. Save and close any open files or applications on your computer. It’s crucial to properly shut down your computer to prevent data loss or system errors.
2. Click on the Start menu (Windows) or the Apple menu (Mac) and select the “Shut Down” option. Follow the prompts to power off your computer completely.
3. Once your computer has powered off, locate the power button on the projector. Press and hold the power button until the projector shuts down. Some projectors may have a separate power switch on the back or side.
4. Double-check that both the computer and projector are completely turned off by ensuring that their respective indicator lights are no longer illuminated.
Turning off the computer and projector before making the connection is important to protect the devices and prevent any potential electrical or data transfer issues. Once both devices are powered off, you can proceed to the next step of connecting the HDMI cable to your computer.
Step 4: Connect the HDMI Cable to the Computer
Now that your computer and projector are turned off, it’s time to connect the HDMI cable to your computer. Follow these steps:
1. Locate the HDMI port on your computer. It’s typically rectangular and labeled “HDMI.” If you’re using a desktop computer, the HDMI port is usually located on the back of the CPU. For laptops, the HDMI port may be on the side or back, depending on the model.
2. Take one end of the HDMI cable and insert it into the HDMI port on your computer. Ensure a secure connection by gently pushing the cable until it’s fully inserted.
3. Once the HDMI cable is connected to your computer, you’re ready to move on to the next step of connecting the other end of the HDMI cable to the projector.
Note: If your computer or projector has a mini HDMI or micro HDMI port instead of a standard HDMI port, you’ll need a suitable adapter or cable to connect the HDMI cable to the smaller port. Make sure you have the necessary adapter or cable beforehand.
Connecting the HDMI cable to your computer is a crucial step in establishing a connection with the projector. Once the cable is securely connected, proceed to the next step where we’ll connect the other end of the HDMI cable to the projector.
Step 5: Connect the Other End of the HDMI Cable to the Projector
Now that you have connected one end of the HDMI cable to your computer, it’s time to connect the other end of the cable to the projector. Follow these steps:
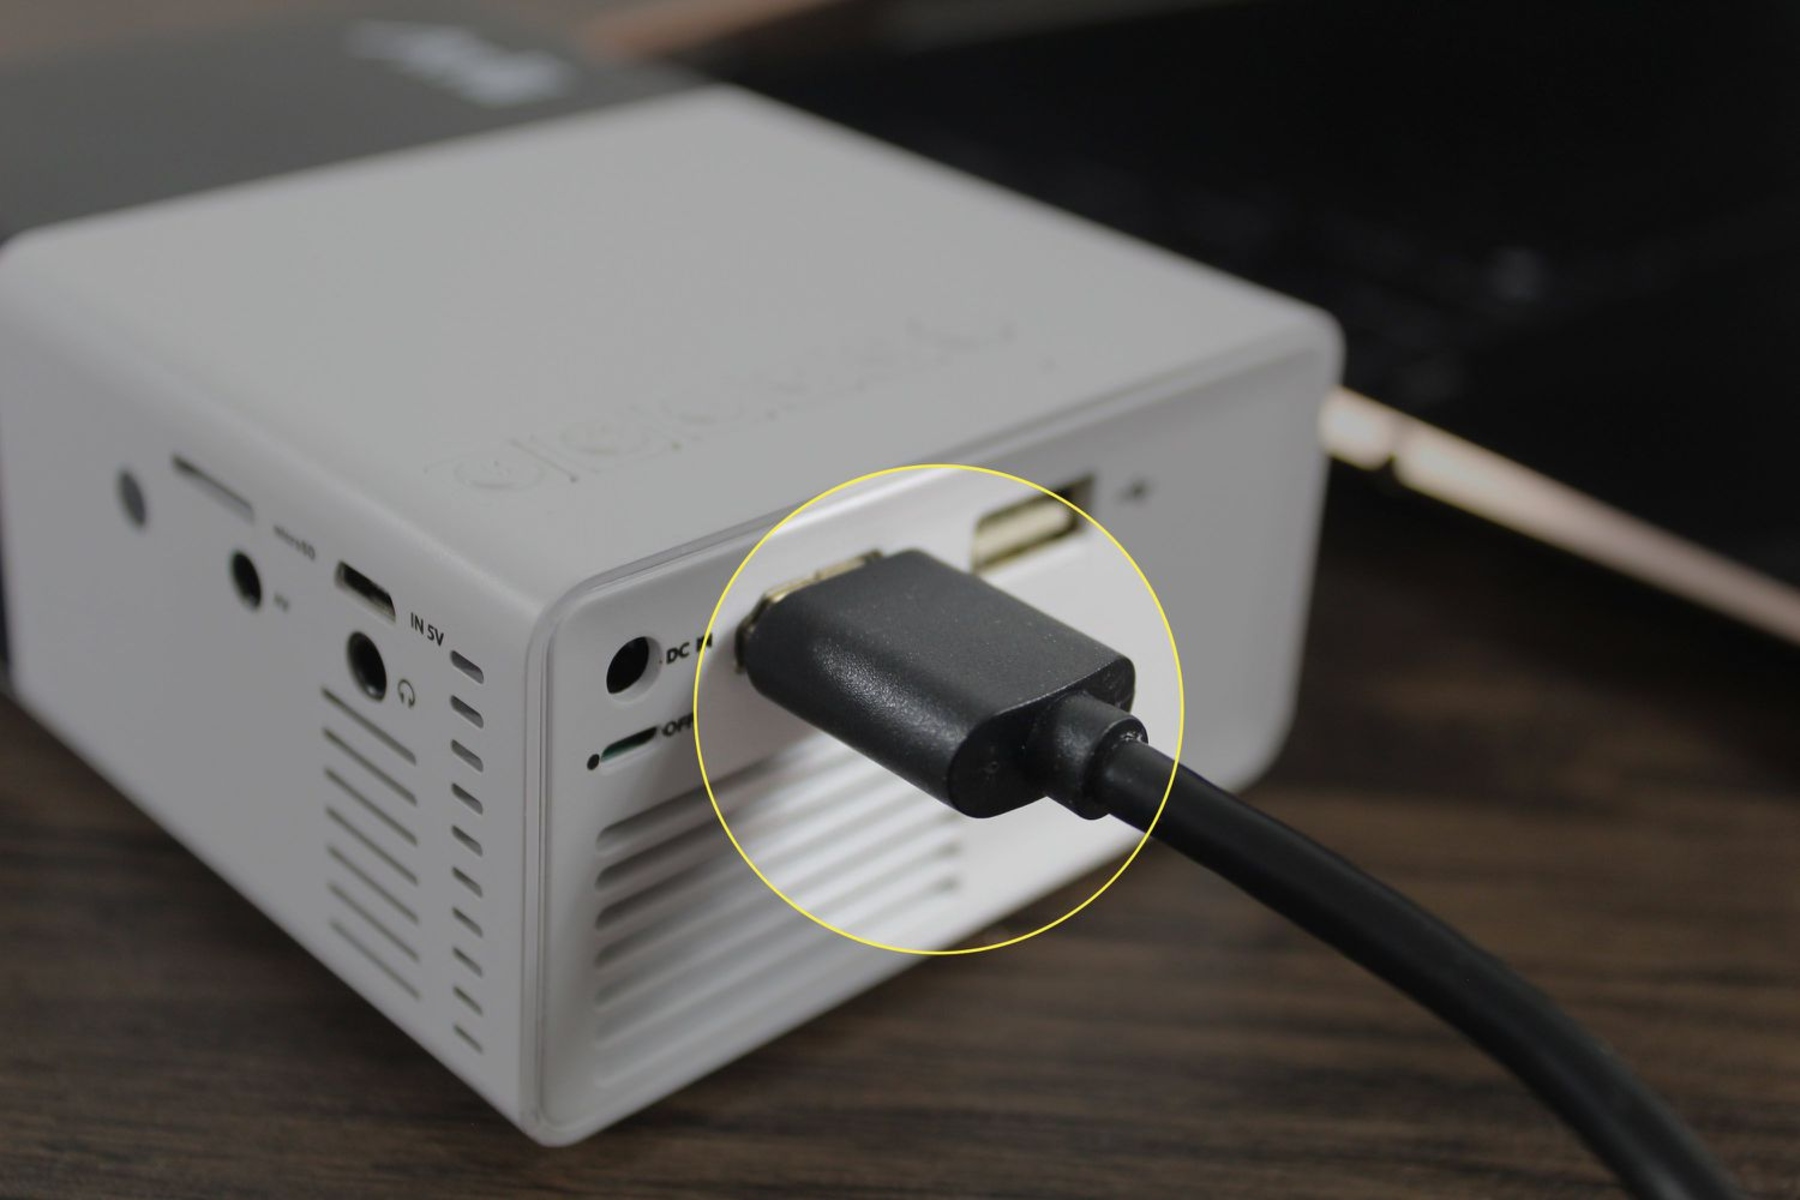
1. Locate the HDMI input port on your projector. It is usually located on the back or side of the projector and labeled “HDMI.” Check your projector’s user manual for the exact location if you are unsure.
2. Take the other end of the HDMI cable and insert it into the HDMI input port on the projector. Ensure that the cable is securely connected by gently pushing it in until it is fully inserted.
3. Once the HDMI cable is connected to the projector, you have successfully established the physical connection between your computer and the projector. The next step is to turn on the computer and projector.
Note: Some projectors may have multiple HDMI input ports. If that’s the case, remember which port you connected the HDMI cable to, as you will need to select the corresponding input source on the projector later.
With the HDMI cable connected to both your computer and projector, you’re almost ready to start enjoying the benefits of a larger display. Proceed to the next step, where we’ll learn how to turn on the projector and computer properly.
Step 6: Turn on the Projector and Computer
With the HDMI cable connected to your computer and projector, it’s time to turn on both devices. Follow these steps:
1. Start by locating the power button or switch on the projector. Press the power button or flip the switch to turn on the projector. Some projectors may take a few moments to power on, so be patient.
2. Once the projector is powered on, you should see some indicator lights or a startup screen on the projector display. Allow the projector to complete its startup process before proceeding to the next step.
3. Now, turn on your computer by pressing the power button. Depending on your computer’s settings, it may take a moment to boot up and display the login screen or desktop.
4. As your computer boots up, the projector should detect the HDMI connection and display your computer’s screen. However, if the projector doesn’t display anything or shows a “no signal” message, continue to the next step to select the HDMI input source.
Turning on the projector and computer in the correct sequence allows for a smooth connection establishment and ensures that both devices are ready to display the computer’s screen. Once both devices are powered on, proceed to the next step where we’ll select the HDMI input source on the projector.
Step 7: Select the HDMI Input Source on the Projector
After turning on the projector and computer, it’s time to select the HDMI input source on the projector. This step ensures that the projector recognizes the HDMI connection from your computer. Follow these steps:
1. Use the projector’s remote control or the control panel on the projector itself to access the menu or settings options. The exact method may vary depending on the projector model, so consult the user manual if you are unsure.
2. Navigate through the menu or settings options until you find the “Input” or “Source” selection. This allows you to choose the input source for the projector display.
3. Select the HDMI input source from the available options. If your projector has multiple HDMI input ports, make sure to select the one you connected the HDMI cable to in Step 5.
4. Once you’ve selected the HDMI input source, the projector should switch to displaying the content from your computer. You may see your computer’s login screen or desktop on the projector display.
If you still don’t see the computer’s screen on the projector, double-check the cable connections, ensure that the computer is fully powered on, and try selecting the HDMI input source again. If the problem persists, refer to the user manual for troubleshooting steps specific to your projector model.
By selecting the correct HDMI input source on the projector, you’re one step closer to enjoying your computer’s screen on a larger display. In the next step, we’ll discuss adjusting the display settings on your computer for optimal viewing.
Step 8: Adjust the Display Settings on the Computer
Once you have successfully connected your computer to the projector and selected the HDMI input source, it’s important to adjust the display settings on your computer to ensure optimal viewing on the projector. Here’s how:
1. Right-click on your computer’s desktop and select “Display settings” or “Screen resolution.” Alternatively, you can access these settings by going to the Control Panel or System Preferences and finding the Display or Screen settings.
2. In the display settings, you should see the option to extend or duplicate your desktop onto the projector screen. Choose the option that suits your needs:
- Extend: This option allows you to extend your desktop to the projector, effectively giving you a larger workspace. You can move windows or applications from your computer’s screen to the projector screen.
- Duplicate: This option mirrors your computer’s screen onto the projector, displaying the same content on both screens. This is useful for presentations or if you want the same visual output on both screens.
3. Adjust the screen resolution to match the native resolution of the projector. The native resolution is usually the optimal resolution for displaying content without distortion. Refer to the projector’s specifications or user manual to find the recommended resolution.
4. Once you’ve made the necessary adjustments, click “Apply” or “OK” to save the settings. Your computer should now display the content on both the computer screen and the projector screen based on your chosen display settings.
It’s worth noting that some operating systems may have different terminology or slightly different steps for adjusting display settings. Refer to the documentation or support resources specific to your operating system if needed.
With the display settings properly adjusted, you’re ready to start using the projector as an extended or mirrored display for your computer. In the next step, we’ll test the connection to ensure everything is working as expected.
Step 9: Test the Connection
After connecting your computer to the projector and adjusting the display settings, it’s important to test the connection to ensure that everything is working as expected. Follow these steps to test the connection:
1. On your computer, open a program or file that you want to display on the projector screen. It can be a presentation, a video, or any other content you wish to showcase.
2. Make sure that the projector is in the correct input source mode, which should be set to the HDMI input you connected your computer to in Step 5. If needed, use the projector’s remote control or the control panel to switch to the correct input.
3. Once the content is ready and the projector is in the correct input source mode, you should see the content displayed on the projector screen. Take a moment to ensure that the display looks clear, properly scaled, and aligned with your expectations.
4. Test different aspects of the connection, such as playing a video to ensure that audio is transmitted from your computer to the projector’s speakers or external sound system, if connected. Additionally, try moving windows or applications between your computer screen and the projector screen to verify that the extended display or duplication is functioning properly.
If you encounter any issues during the testing phase, double-check all cable connections, ensure that your computer and projector are powered on, and confirm that the correct input source is selected on the projector. You may also refer to the user manuals or support resources for troubleshooting steps specific to your devices.
Once you have successfully tested the connection and verified that everything is working as intended, you can proceed to confidently use your computer with the projector for presentations, multimedia content, or any other purpose you require.
Congratulations! You have successfully connected your computer to the projector using an HDMI cable. Enjoy your expanded display and the benefits of a larger screen!
Conclusion
Connecting your computer to a projector using an HDMI cable opens up a world of possibilities for presentations, multimedia content, and more. By following the step-by-step guide outlined in this article, you can easily establish a seamless connection and enjoy the benefits of a larger display.
We began by gathering the necessary equipment, including a computer with HDMI ports, a compatible projector, and an HDMI cable. Checking the compatibility between your computer and projector was essential to ensure a successful connection.
Turning off both the computer and projector before connecting them is crucial for protecting the devices and preventing any potential issues. We then proceeded to connect the HDMI cable to the computer, followed by connecting the other end to the projector, ensuring a secure connection in both cases.
After turning on the computer and projector, we selected the HDMI input source on the projector to ensure that it recognizes the connection from the computer. Adjusting the display settings on the computer allowed for optimal viewing on the projector screen.
Finally, we tested the connection by displaying content on the projector screen and verifying that the audio and video transmission were functioning correctly. Additionally, we checked the extended display or duplication functionality to ensure optimal performance.
With the connection successfully tested, you can now confidently use your computer with the projector for presentations, movies, gaming, or any other task that benefits from a larger display. Just remember to turn off both devices when you’re finished to preserve their lifespan.
Thank you for following along with this step-by-step guide. We hope it has been helpful in connecting your computer to a projector using an HDMI cable and that you can now explore new possibilities with your extended display. Enjoy your enhanced visual experience!