Introduction
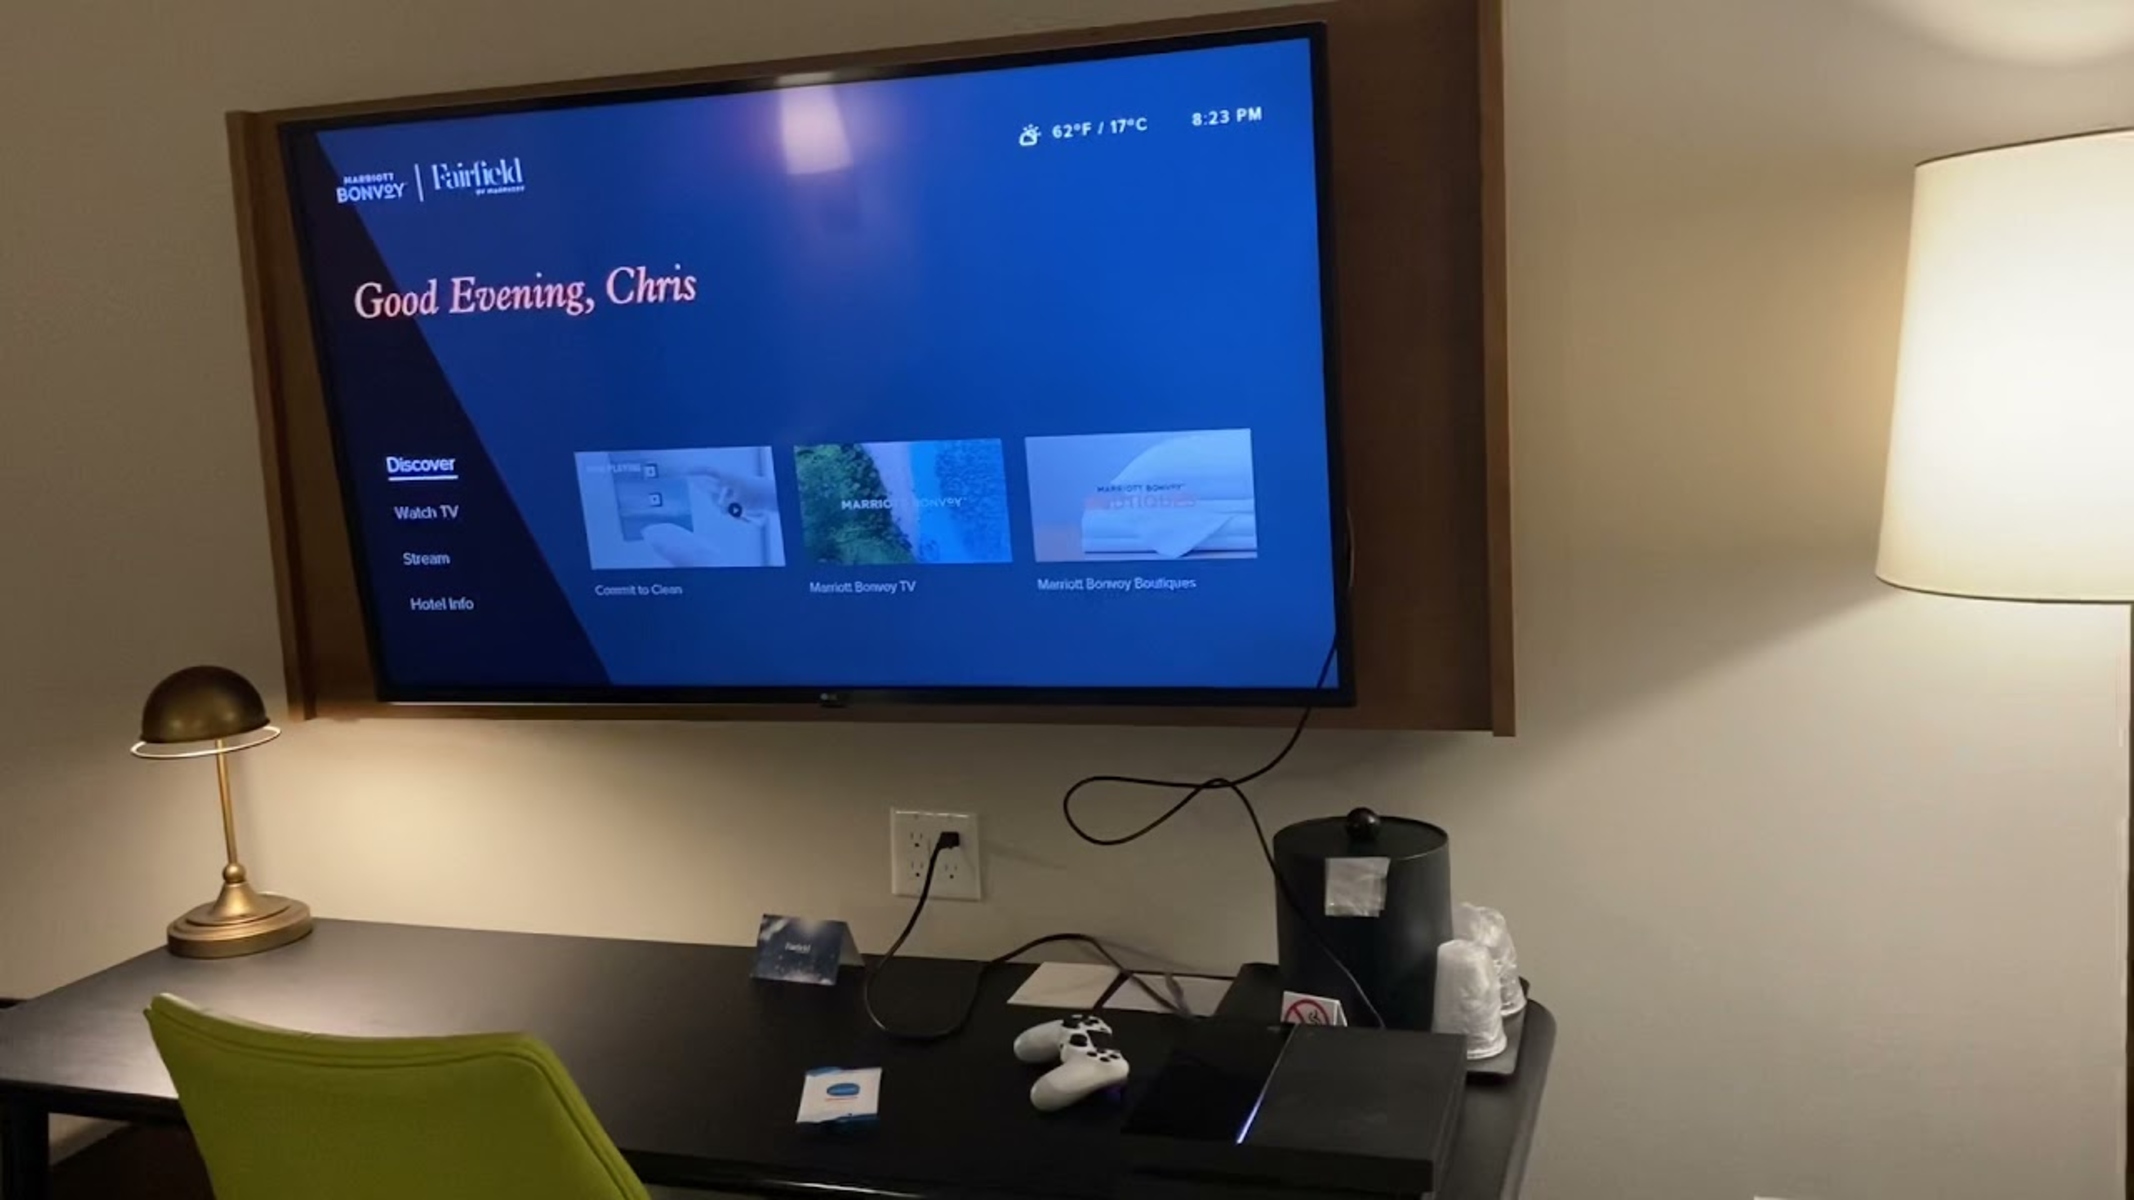
When traveling and staying in a hotel, you may find that the TV in your room does not have an HDMI port. This can be frustrating if you want to watch your favorite shows or movies on a larger screen. Fortunately, there is a way to connect your device to the hotel TV using an HDMI cable and enjoy a more immersive viewing experience.
In this article, we will guide you through the process of getting your hotel TV to HDMI. We will provide step-by-step instructions on how to check if your hotel room TV has an HDMI port, gather the necessary equipment, and connect your device to the TV. We will also cover how to change the input source on the TV and adjust the display settings on your device.
By following these simple steps, you can watch your favorite content from your device on the hotel TV, whether it’s a movie, TV show, or even a presentation for a business meeting. Don’t let the limited channels on the hotel TV restrict your entertainment options!
Before we dive into the steps, it’s important to note that different hotel room TVs may have varying capabilities and configurations. While the majority of hotel TVs should have an HDMI port, there may be instances where this is not the case. In such situations, we recommend reaching out to the hotel staff for assistance or exploring alternative options, such as using a streaming device or connecting your device through other available ports.
Now, let’s explore the steps to get your hotel TV connected to HDMI and elevate your in-room entertainment experience!
Step 1: Check if your hotel room TV has an HDMI port
The first step in getting your hotel TV to HDMI is to determine if the TV in your room has an HDMI port. This port is necessary for connecting your device and transmitting audio and video signals to the TV.
Here’s how you can check for an HDMI port:
- Take a look at the back or side of the TV: Most modern TVs have their ports conveniently located at the back or side. Look for a small rectangular port labeled “HDMI. It might be labeled as HDMI1, HDMI2, etc., depending on the number of HDMI ports available.
- Consult the TV’s user manual or specifications: If you can’t find the HDMI port by visually inspecting the TV, refer to the user manual or specifications for the TV. Look for information about the available ports, and specifically check for the presence of an HDMI port.
- Ask the hotel staff: If you are unable to find the HDMI port or access the TV’s manual, don’t hesitate to reach out to the hotel staff. They should be able to provide you with information about the TV’s features and whether it has an HDMI port.
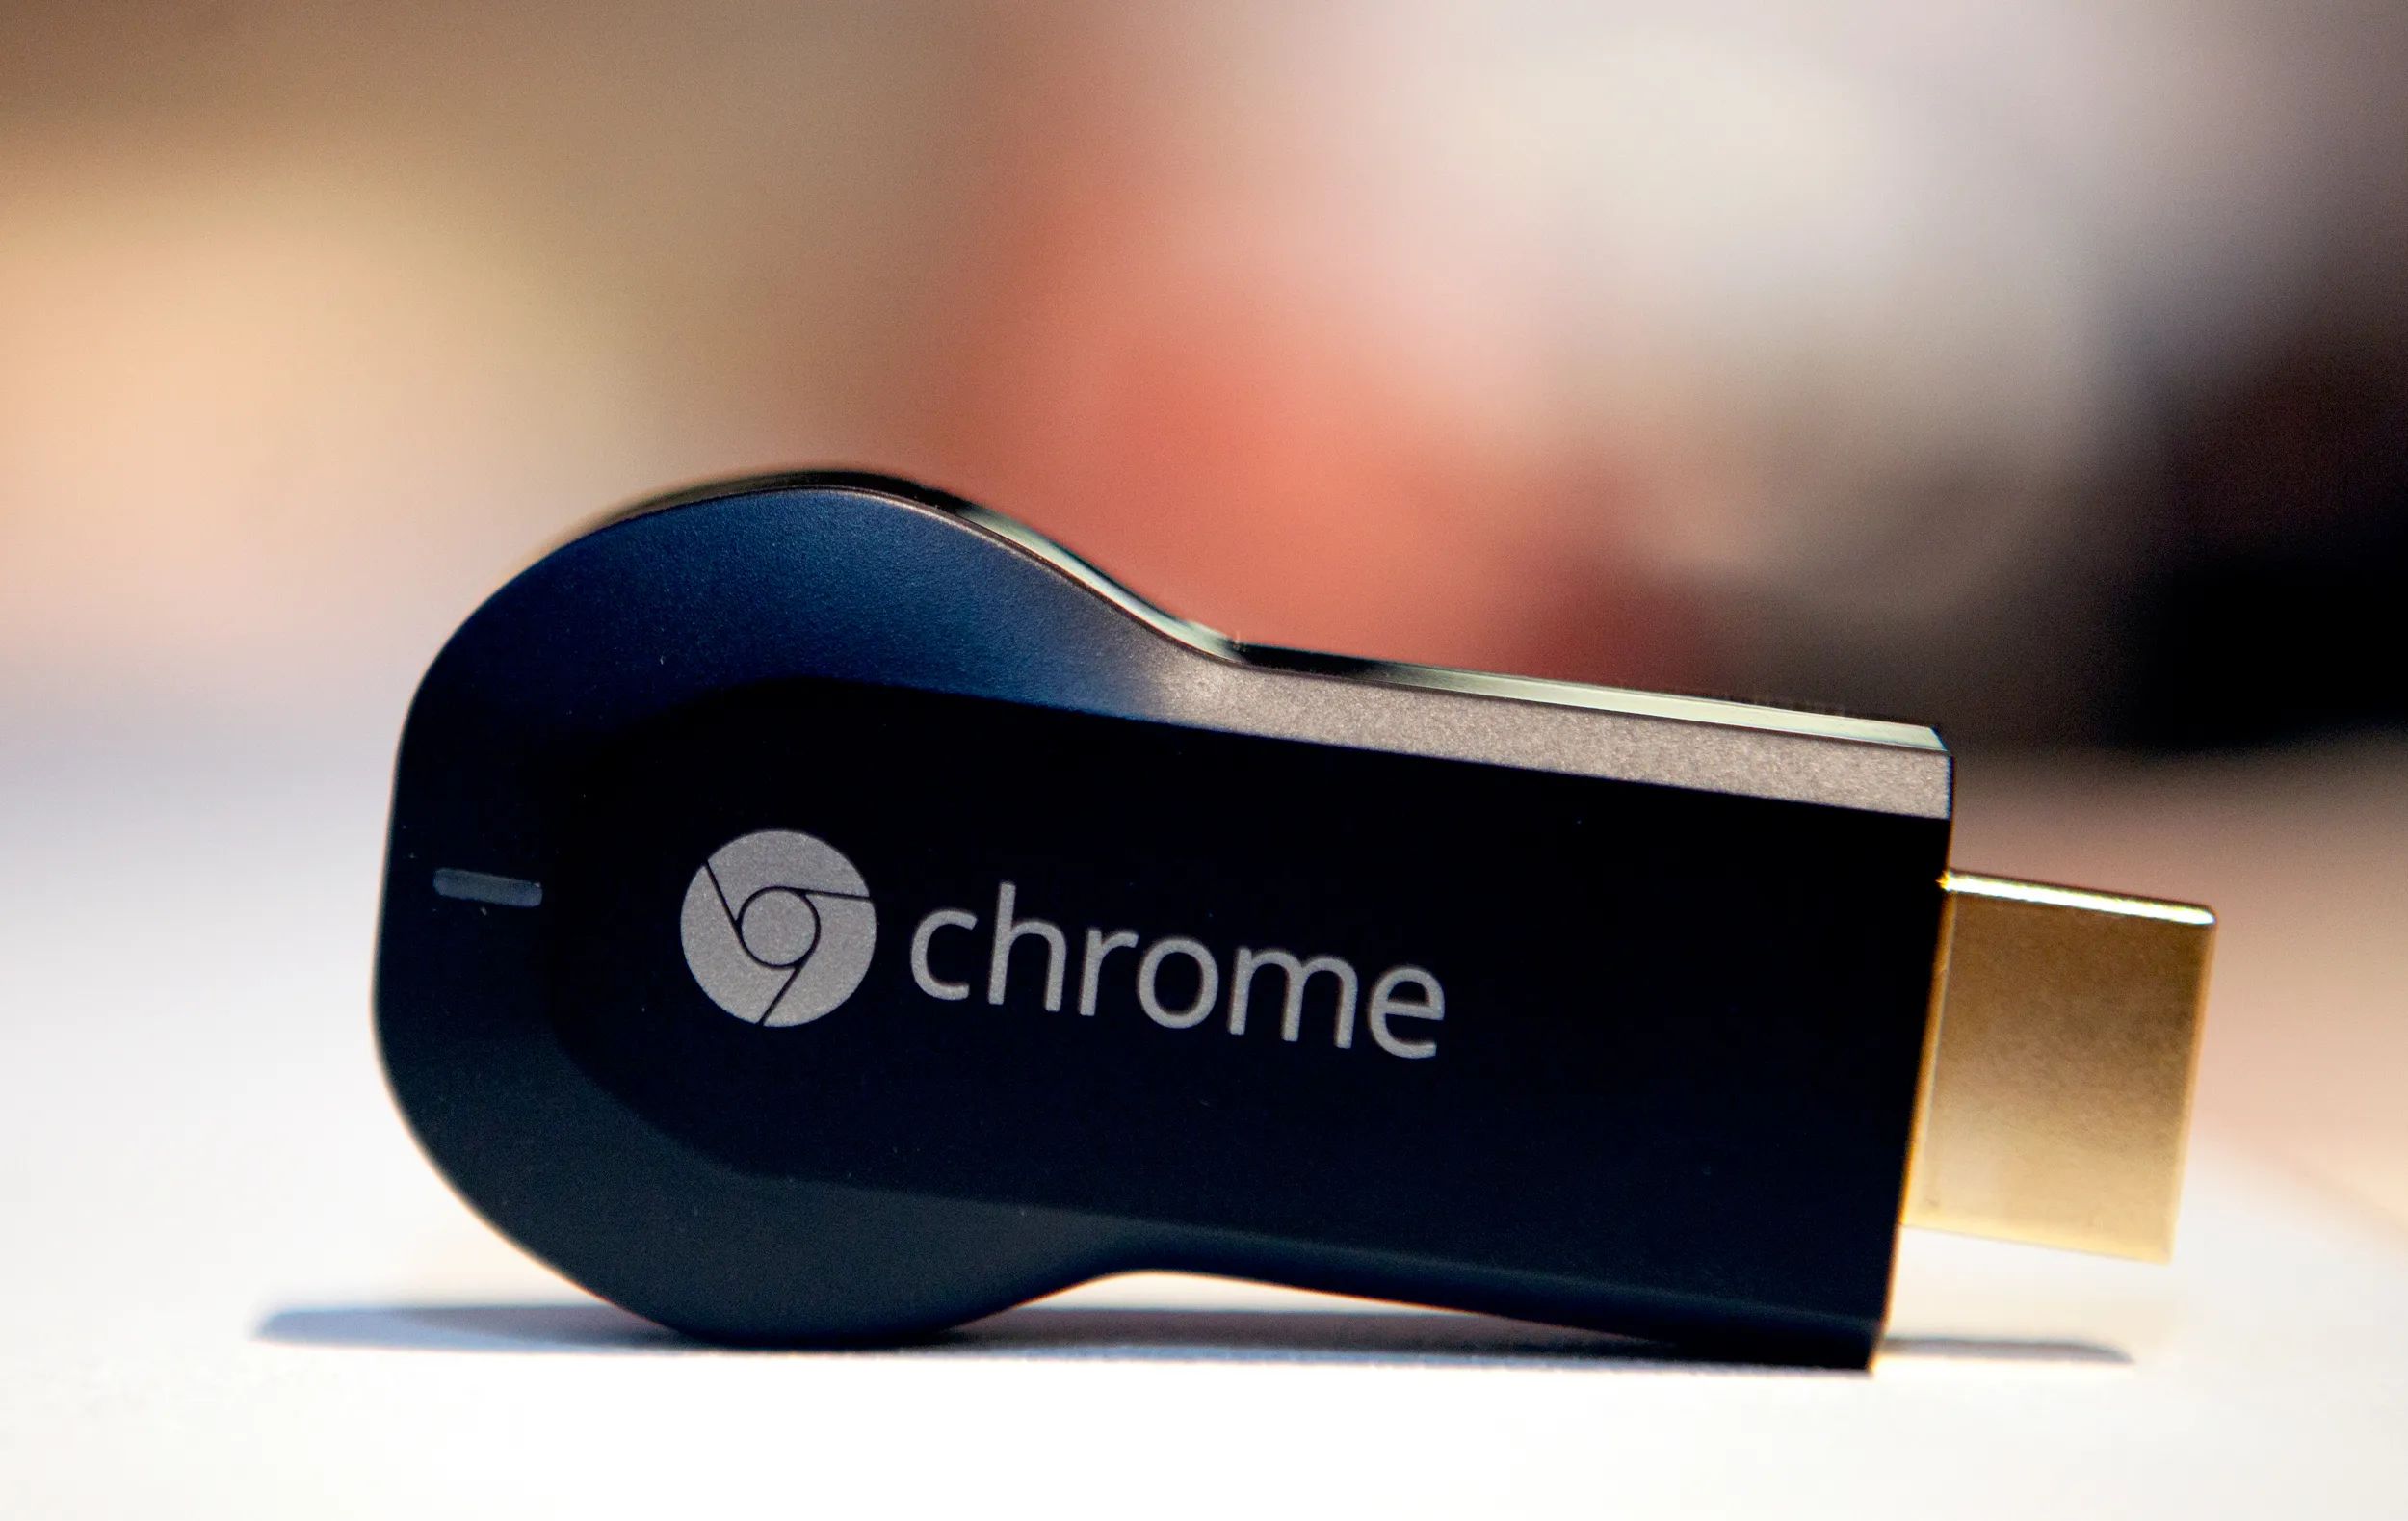
If you have confirmed that the hotel room TV does have an HDMI port, you’re ready to move on to the next step. However, if the TV doesn’t have an HDMI port, don’t worry! There are alternative solutions available, such as using wireless streaming devices or connecting your device through other available ports.
It’s important to note that even if your hotel TV does have an HDMI port, it’s always a good idea to take precautions and ensure that the HDMI port is functional. Sometimes the ports may be disabled or malfunctioning due to technical issues. If you encounter any issues with the HDMI port, don’t hesitate to seek assistance from the hotel staff.
Now that you have determined whether your hotel room TV has an HDMI port, let’s move on to the next step, where we will gather the necessary equipment to connect your device to the TV.
Step 2: Gather the necessary equipment
Before you can connect your device to the hotel room TV, you will need to gather a few essential pieces of equipment. Having these items ready will ensure a smooth and hassle-free setup process.
Here are the items you will need:
- HDMI cable: The HDMI cable is the primary tool that enables the connection between your device and the hotel TV. Make sure you have a good quality HDMI cable that is long enough to reach from your device to the TV.
- Device with HDMI output: You will need a device that has an HDMI output, such as a laptop, smartphone, tablet, or gaming console. This device will serve as the source of the audio and video signals that will be transmitted to the TV.
- Power adapter (if necessary): Depending on your device, you may need a power adapter to ensure that it stays charged during the connection. Check if your device requires a power source and have the appropriate adapter or charger ready.
- Optional accessories: While not essential, you may want to consider bringing along some optional accessories to enhance the setup. These can include a HDMI-to-Mini HDMI or HDMI-to-Micro HDMI adapter, a HDMI splitter if you have multiple HDMI devices, or a HDMI extension cable if you need extra length for the HDMI cable.
Ensure that you have all the necessary equipment packed and ready before proceeding to the next step. It’s always a good idea to double-check your bag or travel kit to avoid any last-minute surprises or delays.
By having the required equipment on hand, you will be well-prepared to connect your device to the hotel room TV. Let’s move on to the next step, where we will guide you through the process of connecting the HDMI cable to the TV.
Step 3: Connect your HDMI cable to the TV
Now that you have gathered all the necessary equipment, it’s time to connect the HDMI cable to the hotel room TV.
Follow these steps:
- Locate the HDMI port: Look for the HDMI port on the back or side of the TV. It is usually marked with the label “HDMI” and may be numbered if there are multiple HDMI ports.
- Check the orientation of the HDMI cable: Take the HDMI cable and inspect both ends. One end has a larger rectangular-shaped connector, and the other end has a smaller connector. Ensure that you have the correct orientation so that the larger end goes into the TV’s HDMI port.
- Insert the HDMI cable into the TV: Gently insert the larger end of the HDMI cable into the HDMI port on the TV. Make sure it is firmly connected and properly seated in the port.
- Secure the cable: To prevent the HDMI cable from accidentally getting disconnected, you can use cable clips or adhesive hooks to secure the cable along the back of the TV or along the wall.
Once you have successfully connected the HDMI cable to the TV, you have completed the essential part of the setup. However, remember that the TV is only one part of the equation – you still need to connect the other end of the HDMI cable to your device, which we will cover in the next step.
If you encounter any difficulties while connecting the HDMI cable to the TV, double-check the orientation of the cable and make sure it is properly inserted into the HDMI port. If the issue persists, consider seeking assistance from the hotel staff or contacting the manufacturer’s support.
With the HDMI cable securely connected to the hotel room TV, you are now ready to move on to the next step, where we will guide you through connecting the other end of the HDMI cable to your device.
Step 4: Connect the other end of the HDMI cable to your device
After successfully connecting the HDMI cable to the hotel room TV, it’s time to connect the other end of the cable to your device.
Follow these steps to complete the connection:
- Identify the HDMI output on your device: Check your device for an HDMI output port. It is usually located on the side or back, depending on the device type. Look for the same rectangular-shaped port with the “HDMI” label.
- Ensure the device is powered off: Before connecting the HDMI cable, it’s recommended to turn off your device to avoid any potential issues. This will also prevent any sudden audio or video output that might occur during the connection process.
- Connect the HDMI cable to your device: Take the smaller end of the HDMI cable and carefully insert it into the HDMI output port on your device. Ensure that it is securely connected.
- Power on your device: After connecting the HDMI cable, you can now power on your device. This will initiate the connection process between your device and the hotel room TV.
Once you have successfully connected the other end of the HDMI cable to your device, you have completed the physical connection. Now, it’s time to move on to the next step, where we will guide you through changing the input source on the TV to start receiving audio and video signals from your device.
If you encounter any issues while connecting the HDMI cable to your device, double-check that you have the correct orientation and that it is properly inserted into the HDMI output port. If the issue persists, refer to the device’s user manual or seek assistance from the manufacturer’s support.
With the HDMI cable now connected to both the hotel room TV and your device, you are one step closer to enjoying your favorite content on a larger screen. Let’s proceed to the next step and learn how to change the input source on the TV.
Step 5: Change the input source on the TV
With the HDMI cable connected to both the hotel room TV and your device, it’s time to change the input source on the TV so that it recognizes the HDMI connection and displays the content from your device.
Follow these steps to change the input source on the TV:
- Locate the remote control: Look for the remote control that came with the hotel room TV. It usually has dedicated buttons for changing the input source or a menu button that allows you to access the TV’s settings.
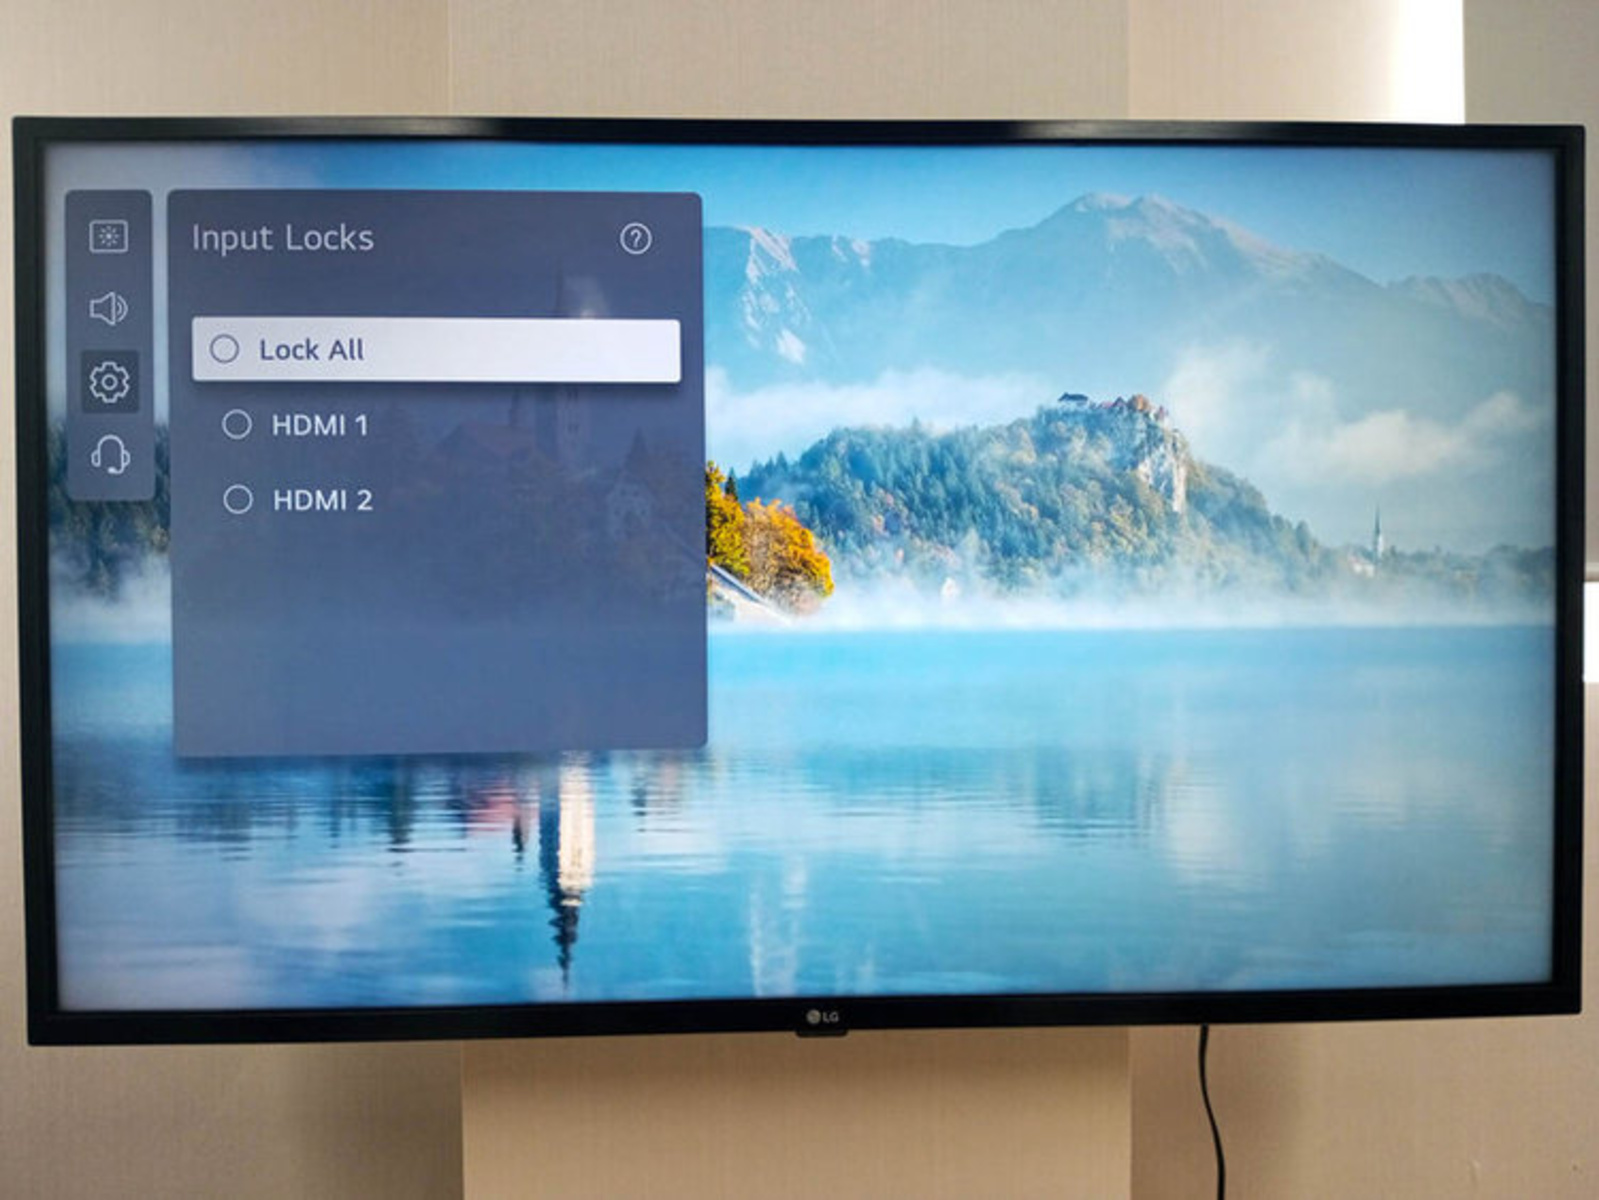
- Press the “Input” or “Source” button: On the TV remote control, press the “Input” or “Source” button. This will bring up a list of available input sources on the TV screen.
- Select the HDMI input: Use the remote control’s arrow keys or navigation buttons to scroll through the input sources and select the HDMI input that corresponds to the HDMI port you connected your device to. It may be labeled as “HDMI1,” “HDMI2,” or something similar.
- Confirm the selection: Once you have selected the HDMI input, press the “OK” or “Enter” button on the remote control to confirm your choice. The TV should now switch to the HDMI input and start displaying the content from your device.
If you do not have access to a remote control or if the TV’s remote control does not have dedicated input buttons, look for the input source options in the TV’s menu using the buttons located on the TV itself.
Keep in mind that TV brands and models may have different menu layouts and button configurations. If you’re having trouble locating the input source options or changing the input source, refer to the TV’s user manual or reach out to the hotel staff for assistance.
Once you have successfully changed the input source on the TV to the HDMI input, you should see the audio and video signals from your device displayed on the hotel room TV. However, if you do not see any content or encounter any issues, don’t worry. We will cover some common troubleshooting steps in the next step.
Now that you have changed the input source on the TV, you’re ready to move on to the next step, where we will guide you through adjusting the display settings on your device to ensure the best viewing experience.
Step 6: Adjust the display settings on your device
After successfully changing the input source on the hotel room TV, you may need to adjust the display settings on your device to ensure the best viewing experience on the larger screen.
Follow these steps to adjust the display settings on your device:
- Access the display settings: Navigate to the settings menu on your device. This can usually be done by tapping on the gear-shaped icon or through a similar settings shortcut.
- Select the display or screen settings: Look for the display or screen settings within the settings menu. This section may be labeled differently depending on the device, but it typically includes options to adjust resolution, aspect ratio, brightness, and color settings.
- Configure the display settings: Adjust the display settings based on your preference and the capabilities of the hotel room TV. You may want to set the resolution to match the capabilities of the TV, adjust the aspect ratio to fill the screen appropriately, and fine-tune the brightness and color settings for optimum viewing comfort.
- Save the changes: Once you have made the desired adjustments, save the changes by selecting the appropriate option within the display settings menu.
It’s important to note that the available display settings and options may vary depending on your device and its operating system. If you’re unsure about specific settings or need more guidance, refer to the device’s user manual or do a quick online search for instructions tailored to your device model.
Once you have adjusted the display settings on your device, take a moment to test the audio and video output on the hotel room TV. Play a video or media content to ensure that the audio is working and the video is being displayed correctly. If any issues arise, revisit the display settings and make necessary adjustments to resolve them.
If you encounter persistent issues with the display or audio, double-check the HDMI connections, reboot your device, or consult the manufacturer’s support for further troubleshooting steps.
With the display settings adjusted to your liking and the audio and video signals correctly outputting to the hotel room TV, you can now sit back, relax, and enjoy your favorite content on the larger screen.
Now that you have successfully adjusted the display settings on your device, you have completed the final step. Let’s move on to the next section for troubleshooting common issues that you may encounter during the setup process.
Step 7: Troubleshooting common issues
While connecting your device to a hotel room TV using an HDMI cable is a relatively straightforward process, you might encounter some common issues along the way. Here are a few troubleshooting steps to help you resolve them:
- No display on the TV: If the TV is not displaying any content from your device, double-check the HDMI connections on both the TV and your device. Ensure that the HDMI cable is securely inserted into both ends. Try unplugging and plugging back in the HDMI cable to reset the connection. If the issue persists, try a different HDMI cable to rule out any possible cable defects.
- No audio on the TV: If you can see the video but there is no audio coming from the TV, check the TV’s audio settings. Make sure that the volume is not muted and that the audio output is set to HDMI. Additionally, try adjusting the volume on your device and ensure that it is not muted or set to a very low level.
- Unsupported resolution: If the TV displays an “Unsupported Resolution” message or shows a distorted or abnormal picture, it may be due to an incompatible resolution between your device and the TV. Access the display settings on your device and try adjusting the resolution to match the capabilities of the TV. If necessary, consult the TV’s user manual for the recommended resolution settings.
- HDMI port not working: If you have confirmed that both the HDMI cable and your device are working properly, but the TV’s HDMI port is still not functioning, try connecting the HDMI cable to a different HDMI port on the TV if available. If none of the HDMI ports work, contact the hotel staff for further assistance or alternative solutions.
- TV input source not changing: If you are unable to change the input source on the TV through the remote control or TV menu options, try restarting the TV. Unplug the TV from the power source, wait for a few minutes, and then plug it back in. This can help reset any temporary issues with the TV’s software.
If you have exhausted these troubleshooting steps and are still experiencing issues, consider reaching out to the hotel staff for technical support. They may be able to assist you further or provide alternative solutions for connecting your device to the hotel room TV.
By troubleshooting common issues, you can overcome any hurdles and ensure a seamless and enjoyable viewing experience on the hotel TV.
With these troubleshooting tips in mind, you are now equipped with the knowledge and steps needed to get your device connected to a hotel room TV using an HDMI cable. Enjoy your favorite content on a larger screen and make the most of your stay!
Conclusion
Connecting your device to a hotel room TV using an HDMI cable can greatly enhance your in-room entertainment experience. By following the steps outlined in this guide, you can easily set up the connection and enjoy your favorite content on a larger screen.
Throughout this process, we have covered important steps including checking for an HDMI port on the hotel TV, gathering the necessary equipment, connecting the HDMI cable to the TV and your device, changing the input source on the TV, adjusting the display settings on your device, and troubleshooting common issues that may arise along the way.
Remember to always double-check that the hotel room TV has an HDMI port and ensure that both ends of the HDMI cable are securely connected. Additionally, don’t forget to adjust the display settings on your device for the best viewing experience and troubleshoot any issues you may encounter.
If you face difficulties during the setup process, such as an unsupported resolution or a malfunctioning HDMI port, don’t hesitate to seek assistance from the hotel staff. They are there to help and may be able to provide alternative solutions or recommendations.
With these steps and troubleshooting tips in mind, you can overcome any obstacles and enjoy a more immersive and enjoyable entertainment experience during your hotel stay. So, grab your HDMI cable, gather your equipment, and start connecting your device to the hotel room TV. Sit back, relax, and indulge in your favorite movies, TV shows, or presentations on the big screen!