Introduction
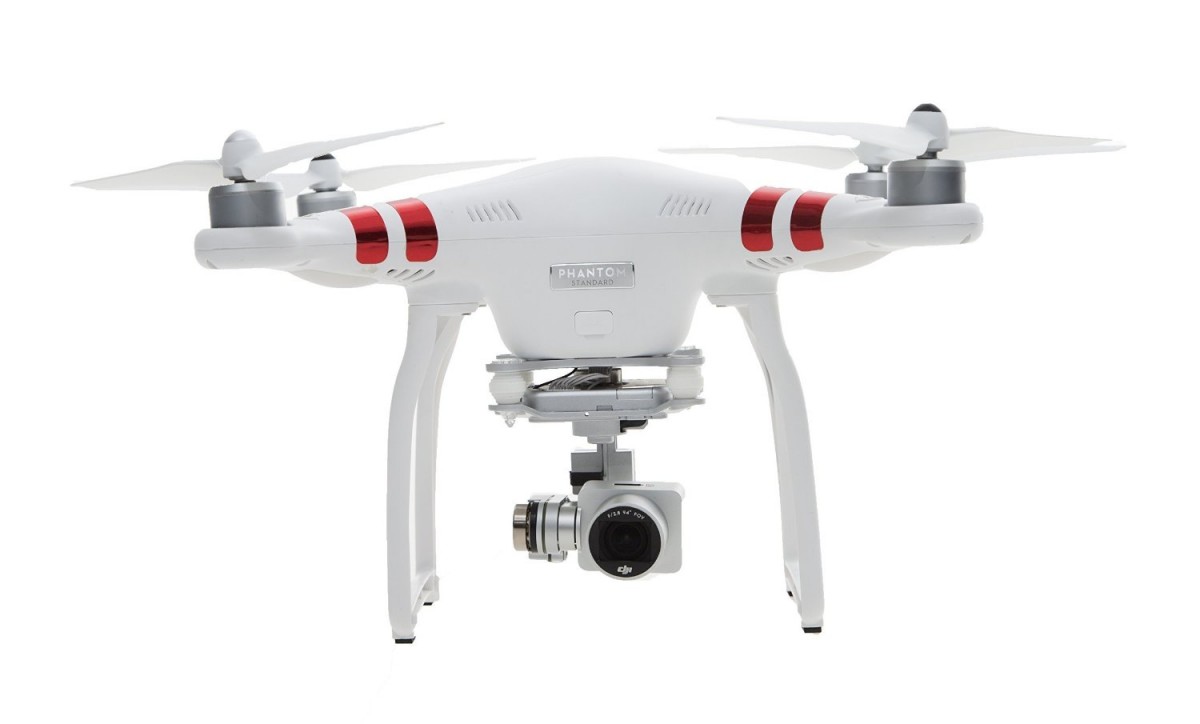
Welcome to the world of live streaming with the DJI Phantom 4! If you’re an avid drone enthusiast or a professional in the field, live streaming your aerial adventures can give your audience an immersive and real-time experience. With the right setup and a bit of technical know-how, you can share your flights, explore breathtaking landscapes, and engage with your viewers in captivating ways.
Live streaming has become increasingly popular over the years, opening up new opportunities for content creators to connect with their audience in real time. Whether you’re a photographer, videographer, or just an individual with a passion for drones, live streaming offers a unique way to showcase your skills, creativity, and adventures to a global audience.
In this guide, we will walk you through the process of live streaming with the DJI Phantom 4. We’ll cover everything from choosing the right streaming platform to setting up your drone for a seamless streaming experience. So, grab your Phantom 4 and let’s dive in!
Before we jump into the technicalities, it’s important to note that live streaming with a drone requires compliance with local laws and regulations. Familiarize yourself with the drone flight laws and restrictions in your area to ensure a safe and legal live streaming experience.
Now that we’ve covered the groundwork, let’s move on to the first step – choosing the right streaming platform for your DJI Phantom 4 live streams.
Choosing the Right Streaming Platform
When it comes to live streaming your DJI Phantom 4 flights, selecting the right streaming platform is essential. The platform you choose will determine the features, audience reach, and overall experience of your live streams. Here are some factors to consider when deciding on a streaming platform:
1. Popular platforms: Consider using well-established streaming platforms such as YouTube Live, Facebook Live, or Twitch. These platforms have large user bases and offer seamless integration with your social media accounts, making it easier to reach and engage with your existing followers.
2. Specific drone streaming platforms: There are also platforms specifically designed for drone enthusiasts, such as Periscope for Drones and AirVuz. These platforms cater to the drone community, providing specialized features for aerial live streaming and a targeted audience of drone enthusiasts.
3. Streaming quality and stability: Look for a platform that offers high-quality streaming options, including the ability to stream in HD or even 4K resolution. Additionally, ensure that the platform provides stable streaming capabilities to avoid interruptions or lag during your live broadcasts.
4. Audience engagement features: Consider the interactive features offered by the platform, such as live chat, comments, and reactions. These features can enhance viewer engagement and make your live streams more dynamic and interactive.
5. Monetization options: If you’re looking to monetize your live streams, explore platforms that offer monetization features such as ads, subscriptions, or donations. This can help you turn your passion for live streaming into a potential source of income.
6. Integration with streaming software: If you plan to use streaming software for more advanced features and customization options, ensure that the platform can easily integrate with your chosen software. This will give you more flexibility and control over your live streams.
Remember to do thorough research and read reviews about different streaming platforms to find the one that aligns with your goals and requirements. Once you’ve selected the perfect platform, you’re ready to move on to the next step – setting up your DJI Phantom 4 for live streaming!
Setting Up the DJI Phantom 4 for Live Streaming
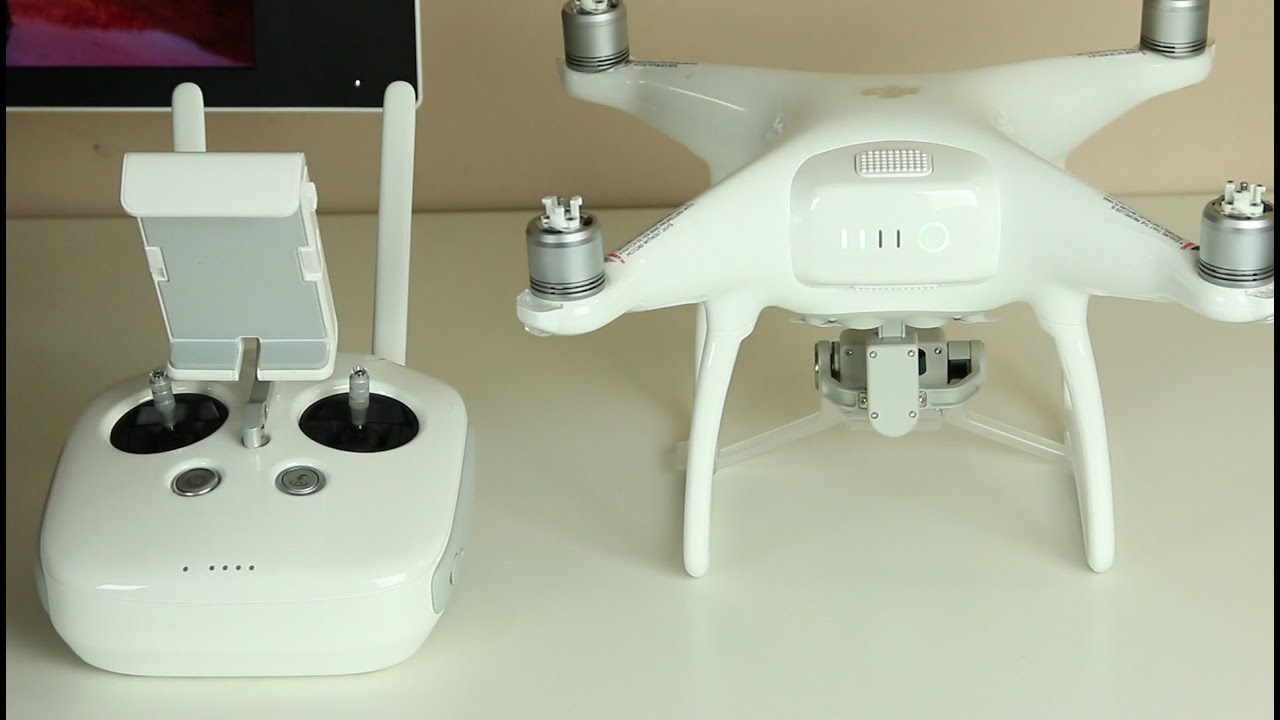
Before you can start live streaming with your DJI Phantom 4, you’ll need to set up your drone and make a few adjustments to ensure a smooth and seamless streaming experience. Follow these steps to get your Phantom 4 ready for live streaming:
1. Firmware and app update: Make sure that your DJI Phantom 4 is running the latest firmware version and that you have the latest version of the DJI Go app or DJI Fly app installed on your mobile device. Firmware updates often include improvements and bug fixes that can enhance the performance of your live streams.
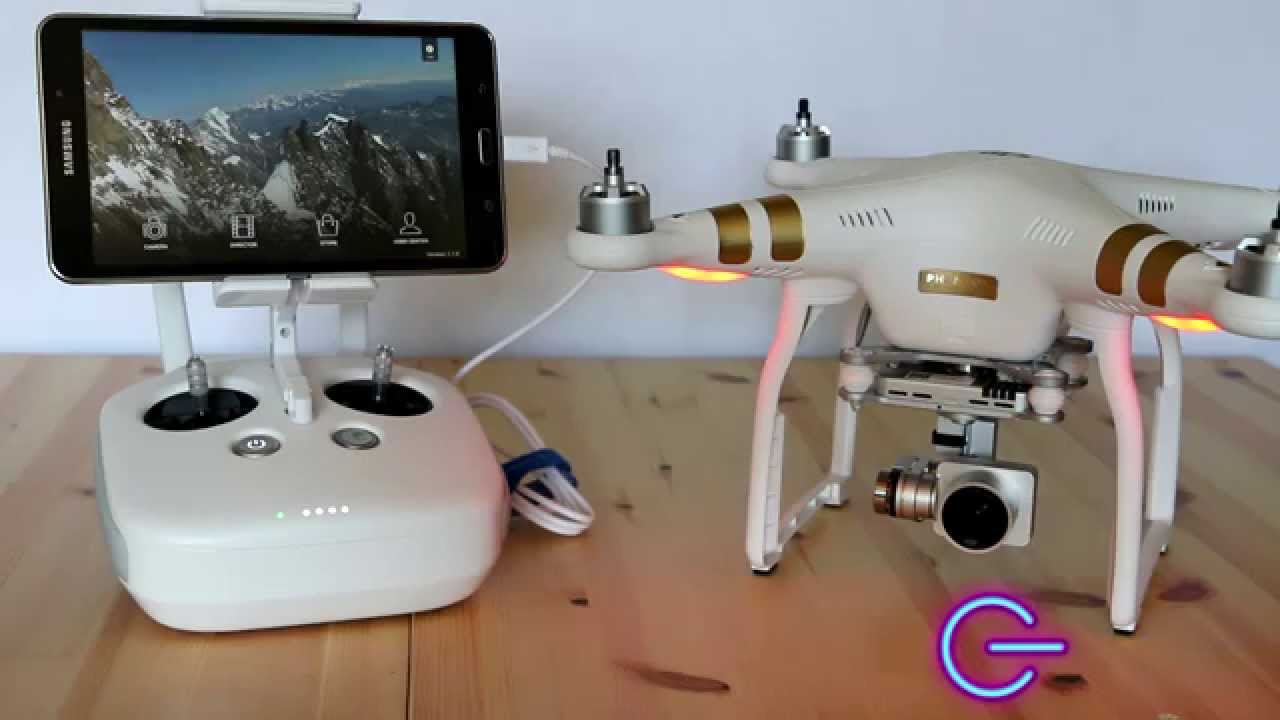
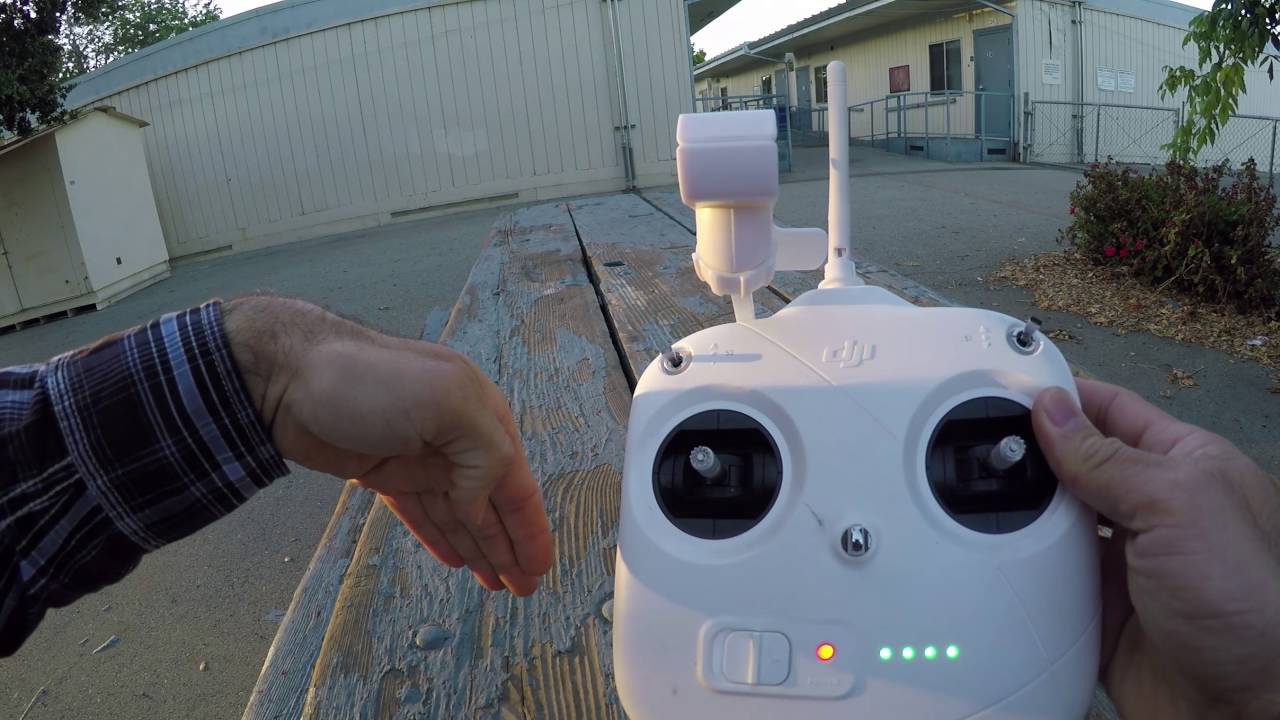
2. Connect your mobile device: Ensure that your mobile device is connected to the remote controller of your DJI Phantom 4. Use the appropriate USB cable or connect wirelessly depending on your specific drone model. This connection allows you to access the DJI Go or DJI Fly app, which is crucial for live streaming setup.
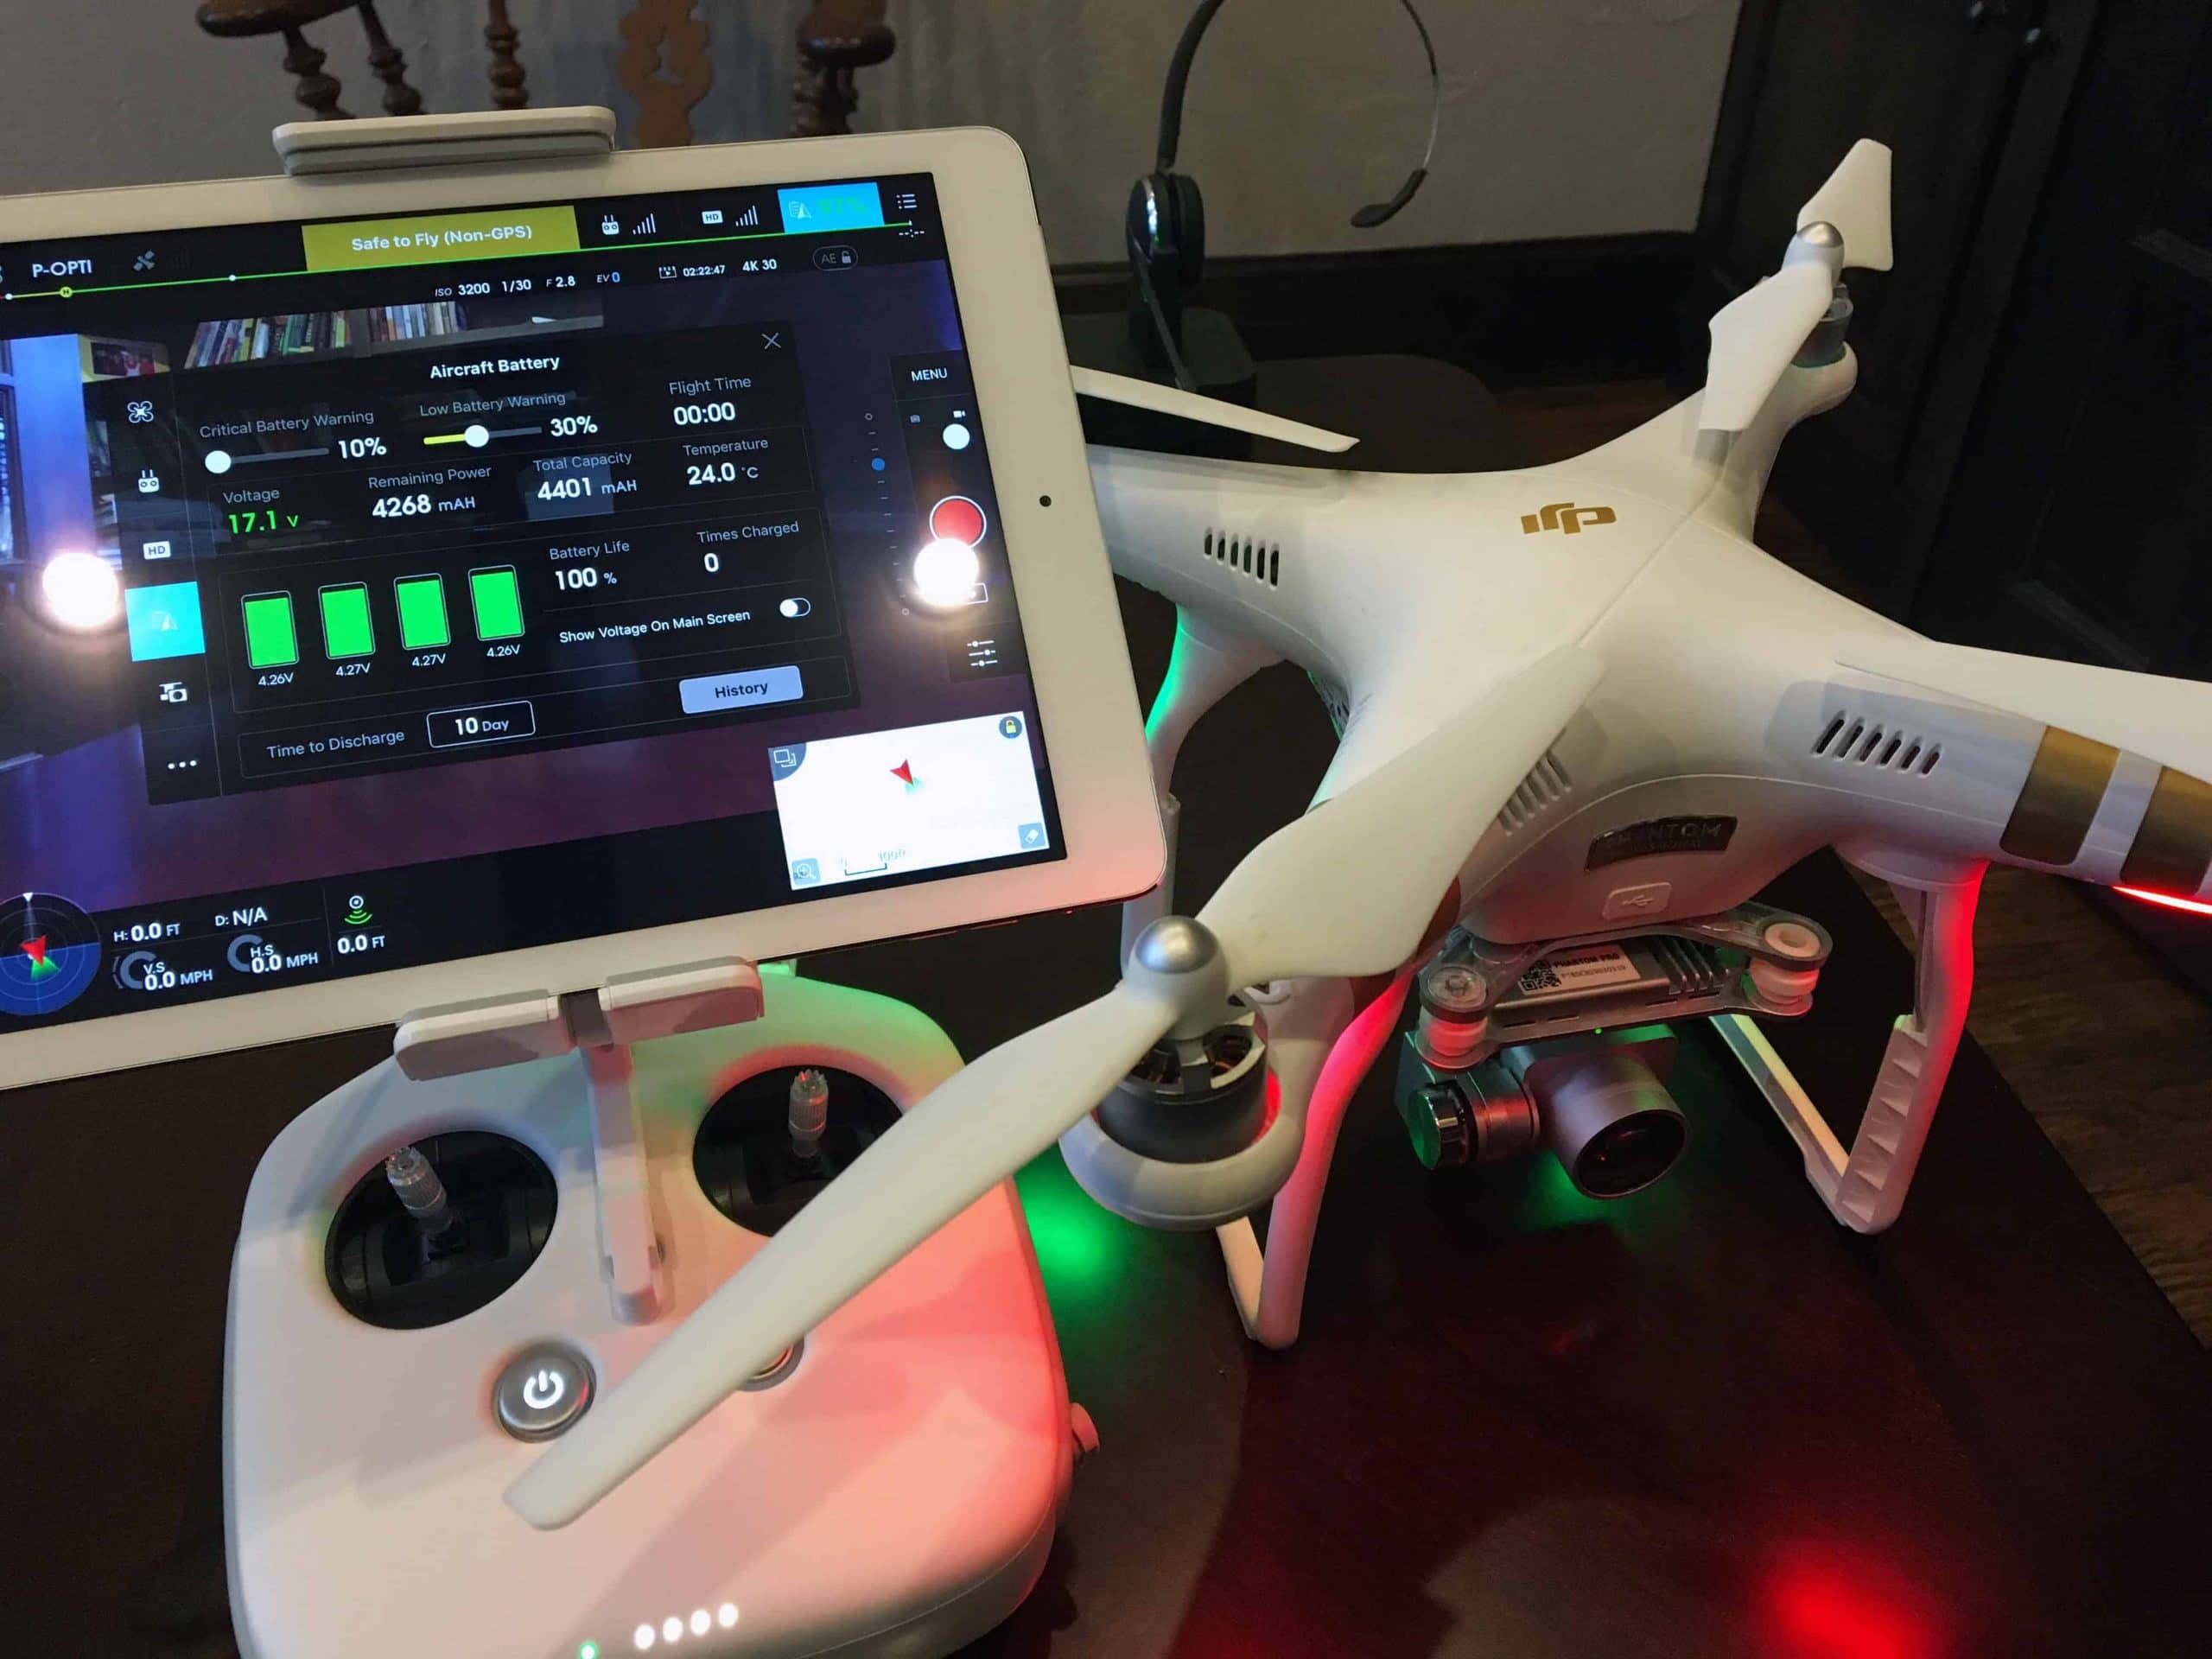
3. Adjust video settings: Open the DJI Go or DJI Fly app and navigate to the camera settings. Set your video resolution and frame rate according to your preference and the capabilities of your streaming platform. It’s recommended to use a resolution and frame rate that is supported by your streaming platform for optimal video quality.
4. Check internet connectivity: Ensure that you have a stable internet connection for your live stream. If you’re planning to stream in an area without Wi-Fi, consider using a mobile hotspot with a reliable data connection. Streaming over cellular data can consume a significant amount of data, so make sure you have a sufficient data plan.
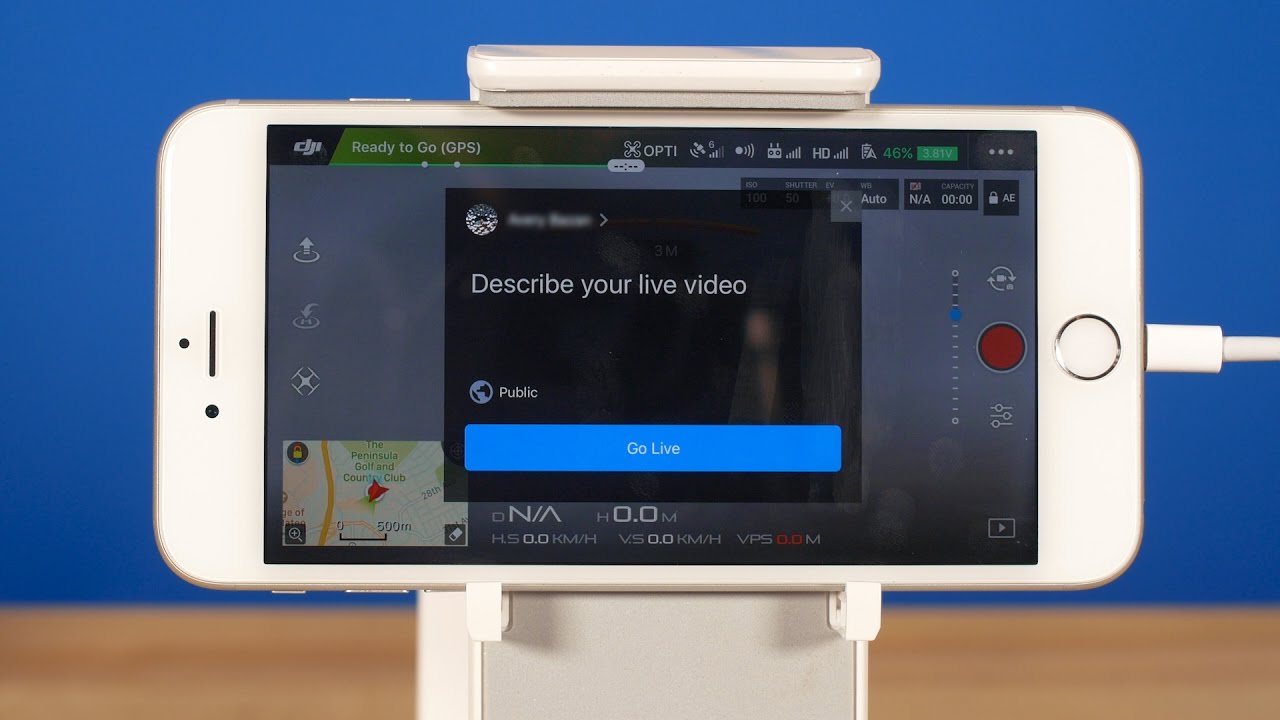
5. Enable live streaming mode: In the DJI Go or DJI Fly app, navigate to the live streaming settings. Enable the live streaming mode and select your streaming platform from the available options. Follow the on-screen prompts to authorize the app to access your streaming account.
6. Configure streaming settings: Once you’ve connected your streaming account, you’ll have the option to adjust additional streaming settings such as stream title, privacy settings, and bit rate. Set these according to your preferences and the requirements of your streaming platform.
7. Calibrate the drone: Before taking off, always make sure your DJI Phantom 4 is properly calibrated. This includes calibrating the compass and performing an IMU calibration, which can help improve flight stability and GPS accuracy.
With these steps completed, your DJI Phantom 4 is now set up and ready for live streaming. In the next section, we’ll delve into the configuration of your live streaming software to ensure a seamless connection to the streaming platform.
Configuring Your Live Streaming Software
Configuring your live streaming software is an essential step in ensuring a successful live stream with your DJI Phantom 4. The software you choose will depend on your specific streaming platform and personal preferences. Here are the general steps to configure your live streaming software:
1. Choose your streaming software: There are several popular streaming software options available, such as OBS Studio, Streamlabs OBS, XSplit, and Wirecast. Select the software that best fits your needs and download it from the official website.
2. Install and set up the software: Follow the installation instructions provided by the streaming software. Once installed, open the software and navigate to the settings menu. Here, you’ll configure the necessary parameters for your live stream.
3. Input and output settings: Configure the input settings to recognize your DJI Phantom 4 video feed. This can be done by selecting the appropriate video capture device or screen capture option, depending on how you plan to capture the drone footage. Set the output settings to match the resolution and frame rate you’ve chosen for your live stream.
4. Stream key and server settings: Obtain the stream key from your streaming platform’s dashboard. This unique key acts as a password to connect your software to the streaming platform. Enter the stream key in the software’s settings along with the server or ingest URL provided by your streaming platform.
5. Audio settings: Configure the audio settings to capture sound from your preferred audio source. This can be the built-in microphone of your computer, an external microphone, or any other audio input device. Adjust the audio levels to ensure clear and balanced sound for your live stream.
6. Stream layout and overlays: Customize the appearance of your live stream by adding overlays, logos, text, and other visuals. Many streaming software tools provide options to create and position these elements on the screen. Consider creating branded overlays or including relevant information like your social media handles or a donation ticker.
7. Test your settings: Before going live, perform a test stream to make sure everything is working correctly. Check the video and audio quality, ensure that your drone footage is being captured, and confirm that your stream is reaching the selected platform. Adjust any settings if necessary to optimize your stream’s quality and performance.
By properly configuring your live streaming software, you can ensure a smooth and professional-looking broadcast. In the next section, we’ll discuss the process of connecting your live streaming software to the chosen broadcasting platform.
Connecting to the Broadcasting Platform
Once you have configured your live streaming software, the next step is to connect it to the broadcasting platform of your choice. This connection allows your software to transmit the live stream to the platform so that it can be accessed by your audience. Follow these steps to connect your software to the broadcasting platform:
1. Launch your streaming software: Open the live streaming software that you configured in the previous section. Ensure that your DJI Phantom 4 is connected to your computer and that the software recognizes the video feed from the drone.
2. Enter stream details: In the streaming software, navigate to the settings or broadcast tab. Enter the necessary details, including the title or description of your live stream. This information will be visible on the broadcasting platform, so make it engaging and descriptive.
3. Select the broadcasting platform: Choose the broadcasting platform you’ve previously selected, such as YouTube Live or Facebook Live. In the software settings, select the platform from the available options or enter the specific server address and stream key provided by the platform.
4. Connect the software to the platform: Click on the “Connect” or “Start Streaming” button in your live streaming software to establish the connection with the broadcasting platform. This will initiate the transmission of your live stream to the platform’s servers.
5. Monitor the stream preview: Most streaming software provides a preview window that allows you to monitor your live stream before going live. Check the video and audio quality, confirm that your drone footage is being captured, and ensure that everything is running smoothly.
6. Start the live stream: Once you are satisfied with the stream preview, it’s time to go live! Click the “Start Stream” or “Go Live” button in your streaming software to initiate the live stream. The software will now transmit your live stream to the broadcasting platform.
7. Engage with your audience: As your live stream is running, make sure to engage with your audience through live chat, comments, or any other interactive features provided by the broadcasting platform. This will enhance the viewer experience and create a sense of community around your live stream.
By following these steps, you can easily connect your streaming software to your chosen broadcasting platform and start sharing your DJI Phantom 4 live stream with your audience. In the next section, we’ll discuss some important camera settings to optimize your live stream’s visual quality.
Adjusting Camera Settings for Live Streaming
When live streaming with your DJI Phantom 4, it’s important to adjust the camera settings to optimize the visual quality of your live stream. These settings will ensure that your audience sees a clear and captivating feed from your drone. Here are some key camera settings to consider:
1. Exposure settings: The exposure settings control the amount of light that enters the camera sensor. Adjust the exposure to achieve a balanced and well-lit image. In bright conditions, you may need to decrease the exposure to avoid overexposure and washed-out footage. In low-light situations, increase the exposure to capture more detail.
2. White balance: The white balance setting determines the color temperature of your footage. Set it according to the lighting conditions to ensure accurate color reproduction. Choose presets like “Sunny,” “Cloudy,” or “Auto” for easy adjustments, or manually adjust the white balance to achieve a specific look or mood.
3. Picture profile and color grading: Many drones, including the DJI Phantom 4, offer picture profiles or color profiles that allow you to customize the look of your footage. Experiment with different profiles or apply your own custom color grading to enhance the visual appeal of your live stream.
4. Image stabilization: Enable the camera’s built-in image stabilization feature, such as DJI’s RockSteady technology, to reduce camera shake and ensure smoother footage during your live stream. This will help provide a more professional and stable viewing experience for your audience.
5. Focus settings: Depending on your live stream’s subject and depth of field, adjust the focus settings to ensure a sharp and clear image. Use autofocus for convenience or manually set the focus to maintain a consistent focus point throughout your stream.
6. Camera angle and composition: Consider the composition and framing of your shots to capture visually appealing footage. Experiment with different camera angles and perspectives to add depth and interest to your live stream. Keep in mind that a steady and smooth camera movement can enhance the cinematic feel of your stream.
7. High-resolution streaming: If your streaming platform supports it and your internet connection is strong enough, consider streaming in a higher resolution, such as 1080p or even 4K. This will provide your audience with a more detailed and immersive viewing experience, especially for visually stunning landscapes or intricate subjects.
By adjusting these camera settings, you can enhance the visual quality of your DJI Phantom 4 live stream, ultimately creating a more engaging and captivating experience for your viewers. In the next section, we’ll discuss the importance of performing a test stream before going live with your drone.
Performing a Test Stream
Before going live with your DJI Phantom 4, it’s crucial to perform a test stream to ensure everything is functioning as expected. This step allows you to troubleshoot any potential issues and make any necessary adjustments to improve the quality of your live stream. Here’s how you can perform a test stream:
1. Set up a private testing environment: Find a suitable location where you can safely fly your drone without any distractions or obstacles. This can be an open field or a controlled indoor environment. Ensure that you have a stable internet connection in this testing location.
2. Connect your equipment: Set up your DJI Phantom 4, remote controller, and streaming equipment in the same way you would for a live stream. Connect your drone to the streaming software and broadcasting platform as you would during an actual live stream.
3. Configure settings: Double-check all the settings, including camera settings, streaming software settings, and broadcasting platform settings. Confirm that the resolutions and frame rates are correct, the audio is clear, and the video feed is stable.
4. Start the test stream: Initiate the live stream through your streaming software and broadcasting platform. Monitor the stream and watch for any issues such as video stuttering, audio synchronization problems, or connectivity errors. Take note of any issues that arise.
5. Evaluate the test stream: Pay close attention to the quality of the video, audio, and overall stream performance. Assess the clarity, stability, and synchronization of the drone footage and audio. Ensure that there are no buffering or lagging issues during the test stream.
6. Engage with the test audience: Inform a few trusted individuals about your test stream and ask them to provide feedback or monitor the stream for any technical issues. Encourage them to interact with the stream by leaving comments or engaging in the live chat, giving you an idea of the audience experience.
7. Analyze the results and make adjustments: After the test stream, review the recorded stream and any feedback received. Identify any areas that require improvement or adjustments, such as audio levels, video quality, or overall stability. Make the necessary changes to your setup or settings based on your findings.
Performing a test stream allows you to identify and address any issues before going live with your DJI Phantom 4. It provides an opportunity to fine-tune your setup, ensure a seamless streaming experience, and deliver the best quality stream to your audience. In the next section, we’ll share some valuable tips and tricks to help you achieve a successful live stream with your drone.
Tips and Tricks for a Successful Live Stream
To make your live stream with the DJI Phantom 4 a memorable and successful experience, consider these tips and tricks:
1. Plan your content: Prepare a rough outline or script for your live stream to ensure a smooth flow of content. Consider interesting topics, captivating locations, or specific flight maneuvers that will engage your viewers and keep them entertained.
2. Engage with your audience: Interact with your audience through live chat, comments, or social media during the stream. Respond to questions, acknowledge viewers by name, and incorporate their suggestions or feedback into your stream. This will create a sense of community and make your viewers feel involved.
3. Consider the length of your stream: Keep in mind that shorter streams are often preferred by viewers, as attention spans can be limited online. Aim for a stream duration that allows you to deliver valuable and engaging content without risking audience fatigue or losing their interest.
4. Be mindful of your surroundings: Always prioritize safety and respect the privacy of others when flying your drone. Avoid sensitive or restricted areas, respect local regulations, and be mindful of any potential hazards. This will help you maintain a positive reputation as a responsible drone pilot.
5. Optimize your streaming setup: Regularly check and update the firmware of your DJI Phantom 4, streaming software, and app. Stay up-to-date with the latest features and bug fixes to ensure the best streaming experience. Additionally, invest in quality streaming equipment such as a stable internet connection, external microphone, and reliable charging solutions.
6. Promote your live stream: Announce your live stream in advance through your social media channels, website, or email newsletter. Build anticipation and create buzz around your stream to attract a larger audience. Engage with your followers and encourage them to share the news with their networks.
7. Consider collaborating: Collaborate with other content creators, influencers, or businesses in the drone or related industries. Partnering with others can help promote your stream to a wider audience and provide unique opportunities for collaboration and cross-promotion.
8. Experiment with different perspectives: Explore different camera angles, flight paths, and creative shots to add variety and visual interest to your live stream. Utilize the DJI Phantom 4’s intelligent flight modes, such as ActiveTrack or Point of Interest, to create dynamic and captivating footage.
9. Test your equipment before each stream: Before every live stream, check all your equipment, including the drone, camera, and streaming software, to ensure they are functioning properly. Perform a pre-flight check of the battery, gimbal, and propellers. Test your live stream setup to address any issues before going live.
10. Learn from each stream: After each live stream, take the time to review and analyze the playback of your stream. Note any areas for improvement and learn from your experiences. Take into account audience engagement, technical issues, and overall stream quality to continuously elevate your live stream game.
By implementing these tips and tricks, you can elevate the quality of your live stream and create an engaging experience for your viewers. Remember to stay consistent, be authentic, and enjoy the process of sharing your drone adventures with the world.
Troubleshooting Common Issues
While live streaming with the DJI Phantom 4, you may encounter some common issues that can impact the quality or stability of your stream. Here are some troubleshooting tips for overcoming these issues:
1. Poor video quality: If you’re experiencing pixelation or blurry footage, first check your streaming software settings to ensure you’re broadcasting at the correct resolution and bit rate. Additionally, make sure your internet connection is stable and capable of handling the streaming quality you’ve chosen. If the issue persists, consider adjusting the camera settings on your drone to optimize the exposure, white balance, and picture profile.
2. Connectivity issues: If you’re having trouble connecting your drone or streaming software to the broadcasting platform, double-check that your internet connection is stable and that you’ve entered the correct stream key and server settings. Restarting both your drone and streaming software can also help resolve any temporary connectivity issues. If problems persist, try connecting to a different streaming platform as an alternative.
3. Audio synchronization problems: If your audio is out of sync with the video during your live stream, check your streaming software settings to ensure the audio and video sources are properly aligned. You may need to adjust the audio delay option in your software to synchronize the audio with the video feed. Additionally, make sure your input audio device is properly connected and functioning correctly.
4. Buffering or lagging: If you notice frequent buffering or lagging during your stream, check your internet connection speed and stability. Ensure that no other bandwidth-intensive activities are taking place on your network. Consider decreasing your streaming resolution or bit rate if your internet connection is not sufficient for the selected settings. If the issue persists, contact your internet service provider to troubleshoot any potential issues with your connection.
5. Drone flight issues: If you encounter flight issues that affect your live stream, such as unstable flight, erratic movements, or sudden disconnections, ensure that your drone is properly calibrated before each flight. Verify that there are no signal interferences in your flying area and that your drone’s firmware is up to date. If the problem persists, contact DJI support for further assistance.
6. Viewer engagement: If you’re struggling to engage with your viewers during the live stream, encourage them to participate by asking questions, prompting discussions, or involving them in the decision-making process for your drone’s flight path or camera angles. Respond to comments and questions promptly to show your audience that you value their interaction.
7. Power management: To avoid interruptions during your live stream, ensure that your drone’s battery is fully charged before starting the stream. Consider having spare batteries on hand for longer streaming sessions. Also, make sure your streaming setup is powered adequately, whether it’s through a reliable power source or by using portable power banks or battery packs.
By following these troubleshooting tips, you can effectively address common issues that may arise during your DJI Phantom 4 live stream. Remember to stay calm, patient, and proactive in finding solutions to keep your stream running smoothly.
Conclusion
Congratulations! You’ve now learned how to successfully live stream with your DJI Phantom 4 and engage your audience in real-time. By choosing the right streaming platform, setting up your drone properly, configuring your live streaming software, and troubleshooting common issues, you’re well-equipped to create captivating live streams that showcase the beauty and excitement of your aerial adventures.
Remember, live streaming with the DJI Phantom 4 requires adherence to local drone flight laws and regulations. Always prioritize safety and respect the privacy and property of others when flying your drone.
Throughout the process, keep experimenting with different camera angles, flight techniques, and creative shots to captivate your audience. Engage with your viewers, respond to their comments and questions, and create a sense of community around your streams.
Performing a test stream before going live allows you to identify and address any issues, ensuring a smoother and more professional live streaming experience. Regularly review and incorporate feedback to continuously improve the quality of your streams.
By following these tips and tricks, troubleshooting common issues, and staying open to learning and refining your skills, you’ll be able to deliver exceptional live streams that leave your audience inspired and eager for more.
So, grab your DJI Phantom 4, prepare for exciting adventures, and start sharing your incredible drone footage with the world through the power of live streaming!