Introduction
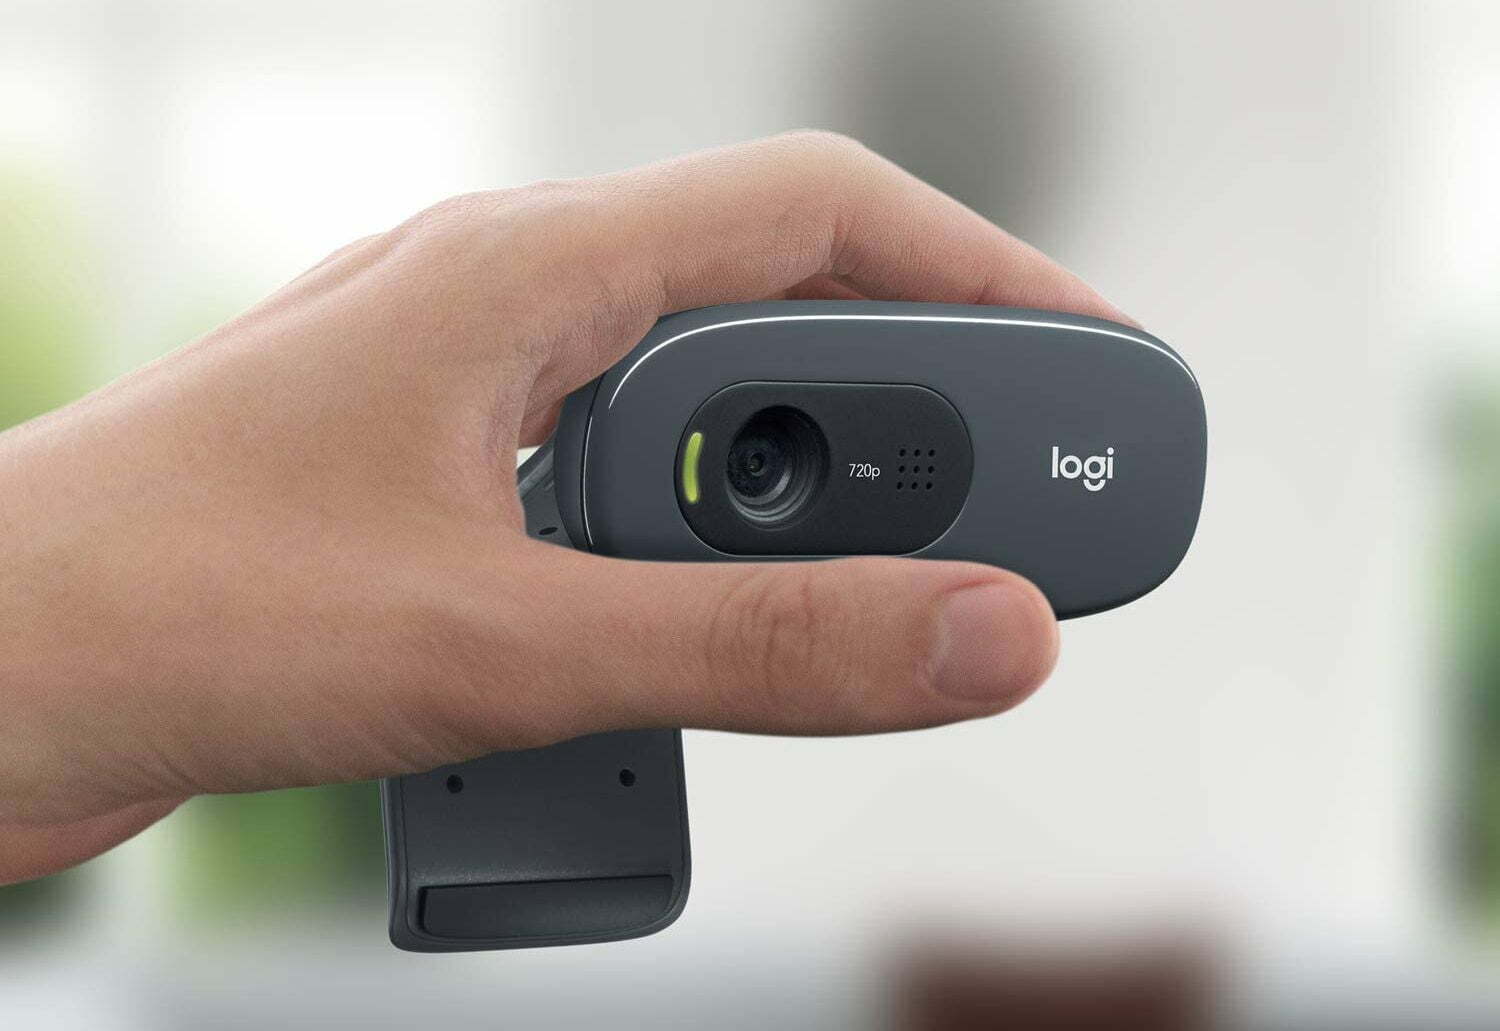
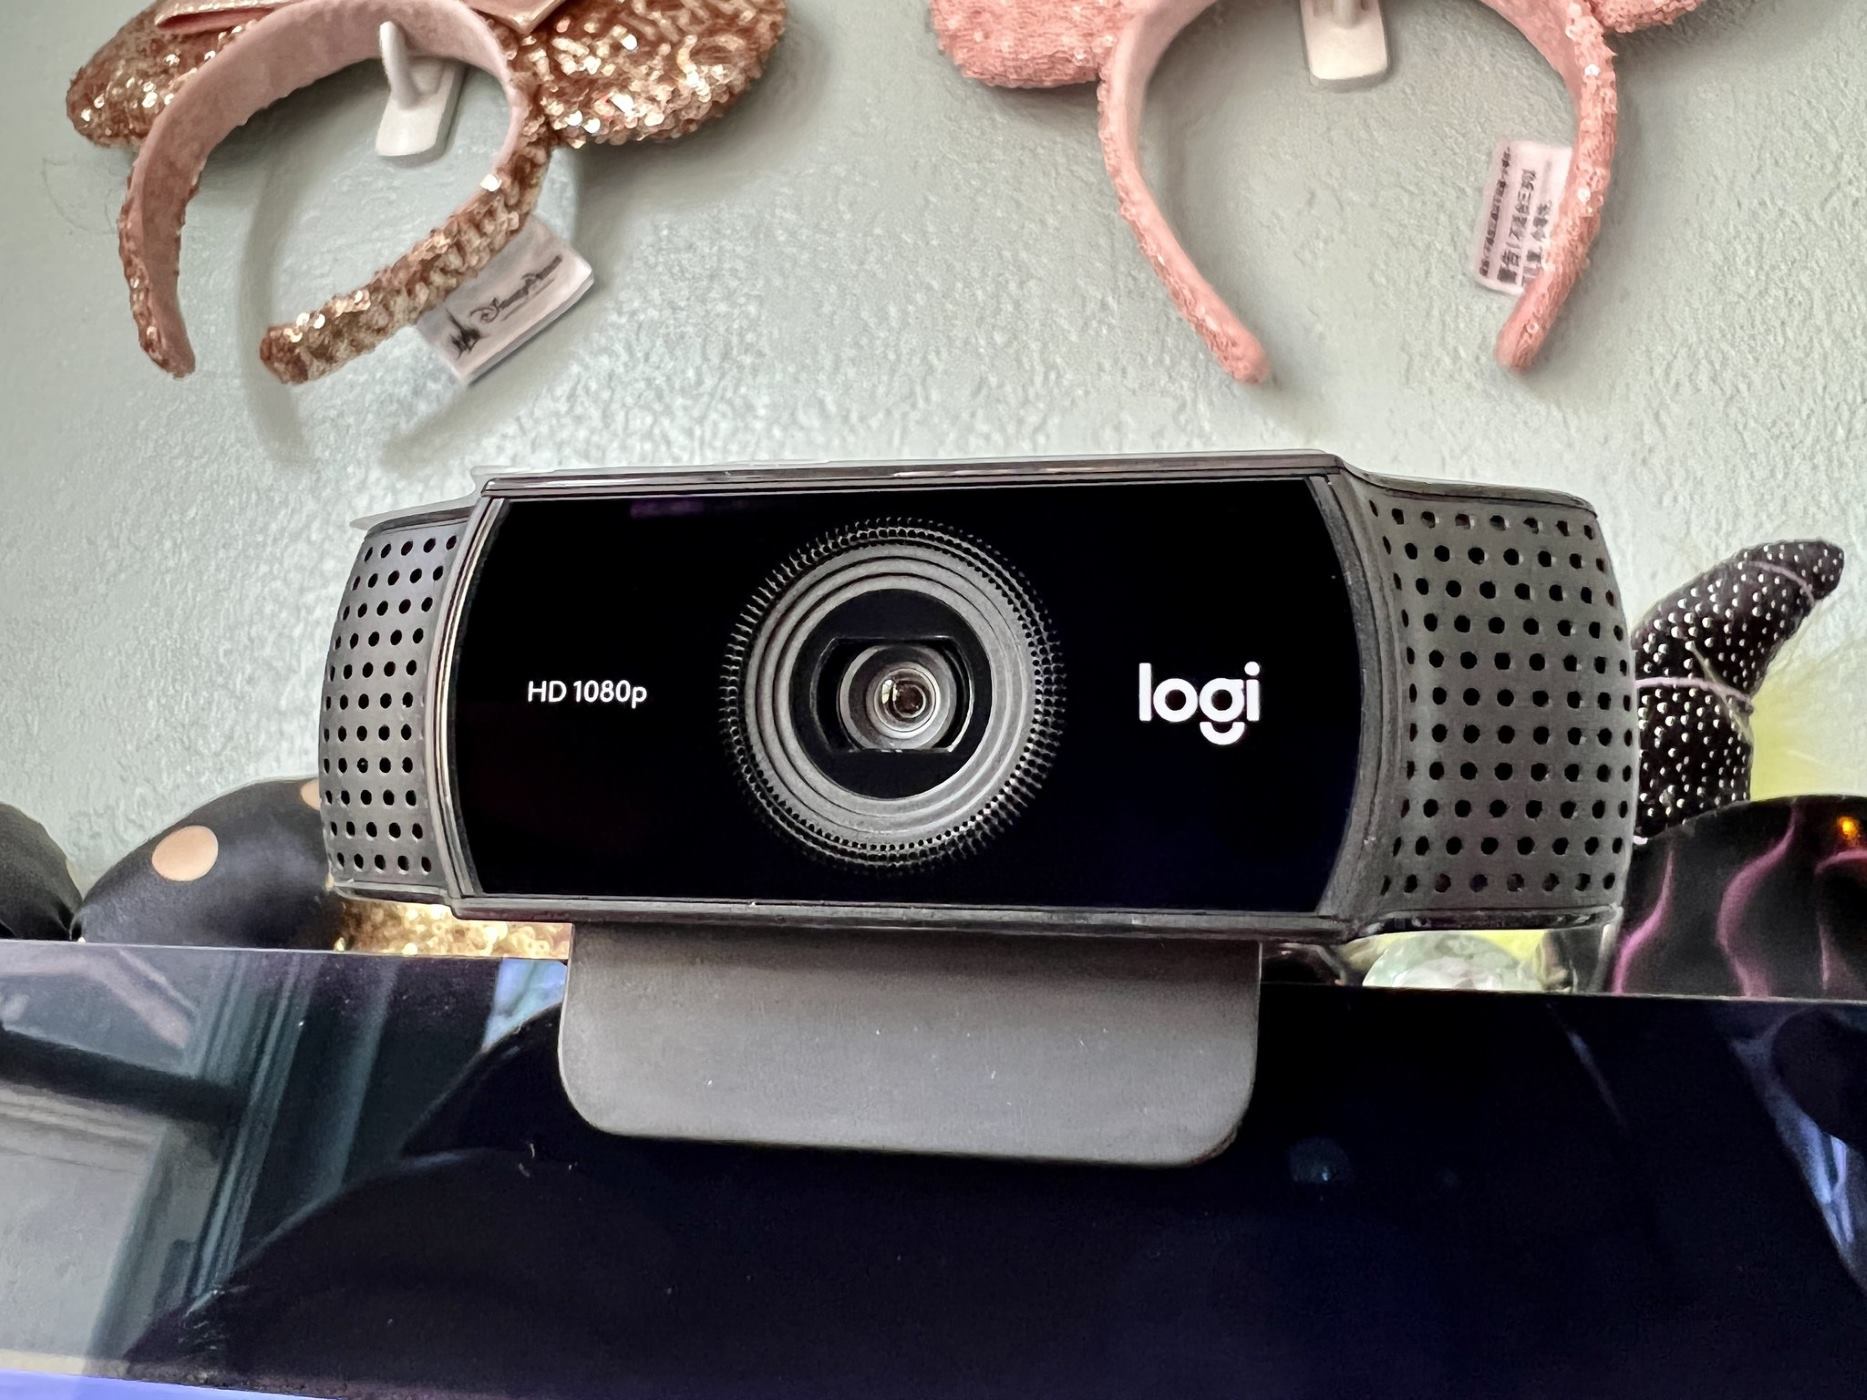
So, you’ve got a Logitech webcam and you’re wondering how to invert the camera? Well, you’ve come to the right place! In this article, we will guide you step by step on how to accomplish this task. Whether you need to flip the camera for video conferencing, live streaming, or any other purpose, we’ve got you covered.
Logitech webcams are known for their high-quality video output and user-friendly features. However, the option to invert the camera image may not be readily apparent in the settings. But don’t worry, with a few simple steps, you’ll be able to flip the camera image and use it according to your needs.
Flipping the camera image can be helpful in various scenarios. For instance, if you are using a webcam to record yourself while playing a musical instrument, you may want the orientation to be mirrored so it matches your movements. Additionally, if you are streaming content that includes text or graphics, flipping the camera image can ensure that it appears correctly for your viewers.
Before we dive into the steps, it’s important to mention that the process may vary slightly depending on the Logitech webcam model you are using. However, the general steps outlined in this guide should apply to most Logitech webcam software versions.
Without further ado, let’s jump into the process of inverting your Logitech webcam camera!
Why would you want to invert the camera on your Logitech webcam?
Before we delve into the steps of inverting your Logitech webcam camera, let’s explore the reasons why you might want to do so. This feature can be particularly useful in a variety of situations, enhancing your webcam experience and providing greater flexibility in how you use your Logitech webcam.
One common reason for wanting to invert the camera is for video conferencing or live streaming purposes. By flipping the camera image, you can achieve a mirrored effect, allowing you to replicate movements or gestures more accurately. This can be beneficial, especially if you are using your webcam for presentations, demonstrations, or any other scenario that requires synchronized movement.
In addition to video conferencing and live streaming, inverting the camera can also be useful if you are recording videos or capturing images that include text or graphical elements. By flipping the camera image, any text or graphics that appear will be displayed correctly to your audience, eliminating any confusion that may arise when viewing the mirrored content.
Furthermore, many Logitech webcam users find the inverted camera feature valuable for activities such as gaming or video production. In these instances, flipping the camera can provide a unique perspective and enhance the overall visual experience. Whether you’re creating content for your YouTube channel or engaging in immersive gaming sessions, the inverted camera can add a layer of creativity and novelty to your videos.
Another practical application for inverting the camera on your Logitech webcam is for virtual meetings or online classes. Often, you may need to share your screen or demonstrate something to others. By inverting the camera, you can ensure that what is displayed on your screen aligns correctly with your movements, making it easier for participants to follow along.
In summary, there are several reasons why you might want to invert the camera on your Logitech webcam. Whether you’re engaging in video conferencing, live streaming, gaming, or creating content, flipping the camera can enhance your experience and provide greater versatility. Now that we understand the benefits of this feature, let’s move on to the steps of inverting your Logitech webcam camera.
Step 1: Make sure you have the right software and drivers
Before you can invert the camera on your Logitech webcam, it is essential to ensure that you have the correct software and drivers installed on your computer. This will enable you to access the necessary settings and make the desired adjustments.
To begin, check the model of your Logitech webcam and visit the official Logitech website. Look for the support or downloads section, where you can find the appropriate software and drivers for your specific webcam model. Download and install the latest version to ensure compatibility and access to all available features.
In some cases, Logitech webcams may come bundled with software, such as the Logitech Webcam Software or Logitech Capture. If you already have one of these software installed on your computer, make sure it is up to date. If not, visit the Logitech website and download the relevant software for your webcam model.
It is also worth mentioning that some Logitech webcams are compatible with third-party software, such as OBS Studio or XSplit. If you prefer to use these applications, make sure you have them installed and updated to the latest version to ensure seamless integration with your Logitech webcam.
Once you have the appropriate software and drivers installed, it’s time to move on to the next step and launch the Logitech Webcam Software.
Step 2: Launch the Logitech Webcam Software
After ensuring that you have the necessary software and drivers installed, the next step is to launch the Logitech Webcam Software. This software provides you with full control over your Logitech webcam’s settings, including the option to invert the camera image.
To launch the Logitech Webcam Software, simply locate the installed application on your computer. You can typically find it in your list of programs under the Logitech folder or by searching for “Logitech Webcam Software” using the search bar in your operating system.
Once you have located the software, click on the icon to open it. The Logitech Webcam Software interface will appear, allowing you to access various settings and configurations for your webcam.
If you are using Logitech Capture instead of Logitech Webcam Software, the process may be slightly different. Launch the Logitech Capture application using the same method explained above.
Now that you have opened the Logitech Webcam Software or Logitech Capture, you’re ready to proceed to the next step and access the advanced settings.
Step 3: Access the advanced settings
Now that you have launched the Logitech Webcam Software or Logitech Capture, it’s time to access the advanced settings. These settings will allow you to make specific adjustments to your Logitech webcam, including the option to invert the camera image.
In the Logitech Webcam Software interface, look for a section or tab labeled “Settings,” “Preferences,” or “Advanced Settings.” Click on this section to access the additional webcam configuration options.
If you are using Logitech Capture, the advanced settings may be located in a different section. Look for options such as “Camera Settings” or “Advanced Controls” to access the necessary configuration options.
Once you have accessed the advanced settings, you’ll have a range of options to customize the behavior of your Logitech webcam. These settings may include video resolution, frame rate, exposure, brightness, and more.
Now, let’s move on to locating the specific option to invert the camera image in the Logitech Webcam Software or Logitech Capture.
Step 4: Locate the “Image Orientation” option
With the advanced settings open in the Logitech Webcam Software or Logitech Capture, it’s time to locate the “Image Orientation” option. This option controls whether the camera image is flipped or not, allowing you to invert the camera as desired.
Scroll through the advanced settings menu or tabs until you find an option related to camera orientation, flipping, or mirroring. The exact wording may vary depending on the software version or interface design, but the purpose remains the same.
Once you have located the “Image Orientation” or similar option, click on it to access the available settings. In some cases, it may be a simple toggle switch, while in others, you may have multiple options to choose from. These options could include “Normal,” “Mirror,” or “Inverted.”
Select the desired orientation option that suits your needs. In this case, you would want to choose the “Inverted” or “Mirror” option to flip the camera image.
Take a moment to double-check the other advanced settings and customize them according to your preferences. This is an excellent opportunity to fine-tune the camera settings to achieve the best possible video output.
Now that you have located and adjusted the “Image Orientation” option, it’s time to implement the inverted camera and test its functionality. Continue to the next step to learn how to invert the camera using the selected orientation option.
Step 5: Invert the camera
Now that you have located the “Image Orientation” option and chosen the desired orientation, it’s time to invert the camera. This step will apply the selected settings and flip the camera image on your Logitech webcam.
Click on the appropriate button or toggle switch to activate the inverted camera setting. Depending on the software, you may need to save or apply the changes before they take effect. Follow the on-screen instructions or look for a “Save” or “Apply” button to confirm your selection.
Once you have applied the inverted camera setting, you should see an immediate change in the camera image. It will now appear flipped or mirrored, aligning with the orientation you have chosen.
Take a moment to adjust the camera position or angle, if needed, to ensure that the flipped image appears as desired. You may need to make slight adjustments to achieve the desired framing or composition.
It’s important to note that flipping the camera image will not affect the actual video output or quality. The inversion only changes the visual representation on your screen or during live streaming/recording sessions.
Congratulations! You have successfully inverted the camera on your Logitech webcam. Now, it’s time to move on to the next step and test the inverted camera to ensure it’s working correctly.
Step 6: Test the inverted camera
After inverting the camera on your Logitech webcam, it’s essential to test it to ensure everything is working as expected. This step allows you to confirm that the camera image is indeed flipped or mirrored, matching the orientation you have chosen.
To test the inverted camera, open any application or software that uses your Logitech webcam. This could be video conferencing software like Zoom or Microsoft Teams, streaming platforms like Twitch or YouTube, or even a video recording application.
Once the application is open, start a video call or initiate a recording. The camera feed should appear, and you will be able to see the inverted camera image on your screen. Check for any text, graphics, or movements to verify that they are now correctly oriented based on the inversion.
During the test, you can also adjust the camera settings further if needed. This includes adjusting the exposure, brightness, contrast, or any other available options to achieve the desired video quality.
If you are using third-party software to access your Logitech webcam, such as OBS Studio or XSplit, make sure you configure the settings within that software to mirror or flip the camera image accordingly for your streaming or recording purposes.
By conducting a thorough test, you can ensure that the inverted camera works as intended and provides the desired visual effect. If any issues or unexpected behavior arise, you may need to revisit previous steps to adjust the settings or confirm that the appropriate software and drivers are installed.
Once you are satisfied with the results of the test, you can confidently use your Logitech webcam with the inverted camera image for all your video conferencing, streaming, or recording needs.
Conclusion
Inverting the camera on your Logitech webcam can provide a range of benefits and enhance your video conferencing, live streaming, gaming, or content creation experiences. By following the steps outlined in this guide, you can easily flip or mirror the camera image to match your specific needs and preferences.
We began by highlighting the importance of having the right software and drivers installed for your Logitech webcam. Ensuring compatibility and accessing the advanced settings are crucial for successfully inverting the camera.
Next, we walked you through launching the Logitech Webcam Software or Logitech Capture, depending on the software you have. This step allowed you to access the advanced settings menu and make the desired adjustments.
We then guided you in locating the “Image Orientation” option within the advanced settings, where you could choose the appropriate orientation to achieve the desired flipped or mirrored effect.
After selecting the desired orientation, you proceeded to invert the camera, confirming the changes and witnessing the immediate visual transformation in the camera image.
Finally, we emphasized the importance of testing the inverted camera to ensure it is functioning correctly. By using applications or software that utilize your Logitech webcam, you could verify that the flipped image appears as intended, making any necessary adjustments along the way.
Now that you have successfully inverted your Logitech webcam camera, you can enjoy a new perspective and enhance the visual experience for yourself and your audience. Whether it’s for video conferencing, live streaming, gaming, or content creation, the inverted camera feature opens up exciting possibilities.
Remember to refer back to this guide whenever you need to invert the camera again or make any additional adjustments to the settings. With your Logitech webcam now configured to suit your specific needs, you can confidently engage in a wide range of activities, making the most of your webcam’s capabilities.


