Introduction
Are you looking to install ESXi on your VMware Workstation? ESXi, a hypervisor used in virtualization, allows you to run multiple virtual machines on a single physical server. This can be a great solution for testing and learning purposes, as well as for small-scale production environments.
In this article, we will guide you through the process of installing ESXi on VMware Workstation. You will learn how to set up a virtual machine and configure ESXi to create your own virtualized environment. Whether you are a beginner or an experienced IT professional, this guide will provide you with the key steps to successfully install ESXi on VMware Workstation.
Before we begin, it’s important to note that VMware Workstation is a desktop virtualization software that allows you to create and run virtual machines on your computer. It provides a virtualization platform where you can install and run multiple operating systems simultaneously.
Now, let’s move on to the prerequisites required for installing ESXi on VMware Workstation.
Prerequisites
Before you start the installation process, there are a few prerequisites you need to meet:
- VMware Workstation: Ensure that you have VMware Workstation installed on your computer. You can download the latest version from the official VMware website and follow the installation instructions provided.
- Hardware Requirements: Make sure that your computer meets the minimum hardware requirements to run VMware Workstation and ESXi. Check the VMware documentation for the specific hardware requirements.
- ESXi ISO File: Download the ESXi ISO file from the VMware website. The ISO file contains the installation image for ESXi, and you will need it during the installation process.
- Minimum System Resources: Allocate enough system resources to the virtual machine on which you will install ESXi. It is recommended to have at least 2 CPU cores, 4GB of RAM, and 40GB of free disk space.
- Network Configuration: Ensure that your computer has a stable network connection. This is important for downloading the necessary files and accessing the virtual machines once they are set up.
- Administrator Privileges: Make sure that you have administrator privileges on your computer. This will enable you to install VMware Workstation and configure the necessary settings.
By fulfilling these prerequisites, you will have all the necessary tools and resources to proceed with the installation of ESXi on VMware Workstation. Now that you are ready, let’s move on to the next step: downloading VMware Workstation and the ESXi ISO file.
Step 1: Download VMware Workstation and ESXi ISO file
The first step in installing ESXi on VMware Workstation is to download the necessary software. Here’s how you can obtain VMware Workstation and the ESXi ISO file:
- Download VMware Workstation: Visit the official VMware website and navigate to the download page for VMware Workstation. Choose the appropriate version for your operating system and click on the download link. Follow the on-screen instructions to complete the download and installation process.
- Obtain the ESXi ISO file: After installing VMware Workstation, go to the VMware website and locate the download page for the ESXi ISO file. Select the desired version of ESXi and click on the download link. Make sure to save the ISO file in a location that is easily accessible.
Once you have downloaded VMware Workstation and obtained the ESXi ISO file, you are ready to proceed to the next step: installing VMware Workstation on your computer.
Step 2: Install VMware Workstation
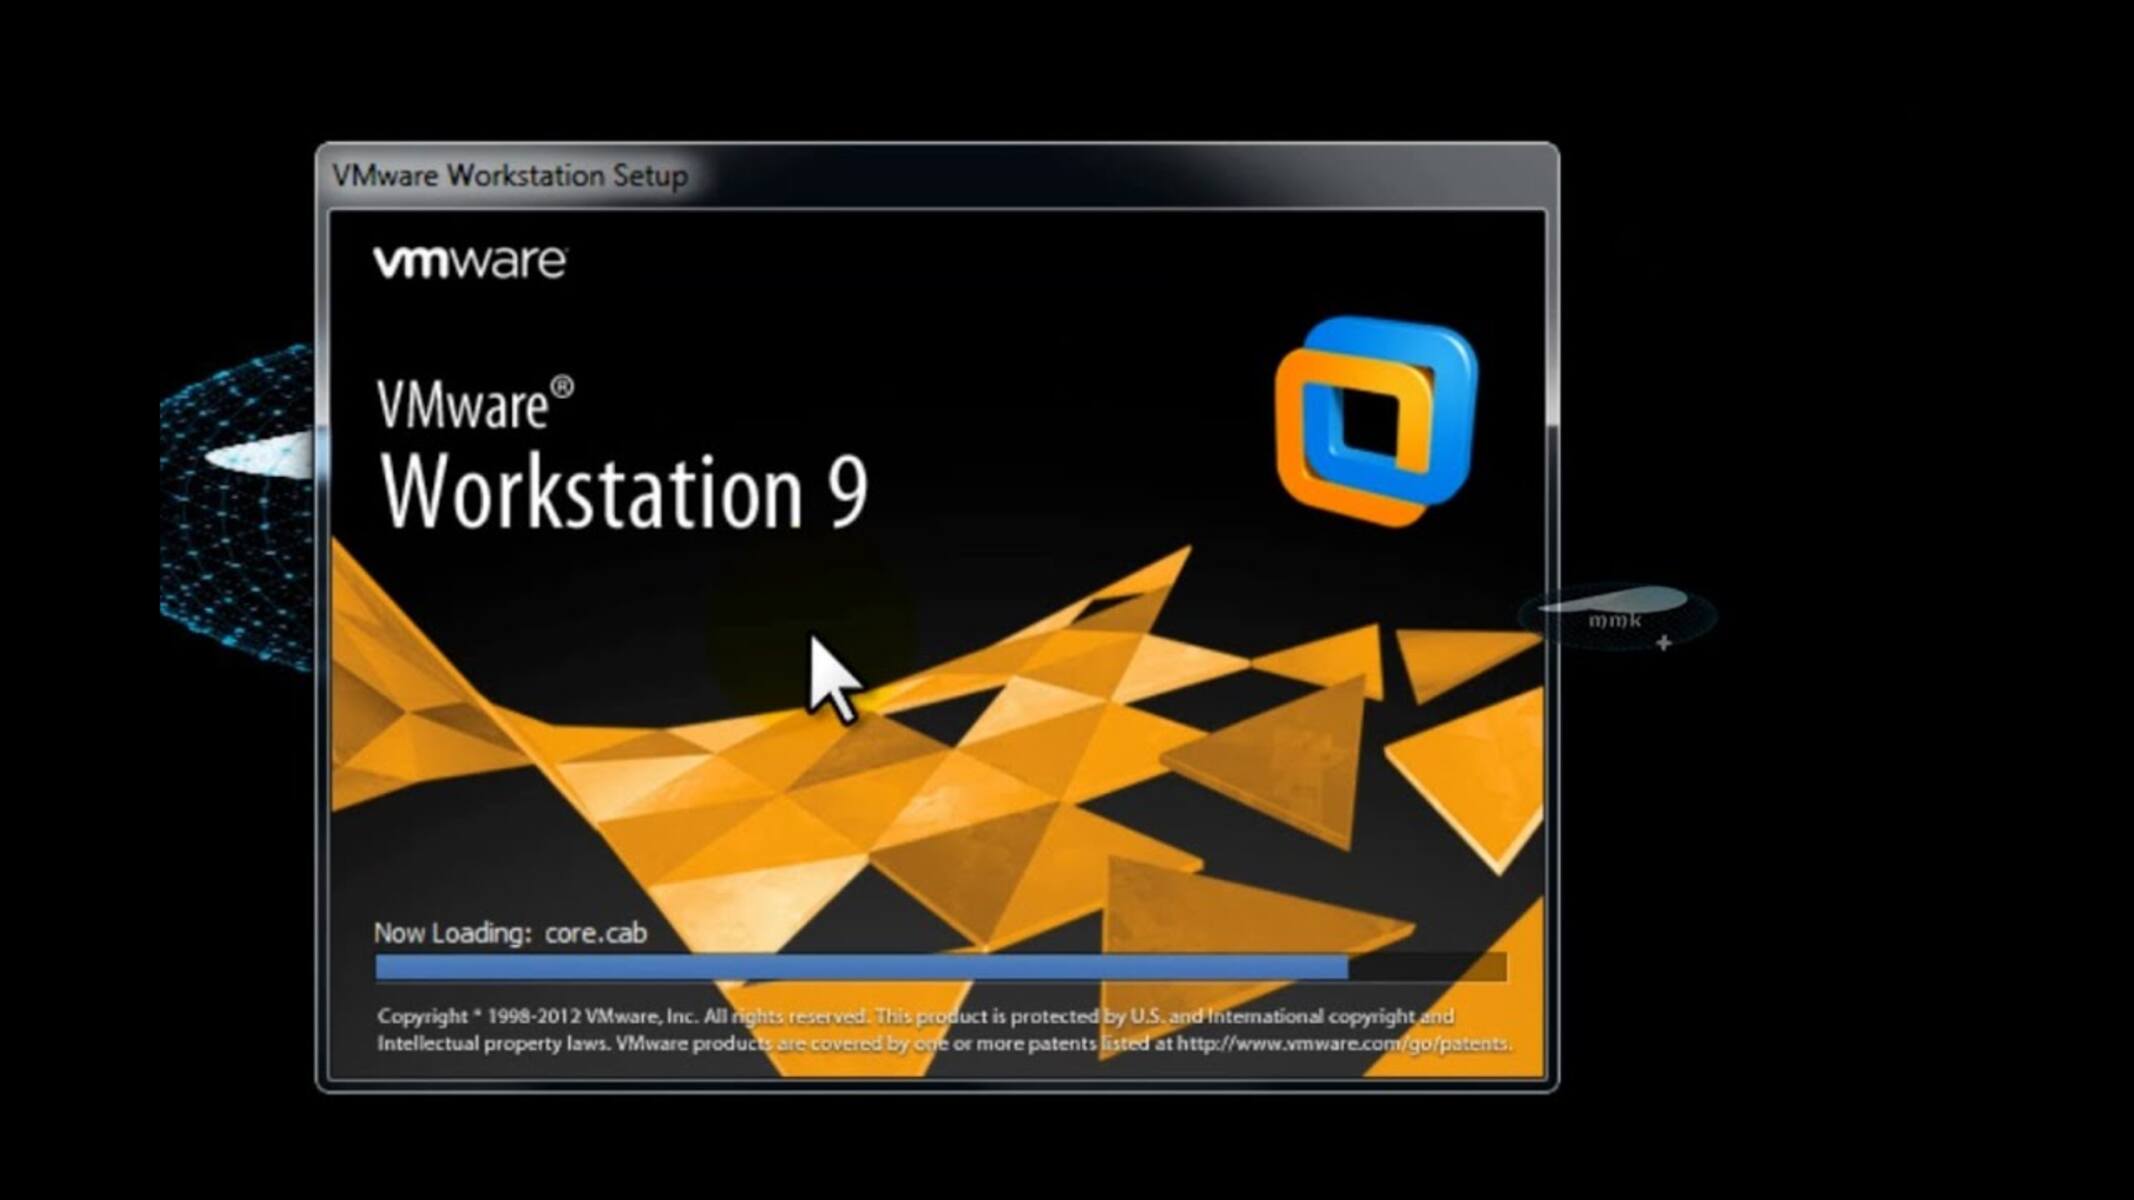
Now that you have downloaded VMware Workstation, the next step is to install it on your computer. Follow these steps to install VMware Workstation:
- Locate the downloaded installer: Open the folder where you saved the VMware Workstation installer. Usually, it will be in the Downloads folder or in the location you specified during the download process.
- Run the installer: Double-click on the VMware Workstation installer file to start the installation process. If prompted by the User Account Control window, click “Yes” to allow the installer to make changes to your computer.
- Accept the license agreement: Read and accept the End User License Agreement (EULA) presented by the installer. Click on the “Next” button to proceed.
- Select installation location: Choose the destination folder where you want to install VMware Workstation or leave the default location. Click “Next” to continue.
- Choose additional components: Select any additional components you want to install, such as VMware Player or VMware OVF Tool. These are optional and can be added or removed at a later time. Click “Next” to proceed.
- Configure shortcuts: Specify if you want to create shortcuts for VMware Workstation on your desktop and Start menu. Make your selection and click “Next.”
- Ready to install: Review the installation settings and click “Install” to begin the installation process.
- Wait for the installation to complete: The installer will extract and install the files required for VMware Workstation. The process may take a few minutes.
- Finish the installation: Once the installation is complete, click “Finish” to exit the installer.
Now that you have successfully installed VMware Workstation, you’re ready to move on to the next step: creating a new virtual machine to install ESXi.
Step 3: Create a new virtual machine
After installing VMware Workstation, the next step is to create a new virtual machine where you will install ESXi. Follow these steps to create a new virtual machine:
- Launch VMware Workstation: Open VMware Workstation from the start menu or desktop shortcut.
- Create a new virtual machine: Click on the “Create a New Virtual Machine” option in the Workstation Home tab.
- Select the installation method: Choose the “Installer disc image file (iso)” option and click “Browse” to locate the ESXi ISO file you downloaded earlier.
- Select the guest operating system: Choose “Linux” as the guest operating system and select the version that matches the ESXi version you are installing. If the specific version is not listed, choose the closest available option.
- Specify the virtual machine name and location: Provide a name for your virtual machine and choose a location where you want to store the virtual machine files.
- Configure the virtual hardware: Allocate resources such as CPU, memory, and network adapter to the virtual machine. Ensure that you meet the minimum system requirements for running ESXi.
- Customize hardware settings: Make any necessary adjustments to the virtual hardware settings based on your specific requirements. This includes adjusting disk size, enabling or disabling hardware devices, and configuring network settings.
- Finish creating the virtual machine: Review the summary of the virtual machine settings and click “Finish” to create the new virtual machine.
Once you have completed these steps, you have successfully created a new virtual machine in VMware Workstation. In the next step, we will configure the virtual machine settings to prepare for the installation of ESXi.
Step 4: Configure the virtual machine settings
After creating a new virtual machine in VMware Workstation, it’s time to configure the settings to prepare for the installation of ESXi. Follow these steps to configure the virtual machine settings:
- Power off the virtual machine: Make sure the newly created virtual machine is powered off before proceeding.
- Open the virtual machine settings: Right-click on the virtual machine name in the VMware Workstation interface and select “Settings” from the context menu.
- Configure the hardware: In the virtual machine settings, you can make adjustments to the hardware configuration. Ensure that the virtual machine meets the recommended hardware requirements for ESXi, such as allocating enough CPU cores, memory, and disk space.
- Modify the network adapter: Set the network adapter to “Bridged” mode to allow the virtual machine to access the network directly. This will enable connectivity between the virtual machine and other devices on the network.
- Manage storage: Adjust the virtual disk settings as necessary. You can increase or decrease the disk size, specify the disk type (e.g., SCSI or SATA), and choose whether to allocate all disk space upfront or dynamically grow the disk as needed.
- Review other settings: Check additional settings such as CD/DVD drive, USB controller, and boot order to ensure they are configured correctly. Make any necessary adjustments based on your requirements.
- Save the virtual machine settings: Once you have made the necessary changes, click “OK” to save the virtual machine settings.
By configuring the virtual machine settings appropriately, you are now ready to proceed with the installation of ESXi on the virtual machine. In the next step, we will guide you through the installation process.
Step 5: Install ESXi on the virtual machine
With the virtual machine settings configured, it’s time to install ESXi on the virtual machine you created in VMware Workstation. Follow these steps to install ESXi:
- Power on the virtual machine: Start the virtual machine by clicking on the “Power On” button in the VMware Workstation interface.
- Boot from the ESXi ISO image: When the virtual machine starts, it will boot from the ESXi ISO image you specified during the virtual machine creation. Follow the prompts to initiate the ESXi installation process.
- Accept the End-User License Agreement: Read and accept the End-User License Agreement (EULA) presented during the installation process.
- Select the installation destination: Choose the appropriate disk or partition where you want to install ESXi. Ensure that you select the correct disk to avoid overwriting existing data.
- Create a root password: Set a strong password for the ESXi root user account. This password will be required to access and manage the ESXi host.
- Complete the installation: Once you have provided all the required information, proceed with the installation. The ESXi installation process will copy all the necessary files and configure the system settings.
- Reboot the virtual machine: After the installation is complete, the virtual machine will prompt you to reboot. Allow the virtual machine to restart.
Once the virtual machine reboots, ESXi will be installed and ready to use. In the next step, we will guide you through the initial configuration process for ESXi.
Step 6: Configure ESXi settings
After successfully installing ESXi on the virtual machine, the next step is to configure its settings. Follow these steps to configure ESXi:
- Access the ESXi host: Open a web browser on your computer and enter the IP address or hostname of the ESXi host. You can obtain this information by checking the console of the virtual machine running ESXi.
- Accept the SSL certificate: ESXi will present an SSL certificate warning. Accept and trust the certificate to proceed to the ESXi host login page.
- Login to the ESXi host: Provide the ESXi root username and the password you set during the installation process. Click “Login” to access the ESXi host’s management interface.
- Configure networking: Set up networking for the ESXi host by configuring IP addresses, DNS settings, and default gateway. These settings will enable network connectivity for the ESXi host and its virtual machines.
- Create datastores: Datastores are storage locations where virtual machines and other files are stored. Set up datastores by connecting to storage devices or creating virtual disk files on local storage.
- Configure time and date settings: Set the correct time zone and time on the ESXi host to ensure accurate time synchronization for virtual machines and host operations.
- Enable remote management: If you need to manage the ESXi host remotely, enable services such as SSH or VMware vSphere Web Client to allow remote access.
- Configure additional settings: Explore other settings such as security, services, and advanced configurations based on your specific needs and requirements.
- Review and save the settings: Review all the settings you have configured and make any necessary adjustments. Click “Apply” or “Save” to save the settings and finalize the configuration.
Once you have completed the configuration process, your ESXi host will be fully operational and ready to host virtual machines. In the next step, we will power on the ESXi virtual machine and start using it.
Step 7: Power on the ESXi virtual machine
Now that you have successfully configured the ESXi settings, it’s time to power on the ESXi virtual machine and start using it. Follow these steps to power on the ESXi virtual machine:
- Access the VMware Workstation interface: Open the VMware Workstation application on your computer.
- Locate the ESXi virtual machine: In the VMware Workstation interface, locate the virtual machine that you have installed ESXi on.
- Power on the virtual machine: Right-click on the virtual machine and select “Power On” from the context menu.
- Wait for the ESXi boot process: The virtual machine will start the ESXi boot process. Allow some time for ESXi to load and initialize.
- Access the ESXi management interface: Open a web browser on your computer and enter the IP address or hostname of the ESXi host. This will bring you to the ESXi management interface.
- Login to the ESXi host: Enter your ESXi root username and password to log in to the ESXi management interface.
- Start managing the ESXi host: Once logged in, you can access and manage the ESXi host through the management interface. From here, you can create and manage virtual machines, configure networking, set up storage, and perform various administrative tasks.
With the ESXi virtual machine powered on and accessible through the management interface, you are now ready to start using ESXi and creating virtual machines for your desired applications and workloads.
Conclusion
Congratulations! You have successfully installed ESXi on VMware Workstation and configured it to create your own virtualized environment. We have gone through the important steps, from downloading VMware Workstation and the ESXi ISO file to creating a virtual machine, configuring its settings, and installing ESXi. You have also learned how to access the ESXi management interface and start managing the ESXi host.
By installing ESXi on VMware Workstation, you have unlocked a world of possibilities for testing, learning, and even small-scale production environments. With ESXi, you can run multiple virtual machines on a single physical server, helping you save costs, increase efficiency, and improve resource utilization.
Remember, this guide serves as a starting point for your ESXi journey. There is much more to explore and learn about ESXi and its features. As you become more comfortable with ESXi, you can dive deeper into advanced configurations, networking setups, storage management, and virtual machine deployment.
Now that you have the knowledge and foundation to work with ESXi, continue to explore its capabilities and expand your virtualization expertise. Stay up to date with the latest releases and developments from VMware to ensure you are making the most of ESXi and the virtualization technology it offers.
Thank you for following along with this guide. We hope it has provided you with a solid understanding of how to install ESXi on VMware Workstation and set up your own virtualized environment. Enjoy exploring the world of virtualization and all that ESXi has to offer!


