Introduction
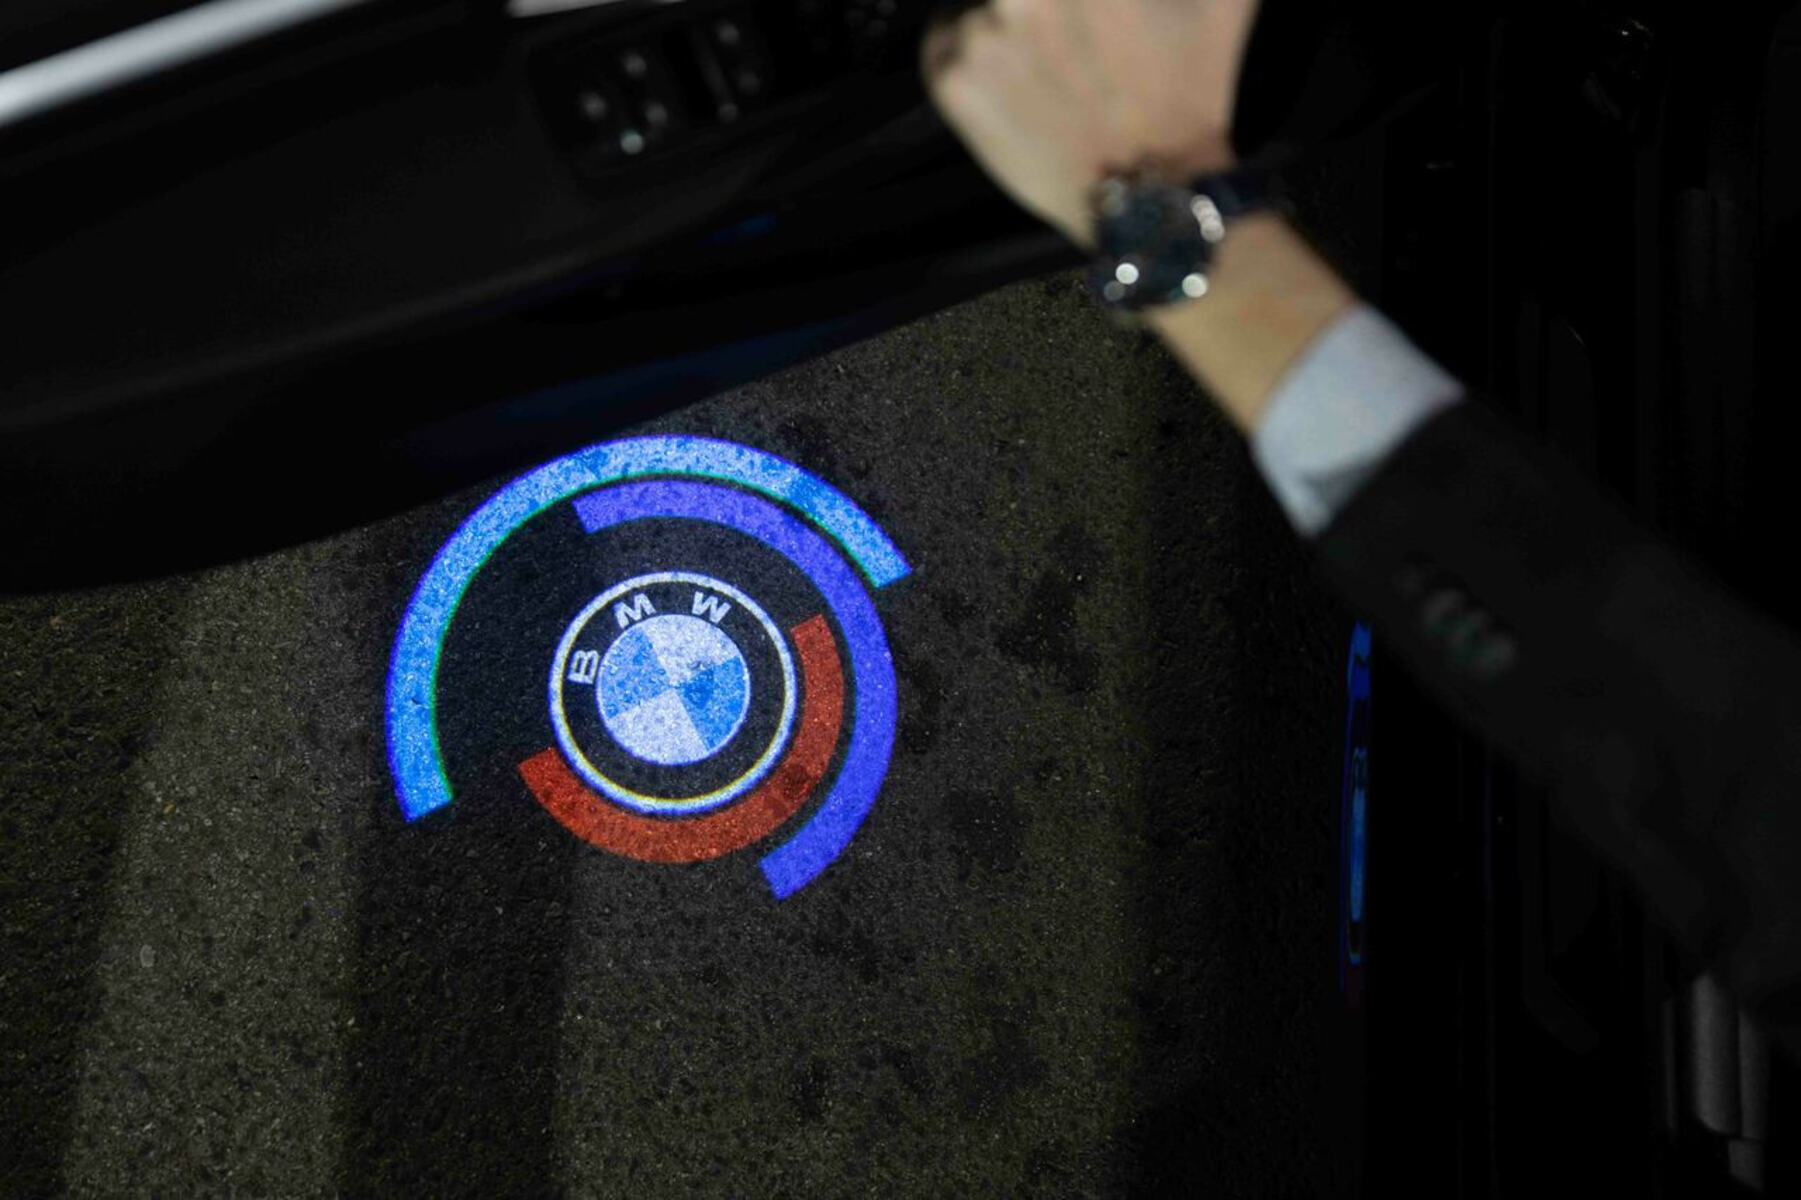
Welcome to our guide on how to install door projector lights. If you want to add a touch of style and functionality to your vehicle, door projector lights are a great choice. These lights project a logo or image onto the ground when you open your car doors, adding a personalized and welcoming touch.
Installing door projector lights may seem daunting, but with the right tools and instructions, it can be a straightforward and rewarding DIY project. In this guide, we will take you through each step of the installation process, ensuring that you have all the information you need to successfully complete the project.
Before we get started, it is important to note that the specific steps may vary depending on the make and model of your vehicle. It is always recommended to consult your vehicle’s owner manual for any specific instructions or precautions. Additionally, make sure to gather all the necessary materials before you begin.
Now, let’s dive into the step-by-step process of installing door projector lights and take your vehicle’s exterior to the next level!
Step 1: Gather the necessary materials
Before you begin installing door projector lights, it’s important to gather all the necessary materials. Having everything on hand will ensure a smooth installation process without any unnecessary delays. Here are the essential items you’ll need:
- Door projector lights kit: Purchase a high-quality kit that includes the projector lights, wiring harness, and installation accessories. Make sure the kit is compatible with your vehicle model.
- Screwdriver set: You’ll need a set of screwdrivers with different sizes and types to remove the door panel and mount the projector lights.
- Pry tools: These tools will help you carefully remove the door panel without damaging it. Plastic pry tools are recommended to prevent scratches.
- Electrical tape: Use electrical tape to secure the wiring connections and prevent any potential short circuits.
- Wire crimpers: Crimpers are necessary to securely connect the wiring of the projector lights to the vehicle’s existing wiring.
- Zip ties: These are helpful for organizing and securing the wiring during the installation.
- Flashlight: A flashlight will come in handy when working in low-light areas, such as inside the car doors.
It’s always a good idea to read through the installation instructions that come with the door projector lights kit. Familiarize yourself with the components and make sure you have everything specified in the instructions. This will save you time and ensure a successful installation.
Once you have gathered all the necessary materials, you are ready to move on to the next step: removing the door panel.
Step 2: Remove the door panel
In order to install door projector lights, you will need to remove the door panel to gain access to the internal components of the door. Here’s a step-by-step guide on how to remove the door panel:
- Start by locating and removing any screws or bolts on the door panel. These are typically found near the door handle, armrest, and around the edges of the panel. Use the appropriate screwdriver to carefully unscrew and remove them.
- Next, look for any clips or fasteners that are holding the panel in place. These can be located on the sides and bottom of the panel. Use a pry tool to gently and evenly pop the clips out. Take care not to force or pry too aggressively to avoid damaging the panel or clips.
- Once all the clips are released, carefully lift the panel upwards and away from the door. Be mindful of any electrical connectors or wires that may still be attached. If you come across any, disconnect them by pressing on the release tab or gently pulling the connector apart.
- Set the door panel aside in a safe place to avoid any damage.
Removing the door panel requires patience and attention to detail. Take your time and double-check that all screws, clips, and connectors are loosened or disconnected before attempting to lift the panel. If you encounter any resistance, inspect the area for any missed screws or clips that may still be holding the panel in place.
Now that the door panel is removed, you’re ready to move on to the next step: locating the door light wiring.
Step 3: Locate the door light wiring
Locating the door light wiring is a crucial step in the installation process, as it will allow you to connect the projector lights to the appropriate power source. Follow these steps to find the door light wiring:
- Inspect the area where the door panel was previously located. Look for a wiring harness or connector that is specifically designed for the door light.
- If you cannot locate the wiring harness, consult your vehicle’s owner manual to determine the exact location of the door light wiring. The manual should provide a detailed diagram or description to guide you.
- Inspect the wires for the door light. Typically, you will find two wires—one for the positive (+) connection and one for the negative (-) connection. These wires may be color-coded or labeled for easy identification.
- Ensure that the voltage provided by the door light wiring is compatible with the door projector lights you are installing. If necessary, consult the instruction manual of the projector lights or reach out to the manufacturer for further guidance.
During this step, it is important to handle the wiring with care to avoid any damage. If you are unsure about locating the door light wiring, it is recommended to seek assistance from a professional or consult a specialized automotive technician.
Once you have successfully located the door light wiring, you’re ready to move on to the next step: connecting the projector lights.
Step 4: Connect the projector lights
Now that you have located the door light wiring, it’s time to connect the projector lights to the existing electrical system. Follow these steps for a proper and secure connection:
- Begin by preparing the projector light wiring. If necessary, strip a small section of the wire insulation using wire strippers to expose the metal conductor.
- Identify the positive (+) and negative (-) wires of the projector lights. They are usually color-coded or labeled in the instructions.
- Connect the positive (+) wire of the projector light to the positive (+) wire of the door light wiring. This can be done by twisting the exposed ends of the wires together or using wire connectors for a more secure connection. Repeat the same process for the negative (-) wires.
- Once the connections are made, it’s important to secure them properly. Use electrical tape to cover the exposed wire connections and prevent any potential short circuits. This will also help in protecting the connections from moisture and other environmental factors.
- Test the projector lights by opening and closing the door. Ensure that they properly illuminate and project the desired logo or image onto the ground. If the lights don’t function as expected, double-check the wiring connections and consult the troubleshooting section of the instruction manual.
It is crucial to follow the instructions provided with the projector lights kit for the specific wiring and connection requirements. If you are uncertain about connecting the wires or need further assistance, consider seeking help from a professional automotive electrician.
With the projector lights connected, you’re ready to proceed to the next step: mounting the projector lights.
Step 5: Mount the projector lights
Now that the projector lights are properly connected, the next step is to mount them in the designated location on your vehicle’s doors. Follow these steps to securely mount the projector lights:
- Before mounting the lights, clean the surface area on the door where you plan to install them. This will ensure proper adhesion and a clean appearance.
- Position the projector light in the desired location on the door. Align it in a way that the projected logo or image is centered and facing downward.
- Once the position is determined, use double-sided adhesive tape or the provided mounting brackets to secure the projector light in place. Ensure that the adhesive is strong enough to hold the light securely, as it will be exposed to vibrations and movements while driving.
- Press firmly on the projector light, applying even pressure, to ensure a strong bond between the light and the door surface.
- Allow the adhesive or mounting brackets to fully cure as per the manufacturer’s instructions before proceeding. This will ensure that the projector lights are securely attached and won’t come loose over time.
It is important to follow the instructions provided with the projector lights kit for the specific installation requirements. Some kits may come with additional mounting hardware or instructions tailored to your vehicle model.
Once the projector lights are securely mounted, you’re ready to move on to the next step: testing the lights to ensure they are functioning correctly.
Step 6: Test the lights
After mounting the projector lights, it’s crucial to test them to ensure they are functioning properly before reassembling the door panel. Follow these steps to test the lights:
- Carefully close the door and make sure it is securely latched.
- Open the door and observe the projected image or logo on the ground. Ensure that it is clear, bright, and centered.
- Repeat the process for each door that has been equipped with projector lights.
- If the projector lights are not functioning as expected, double-check the wiring connections to ensure they are secure and properly connected. Also, verify that the power source is providing the correct voltage.
- If any issues persist, consult the troubleshooting section of the installation instructions or contact the manufacturer for further assistance.
Testing the lights will give you the opportunity to make any necessary adjustments or fixes before proceeding. It’s important to ensure that the projector lights are working correctly to fully enjoy their benefits.
Once you are satisfied with the performance of the projector lights, you’re ready to move on to the final step: reassembling the door panel.
Step 7: Reassemble the door panel
Now that the projector lights have been tested and confirmed to be functioning properly, it’s time to reassemble the door panel. Follow these steps to ensure a proper reinstallation:
- Inspect the door panel and make sure all electrical connectors and wires are properly positioned and aligned.
- Gently align the door panel with the door frame and ensure that it is properly seated. Be careful not to pinch any wires or cables during this process.
- Once the panel is aligned, push it firmly against the door frame to secure it in place. Ensure that all clips engage and hold the panel securely.
- If there were any screws or bolts removed during the disassembly process, reinsert them into their respective locations and tighten them securely using the appropriate screwdriver.
- Finally, give the door panel a gentle tug to ensure that it is properly secured and there are no loose or rattling parts.
Take your time during the reassembly process to ensure that everything is properly aligned and installed. Avoid forcing any parts into place, as this may cause damage to the panel or its components.
With the door panel reassembled, you have successfully completed the installation of the door projector lights! Take a moment to enjoy the enhanced appearance and functionality they bring to your vehicle.
Please note that the specific steps of reassembling the door panel may vary depending on the make and model of your vehicle. Always consult your vehicle’s owner manual for any specific instructions or precautions.
Now that you’ve completed the installation process, you can show off your new door projector lights and make a stylish entrance wherever you go!
Conclusion
Congratulations! You have successfully completed the installation of door projector lights on your vehicle. By following the step-by-step guide provided, you have added a touch of personalization and style to your car’s exterior while also improving functionality.
Throughout the installation process, you learned how to gather the necessary materials for the project and properly remove the door panel to access the internal components. You located the door light wiring and made the necessary connections to ensure the projector lights are powered correctly.
After mounting the projector lights, you took the time to thoroughly test them, ensuring they are functioning as expected and projecting the desired image onto the ground. Any issues were resolved, and adjustments were made to guarantee optimal performance.
Finally, you reassembled the door panel, ensuring a secure fit and proper alignment. The completion of this final step allowed you to admire your handiwork and enjoy the enhanced aesthetics and functionality that the door projector lights bring to your vehicle.
Remember, it’s essential to consult your vehicle’s owner manual for any specific instructions or precautions that may differ based on the make and model of your vehicle. Additionally, if at any point you feel unsure or encounter difficulties during the installation process, it is always advisable to seek assistance from a professional or specialized automotive technician.
Now it’s time to show off your newly installed door projector lights and make a stylish impression wherever you go. Enjoy the personalized touch they bring and revel in the uniqueness of your vehicle!


