Introduction
Adding a new SSD (Solid State Drive) to your Windows 10 system can be a game-changer in terms of performance and storage capacity. Whether you’re a gamer looking for faster load times or a professional needing to store large files, upgrading to an SSD is a smart investment. The process may seem daunting at first, but with a little planning and the right steps, you can easily integrate a new SSD into your Windows 10 setup.
In this guide, we will walk you through the necessary steps to add a new SSD to your Windows 10 system. We’ll cover everything from preparing your system and choosing the right SSD to transferring your data and configuring Windows 10 to take full advantage of your new drive. By following this step-by-step guide, you’ll be able to seamlessly incorporate the new SSD into your Windows 10 setup, boosting both performance and storage capacity.
Before we dive into the process, it’s important to note that adding an SSD to your existing system is a relatively simple task. However, it does require some basic technical knowledge and a careful approach. If you’re not comfortable working with computer hardware or feel unsure about any aspect of the process, it’s always recommended to seek assistance from a professional or a knowledgeable friend. That being said, if you’re ready to take the plunge and level up your Windows 10 system with a new SSD, let’s get started!
Step 1: Preparing Your System
Before adding a new SSD to your Windows 10 system, it’s crucial to ensure that you have everything in order. This includes backing up your important data, gathering the necessary tools, and familiarizing yourself with the inside of your computer. Taking the time to prepare will help make the installation process smoother and minimize the risk of any complications.
The first step is to back up your data. While installing an SSD shouldn’t delete any of your files, it’s always better to err on the side of caution and protect important information. You can use an external hard drive, cloud storage services, or backup software to create a backup of your files and documents. This way, if anything goes wrong during the installation process, you can easily recover your data without any hassle.
Next, gather the necessary tools. You’ll need a Phillips screwdriver, as most computer cases use this type of screw for the drive bays. Additionally, it’s a good idea to have an antistatic wrist strap to protect your computer components from any electrostatic discharge. This is especially important if you’re working on a carpeted surface or in a dry environment.
Once you have your tools ready, it’s important to power down your computer and unplug it from the wall socket. This ensures that you’re working in a safe environment and eliminates the risk of electrical shock. Once your computer is turned off, open the computer case to access the internal components. Consult your computer’s manual or manufacturer’s website for specific instructions on how to open the case for your particular model.
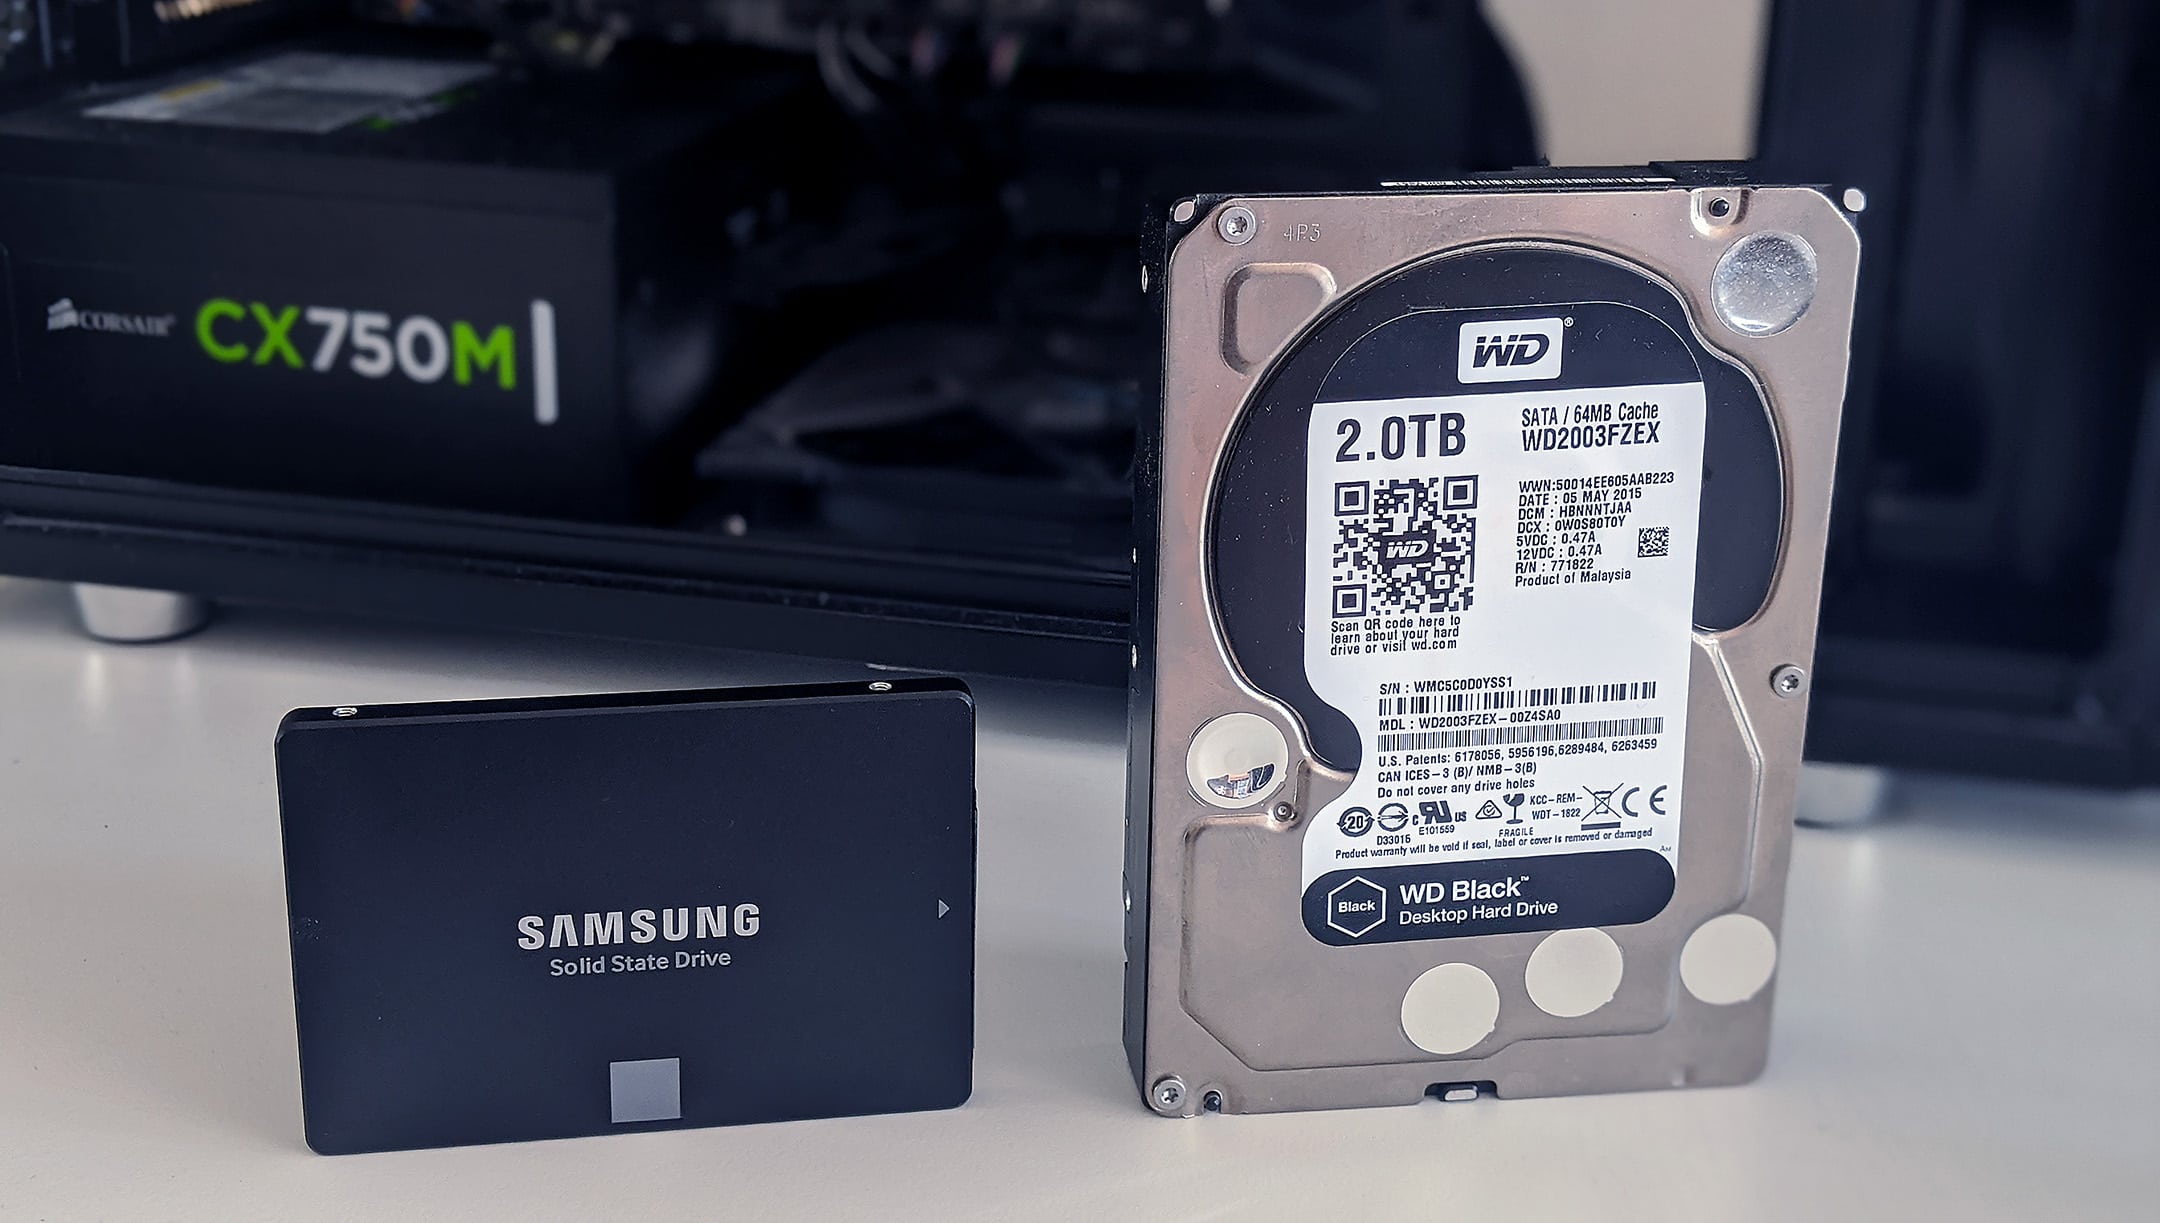
Take a moment to familiarize yourself with the inside of your computer. Locate the existing storage drives, usually labeled as HDD (Hard Disk Drive) or SSD. Identify the drive bays where you can install the new SSD. Most modern computer cases have dedicated slots for SSD installation, typically located near the motherboard. Make sure you have enough space and the necessary cables to connect the new SSD.
By adequately preparing your system, gathering the necessary tools, and familiarizing yourself with the internal components, you’ll be ready to move on to the next step of adding a new SSD to your Windows 10 system. Stay tuned for our next section, where we’ll guide you through choosing the right SSD for your needs.
Step 2: Choosing the Right SSD
Choosing the right SSD for your Windows 10 system is a crucial step in the process. There are various factors to consider, including storage capacity, performance, and budget. By understanding your needs and evaluating different options, you can select an SSD that best matches your requirements.
The first consideration is the storage capacity. SSDs come in a range of sizes, from as small as 120GB to as large as 4TB or more. Assess your storage needs and determine how much space you require. If you mainly use your computer for basic tasks like web browsing and document editing, a smaller capacity SSD may suffice. However, if you frequently work with large files, such as video editing or gaming, a larger capacity SSD is recommended to ensure you have enough space.
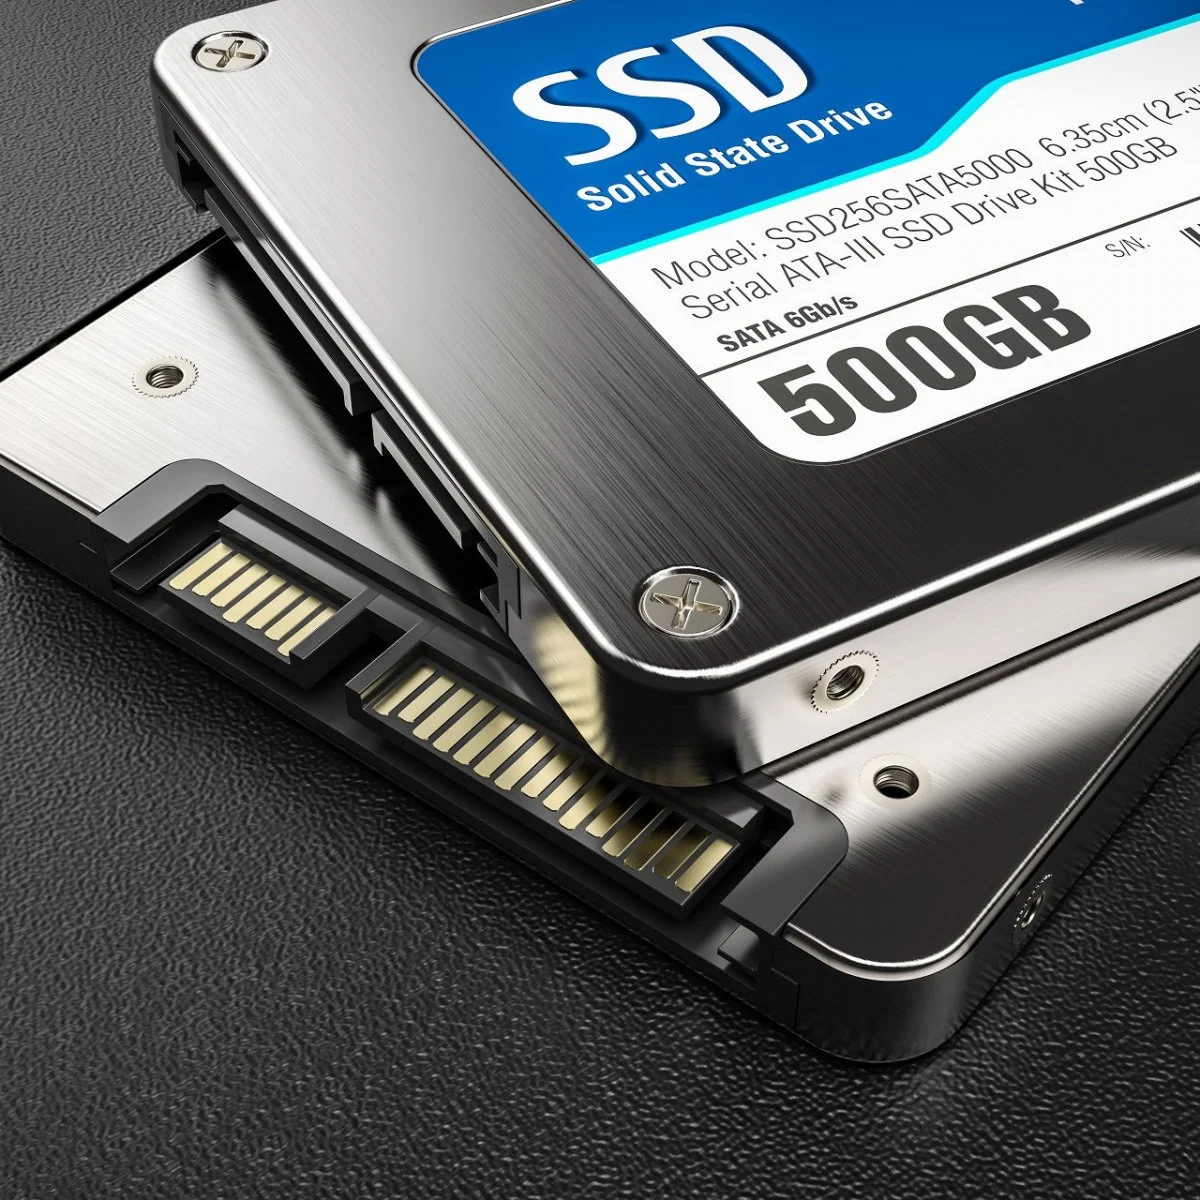
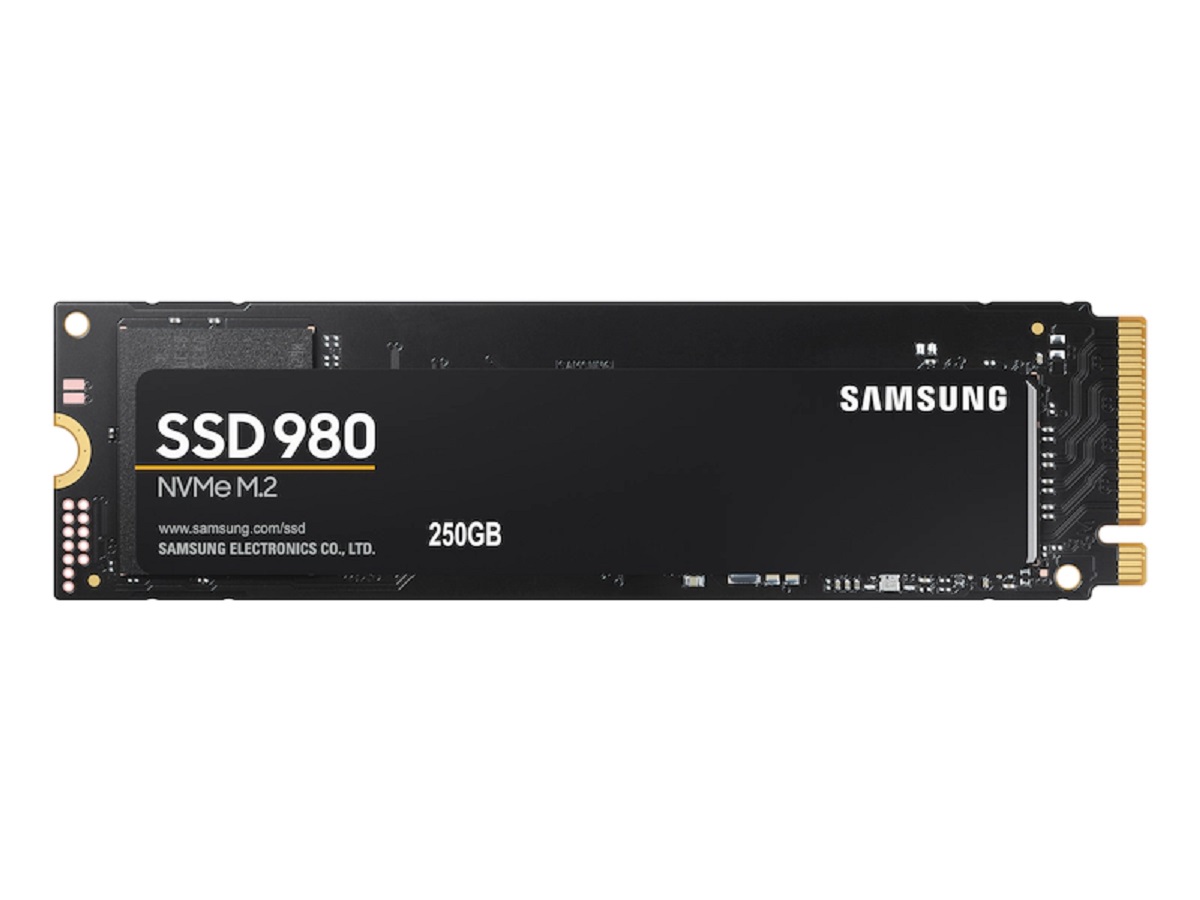
Next, consider the performance of the SSD. Look for SSDs that offer fast read and write speeds. This will ensure quick boot times and snappy performance when accessing files. Pay attention to the interface and check if your motherboard supports it. Most modern SSDs use the SATA or NVMe interface, with NVMe offering faster speeds compared to SATA. If your motherboard has an M.2 slot, consider going for an NVMe SSD for optimal performance.
Budget is another important factor to consider. SSD prices have become more affordable in recent years, but they still vary based on capacity and performance. Set a budget and look for SSDs that fit within your price range. It’s worth noting that investing in a quality SSD is a wise decision, as it can significantly improve your system’s performance and longevity.
Additionally, it’s beneficial to research and read customer reviews and feedback on different SSD brands and models. This will provide valuable insights into the reliability and performance of specific SSDs. Look for brands with a good reputation and warranties that offer peace of mind.
After considering your storage needs, performance requirements, budget, and researching the options available, you’ll be ready to make an informed decision and choose the right SSD for your Windows 10 system. Stay tuned for the next section, where we’ll guide you through backing up your data before the installation process.
Step 3: Backing up Your Data
Before proceeding with the installation of the new SSD, it’s crucial to back up your data to prevent any potential loss or damage during the process. By creating a backup of your important files, you’ll have peace of mind knowing that your data is secure and can be easily restored if needed.
There are several methods you can use to back up your data. One option is to manually transfer your files to an external storage device such as an external hard drive or USB flash drive. Simply copy and paste the files from your computer to the external storage device. This method is suitable for backing up a moderate amount of data or specific files and folders.
Alternatively, you can utilize cloud storage services for your backup. Services like Google Drive, Dropbox, or Microsoft OneDrive provide secure and convenient cloud storage options. These services offer a certain amount of free storage, and you can also opt for premium plans with larger storage capacities. Uploading your important files to the cloud ensures that they are accessible from any device with an internet connection, and they are protected in case of any hardware failure or loss.
Another option is to utilize backup software that automates the process. Backup software such as Acronis True Image or Macrium Reflect allows you to create full system backups or specific file backups. These software options often provide advanced features like incremental backups, encryption, and scheduling, making the backup process efficient and convenient.
Remember to include all essential files, such as documents, photos, videos, and any personal or work-related data. It’s always better to be safe than sorry, so make sure you haven’t missed any important files during the backup process.
Once your data is backed up, it’s a good practice to verify the backup by accessing a few files and ensuring they are intact. Double-checking your backup gives you peace of mind, knowing that your data is safe and can be easily restored if needed.
By taking the time to back up your data, you’re protecting yourself from any potential loss or damage during the SSD installation. With your important files securely backed up, you can confidently proceed to the next step – installing the new SSD into your Windows 10 system. Stay tuned for our next section, where we’ll guide you through the installation process.
Step 4: Installing the SSD
Now that you have backed up your data, it’s time to install the new SSD into your Windows 10 system. Installing an SSD is a relatively straightforward process, but it’s important to follow the proper steps to ensure a successful installation without any damage to your computer components.
Start by powering off your computer and unplugging it from the power source to prevent any electrical accidents. Open the computer case according to the manufacturer’s instructions or consult the system manual if needed. Before touching any internal components, ensure that you discharge any static electricity by touching a grounded metal object or wearing an anti-static wrist strap.
Next, locate an available drive bay to install the SSD. Most cases have dedicated slots for SSDs, typically near the motherboard. If there is an adapter or tray in the drive bay, remove it carefully. Align the SSD with the mounting holes and insert it into the drive bay, taking care not to apply excessive force. Secure the SSD in place using screws or other mounting mechanisms provided with your computer case.
Once the SSD is securely installed, connect the necessary cables. If you’re using a SATA SSD, connect one end of the SATA data cable to the SSD and the other end to an available SATA port on your motherboard. If you’re installing an M.2 SSD, check if your motherboard supports the M.2 interface and insert the SSD into the appropriate slot. Some M.2 SSDs may require a screw or standoff to secure them properly.
After connecting the SSD, ensure that all cables are properly seated and secure. Now, it’s time to close the computer case and reconnect any peripherals you unplugged earlier. Double-check that everything is securely connected before powering on your system.
Once your computer is powered on, enter the BIOS or UEFI settings by pressing the designated key during boot (typically Del, F2, or Esc). Verify that the new SSD is detected by the system. If not, ensure that the cables are connected correctly and try again. If the SSD is detected, save the changes and exit the BIOS/UEFI settings.
Congratulations! You have successfully installed the new SSD into your Windows 10 system. In the next section, we will guide you through the formatting process to prepare the SSD for use in Windows 10. Stay tuned!
Step 5: Formatting the SSD
Once you have installed the new SSD into your Windows 10 system, the next step is to format it to prepare it for use. Formatting the SSD involves creating a file system and setting it up for data storage. This process will ensure that your computer can recognize and utilize the SSD efficiently.
To begin, open the Windows File Explorer by pressing the Windows key + E on your keyboard. Locate and right-click on “This PC” or “My Computer” and select “Manage.” This will open the Computer Management window. From the left-hand panel, click on “Disk Management” under “Storage.”
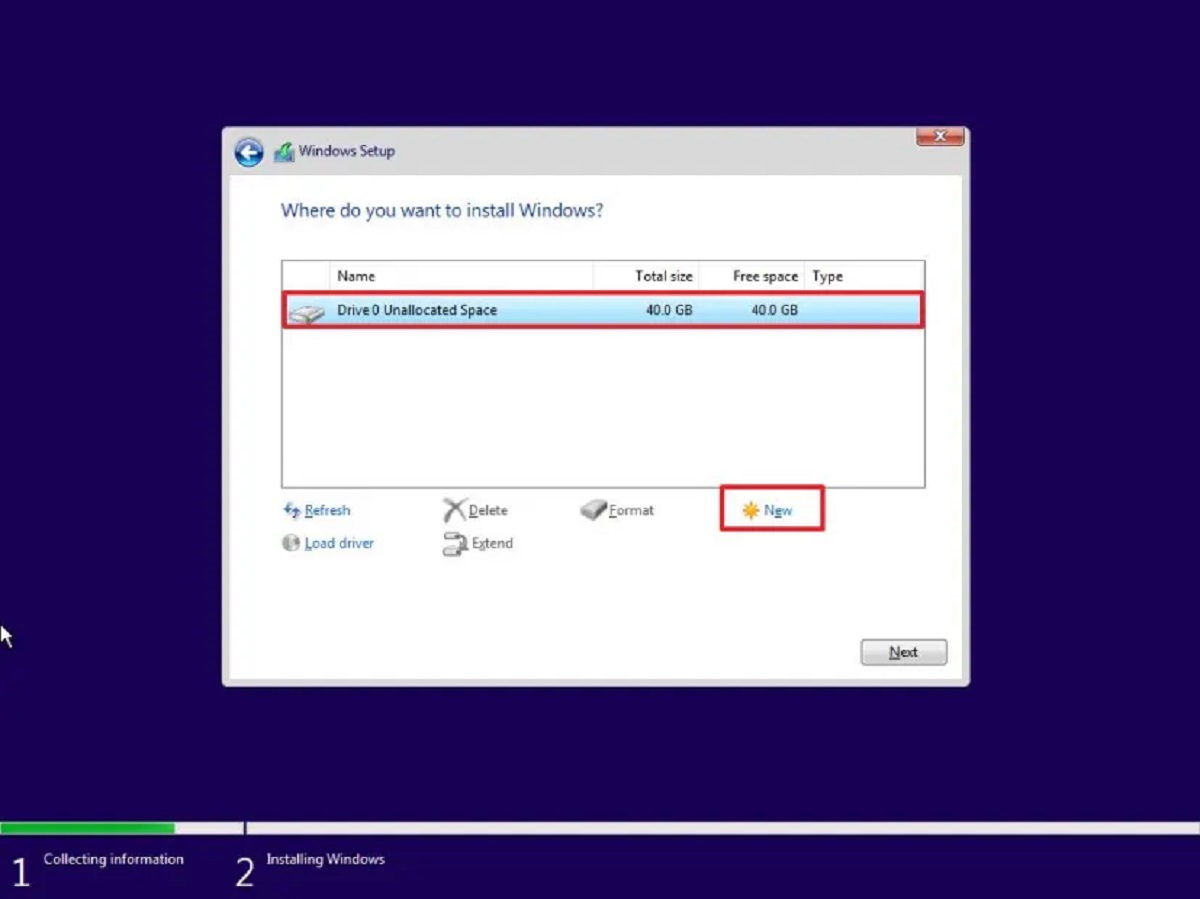
In the Disk Management window, you will see a list of all connected storage devices, including your new SSD. It may appear as an unallocated or unformatted drive. Right-click on the SSD and select “New Simple Volume” from the context menu. The New Simple Volume Wizard will open.
Follow the instructions in the wizard to set up the new volume. You can choose to allocate the full capacity of the SSD to a single partition or divide it into multiple partitions if desired. Select the file system format, usually NTFS for Windows 10, and assign a drive letter.
Additionally, you can choose to give the volume a meaningful name to easily identify it. Enable the option for quick formatting if available, and click “Finish” to complete the formatting process.
Once the formatting is complete, your new SSD is now ready for use. It will appear as a recognized drive in the Windows File Explorer, and you can begin storing files and transferring data to it.
It’s worth noting that formatting the SSD will erase all data on it, so make sure you have backed up any important files before proceeding with the formatting process. If you have multiple partitions on the SSD, you can later resize or create additional partitions using the Disk Management tool if needed.
By successfully formatting your new SSD, you have completed an essential step in the setup process. In the next section, we will guide you through transferring your data from the old drive to the new SSD. Stay tuned!
Step 6: Transferring Your Data
Now that you have formatted your new SSD, it’s time to transfer your data from the old drive to the new SSD. This step allows you to migrate your files, applications, and operating system to the faster and more efficient storage solution.
There are several methods you can use to transfer your data; it depends on your preference and the complexity of your setup. One of the simplest ways is to manually copy and paste your files and folders from the old drive to the new SSD. Open the Windows File Explorer and navigate to the desired files and folders on the old drive. Select them and copy them (Ctrl+C), then navigate to the new SSD and paste them (Ctrl+V). This method is suitable for transferring documents, photos, and other personal files.
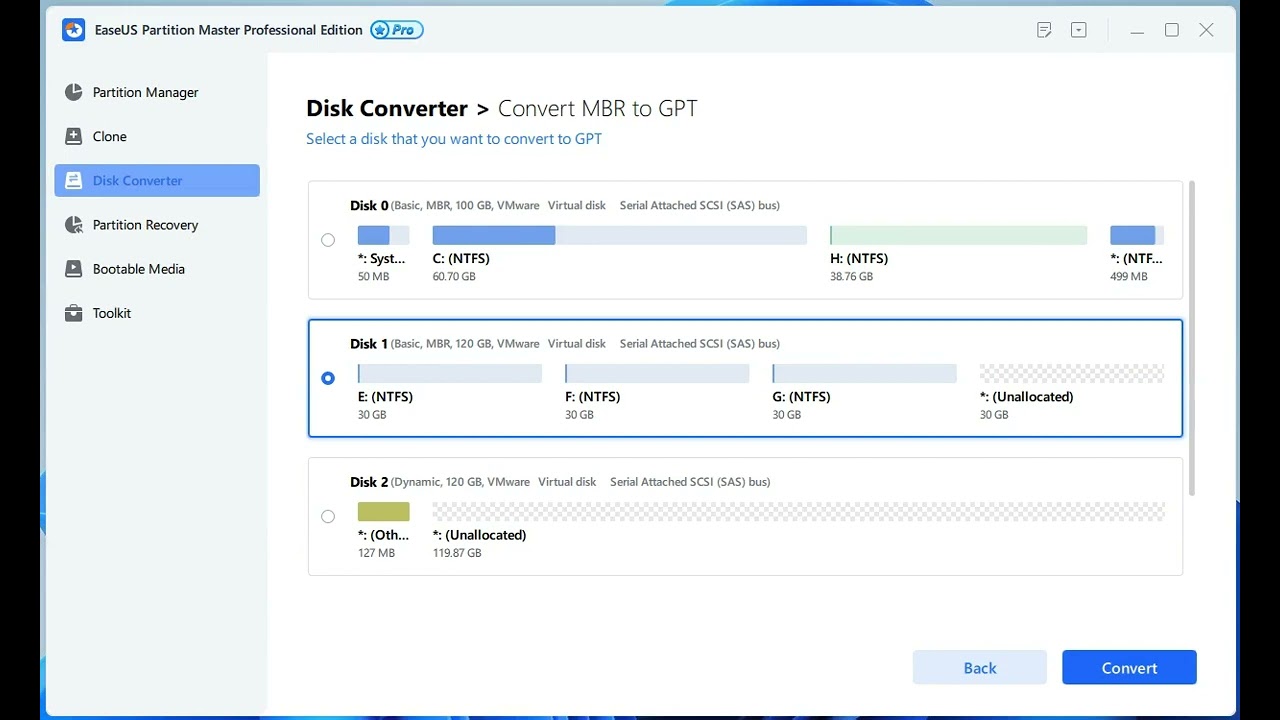
For more complex transfers, such as transferring applications and the operating system, you can use specialized software designed for data migration. These tools, like EaseUS Todo PCTrans or Acronis True Image, can clone your old drive to the new SSD, ensuring that all files, settings, and configurations are transferred seamlessly. Simply connect both the old drive and the new SSD to your computer, run the cloning software, and follow the instructions to complete the migration process.
If you’re transferring your operating system, it’s essential to check if your Windows 10 product key is required for reactivation. In some cases, migrating the operating system may require reactivating it by entering the product key again. You can find your product key by checking the packaging of your Windows 10 installation or by using a key finder tool before starting the migration process.
Once you have transferred your data to the new SSD, it’s important to confirm that everything is working correctly. Test your files, applications, and the operating system to ensure that they are functioning as expected. Take the time to browse through various folders, access files, and launch applications to verify that the transfer was successful.
Lastly, if you no longer need the old drive, you can remove it from your system to free up space and minimize clutter. However, it’s important to keep the old drive for a while, at least until you’re confident that all your data has been successfully migrated to the new SSD. Once you’re sure, you can safely remove the old drive from your system.
By transferring your data to the new SSD, you have completed a crucial step in the process of integrating it into your Windows 10 system. In the next section, we will guide you through configuring Windows 10 to take full advantage of the new SSD’s capabilities. Stay tuned!
Step 7: Configuring Windows 10 for the New SSD
After transferring your data to the new SSD, it’s important to configure Windows 10 to optimize its performance and take full advantage of the increased speed and storage capacity. By making a few tweaks and adjustments, you can ensure that your Windows 10 system is fully optimized for the new SSD.
The first step is to check the default settings for storage optimization. Open the Windows File Explorer and navigate to “This PC” or “My Computer.” Right-click on the new SSD drive and select “Properties” from the context menu. In the Properties window, navigate to the “Hardware” tab and ensure that the SSD is set to “Enable write caching on the device” and “Turn off Windows write-cache buffer flushing.” These settings allow for faster read and write operations.
Next, open the power settings by clicking on the battery icon in the system tray or searching for “Power options” in the Windows search bar. Select “High performance” as the power plan to ensure that the SSD is operating at its maximum potential. This power plan minimizes the system’s sleep or hibernation times, allowing for quicker responsiveness.
To further optimize Windows 10 for the SSD, disable unnecessary services and startup programs. Open the Task Manager by pressing Ctrl+Shift+Esc or by right-clicking on the taskbar and selecting “Task Manager.” Navigate to the “Startup” tab and disable any unnecessary programs from starting automatically with Windows. Additionally, open the “Services” tab and disable any services that are not critical for your system’s operation.
Another important optimization is to change the default location of certain system folders to the new SSD. Open the Windows File Explorer and right-click on folders like Documents, Pictures, Music, and Videos. Select “Properties” and navigate to the “Location” tab. Click on “Move” and choose a folder on the new SSD where you want to store these files. This will ensure that the files in these folders are directly stored on the SSD, improving access speeds.
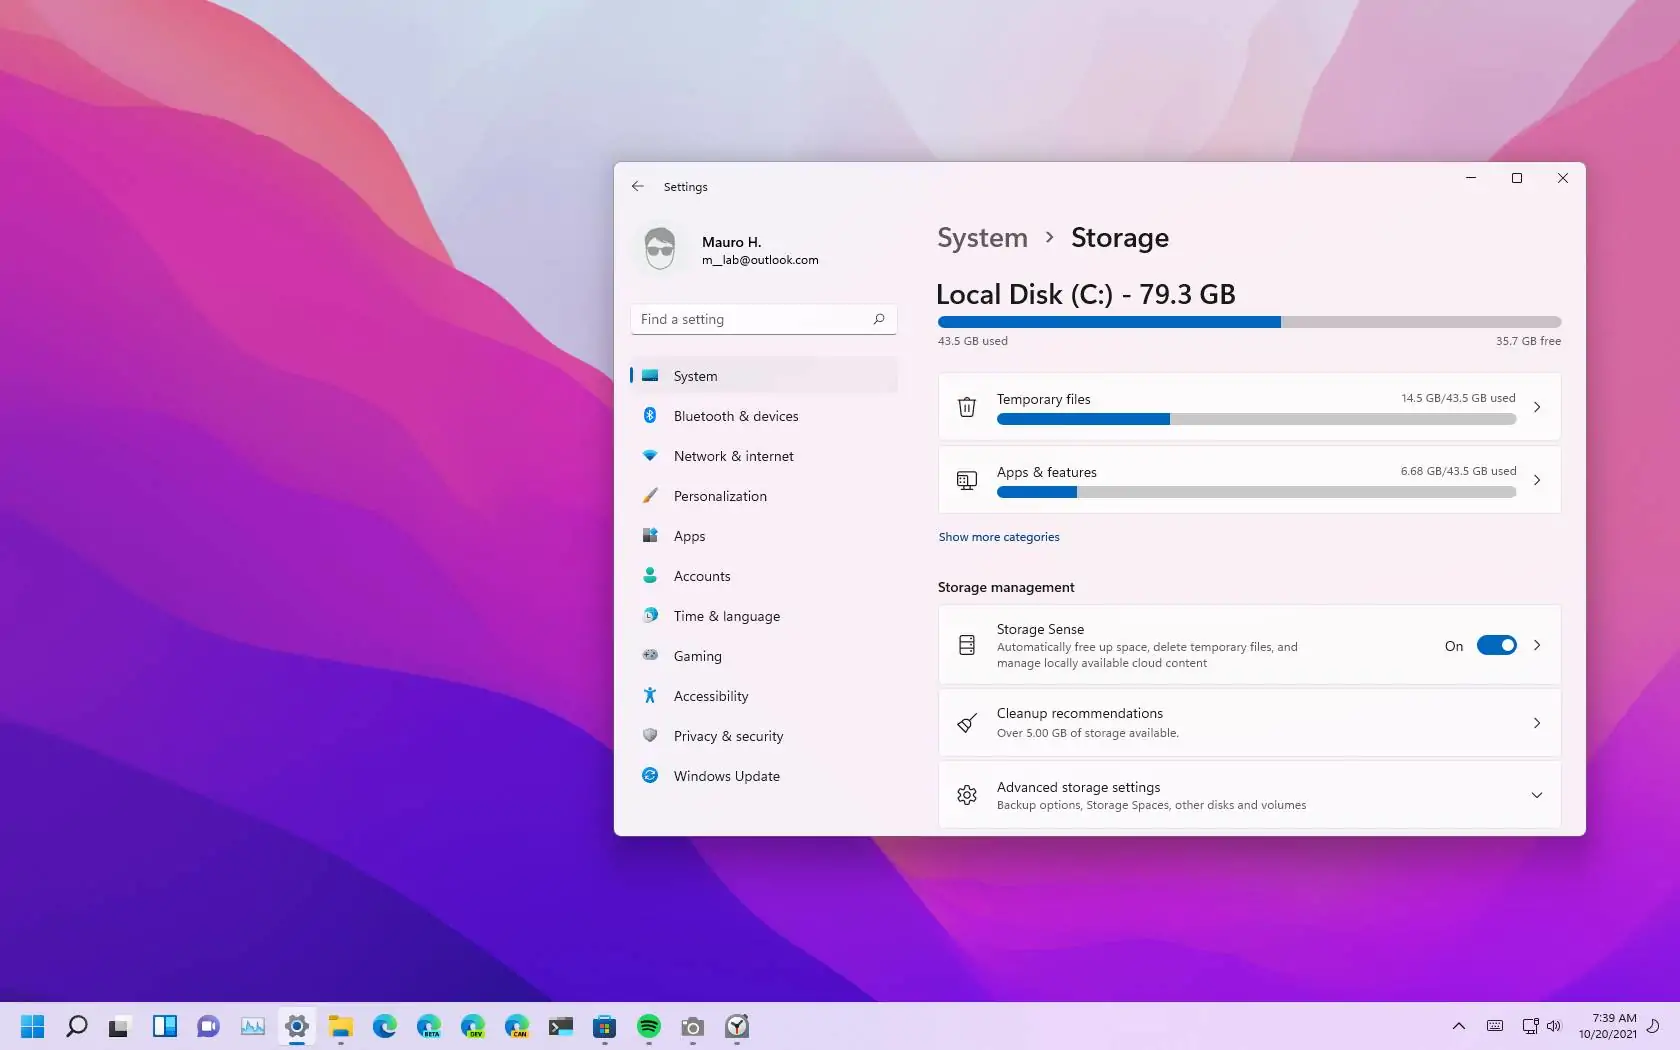
To maximize the performance of your new SSD, it’s recommended to keep it free from unnecessary files and ensure regular maintenance. Use the built-in Windows Disk Cleanup utility to remove temporary files, empty the Recycle Bin, and clean up system files you no longer need. Additionally, consider using a disk defragmentation tool to optimize the SSD’s performance.
Lastly, it’s worth updating your device drivers and the firmware of your SSD to ensure compatibility and improve performance. Check the manufacturer’s website for any available firmware updates and download the latest versions. Similarly, update your device drivers through Windows Update or by manually downloading the latest versions from the manufacturer’s website.
By configuring Windows 10 to take advantage of the new SSD, you’re ensuring optimal performance and efficiency. With these optimizations in place, your system will run smoother and faster, allowing you to make the most of your new SSD’s capabilities.
Congratulations! You have completed all the necessary steps to add and configure a new SSD in your Windows 10 system. Enjoy the enhanced performance, increased storage capacity, and faster load times that come with your new SSD. If you have any questions or need further assistance, don’t hesitate to seek help from a professional or consult the manufacturer’s documentation.
Conclusion
Congratulations! You have successfully added a new SSD to your Windows 10 system. By following the step-by-step guide provided, you have significantly improved the performance and storage capacity of your computer. The new SSD will allow for faster boot times, quicker application launches, and seamless data transfers.
Throughout the process, you learned how to prepare your system, choose the right SSD, back up your data, install the SSD, format it, transfer your data, and configure Windows 10 for optimal performance. These steps ensure a smooth integration of the new SSD into your system, providing you with an enhanced computing experience.
Remember to take precautions, such as backing up your data and familiarizing yourself with the inside of your computer, before attempting any hardware installations. Additionally, it’s essential to choose an SSD that meets your specific storage capacity and performance requirements.
Once the SSD is installed, don’t forget to optimize Windows 10 settings, move important folders to the new SSD, and keep your system clean and up to date for optimal performance.
With your new SSD in place, you can enjoy faster load times, smoother multitasking, and improved storage capacity for all your files, applications, and games. Whether you’re a casual user or a professional, adding an SSD to your Windows 10 system is a worthwhile investment that enhances productivity and overall computing experience.
Thank you for following this guide, and we hope it has been helpful in successfully incorporating a new SSD into your Windows 10 system. Make the most of your upgraded system and enjoy the benefits of increased speed and storage capacity. If you have any further questions or need assistance, don’t hesitate to reach out to a professional or consult the SSD manufacturer’s documentation.