Introduction
Welcome to this step-by-step guide on how to install a 140mm case fan. Adding a case fan to your computer can significantly improve its cooling efficiency, helping to prevent overheating and ensuring your components operate at optimal temperatures. Whether you are a seasoned computer enthusiast or a novice who wants to upgrade their system, this guide will walk you through the process.
A case fan serves as an additional cooling component that helps to circulate air inside your computer case. It removes hot air generated by the components and replaces it with fresh, cooler air from the surroundings. This not only improves overall system stability but also extends the lifespan of your hardware.
Before we dive into the installation process, it is important to note that you should follow proper safety procedures. Make sure to turn off your computer and unplug it from the power source before proceeding. Additionally, consider wearing an anti-static wrist strap to prevent any static electricity from damaging the sensitive internal components.
In this guide, we will cover the necessary tools and materials you will need, as well as provide a step-by-step walkthrough of the installation process. So, let’s get started and upgrade your computer’s cooling capabilities with a 140mm case fan!
Step 1: Gather the Necessary Tools and Materials
Before you begin the installation process, it’s important to gather all the required tools and materials. This will ensure a smooth and efficient installation. Here’s a list of everything you’ll need:
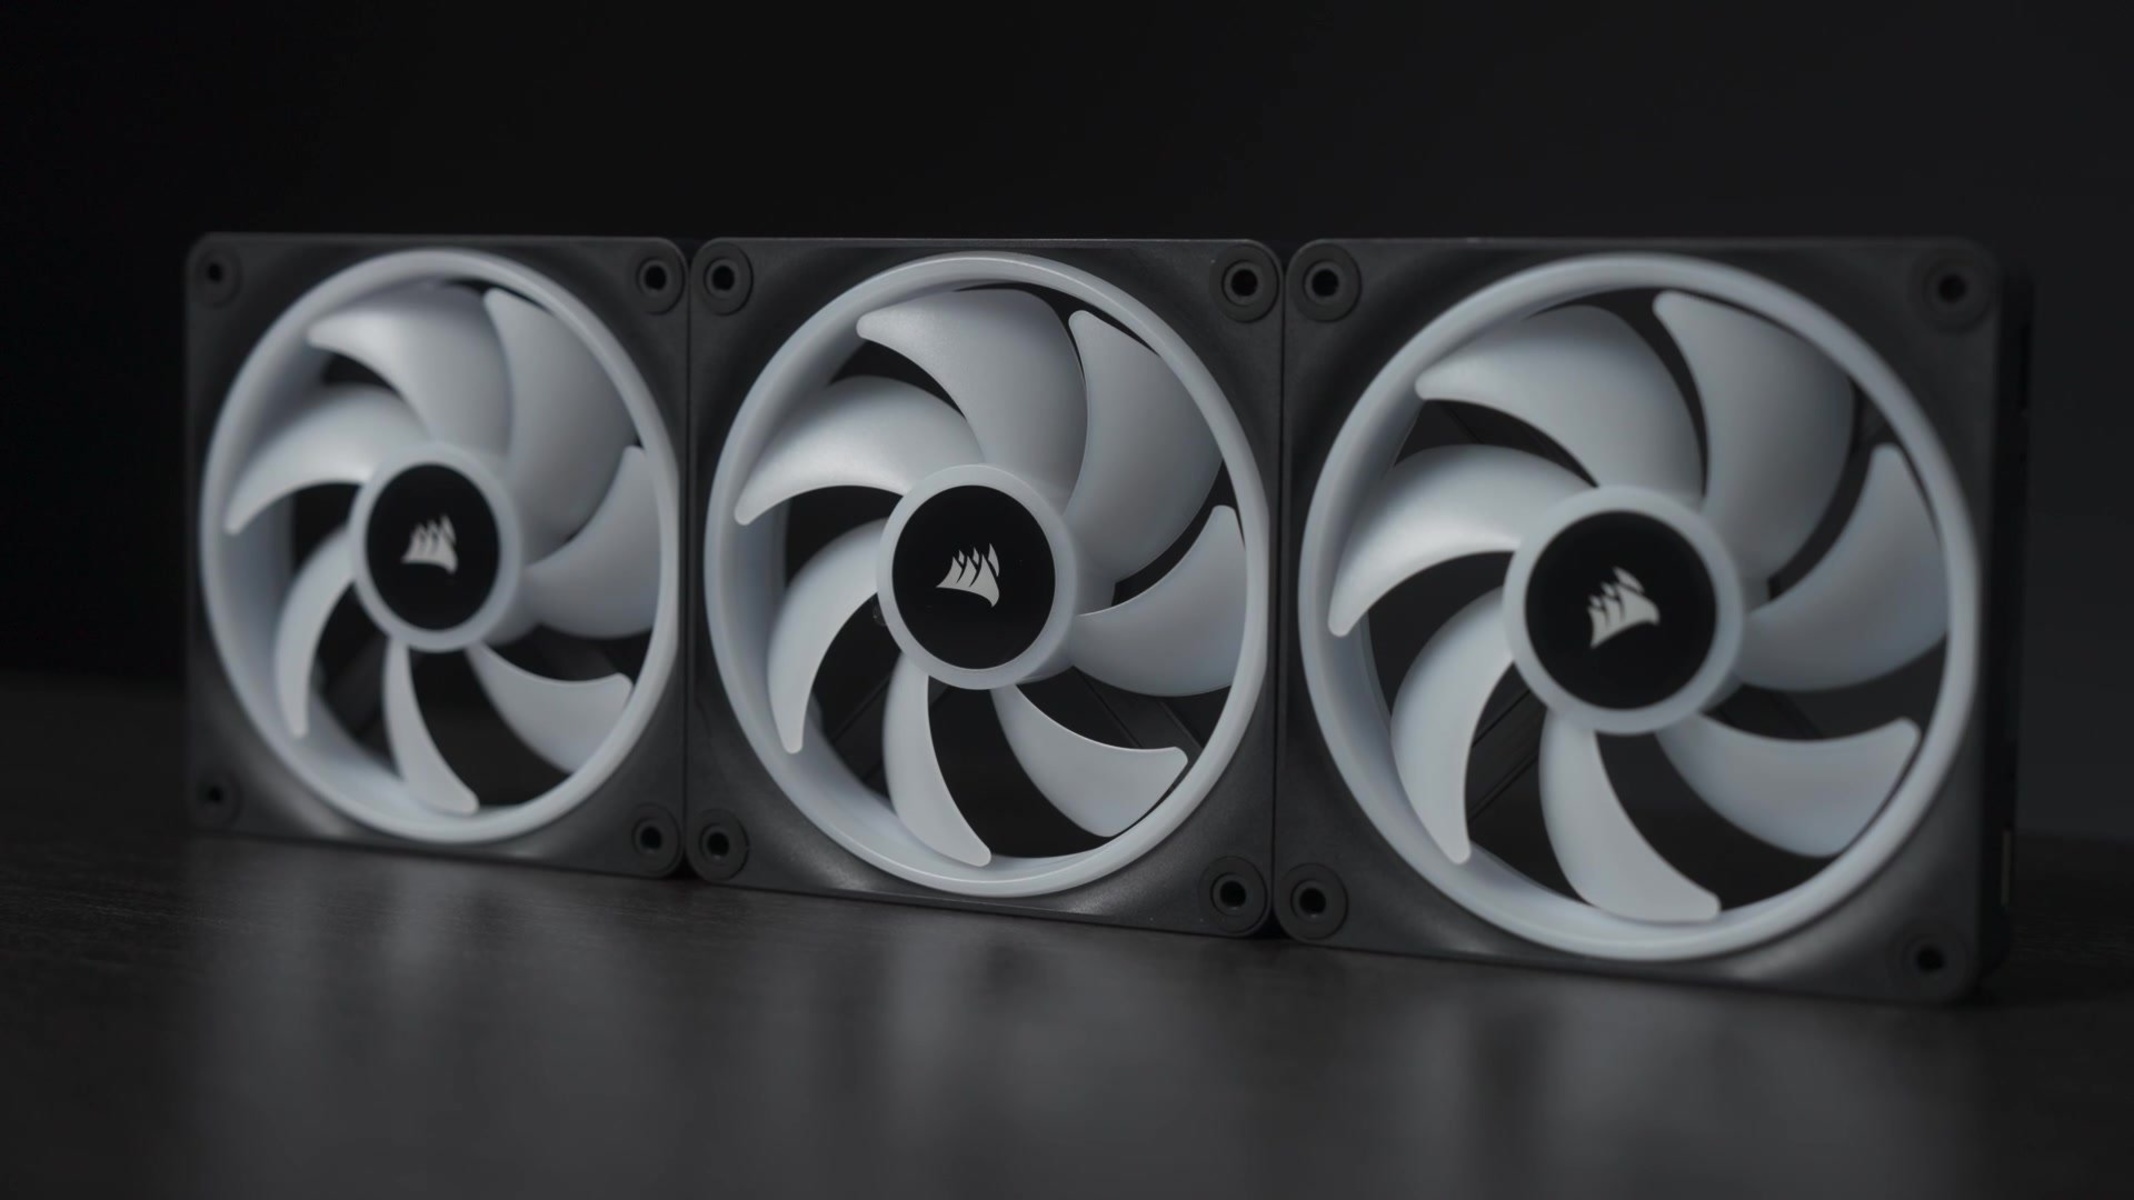
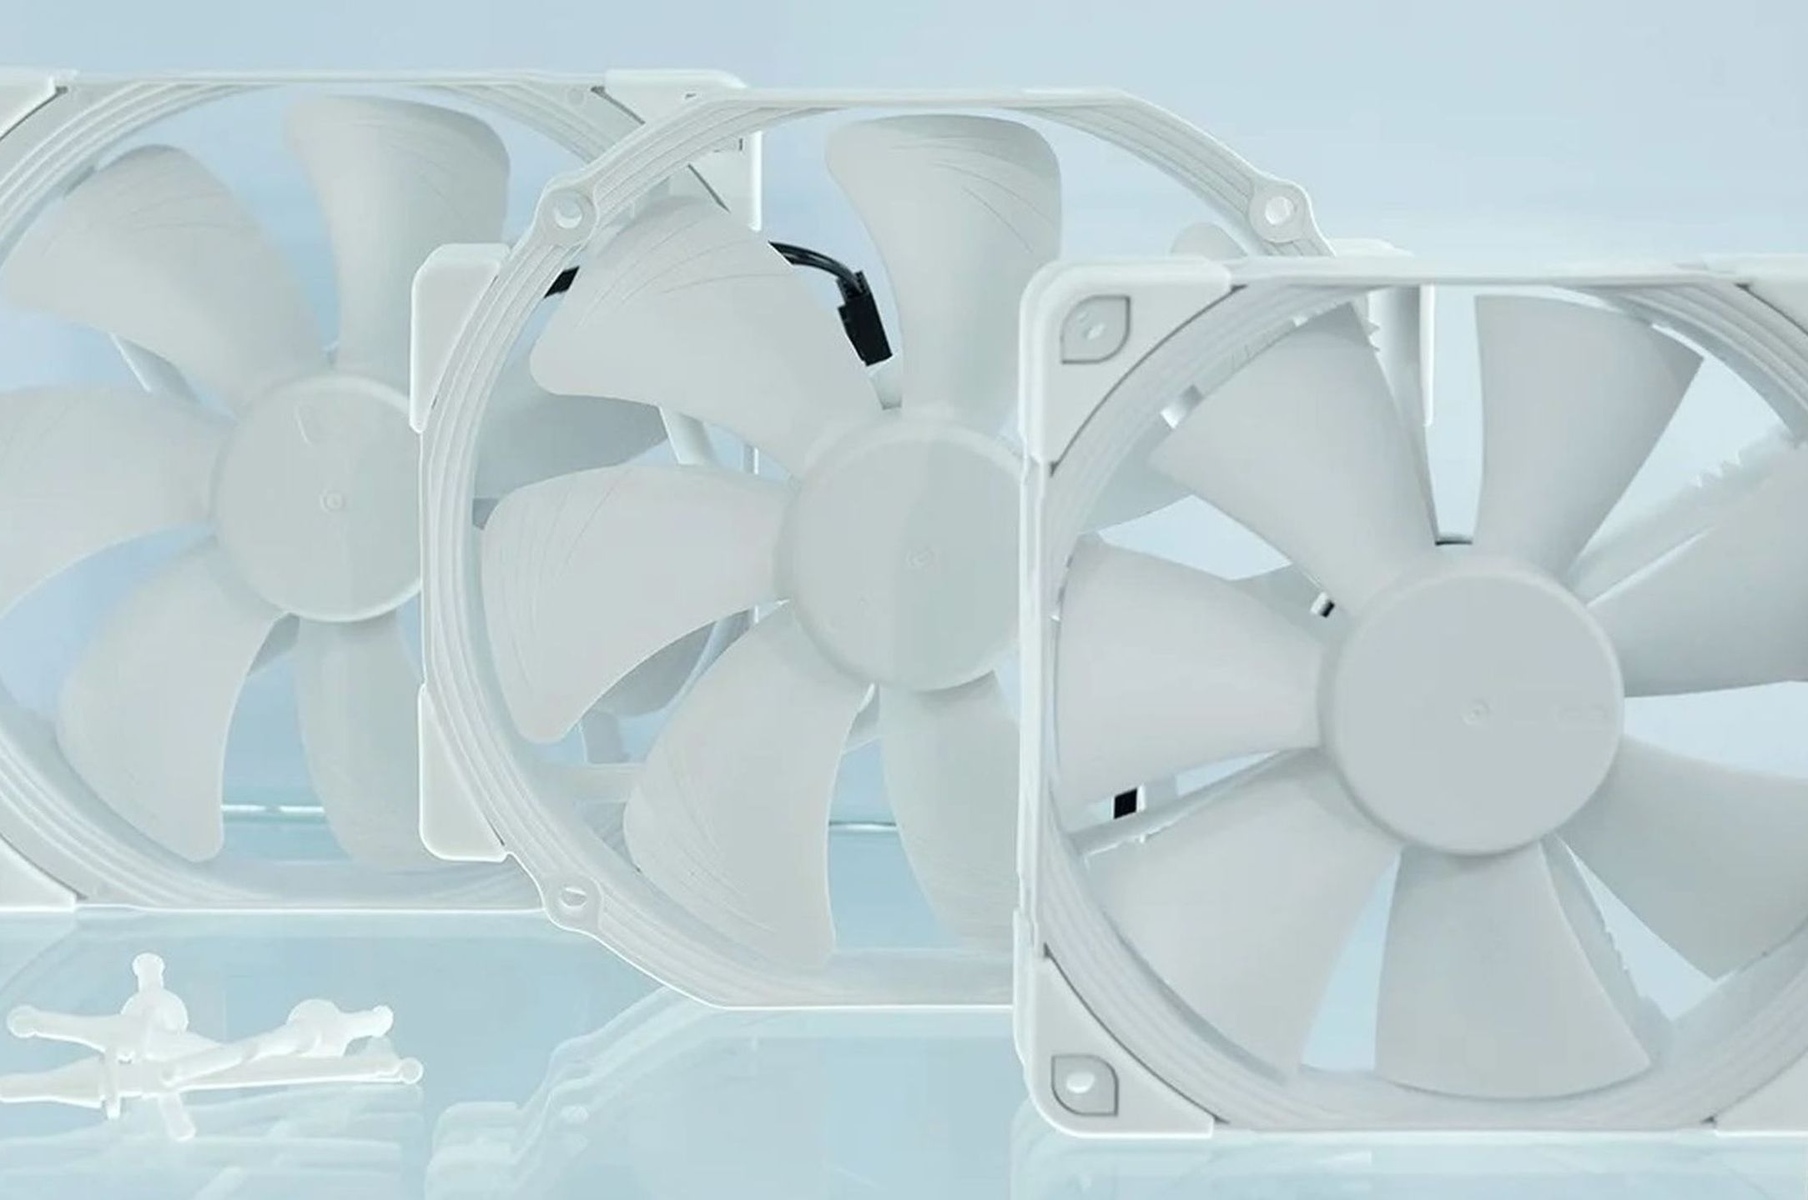
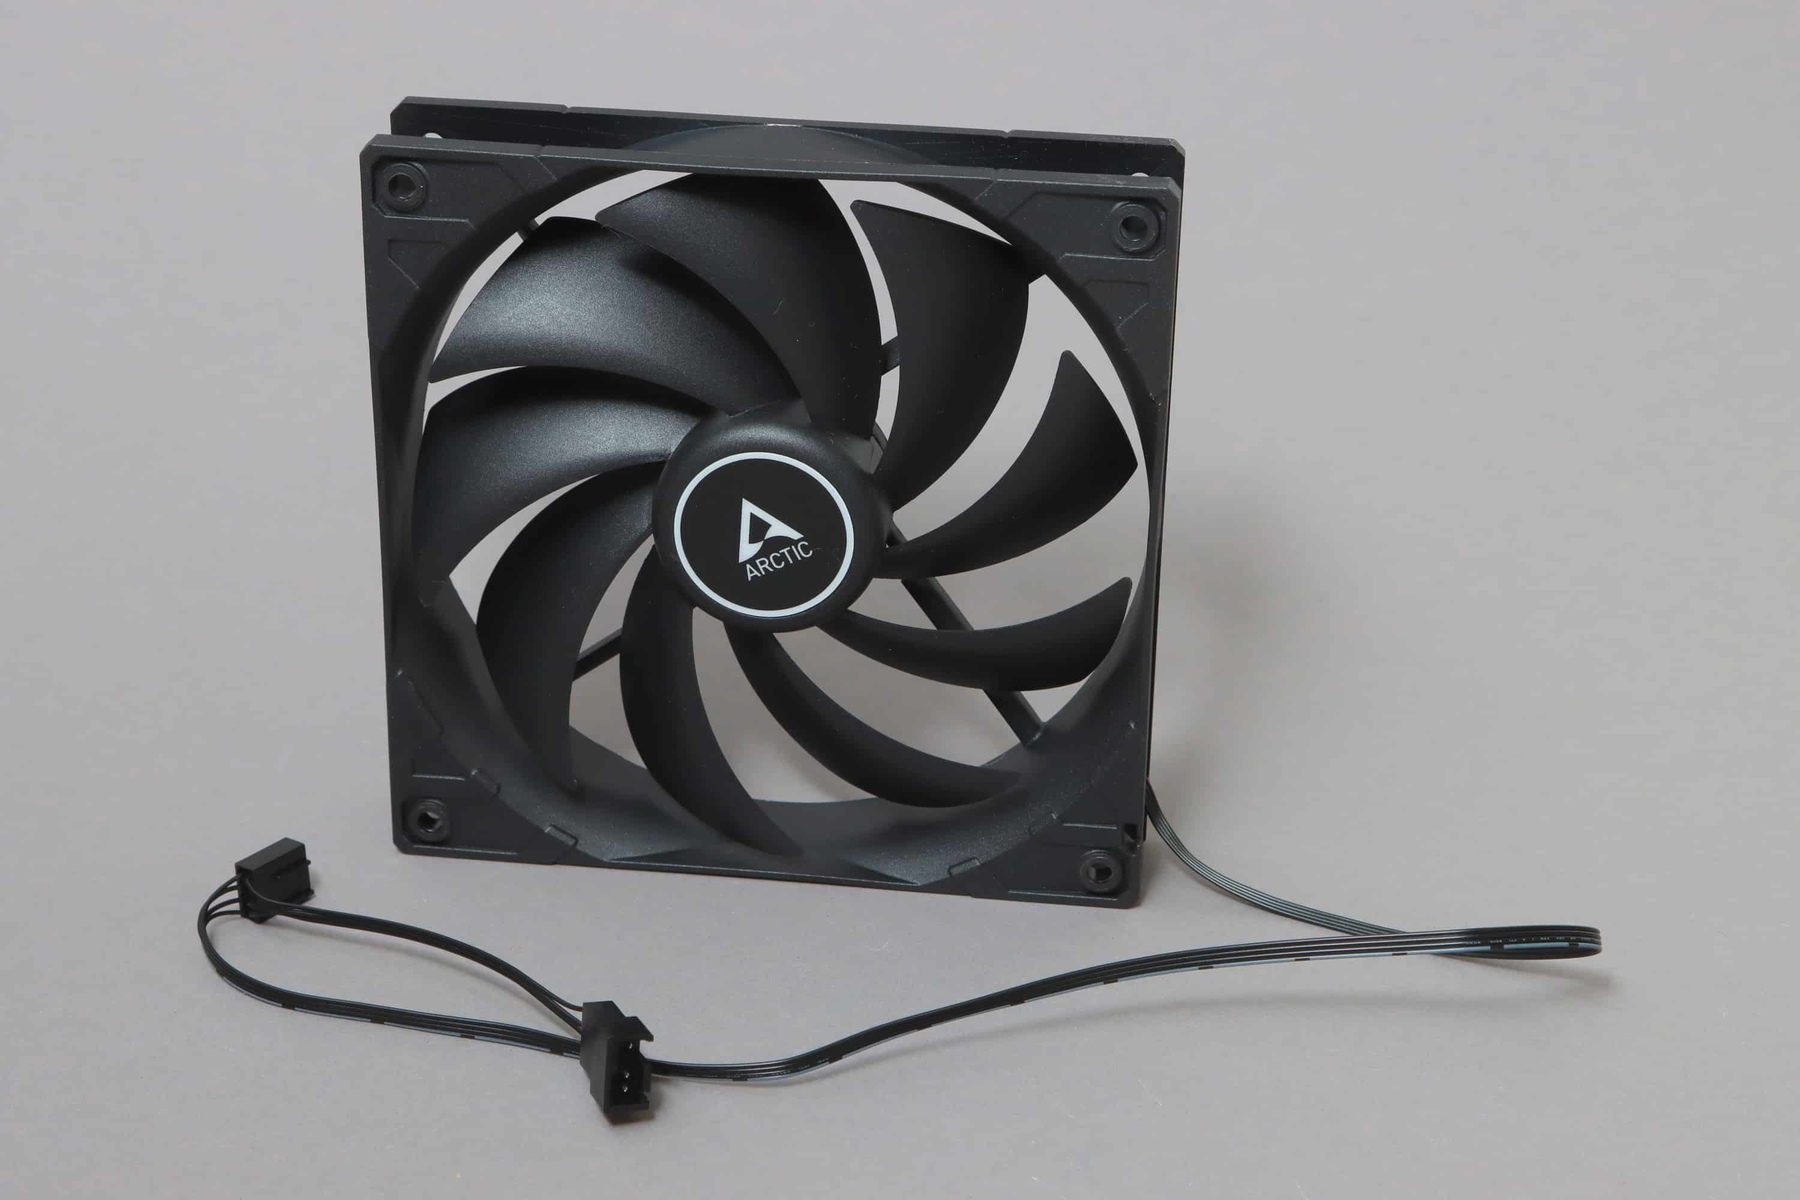
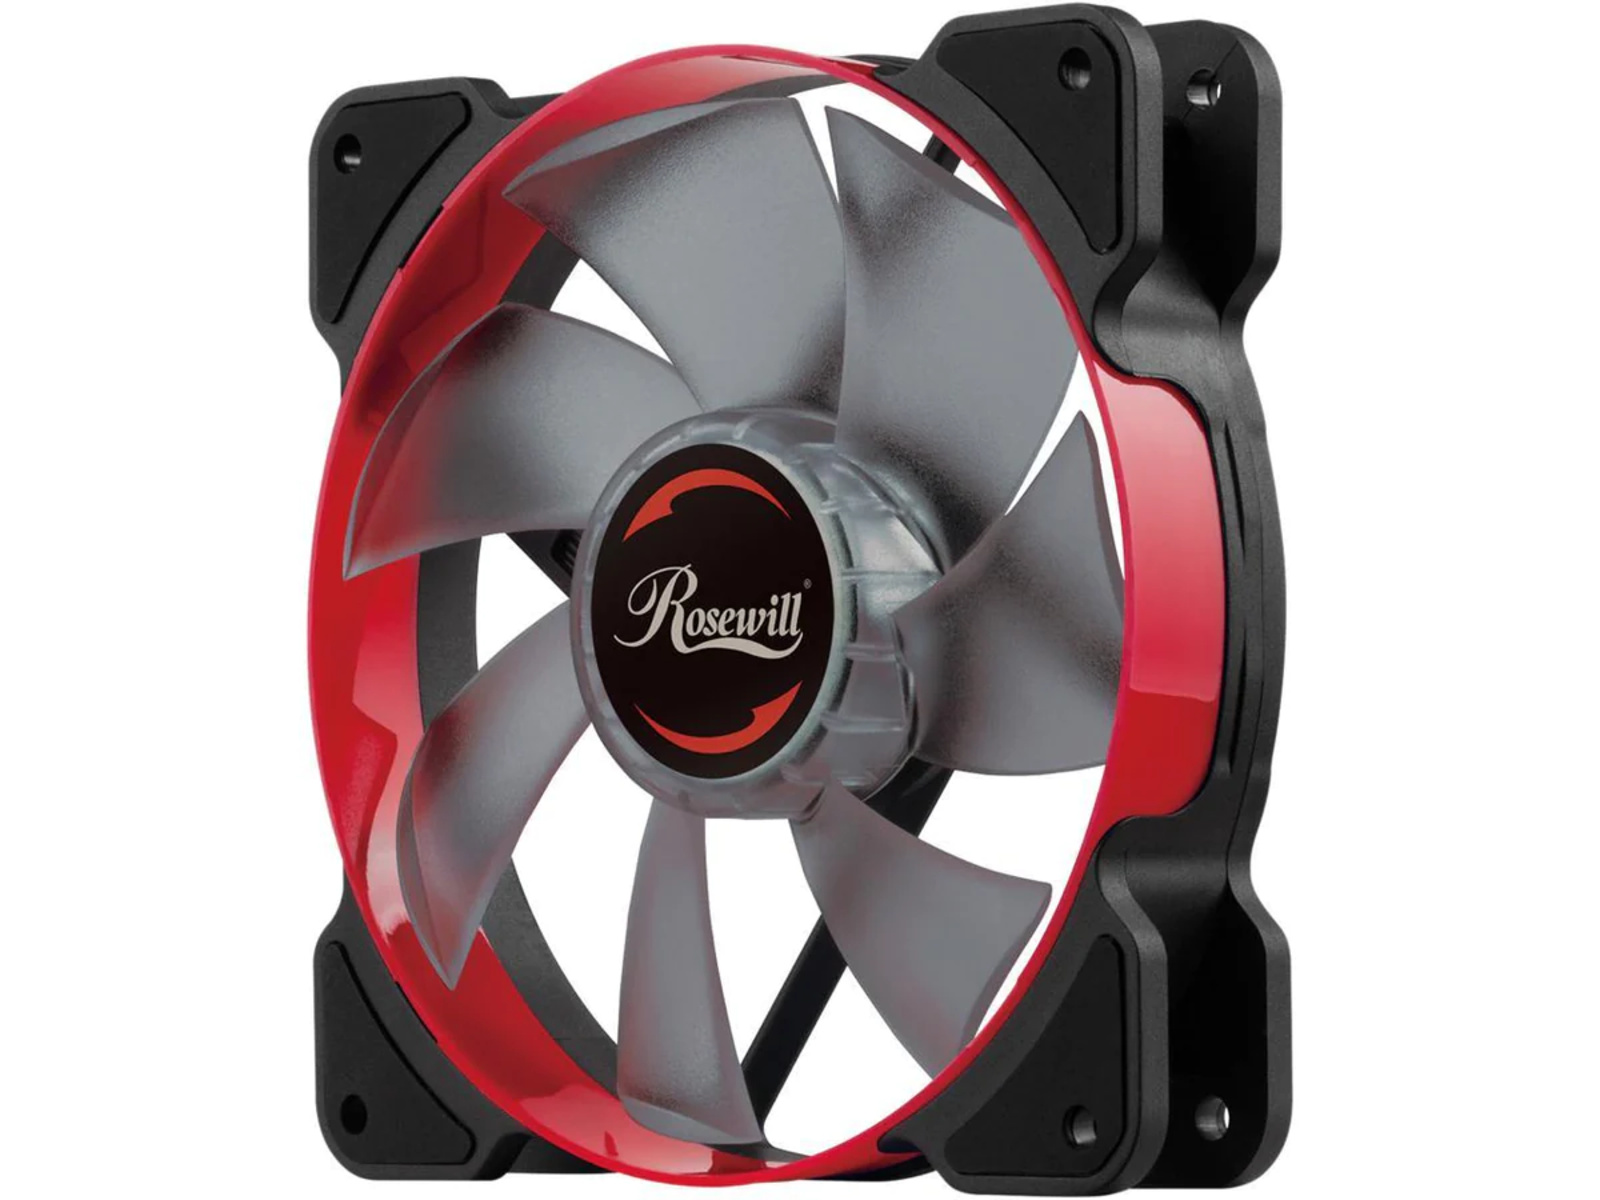
- A 140mm case fan: Look for a high-quality fan that matches the specifications and requirements of your computer case. Consider factors such as airflow, noise level, and any additional features you may want.
- Screwdriver: Depending on your computer case, you may need either a Phillips head or a flathead screwdriver. Check the case’s documentation or examine the existing screws to determine the appropriate type.
- Screws: The fan may come with its own set of screws, but it’s always good to have extra on hand, just in case.
- Cable ties: These will help you manage the fan’s cables and keep them neatly organized within your computer case.
Once you have gathered all the necessary tools and materials, you’re ready to proceed to the next step. It’s always a good practice to have everything prepared before starting the installation, as it will save you time and prevent frustration.
Remember to handle the fan and tools with care to avoid any damage. Now that you’re equipped with the required items let’s move on to preparing the computer case for installation.
Step 2: Prepare the Computer Case
Before you can install the 140mm case fan, you need to prepare your computer case. Follow these steps to ensure everything is ready:
- Power down the computer and unplug it from the electrical outlet.
- Open the computer case by removing the screws or unlocking the latches. Refer to your specific case’s manual for instructions on how to open it.
- Locate the area where you want to install the case fan. Typically, there are designated mounting locations on the front, back, or side panels of the case. Check your case’s documentation for specific details.
- Remove any existing dust filters or obstacles that may block the fan’s airflow. Use a soft brush, compressed air, or a vacuum cleaner to clean out any accumulated dust in the area.
- If there are existing fans in your case, take note of their orientation and airflow direction. You want to ensure the new 140mm fan will complement the existing airflow and optimize cooling performance.
Preparing the computer case is an essential step as it allows for a smooth installation and ensures that the fan can deliver optimal cooling efficiency. By removing any obstacles and ensuring a dust-free environment, you can maximize the performance of the new case fan.
With the case prepared, you’re now ready to move on to the next step: mounting the 140mm case fan on the case.
Step 3: Mount the Fan on the Case
Now that your computer case is prepared, it’s time to mount the 140mm case fan. Follow these steps to ensure a secure and stable installation:
- Take the 140mm case fan and position it over the designated mounting location in your computer case. Ensure that the screw holes on the fan align with the corresponding holes on the case.
- Using the appropriate screws, insert them through the fan’s screw holes and into the corresponding holes on the case. Start by loosely screwing them in to allow for adjustments if needed.
- Once the screws are loosely in place, verify that the fan is properly aligned and there are no obstructions preventing it from seating correctly. Adjust the fan’s position if necessary.
- Tighten the screws firmly, but be cautious not to overtighten. Over-tightening could damage the fan or the mounting holes on the case.
- Double-check that the fan is securely mounted and doesn’t wobble or move when gently touched. A stable and secure installation is crucial for optimal cooling performance.
By following these steps, you can ensure that your 140mm case fan is securely mounted to your computer case. Proper alignment and stability are key factors in allowing the fan to effectively circulate air and cool your components.
With the fan securely mounted, let’s move on to the next step: connecting the fan to the power supply.
Step 4: Connect the Fan to the Power Supply
Now that the 140mm case fan is securely mounted, it’s time to connect it to the power supply. Follow these steps to ensure a proper and efficient connection:
- Locate the fan connector on the motherboard or the dedicated fan controller in your computer case.
- Take the cable attached to the 140mm case fan and align it with the fan connector.
- Gently insert the cable’s connector into the fan connector, making sure it is properly seated and aligned. You may need to refer to your motherboard or case manual for the exact location and orientation of the fan connectors.
- Once connected, ensure that the cable is neatly organized and does not obstruct the airflow inside the computer case.
- If your fan has additional cable management features such as cable ties or clips, you can use them to secure and route the cables for a cleaner and more organized system.
It’s important to note that some high-performance fans may require additional power connections. In such cases, you may need to connect the fan to a separate power supply cable or a dedicated fan controller.
Once the fan is properly connected to the power supply, you’re almost finished! The final step is to test the fan and ensure it’s functioning correctly.
Step 5: Test the Fan
After connecting the 140mm case fan to the power supply, it’s essential to test it to ensure it’s functioning correctly. Follow these steps to verify the fan’s performance:
- Plug in and turn on your computer, ensuring it has power.
- Monitor the fan as your computer boots up. You should be able to hear and see the fan spinning.
- Enter the BIOS or access your operating system to check if the fan is recognized and its speed is displayed.
- If your computer does not display the fan’s speed, you can use third-party monitoring software or fan control utilities to verify its functionality.
- Observe the fan’s performance during periods of heavy usage, such as gaming or running resource-intensive applications. Pay attention to any noise, vibration, or temperature changes.
If the fan is running smoothly, is recognized by the system, and effectively cools down your components without any issues, you can consider the installation successful.
However, if you encounter any problems, such as the fan not spinning, abnormal noise or vibrations, or excessive temperatures, you may need to troubleshoot the issue. Check the fan’s connections, ensure it’s properly mounted, and verify that it’s compatible with your system’s specifications.
It’s always a good practice to regularly monitor the fan’s performance and keep an eye on temperature levels to ensure your computer remains cool and stable. Regular maintenance and cleaning of the fan can also contribute to its longevity and optimal performance.
Congratulations! You have successfully installed and tested your 140mm case fan. Enjoy enhanced cooling and improved system efficiency in your computer!
Conclusion
In conclusion, installing a 140mm case fan is a practical and effective way to enhance the cooling capabilities of your computer. By following the step-by-step guide outlined in this article, you can successfully install, mount, connect, and test the fan.
We started by gathering the necessary tools and materials, ensuring that we had everything we needed for the installation process. Next, we prepared the computer case by removing any obstacles and cleaning out dust to create an optimal environment for the new fan.
Then, we moved on to mounting the 140mm case fan on the designated location within the computer case. Ensuring a secure and stable installation is crucial to maximize the fan’s cooling efficiency.
Once mounted, we connected the fan to the power supply through the appropriate connectors, making sure the cables were properly aligned and organized to avoid any obstruction to the airflow.
Finally, we tested the fan to ensure its functionality, monitoring its performance during system boot-up and heavy usage. This step verifies that the fan is functioning correctly and effectively cooling the components.
By following these steps, you can improve your computer’s cooling capabilities, prevent overheating, and extend the lifespan of your components. A well-cooled system leads to better performance and stability, particularly during demanding tasks such as gaming or video editing.
Remember to regularly clean and maintain your case fan to keep it running optimally. This includes removing dust, lubricating the fan if necessary, and checking for any signs of wear or damage.
Now that you have successfully installed your 140mm case fan, enjoy the benefits of a cooler and more efficient computer!