Introduction
Welcome to the guide on how to increase the RAM memory in Windows 7. If you find your computer running slow or frequently freezing, it may be an indication that your RAM (Random Access Memory) is not sufficient to handle the tasks and applications you require. By increasing your RAM, you can significantly improve your computer’s performance and speed.
RAM serves as the temporary storage space for data that the computer needs to access quickly. The more RAM you have, the more efficiently your computer can handle multiple tasks and applications simultaneously. Windows 7, a widely-used operating system, has specific limits on how much RAM it can support.
Before diving into the process of increasing your RAM, it’s essential to determine the current RAM usage on your computer. This will give you a better understanding of whether upgrading your RAM is necessary.
Throughout this guide, we will explore how to check your current RAM usage, understand the RAM limits in Windows 7, determine the type of RAM your computer uses, purchase compatible RAM, shut down and open your computer, install the new RAM, close your computer, power it on, and verify the successful RAM upgrade. Additionally, we will provide some additional considerations for optimizing RAM performance.
Let’s get started!
Checking Current RAM Usage
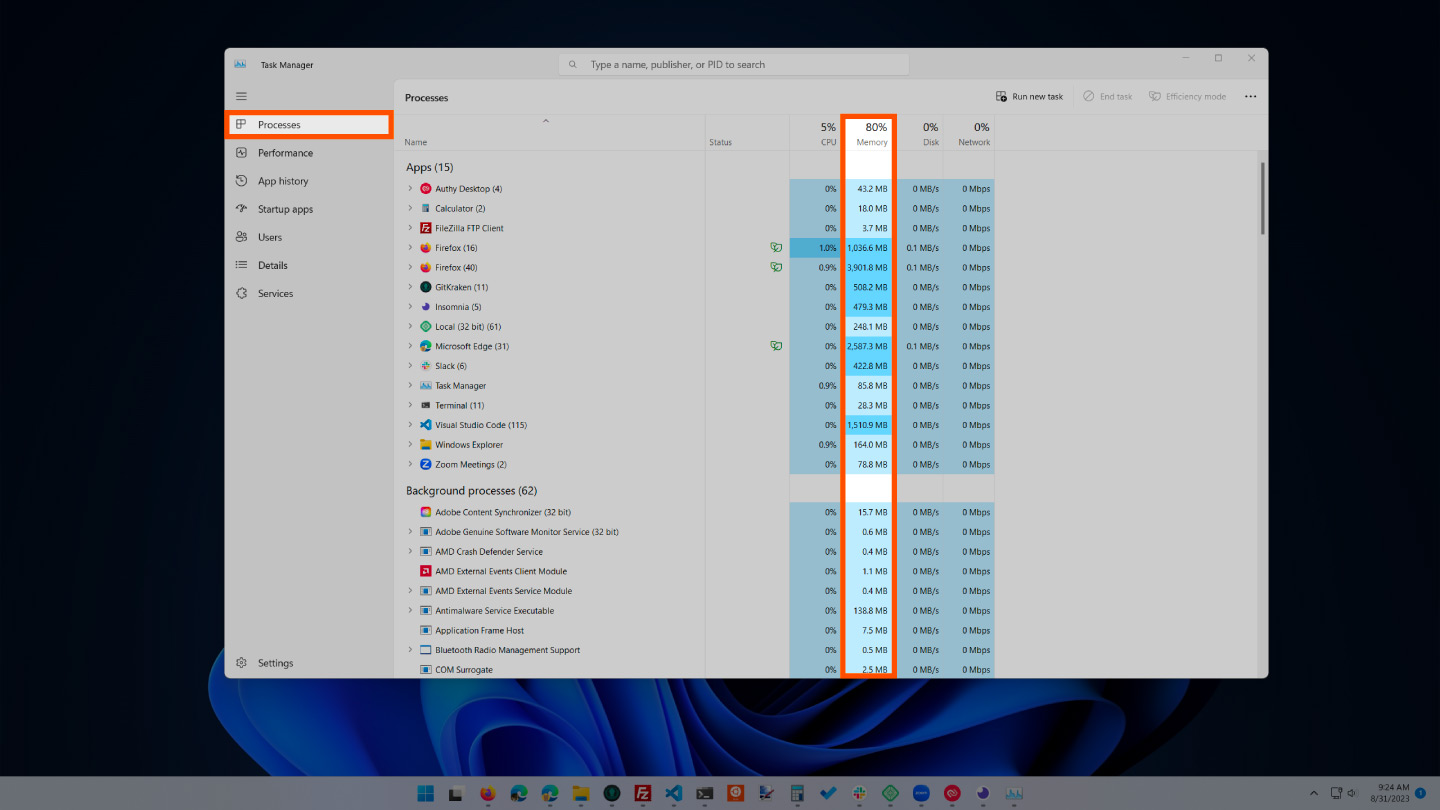
Before proceeding with upgrading your RAM, it’s crucial to check your current RAM usage to determine if an upgrade is necessary. In Windows 7, you can easily access this information through the Task Manager. Here’s how:
- Press Ctrl + Shift + Esc on your keyboard or right-click on the taskbar and select Task Manager.
- In the Task Manager, navigate to the Performance tab.
- Under the Physical Memory section, you will see important information about your RAM usage, including the total amount of installed RAM and the amount currently in use.
The amount of RAM in use is displayed in the form of a graph, allowing you to visualize the current usage level. If you notice that the graph consistently reaches a high percentage or if your computer frequently experiences lag or slowdowns, it may indicate that your RAM is insufficient for your needs.
By monitoring your RAM usage over a period of time, you can get a better understanding of how your computer handles different applications and multitasking scenarios. This information can help you determine the appropriate amount of RAM to upgrade to.
Keep in mind that it’s recommended to have at least 4GB of RAM for basic computing tasks. However, if you frequently use resource-intensive applications such as video editing software or computer-aided design tools, you may require a higher amount of RAM to ensure smooth operation.
Now that you have checked your current RAM usage and have an idea of whether an upgrade is necessary, let’s move on to understanding the RAM limits in Windows 7.
Understanding RAM Limits in Windows 7
Windows 7, like any other operating system, has specific limits on the amount of RAM it can support. These limits depend on the edition of Windows 7 you are using. Here are the RAM limits for each edition:
- Windows 7 Starter: Supports a maximum of 2GB of RAM.
- Windows 7 Home Basic: Supports a maximum of 8GB of RAM.
- Windows 7 Home Premium: Supports a maximum of 16GB of RAM.
- Windows 7 Professional: Supports a maximum of 192GB of RAM for the 64-bit version and 4GB for the 32-bit version.
- Windows 7 Enterprise: Supports a maximum of 192GB of RAM for the 64-bit version and 4GB for the 32-bit version.
- Windows 7 Ultimate: Supports a maximum of 192GB of RAM for the 64-bit version and 4GB for the 32-bit version.
It’s important to note that the RAM limit refers to the amount of physical RAM that Windows 7 can recognize and use. If you install more RAM than the supported limit, the excess amount may not be utilized effectively by the operating system.
While the RAM limits for the different editions of Windows 7 can vary significantly, it’s crucial to check the specifications of your computer and choose an upgrade that aligns with the capabilities of your operating system.
Now that you have a better understanding of the RAM limits in Windows 7, the next step is to determine the type of RAM your computer uses. This information will help you make an informed decision when purchasing compatible RAM for your upgrade.
Determining the Type of RAM Your Computer Uses
Before purchasing RAM for your computer upgrade, it’s essential to determine the type of RAM that is compatible with your system. There are various types of RAM, and using the wrong type can lead to compatibility issues and potential damage to your computer.
To determine the type of RAM your computer uses, you can follow these steps:
- Check the computer manual: If you have the manual that came with your computer, it often contains the specifications and details about the type of RAM compatible with your system.
- Use system information tools: Windows 7 provides built-in system information tools that can help you identify the type of RAM. Here’s how to access it:
- Click on the Start button, right-click on Computer, and select Properties.
- Under the System section, you will find information about your computer’s processor, installed memory, and system type.
- Note down the information under the System Type field, which will indicate whether your system is 32-bit or 64-bit. This information is crucial for determining the maximum amount of RAM your system can support.
- Use third-party software: If you prefer a more automated approach, there are third-party software programs available that can scan your system and provide detailed information about the type of RAM your computer uses.
Once you have identified the type of RAM your computer uses, such as DDR3 or DDR4, you can proceed with purchasing compatible RAM modules. It’s important to ensure that the specifications of the RAM you choose match the requirements of your computer.
With the knowledge of the RAM type required by your computer, you can now move on to the next step – purchasing compatible RAM modules. We will explore the different factors to consider when purchasing RAM in the next section.
Purchasing Compatible RAM
When it comes to purchasing RAM for your computer upgrade, it’s important to ensure compatibility with your system. Here are some factors to consider when purchasing compatible RAM:
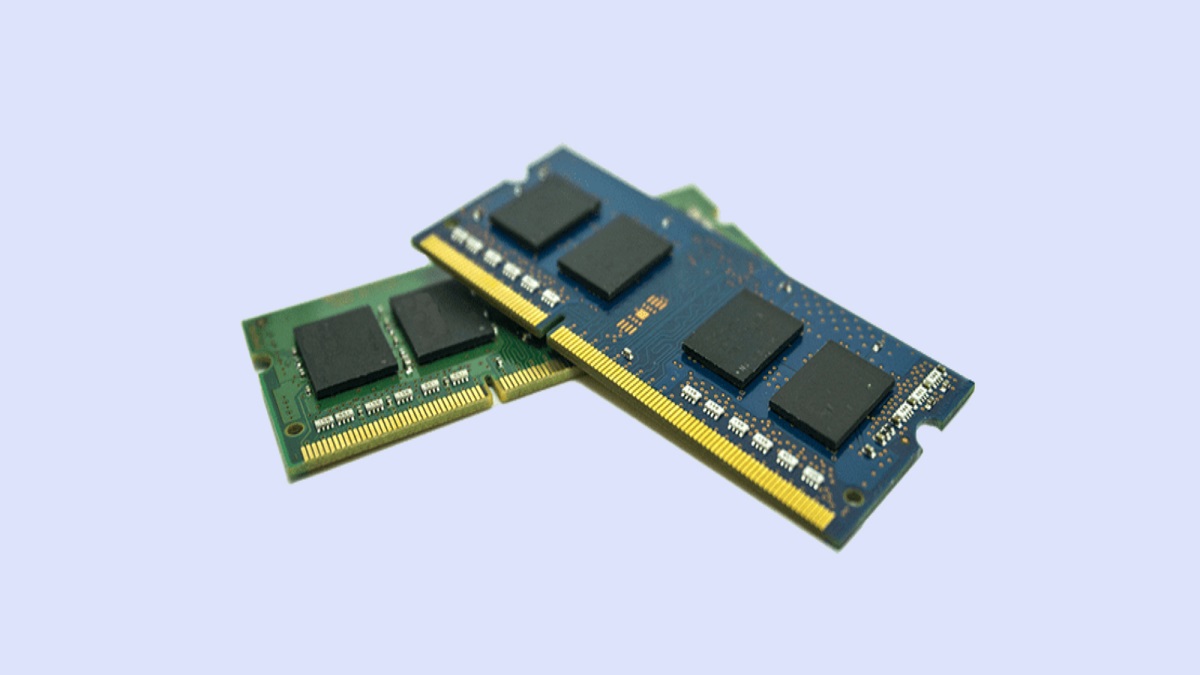
- RAM type: As determined in the previous section, you need to identify the specific type of RAM that is compatible with your computer. Whether it’s DDR3, DDR4, or another variation, make sure to choose RAM modules that match your system’s requirements.
- RAM capacity: Consider how much RAM you need based on your computing needs. For basic tasks, 4GB to 8GB may be sufficient, while more demanding applications and multitasking scenarios may require 16GB or more.
- RAM speed: The speed of RAM modules is measured in megahertz (MHz). Higher speeds can provide faster data transfer rates, but they must be supported by your computer’s motherboard. Consult your computer’s documentation or manufacturer’s website to find the recommended RAM speed.
- Number of RAM slots: Check the number of available RAM slots in your computer. This will determine how many RAM modules you can install. If all slots are occupied, you may need to remove existing modules to accommodate the new ones.
- Manufacturer: Choose reputable brands when purchasing RAM. They typically offer better quality and support. Popular RAM manufacturers include Corsair, Kingston, Crucial, and G.Skill.
Once you have determined the specific specifications for your RAM upgrade, you can start searching for compatible RAM modules. Many online retailers and brick-and-mortar stores offer a wide range of options. Compare prices and read reviews to ensure you’re getting a reliable product.
It’s also worth noting that RAM modules come in different capacities, such as 4GB, 8GB, or 16GB. If your computer has multiple RAM slots, you can mix and match modules to achieve the desired total capacity. For example, if you already have a 4GB module, you can add an additional 8GB module to reach a total of 12GB.
Purchasing compatible RAM is a crucial step in upgrading your computer’s memory. By considering the factors mentioned above, you can ensure a smooth and successful RAM upgrade. In the next section, we will guide you through the process of shutting down and opening your computer in preparation for the RAM installation.
Shutting Down and Opening Your Computer
Before installing the new RAM modules, you need to shut down your computer and open its case. Follow these steps to safely shut down and open your computer:
- Save your work and close all programs: Make sure to save any open documents or projects before proceeding. Close all applications and programs to prevent data loss and ensure a smooth shutdown.
- Shut down your computer: Click on the Start button, then select Shut Down or Restart. Wait for the computer to power down completely before proceeding to the next step.
- Disconnect the power cable: Unplug the power cable from the back of your computer or from the power outlet. This step ensures your safety and prevents any electrical mishaps during the process.
- Open the computer case: Most computer cases have a side panel that can be easily removed. Look for screws or latches that secure the panel and gently remove it. Some cases may require a screwdriver or other tools for panel removal.
- Ground yourself: Before touching any internal components, it’s important to discharge any static electricity by touching a metal surface. This helps prevent electrostatic discharge that can damage sensitive computer components.
With your computer shut down and the case open, you are now ready to proceed with the installation of the new RAM modules. Make sure to handle the RAM modules with care, avoiding any static or physical damage.
Keep in mind that the process of opening a computer case may vary depending on the make and model of your computer. If you’re not confident in performing this step yourself, it’s advisable to seek assistance from a professional or a knowledgeable friend.
Now that your computer is powered off, opened, and grounded, you’re ready to install the new RAM modules. In the next section, we will guide you through the process of installing the RAM modules into your computer.
Installing the New RAM
Now that you have shut down your computer and opened its case, it’s time to install the new RAM modules. Follow these steps to ensure a successful installation:
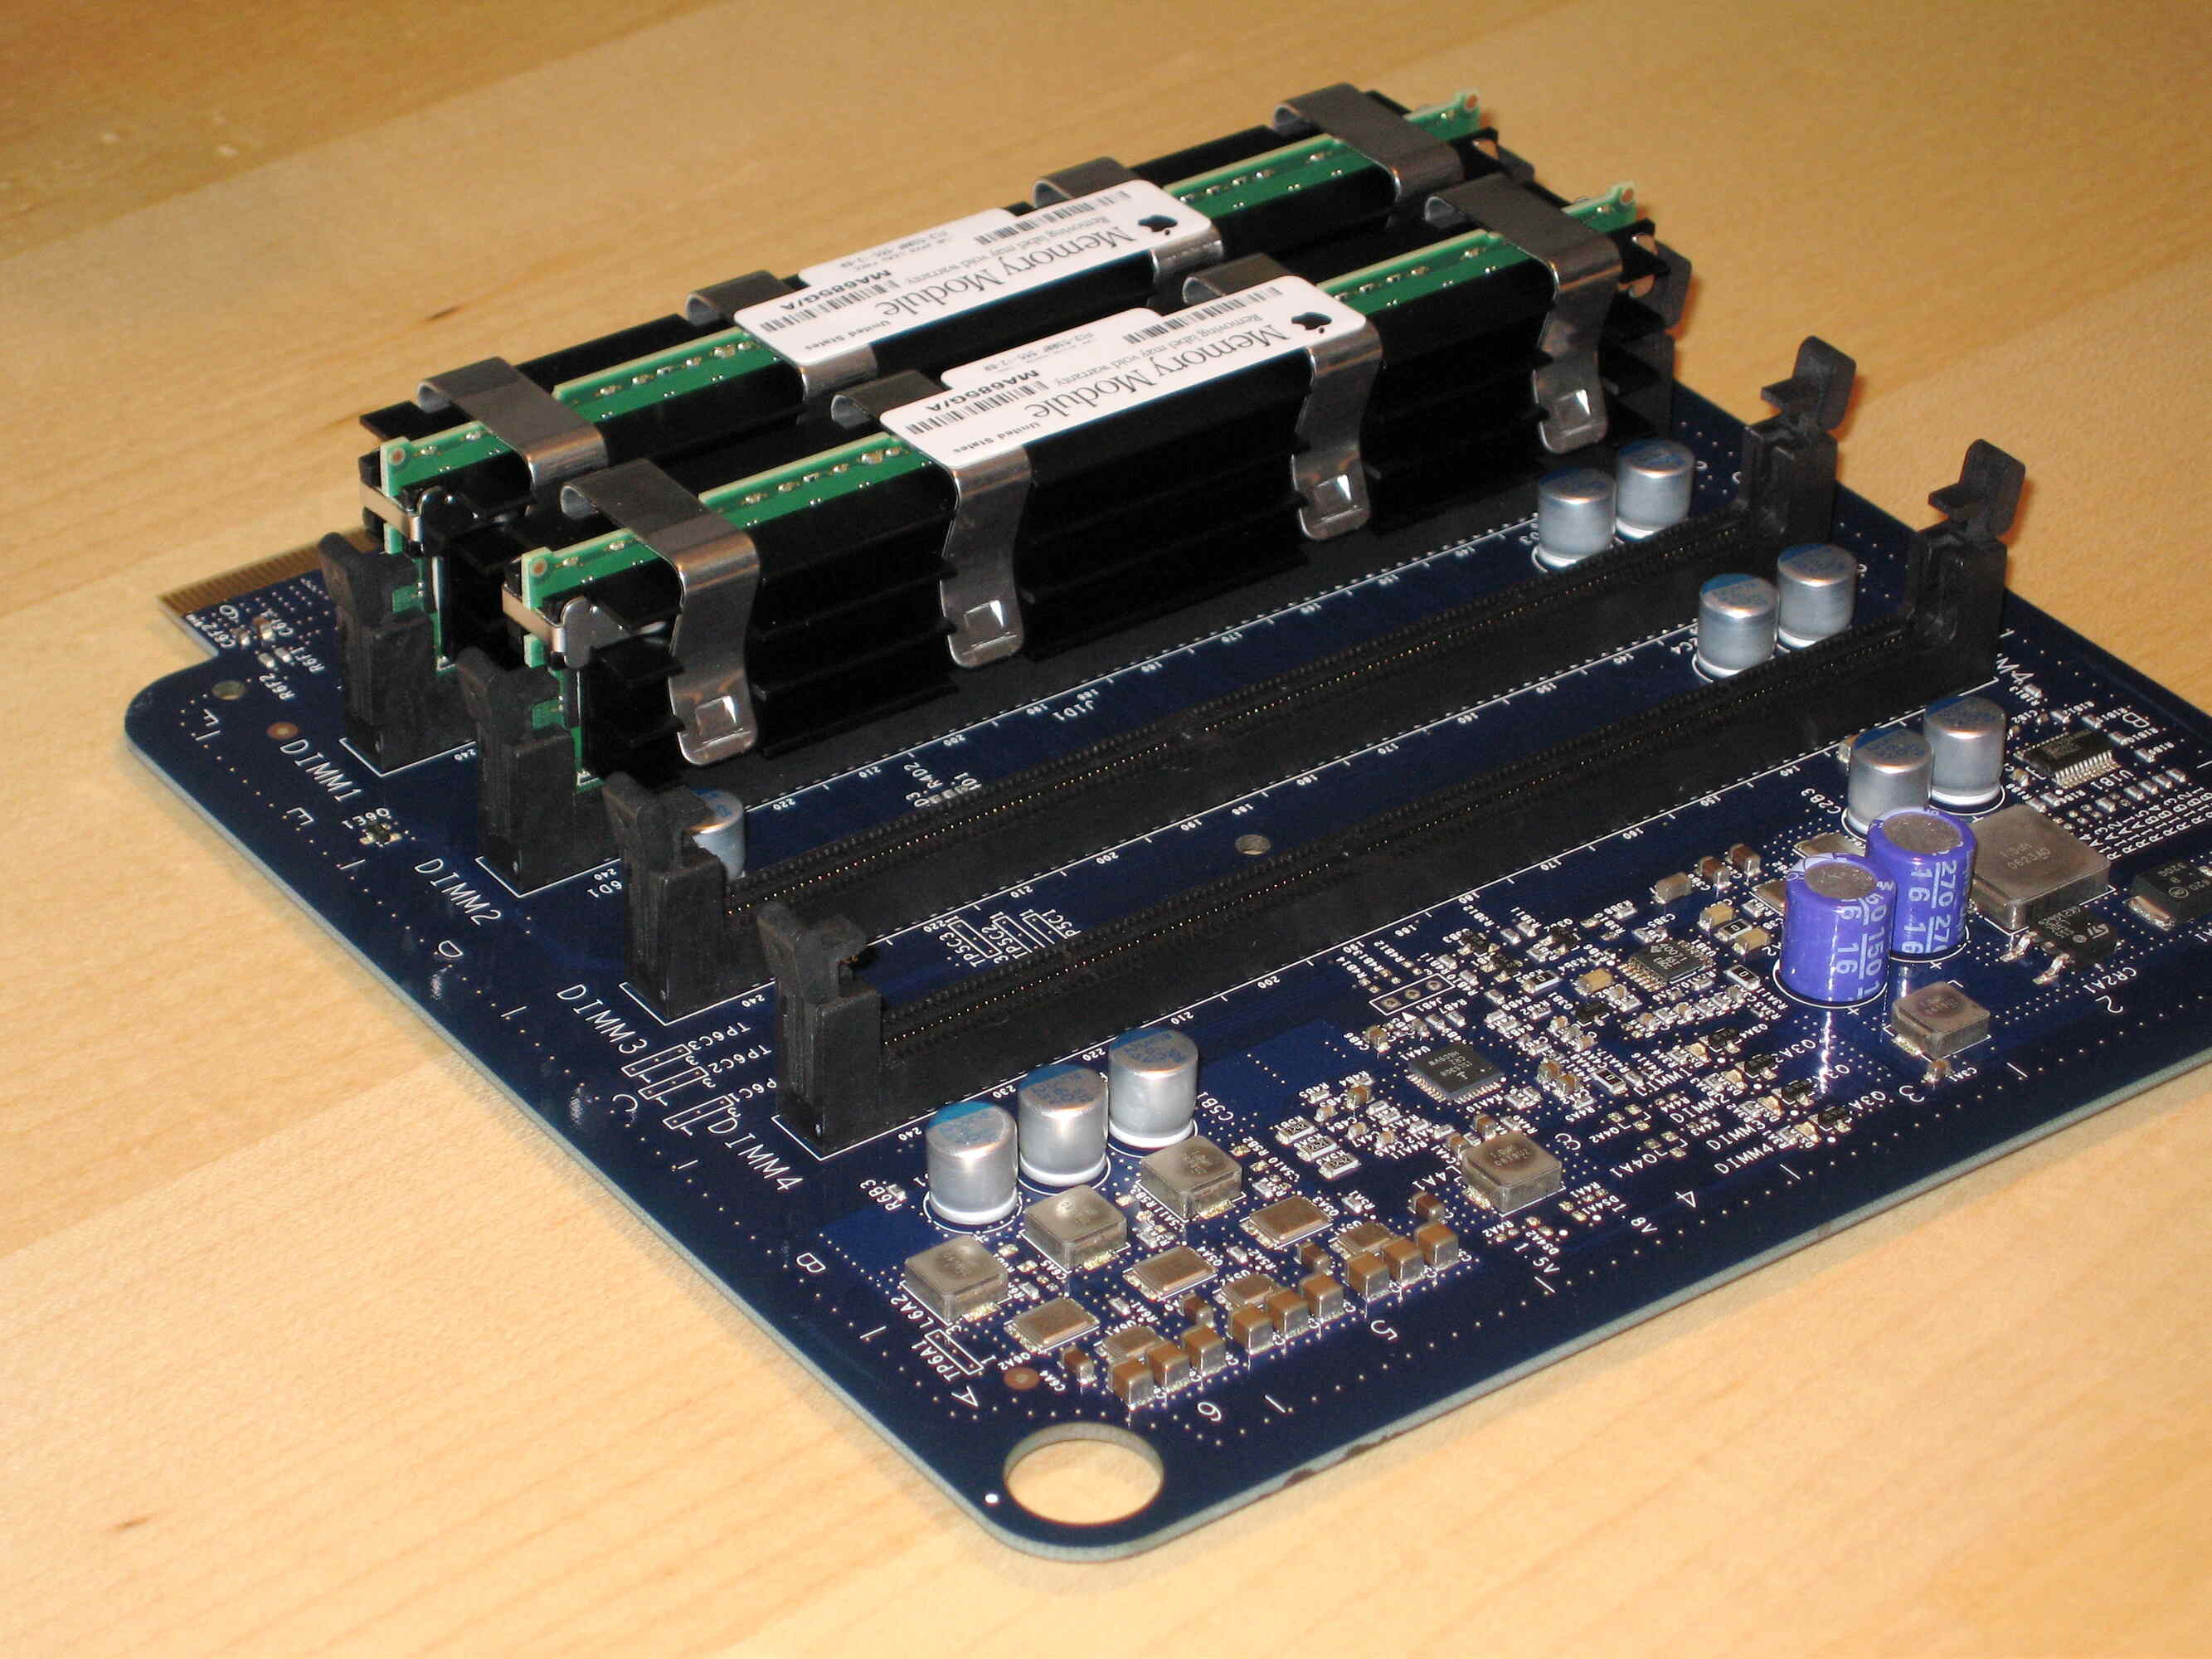
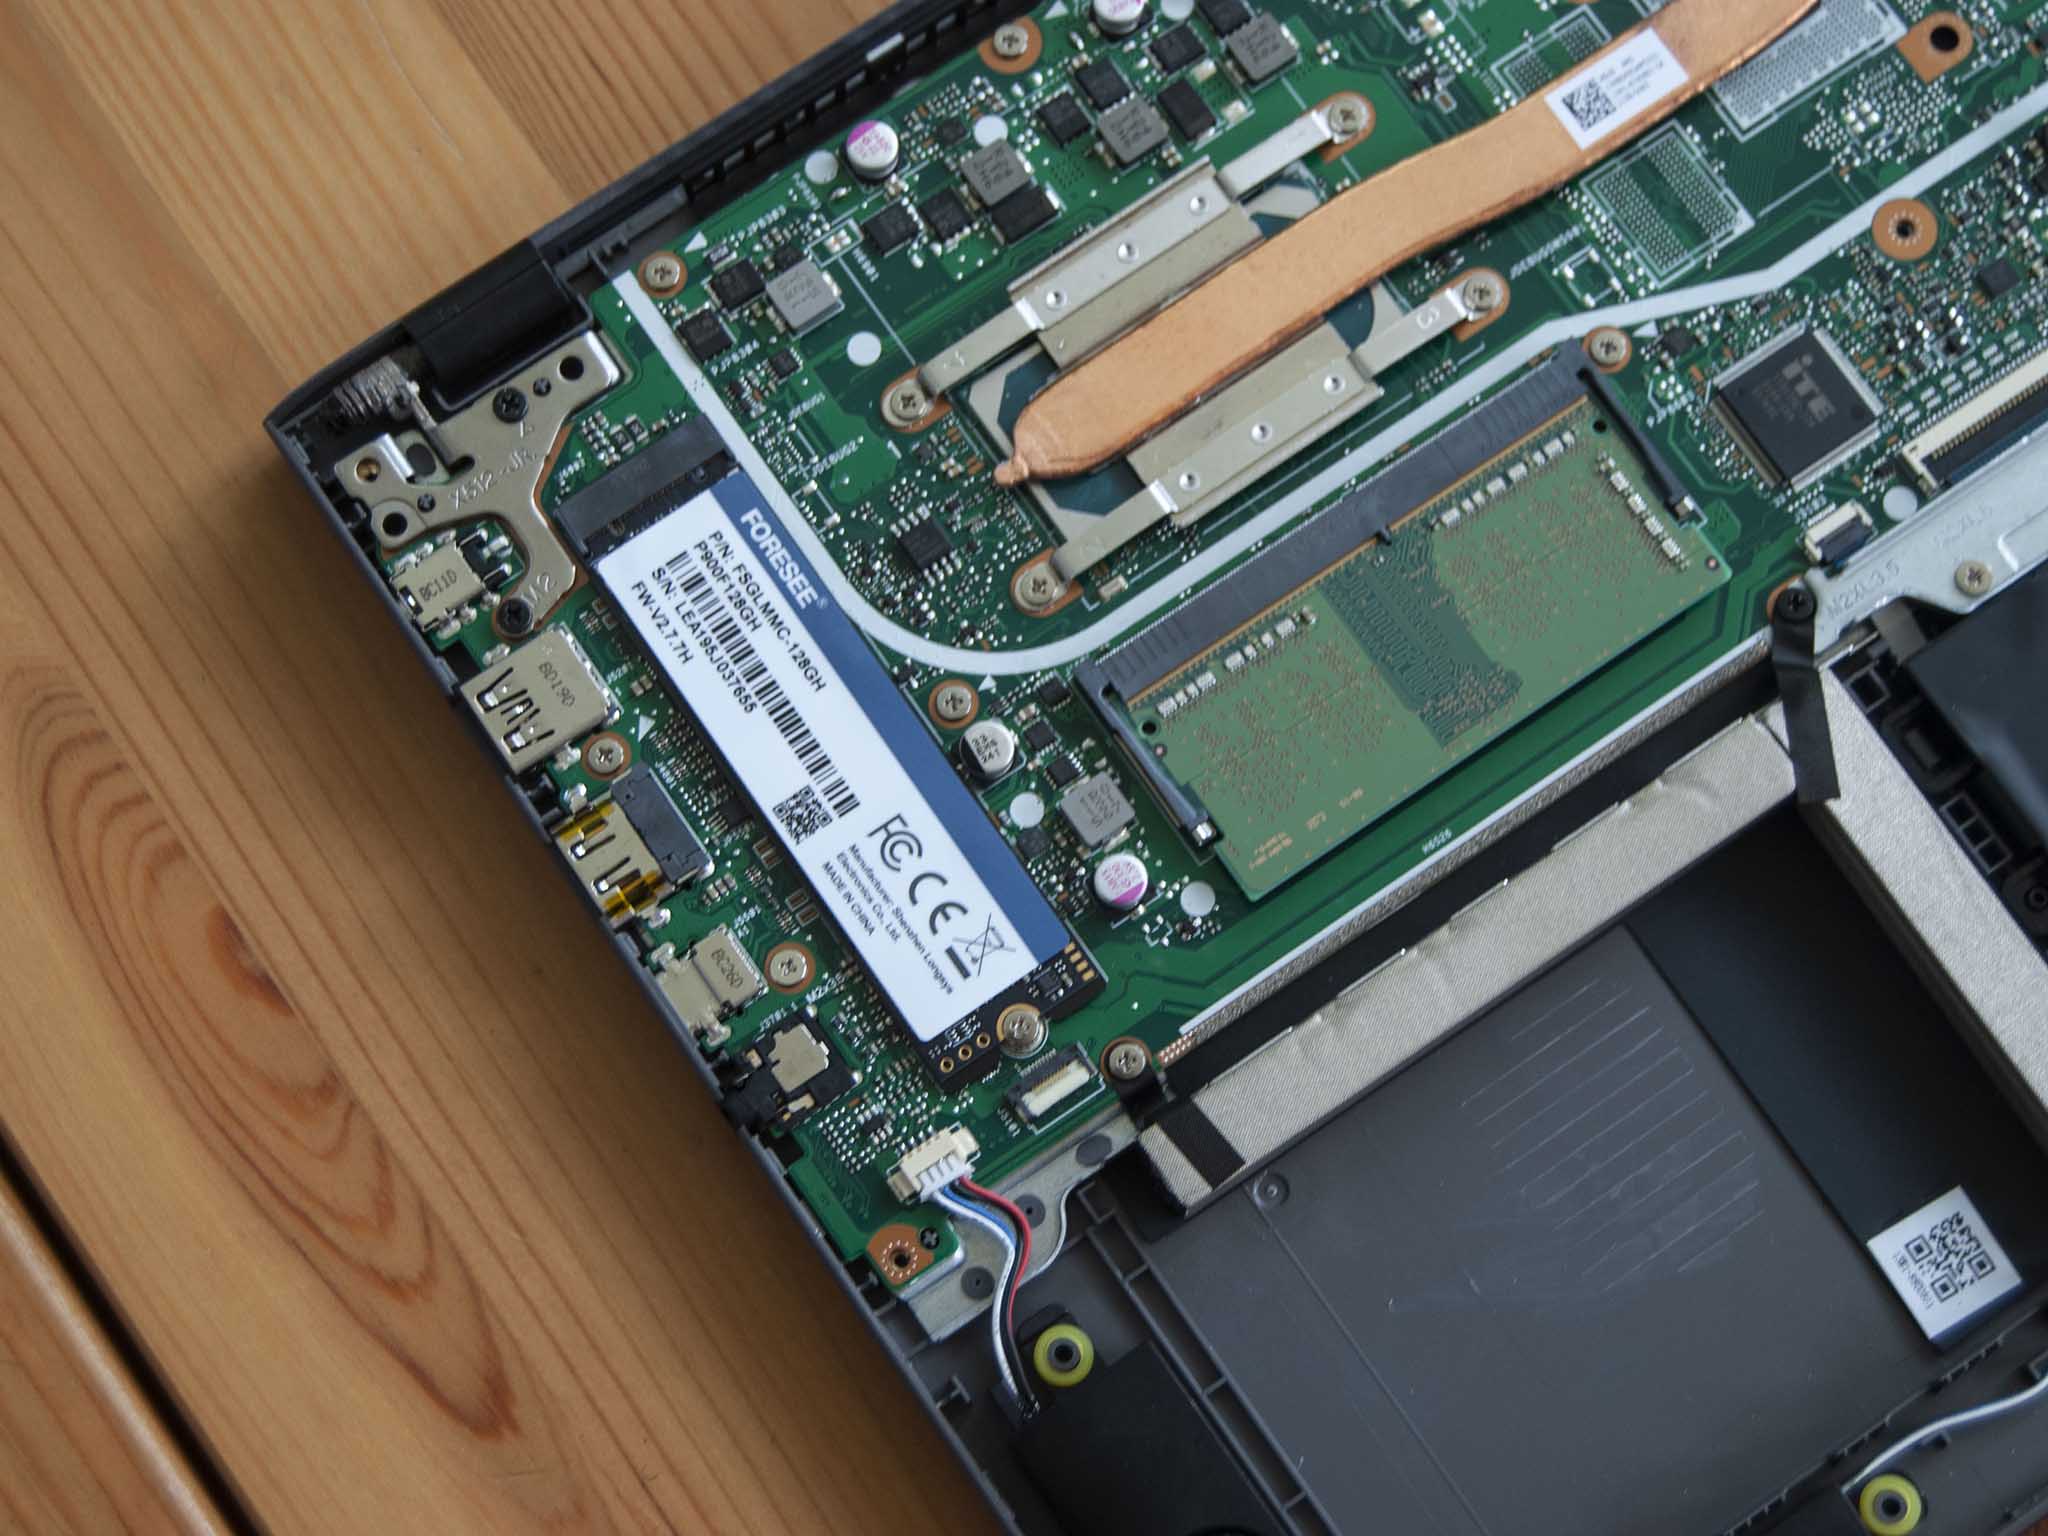
- Locate the RAM slots: Inside your computer, you will find the RAM slots. These are long, rectangular slots usually located near the CPU or motherboard. Refer to your computer’s manual or manufacturer’s website to identify the exact location.
- Remove the existing RAM (if necessary): If all the RAM slots are occupied, you may need to remove the existing modules to make room for the new ones. Press down on the retention clips on each side of the module until it pops up. Gently pull the module out at an angle.
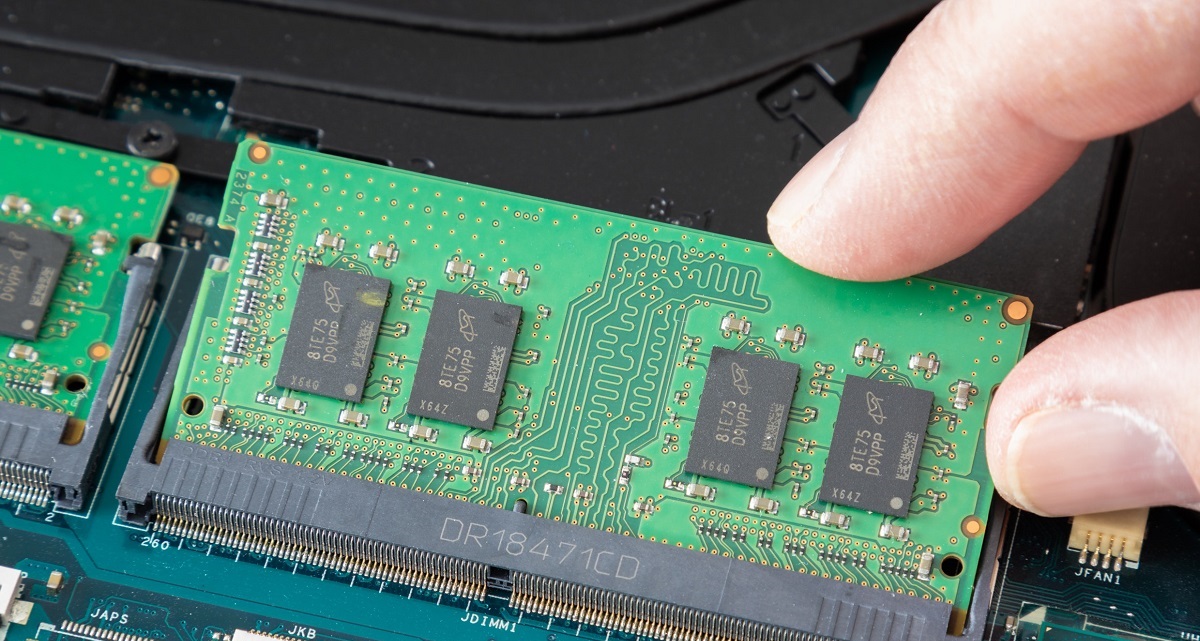
- Insert the new RAM modules: Take the new RAM modules out of their packaging and locate the notches on the bottom edge. Align the notches with the corresponding slots in the RAM slot. Gently push the module into the slot at a 45-degree angle until it clicks into place. Press firmly until the retention clips on both sides lock the module into place.
- Repeat for additional modules (if applicable): If you’re installing multiple RAM modules, repeat the previous step for each additional module, ensuring that they are properly aligned and securely inserted into the slots.
- Close the computer case: Once all the RAM modules are installed, carefully replace the side panel of your computer case. Make sure it is securely fastened with screws or latches.
It’s important to note that when installing RAM modules, they should fit snugly into the slots, but avoid using excessive force that could damage the modules or the slots. If you encounter resistance or the modules do not fit properly, double-check the orientation and alignment.
Now that the new RAM modules are installed and your computer case is closed, you’re almost done. In the next section, we will guide you through the process of powering on your computer and verifying the successful RAM upgrade.
Closing Your Computer and Powering It On
With the new RAM modules installed, it’s time to close your computer case and power it back on. Follow these steps to complete the installation process:
- Double-check the connections: Before closing the computer case, ensure that all cables and connections are properly reattached. This includes power cables, data cables, and any other peripherals you may have disconnected during the installation.
- Secure the computer case: Carefully place the side panel back onto the computer case and secure it with screws or latches. Make sure it is firmly and evenly fastened to avoid any loose connections or rattling.
- Reconnect the power cable: Plug the power cable back into the computer or the power outlet, depending on how you had it disconnected. Ensure a secure connection to provide power to your computer.
- Power on your computer: Press the power button to turn on your computer. You should see the startup screen and hear the familiar startup sounds indicating that your computer is booting up.
As your computer starts up, it will recognize the new RAM modules and adjust its settings accordingly. The process may take a little longer than usual as the system initializes the increased amount of memory.
Once your computer has successfully powered on, you can check if the new RAM has been recognized by the system. Refer to the next section for instructions on how to verify the RAM upgrade.
Congratulations! You have successfully installed the new RAM modules and powered on your computer. In the next section, we will guide you through the process of verifying the RAM upgrade.
Verifying the RAM Upgrade
After installing the new RAM modules and powering on your computer, it’s important to verify that the RAM upgrade was successful. Follow these steps to confirm that your system recognizes the increased amount of memory:
- Open the Task Manager: Press Ctrl + Shift + Esc to open the Task Manager, or right-click on the taskbar and select Task Manager.
- Navigate to the Performance tab: In the Task Manager, click on the Performance tab to access performance-related information about your computer.
- Check the total RAM: Under the Physical Memory section, you will see the total amount of installed RAM, which should reflect the increase after the upgrade.
- Monitor RAM usage: You can also keep an eye on the RAM usage graph, which shows the percentage of memory being utilized. With the new RAM installed, you should notice a difference in how much memory is being used during normal computer operation.
- Run memory-intensive tasks: To further test the effect of the RAM upgrade, you can open resource-intensive applications, run multiple programs simultaneously, or perform tasks that previously caused slowdowns or delays. If your system performs noticeably better and experiences fewer performance issues, it is a clear indication that the RAM upgrade was successful.
If, for any reason, you are not seeing the expected increase in RAM or there are any performance issues, double-check that the RAM modules are properly installed and firmly seated in their slots. It’s also a good idea to consult your computer’s manual or the manufacturer’s website for any specific instructions or troubleshooting steps related to RAM upgrades.
By verifying the RAM upgrade, you can ensure that your computer is making full use of the increased memory capacity, resulting in improved performance and smoother multitasking.
With the RAM upgrade successfully verified, you can now enjoy the enhanced speed and efficiency of your computer. In the final section, we will provide some additional considerations for optimizing the performance of your RAM.
Additional Considerations for Optimizing RAM Performance
After successfully upgrading your RAM and verifying the increase in memory capacity, there are some additional considerations you can keep in mind to optimize the performance of your RAM:
- Close unnecessary programs: Make sure to close any unnecessary programs or background processes that are consuming memory. This will free up RAM resources for other applications and improve overall performance.
- Limit startup programs: Reduce the number of programs that automatically start with your computer. These startup programs consume memory and can slow down the booting process. Use the Task Manager or system configuration tools to manage startup programs.
- Manage virtual memory: The operating system uses a portion of the hard drive as virtual memory to compensate for the limited physical RAM. Ensure that the virtual memory settings are properly configured for optimal performance. Consult your computer’s manual or follow online guides to adjust virtual memory settings.
- Keep your system updated: Regularly update your operating system, drivers, and software to ensure compatibility and optimize performance. Updates often include patches and improvements that can enhance RAM management.
- Scan for malware: Run regular malware scans to detect and remove any malicious software that can consume system resources, including RAM. Malware can significantly impact overall system performance, including memory usage.
- Consider upgrading other hardware components: RAM is just one component of your computer’s overall performance. If you still experience performance issues after upgrading the RAM, you may want to consider upgrading other hardware components such as the CPU, storage drive, or graphics card to further enhance system performance.
By implementing these additional considerations, you can ensure that your RAM upgrade contributes to an optimized and efficient computing experience. Remember to regularly monitor your system’s performance, and make adjustments or upgrades as needed to keep up with your evolving needs.
Congratulations on successfully completing the RAM upgrade and taking steps to optimize its performance. Enjoy the improved speed and responsiveness of your computer!