Introduction
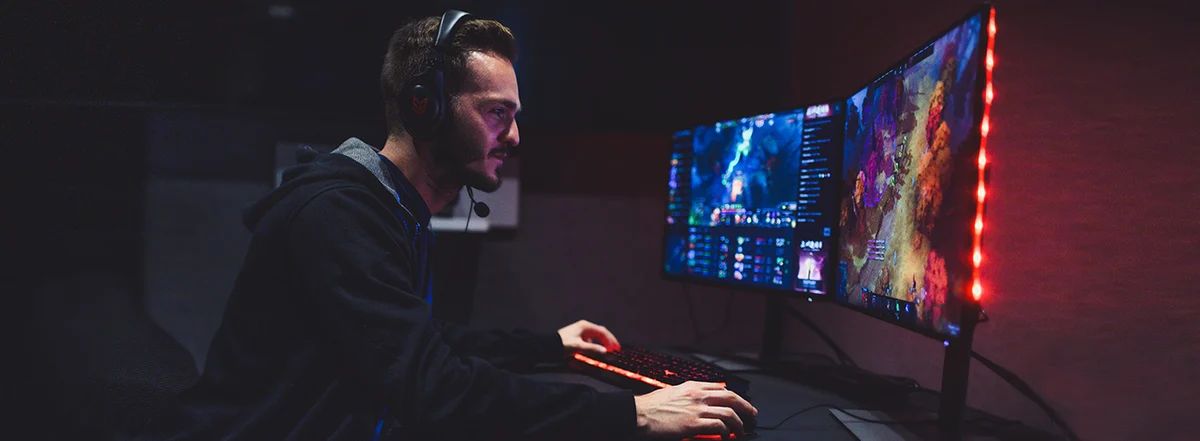
Welcome to the world of online gaming on Windows 10! Whether you’re a casual player or a dedicated gamer, there’s nothing quite like the thrill of immersing yourself in a virtual world filled with action and excitement. However, to truly enjoy your gaming experience, it’s important to ensure that your PC is optimized for online gaming.
In this article, we will explore various techniques and strategies to improve your online gaming performance on Windows 10. From optimizing game settings to updating drivers and managing system resources, we’ll cover everything you need to know to enhance your gaming experience.
Online gaming on Windows 10 offers a vast array of exciting multiplayer games, from intense first-person shooters to immersive role-playing adventures. But even the most powerful PC can encounter performance issues if it’s not properly configured for gaming. By implementing the tips and tricks outlined in this article, you’ll be able to maximize your PC’s potential and enjoy smoother gameplay, reduced lag, and overall better performance.
Whether you’re playing competitive online games or exploring open-world environments, these optimization techniques will help you get the most out of your gaming experience. So, let’s dive in and discover how to transform your Windows 10 PC into the ultimate gaming machine!
Update Windows 10
One of the first steps to optimize your PC for online gaming on Windows 10 is to ensure that your operating system is up to date. Microsoft regularly releases updates for Windows 10 that not only introduce new features but also address security vulnerabilities and improve system performance.
Updating Windows 10 is essential as it includes important patches and bug fixes that can enhance your gaming experience. These updates often include graphics driver updates, DirectX enhancements, and optimizations specifically designed to improve gaming performance.
To update Windows 10, follow these steps:
- Click on the Start button and select Settings.
- In the Settings window, click on “Update & Security”.
- In the Windows Update tab, click on “Check for updates”.
- If updates are available, click on “Download” and allow the updates to install.
- Once the updates are installed, restart your PC to apply the changes.
Ensuring that your Windows 10 is updated will not only provide you with the latest features but also improve the compatibility of your system with the latest games. It’s recommended to enable automatic updates to ensure that your PC stays up to date, as new updates are released regularly.
By keeping your operating system updated, you can benefit from improved stability, better performance, and enhanced security while gaming on Windows 10. So, make it a habit to check for and install Windows updates regularly to keep your PC in top shape for online gaming.
Optimize Game Settings
Optimizing the in-game settings can have a significant impact on the performance and visual quality of the games you play. Most modern games provide a variety of graphical and performance options that can be adjusted to suit your PC’s capabilities.
Here are some tips to optimize your game settings:
- Resolution: Set the game resolution according to your monitor’s native resolution. Higher resolutions require more processing power, so if your PC is struggling to maintain smooth gameplay, consider lowering the resolution.
- Graphics Quality: Adjust the graphics quality settings based on your PC’s hardware capabilities. Lowering the graphics settings can improve performance, while higher settings provide better visuals at the cost of performance.
- Anti-Aliasing: Anti-aliasing smooths out jagged edges in-game and enhances visual quality. However, it can be resource-intensive. Experiment with different anti-aliasing options or consider disabling it if your PC is struggling to maintain a decent frame rate.
- Shadows and Lighting: These settings significantly impact the visual quality of the game. Adjust them according to your preference and system capabilities. Lowering shadow and lighting quality can improve performance.
- Texture Quality: Higher texture quality enhances the details in-game but requires more VRAM. If you have limited VRAM or a low-end GPU, consider lowering the texture quality settings.
Keep in mind that every game is different, and the specific settings available may vary. Take some time to experiment with the options available in each game and find the balance between performance and visual quality that works best for you.
Additionally, some games offer a “performance mode” or “optimized settings” option that automatically adjusts the settings based on your hardware. This can be a quick and convenient way to optimize your game settings without individually tweaking each option.
By optimizing the game settings, you can improve the overall performance and visual experience of your favorite games. Experiment with different settings to find the perfect balance and enjoy smooth gameplay without compromising on visual quality.
Update Graphics Drivers
Keeping your graphics drivers up to date is crucial for optimal gaming performance. Graphics drivers are responsible for translating the instructions from your game into signals that your graphics card can understand. Outdated or incompatible drivers can result in reduced performance, graphical glitches, and even game crashes.
Here’s how you can update your graphics drivers:
- Identify your graphics card manufacturer and model. You can usually find this information in the Device Manager or by visiting the manufacturer’s website.
- Visit the manufacturer’s website and search for the latest drivers for your specific graphics card model and operating system version.
- Download the appropriate driver package for your graphics card.
- Once the driver package is downloaded, run the installer and follow the on-screen instructions to update your graphics drivers.
- After the installation is complete, restart your PC to apply the changes.
Alternatively, you can use third-party software tools like NVIDIA GeForce Experience or AMD Radeon Software to automatically check for and install the latest graphics drivers for your system.
Updating your graphics drivers not only ensures compatibility with the latest games but also provides performance optimizations and bug fixes. Newer drivers often come with performance enhancements specific to certain games, so keeping your drivers up to date can result in smoother gameplay and improved frame rates.
It’s a good practice to regularly check for updates from your graphics card manufacturer and install them promptly. This will help you get the most out of your graphics card and ensure that you’re benefiting from the latest features and optimizations.
By updating your graphics drivers, you can maximize the potential of your graphics card and enjoy a smoother and more enjoyable gaming experience on Windows 10.
Adjust Power Settings
Adjusting the power settings on your Windows 10 PC can have a significant impact on your gaming performance. By tweaking these settings, you can ensure that your system is utilizing its resources optimally and providing the necessary power for smooth gameplay.
Here are some power settings tweaks to consider:
- Power Plan: Windows 10 provides different power plans, such as Balanced, Power Saver, and High Performance. To optimize your gaming performance, select the High Performance power plan. This plan maximizes system performance but may consume more power. You can access the power plans by right-clicking on the battery icon in the system tray and selecting Power Options.
- Sleep and Hibernation Settings: Make sure to adjust the sleep and hibernation settings so that your PC doesn’t go into sleep or hibernation mode while you’re in the middle of gaming. These modes can disrupt gameplay and affect performance. Set the “Put the computer to sleep” and “Hibernate” options to “Never” in the power plan settings.
- Processor Power Management: Access the advanced power settings and navigate to the Processor Power Management section. Here, you can adjust the Minimum and Maximum Processor State. Set the values to 100% to ensure that your CPU is running at full power while gaming.
- Display Timeout: To prevent the screen from turning off while gaming, adjust the display timeout options. Go to the power plan settings and set “Turn off display” to a longer duration or select “Never” to keep the display on while gaming.
By adjusting the power settings, you can prevent your PC from entering power-saving modes or reducing performance while gaming. This ensures that your system is delivering the necessary power and resources to provide a smooth and uninterrupted gaming experience.
Remember to adjust the power settings back to their defaults after you finish gaming to optimize power consumption and prolong the battery life on laptops.
Keep in mind that different PCs may have different power settings options available, depending on your hardware configuration. It’s advisable to explore the power settings thoroughly and customize them according to your specific needs.
By optimizing the power settings on your Windows 10 PC, you can ensure that your system is providing the necessary performance and resources for a smooth and enjoyable gaming experience.
Disable Background Apps and Processes
While you’re gaming, having unnecessary background apps and processes running can consume valuable system resources and impact your gaming performance. By disabling or closing these background activities, you can free up resources and ensure that your PC is dedicated to running the game smoothly.
Here’s how you can disable background apps and processes:
- Disable Startup Apps: Many apps automatically launch when you start your PC, consuming system resources in the background. To manage these startup apps, press
Ctrl + Shift + Escto open the Task Manager, go to the Startup tab, and disable any unnecessary apps from running at startup. - Close Unnecessary Applications: Before launching your game, close any applications that you don’t need while gaming. This includes web browsers, media players, and other resource-intensive applications.
- Disable Background Processes: Some processes that run in the background, such as software updaters or system maintenance tasks, can also affect gaming performance. To disable unnecessary processes, open the Task Manager and look for processes that are consuming a significant amount of CPU or memory resources. Right-click on those processes and select “End Task”. However, exercise caution and only close processes that you are familiar with and confident about.
- Disable Windows Game Mode: Windows 10 has a built-in Game Mode feature that aims to enhance gaming performance by prioritizing system resources. However, this feature doesn’t work well for all games and might cause compatibility issues. To disable Game Mode, go to Settings > Gaming > Game Mode and toggle off the “Game Mode” option.
By disabling background apps and processes, you can ensure that your PC is solely focused on running your game without unnecessary overhead. This can free up valuable resources, such as CPU and memory, and result in improved frame rates and reduced input lag.
Remember, some background processes are essential for the smooth operation of your system, so exercise caution when disabling processes. If you’re not sure about a particular process, it’s best to leave it enabled or do some research before taking any action.
Optimizing your PC by disabling background apps and processes can significantly enhance your gaming experience on Windows 10. By dedicating your system resources to the game itself, you can ensure a smoother and more immersive gaming session.
Clear Temporary Files and Cache
Over time, temporary files and cached data can accumulate on your PC, taking up precious storage space and potentially slowing down your system performance. Clearing these files regularly can free up storage and improve the overall performance of your PC for online gaming.
Here’s how you can clear temporary files and cache on Windows 10:
- Open the Windows Start menu and type “Disk Cleanup”. Click on the Disk Cleanup app from the search results.
- Once the Disk Cleanup window opens, select the drive where your operating system is installed (usually the C: drive) and click “OK”.
- In the Disk Cleanup window, check the boxes next to the types of files you want to delete. These may include temporary files, system files, and browser cache.
- Click on “OK” to start the cleanup process. Depending on the amount of data to be cleared, this may take some time.
- After the process is complete, restart your PC to finalize the cleanup.
In addition to using Disk Cleanup, you can also clear cache and temporary files in web browsers like Google Chrome, Mozilla Firefox, and Microsoft Edge. These browsers usually have a dedicated option to clear cache and browsing data in their settings or preferences menu.
By regularly clearing temporary files and cache, you can improve system performance and free up valuable disk space. This can positively impact gaming performance by reducing input lag, loading times, and potential stuttering caused by a lack of available storage.
It’s recommended to perform this cleanup process periodically, depending on your usage and the amount of temporary files generated. A good practice is to clear these files every few months or whenever you notice a significant decrease in system performance.
Remember to exercise caution when using the Disk Cleanup tool or clearing browser cache, as some files may be important for certain applications or browser functionalities. Double-check the items selected for deletion before proceeding to ensure you’re not removing any critical files.
By regularly clearing temporary files and cache on your Windows 10 PC, you can optimize your system’s performance and create a cleaner environment for online gaming.
Install a Reliable Antivirus Program
When it comes to online gaming on Windows 10, it’s essential to have a reliable antivirus program installed on your PC. Online gaming often involves connecting with other players and downloading game files, which can expose your system to various security risks, including malware and phishing attempts.
Here are a few reasons why installing a reliable antivirus program is crucial for your gaming experience:
- Protection from Malware: Malware can not only damage your system but also affect your gaming performance. Some malicious programs can run in the background, consuming system resources and causing lag or crashes while gaming. An antivirus program actively scans for malware and removes any threats it detects, keeping your system safe and optimized for gaming.
- Safe Downloading: Many online games require downloading and installing files from various sources. An antivirus program with real-time scanning can help detect and block any potentially harmful files or downloads, ensuring that you don’t inadvertently install malware or other infected files.
- Phishing Protection: Online gaming communities are not exempt from phishing attacks, where cybercriminals attempt to trick users into revealing sensitive information. A reliable antivirus program helps detect and block phishing attempts, protecting your personal data and keeping your gaming accounts secure.
- System Performance Optimization: Some antivirus programs include additional features, such as system optimization tools, that can help improve the overall performance of your PC. These tools can clean temporary files, optimize system settings, and manage startup programs, all of which can contribute to a smoother gaming experience.
When selecting an antivirus program, choose one from a reputable and well-known provider. Look for features such as real-time scanning, automatic updates, and a user-friendly interface. Additionally, ensure that the antivirus program you choose doesn’t impact your gaming performance by causing unnecessary system slowdowns or conflicts with your games.
Remember to keep your antivirus program up to date by regularly installing the latest updates and virus definitions. This ensures that you have the most recent protection against emerging threats and vulnerabilities.
By installing a reliable antivirus program on your Windows 10 PC, you can protect yourself from malware, phishing attempts, and other security risks while enjoying a safe and optimized gaming experience.
Allocate More RAM to Games
Allocating more RAM (Random Access Memory) to your games can significantly improve their performance, especially if you have a PC with limited RAM capacity. RAM is a crucial component of your system that temporarily stores data and instructions for your computer to access quickly. By allocating more RAM to games, you can provide them with the necessary resources to run smoothly and efficiently.
Here’s how you can allocate more RAM to games on a Windows 10 PC:
- Open the Task Manager by pressing
Ctrl + Shift + Escor right-clicking on the taskbar and selecting “Task Manager”. - In the Task Manager, go to the “Processes” or “Details” tab, depending on the Windows 10 version.
- Locate the game you want to allocate more RAM to in the list of running processes.
- Right-click on the game process and select “Set Priority” or “Set Affinity”.
- In the “Set Priority” or “Set Affinity” dialog box, adjust the priority or affinity settings to allocate more CPU and RAM resources to the game. Be cautious not to set the priority too high or allocate all available RAM, as this can cause instability in the system.
- Click “OK” to apply the changes.
By increasing the priority or affinity of the game process, you prioritize its access to CPU and RAM resources, allowing the game to perform faster and smoother. This can reduce lag, improve loading times, and prevent stuttering during gameplay.
It’s important to note that allocating more RAM to games may not always be possible or effective, especially if your PC has limited RAM capacity. In such cases, it’s recommended to consider upgrading your RAM modules to achieve better overall system performance.
Keep in mind that allocating more RAM to games will reduce the available resources for other running processes. Therefore, it’s a good idea to close any unnecessary applications or background processes to free up additional RAM for your games.
Remember to adjust the priority or affinity settings back to their default values after you finish gaming to ensure your system resources are properly distributed.
By allocating more RAM to your games, you can provide them with the necessary resources for optimal performance, leading to a smoother and more enjoyable gaming experience on your Windows 10 PC.
Monitor and Manage CPU Usage
Monitoring and managing CPU usage is essential for optimizing your PC’s performance while gaming. The CPU (Central Processing Unit) is responsible for executing instructions and carrying out calculations for all tasks, including running games. High CPU usage can lead to performance issues, such as lag, frame drops, and overall sluggishness.
Here are some tips to monitor and manage CPU usage:
- Task Manager: Use the Windows Task Manager to monitor CPU usage in real-time. Press
Ctrl + Shift + Escto open Task Manager, go to the “Performance” tab, and observe the CPU usage graph. If you notice high CPU usage while gaming, it could indicate that your system is struggling to keep up with the demands of the game. - Close Unnecessary Processes: Close any unnecessary processes and applications that are consuming CPU resources in the background. Open Task Manager, go to the “Processes” or “Details” tab, identify processes that are using a significant amount of CPU, right-click on them, and select “End Task”. However, exercise caution and only close processes that you are familiar with and confident about.
- Reduce Background Tasks: Minimize the number of background tasks running on your system while gaming. Close any unnecessary apps and disable any unnecessary startup programs. This will free up CPU resources for the game and improve overall performance.
- Use CPU Monitoring Tools: Consider using third-party CPU monitoring tools that provide more detailed information on CPU usage and temperature. These tools can help identify any potential CPU performance issues and allow you to take appropriate actions.
- Adjust In-Game Settings: Lowering in-game graphical settings, such as resolution, shadows, and effects, can help reduce CPU usage. Experiment with different settings to find the balance between visual quality and performance.
- Upgrade Your CPU: If you consistently experience high CPU usage while gaming and your PC is struggling to handle newer and more demanding games, it may be worth considering a CPU upgrade. Consult with a professional or refer to your PC’s documentation to determine if a CPU upgrade is feasible for your system.
Monitoring and managing CPU usage is crucial for maintaining optimal performance during gaming sessions. By being mindful of CPU usage and taking appropriate actions, such as closing unnecessary processes and adjusting in-game settings, you can ensure a smoother gaming experience with reduced lag and improved frame rates.
Remember that CPU usage can vary depending on the game’s requirements and the capabilities of your hardware. It’s important to find the right balance between performance and visual quality that works best for your setup.
By effectively monitoring and managing CPU usage, you can optimize your PC’s performance and enjoy a seamless gaming experience on Windows 10.
Use a Wired Connection
When it comes to online gaming, having a stable and reliable internet connection is crucial for minimizing latency and ensuring smooth gameplay. While Wi-Fi connections can be convenient, they can also be susceptible to interference and signal degradation, leading to lag and connectivity issues. To optimize your online gaming experience on Windows 10, it’s highly recommended to use a wired connection whenever possible.
Here are some reasons why using a wired connection is advantageous for gaming:
- Stability: Wired connections, such as Ethernet, offer superior stability compared to Wi-Fi. With a direct connection to your router or modem, you can reduce the chances of experiencing sudden drops in connectivity or signal interference, providing a more consistent and uninterrupted gaming experience.
- Lower Latency: Wired connections generally have lower latency, also known as ping, compared to wireless connections. This means that your actions in the game will register faster, resulting in quicker response times and giving you a competitive edge in multiplayer games.
- Reduced Interference: Wi-Fi signals can be affected by various factors like distance, walls, and other electronic devices. These factors can introduce interference and lead to inconsistent performance. With a wired connection, you eliminate these potential sources of interference, ensuring a more reliable and stable connection.
- Higher Bandwidth: Wired connections often provide higher bandwidth compared to Wi-Fi, allowing for faster data transfer speeds. This is particularly beneficial for online gaming, especially for games that require significant data streaming, such as massive multiplayer online games or games with high-resolution graphics.
- Easier Troubleshooting: If you encounter any connection issues while gaming, it’s generally easier to diagnose and troubleshoot problems with a wired connection. This is because wired connections have fewer variables and potential sources of errors compared to wireless connections.
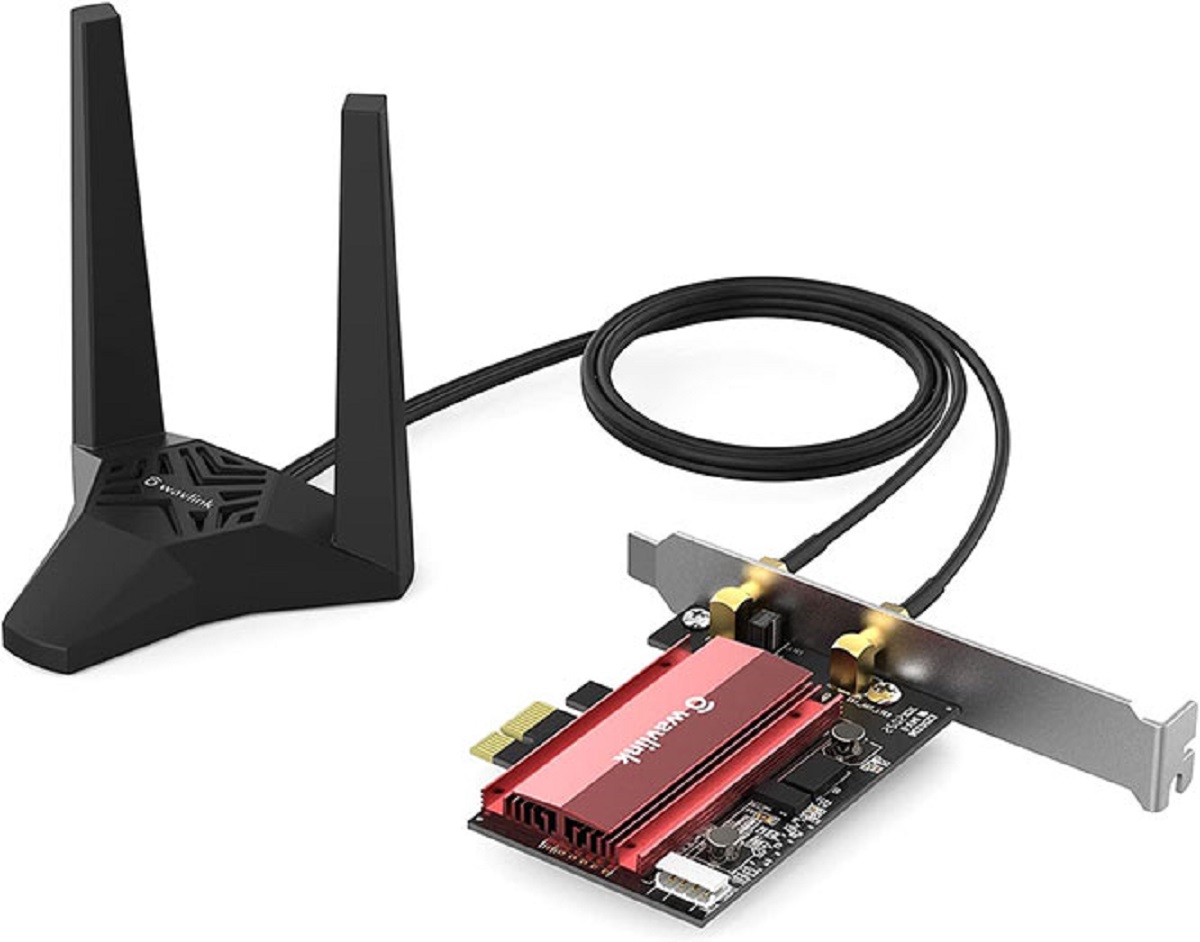
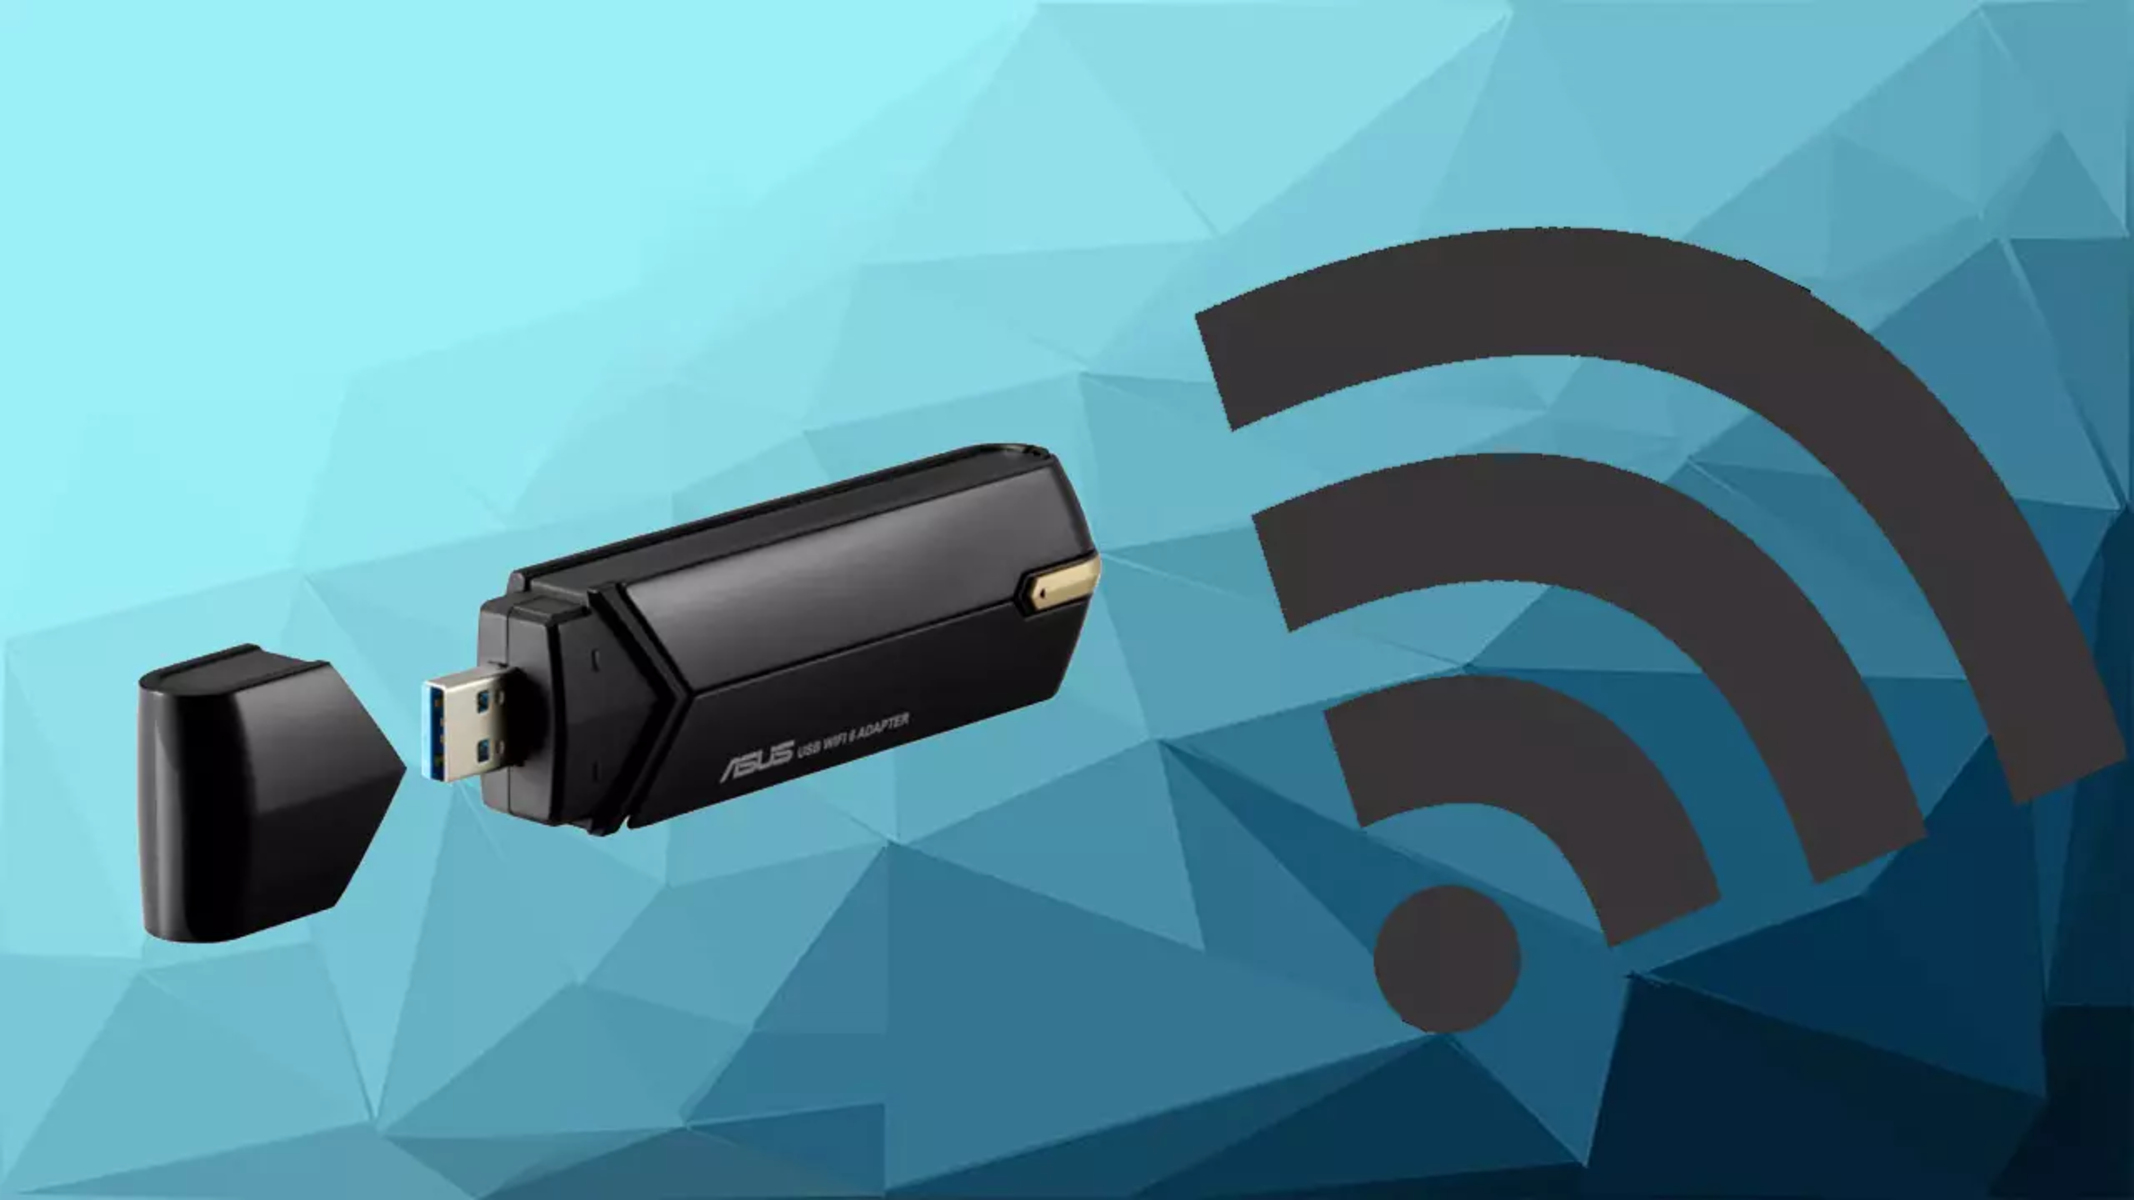
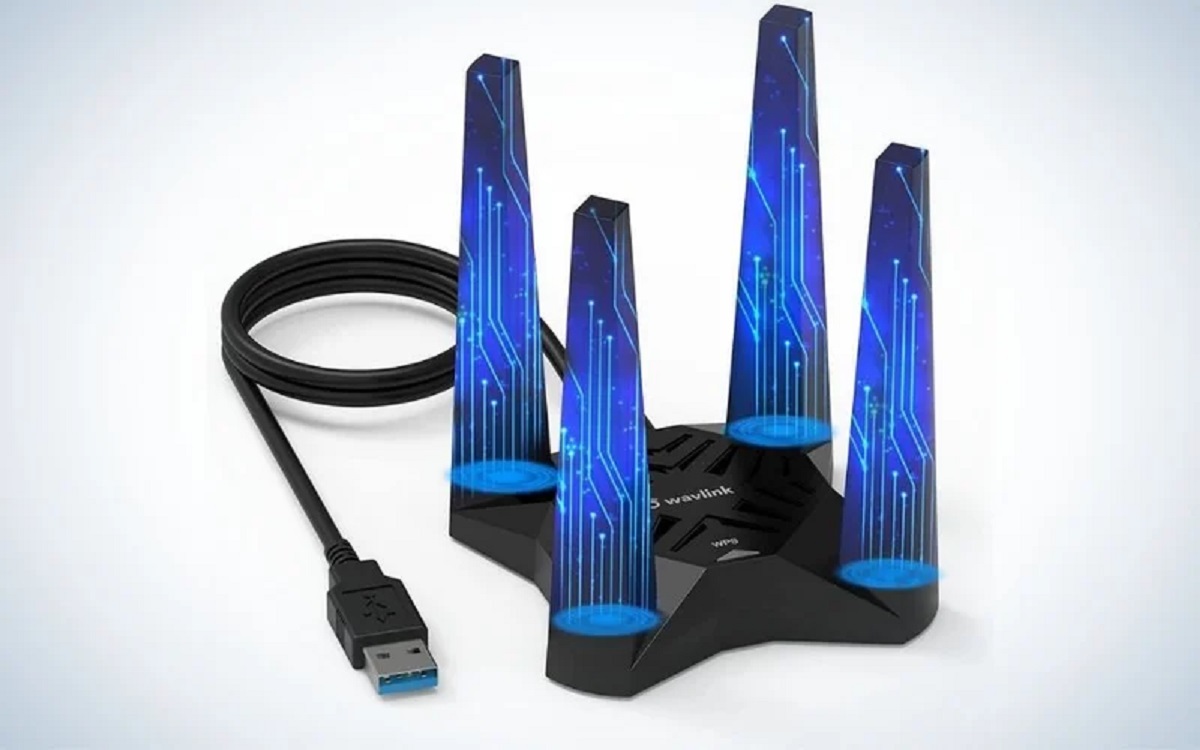
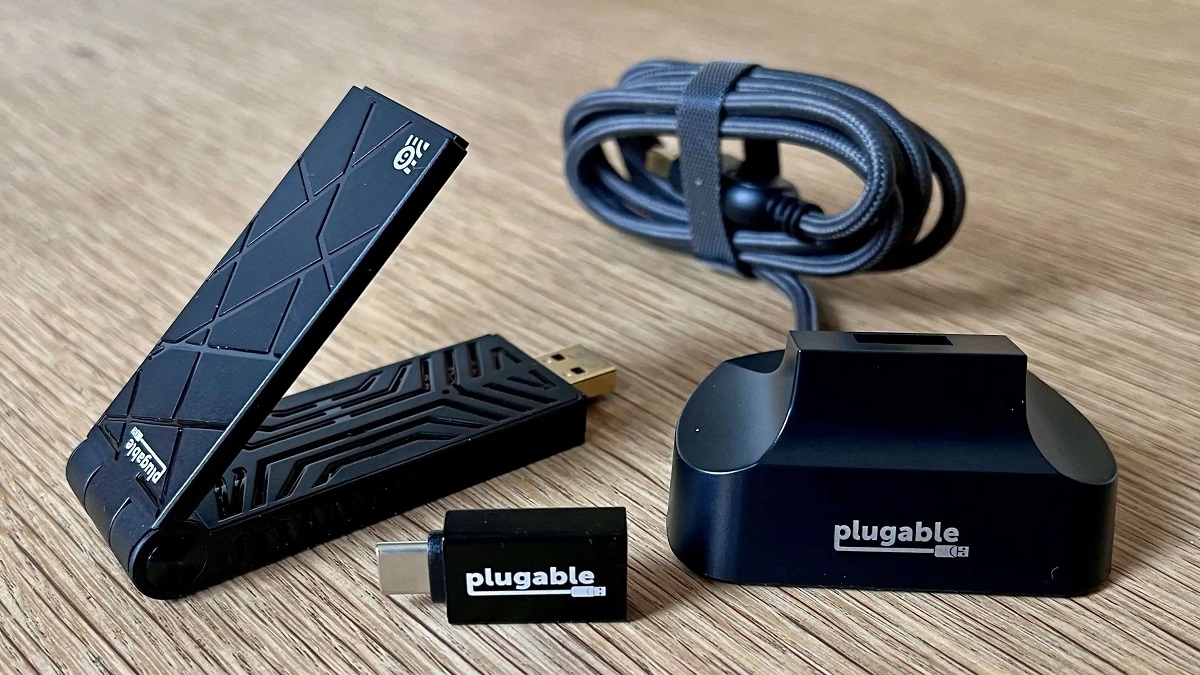
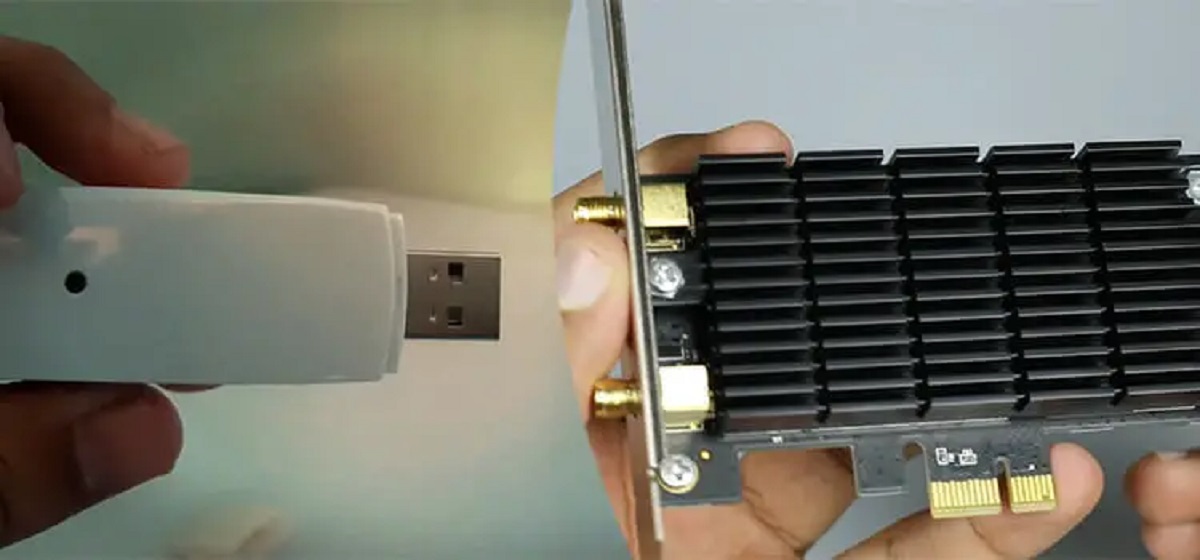
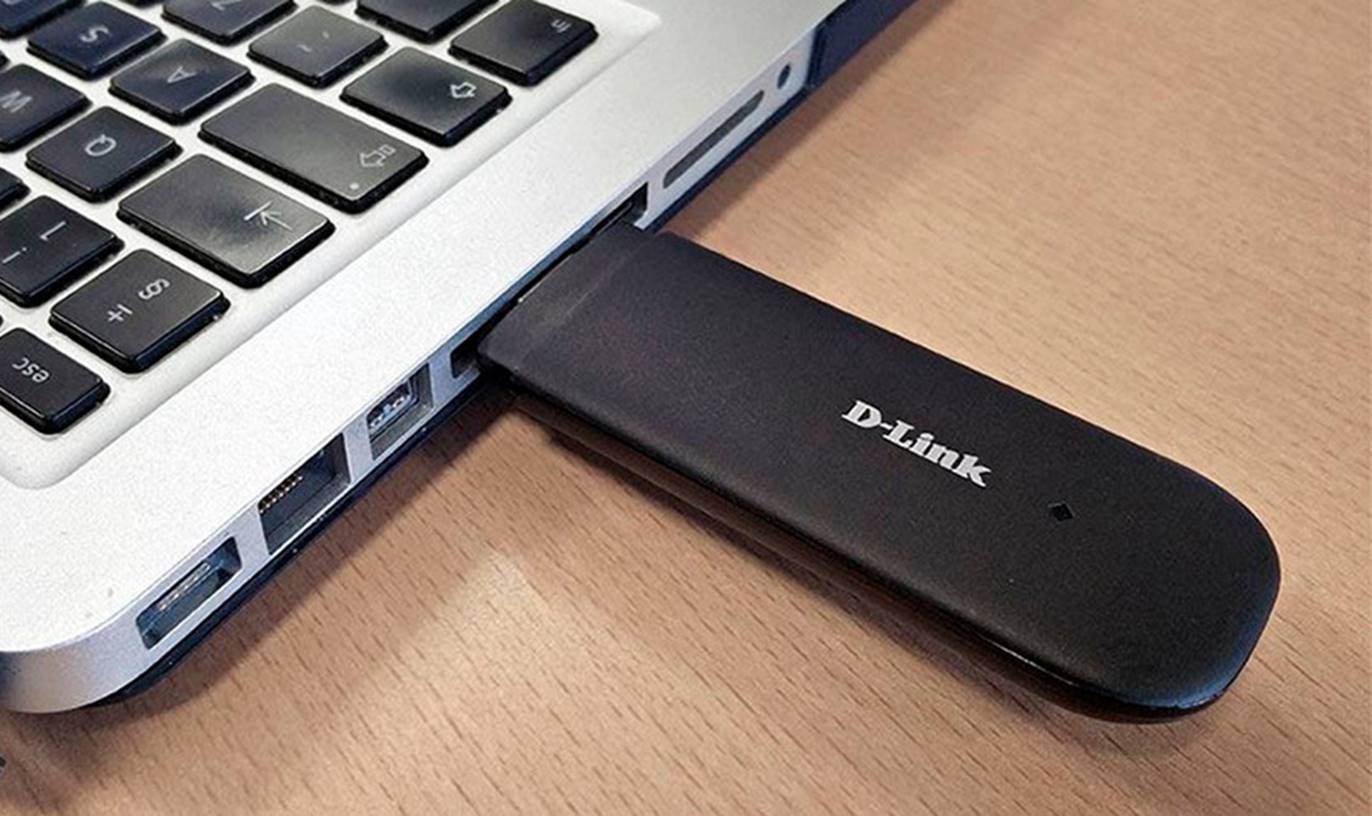
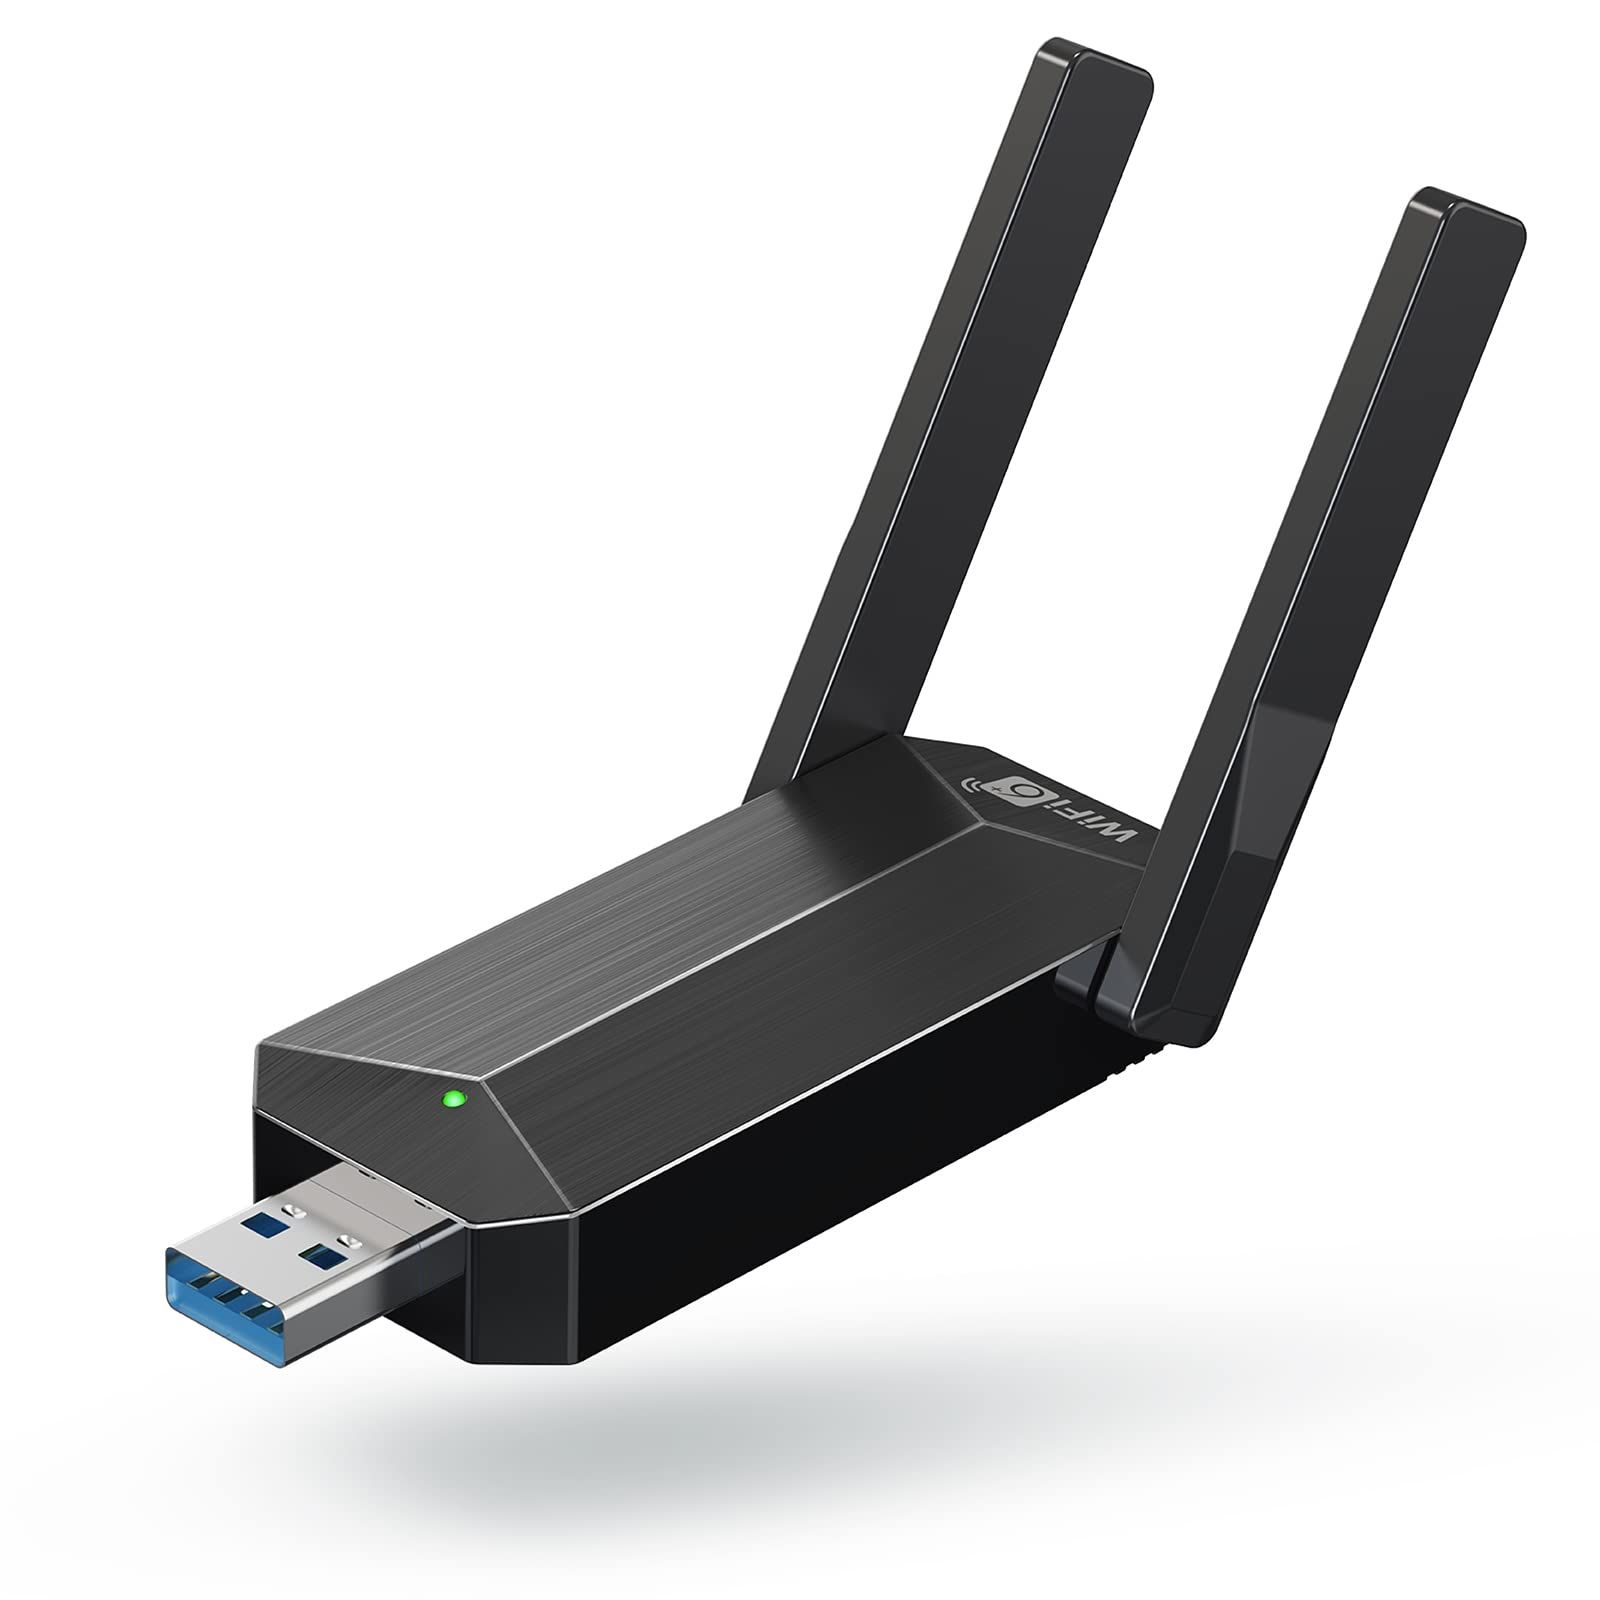
While using a wired connection is highly recommended for gaming, it’s understandable that it may not always be feasible or practical for everyone. In situations where a wired connection is not possible, you can still improve your Wi-Fi performance by ensuring your gaming PC is in close proximity to the router, reducing obstructions, and using a high-quality Wi-Fi adapter or router that supports the latest standards.
By using a wired connection for online gaming on your Windows 10 PC, you can enhance your gaming experience by minimizing latency, reducing lag, and ensuring a stable and consistent connection. This allows you to fully immerse yourself in the game without having to worry about connectivity issues.
Disable Windows Game Bar
Windows 10 comes with a built-in feature called Game Bar, which allows users to capture screenshots, record gameplay, and access certain gaming features while playing games. However, having the Game Bar enabled can sometimes have a negative impact on gaming performance, especially on lower-end systems. Disabling the Game Bar can help improve system resources and provide a smoother gaming experience on your Windows 10 PC.
Here’s how you can disable the Game Bar:
- Open the Start menu and click on “Settings” (or press Windows key + I) to open the Windows Settings.
- In the Settings window, click on “Gaming” to access the gaming-related settings.
- In the left sidebar, select “Game Bar”.
- To disable the Game Bar, toggle off the switch next to “Record game clips, screenshots, and broadcast using Game Bar”.
Disabling the Game Bar stops it from running and frees up valuable system resources that can be better utilized by your games. It can help reduce any potential performance impact caused by background processes related to the Game Bar.
Additionally, if you notice that the Game Bar is still running and causing performance issues even after disabling it through the settings, you can follow these steps:
- Press Windows key + R to open the Run dialog box.
- Type in “services.msc” and press Enter to open the Services window.
- Scroll down and locate “Xbox Live Game Save” and “Xbox Live Networking Service”.
- Right-click on each of these services and select “Properties”.
- In the Properties window, change the Startup type to “Disabled” for both services.
- Click on “Apply” and then “OK”.
By disabling the Game Bar and its associated services if needed, you can ensure that your Windows 10 PC dedicates its resources solely to gaming, resulting in improved performance and smoother gameplay.
Remember that disabling the Game Bar means you won’t have access to its features, such as recording clips or taking screenshots, while gaming. If you regularly use these features, you may want to weigh the trade-off between performance and functionality and decide whether disabling the Game Bar is the right choice for you.
Disabling the Game Bar is a recommended step for optimizing gaming performance on Windows 10, especially for lower-end systems or those experiencing performance issues. It can help provide a smoother and more responsive gaming experience by freeing up system resources that would otherwise be allocated to the Game Bar.
Adjust In-Game Graphics Settings
When it comes to optimizing gaming performance on Windows 10, adjusting the in-game graphics settings can have a significant impact. Each game comes with its own set of graphics options that allow you to customize the visual quality and performance. By adjusting these settings, you can find the perfect balance that ensures smooth gameplay without sacrificing too much in terms of visuals.
Here are some key considerations when adjusting in-game graphics settings:
- Resolution: The game’s resolution determines the number of pixels displayed on the screen. Higher resolutions offer sharper visuals but require more processing power. Consider lowering the resolution if your system is struggling to maintain a smooth frame rate.
- Texture Quality: Higher texture quality improves the level of detail and sharpness of in-game textures. However, it can also require more video memory. If you have limited video memory, lower texture quality settings can help improve performance.
- Shadow Quality: Shadows can add realism to the game, but they can also be resource-intensive. Adjusting the shadow quality or disabling shadows altogether can help improve performance, especially on lower-end systems.
- Anti-Aliasing: Anti-aliasing reduces jagged edges on objects and improves overall visual quality. However, it can be demanding on system resources. Experiment with different anti-aliasing settings or consider disabling it if performance is a priority.
- Effects and Post-processing: Visual effects like motion blur, depth of field, and ambient occlusion enhance the realism of the game but can impact performance. Adjusting or disabling these effects can help improve frame rates without significant visual compromise.
It’s important to note that not all games will have the same graphics settings or options. Some games may offer more advanced settings, while others may be more limited. Take the time to familiarize yourself with the settings available in each game and experiment to find the optimal balance between performance and visual quality.
Keep in mind that what works for one game may not work for another. Each game has different system requirements and optimization considerations. Adjusting the graphics settings for each individual game can help ensure the best possible performance.
By adjusting the in-game graphics settings, you can tailor the visual quality and performance of the game to your system’s capabilities. This allows you to enjoy a smooth and visually pleasing gaming experience on your Windows 10 PC.
Disable Windows Notifications
Windows 10 includes a notification system that delivers alerts and notifications from various apps and services. While notifications can be helpful in staying updated, they can also disrupt your gaming experience by interrupting gameplay and causing distractions. Disabling Windows notifications can help you focus on your game without unnecessary interruptions and improve your overall gaming performance on Windows 10.
Here’s how you can disable Windows notifications:
- Open the Windows Start menu and click on “Settings” (or press Windows key + I) to open the Windows Settings.
- In the Settings window, click on “System”.
- In the left sidebar, select “Notifications & actions”.
- Toggle off the switch under “Get notifications from apps and other senders” to disable all notifications.
- If you want to adjust notifications for specific apps, scroll down to the “Get notifications from these senders” section and toggle off the switches for the apps you want to disable notifications for.
By disabling Windows notifications, you can minimize distractions and maintain focus on your game. This can help you avoid situations where a notification pops up during a crucial moment, causing a loss of concentration or disrupting gameplay.
Disabling notifications does not mean that you won’t receive notifications at all. You can always check for missed notifications later by opening the Action Center, which can be accessed by clicking on the notification icon in the system tray or swiping from the right side of the screen on touch-enabled devices.
It’s important to note that some critical system notifications, such as low battery warnings or important system messages, may still be displayed even if you have disabled notifications. This ensures that you don’t miss any essential information that may impact the performance or stability of your system.
Disabling Windows notifications can help create a distraction-free environment for gaming, allowing you to immerse yourself fully in the game and maximize your performance. However, if you still want to receive some notifications while gaming, consider selecting the apps that are relevant and necessary, and disable notifications from other less critical apps.
By managing Windows notifications and disabling unnecessary distractions, you can optimize your gaming experience on Windows 10 and maintain your focus during gameplay without interruptions.
Optimize Network Settings
Optimizing network settings on your Windows 10 PC is crucial for ensuring a stable and smooth online gaming experience. A well-optimized network connection can minimize latency, reduce packet loss, and provide a more responsive and consistent connection to gaming servers. Consider implementing the following tips to optimize your network settings for gaming:
- Use a Wired Connection: As mentioned earlier, using a wired Ethernet connection instead of Wi-Fi can provide a more stable and reliable network connection. This helps reduce the chances of experiencing latency or interruptions during gameplay.
- Close Bandwidth-Consuming Applications: Prioritize your gaming experience by closing or pausing bandwidth-consuming applications running in the background. Examples may include file-sharing programs, streaming services, or large downloads which can impact your network performance.
- Enable Quality of Service (QoS): If your router supports Quality of Service (QoS) settings, configure it to prioritize gaming traffic over other types of network traffic. This ensures that your gaming data packets receive preferential treatment, resulting in reduced latency and improved overall gaming performance.
- Port Forwarding: For some online games, port forwarding may be necessary to establish a direct connection between your PC and the game servers. Consult the game’s documentation or support resources for specific port forwarding instructions.
- Disable Background Updates: Many applications and operating systems perform automatic updates, which can consume network bandwidth. Disable automatic updates on non-essential applications and schedule them during times when you are not gaming to avoid interference.
- Update Router Firmware: Check if there are any firmware updates available for your router model. Upgrading to the latest firmware can provide bug fixes, performance improvements, and enhanced network stability.
- Reset Router: If you’re experiencing persistent network issues, try resetting your router to its default settings. This can help resolve any configuration issues or conflicts that may be affecting your network connection.
- Consult Your ISP: If you consistently experience network problems or poor gaming performance, it’s worth reaching out to your internet service provider (ISP) for assistance. They may be able to check for any network issues on their end or provide recommendations for optimizing your connection for gaming.
Optimizing your network settings can significantly enhance your online gaming experience on Windows 10. By reducing latency, minimizing packet loss, and ensuring a stable connection, you can enjoy smoother gameplay, faster response times, and a competitive edge in multiplayer games.
It’s important to note that network optimization may vary depending on your specific network setup, the game you’re playing, and your ISP’s infrastructure. Experiment with these tips and consult the game’s documentation or support resources for further guidance on optimizing network settings for that particular game.
By taking the time to optimize your network settings, you can maximize your online gaming experience and minimize any potential network-related issues that may affect your performance and enjoyment while playing on Windows 10.
Close Bandwidth-Consuming Applications
When it comes to online gaming on Windows 10, having a stable and fast internet connection is crucial. Bandwidth-consuming applications running in the background can consume valuable bandwidth, causing latency issues and affecting your gaming performance. By closing these applications, you can prioritize your network resources for an optimized gaming experience.
Here are some steps to identify and close bandwidth-consuming applications:
- Task Manager: Open the Task Manager by pressing
Ctrl + Shift + Escor right-clicking on the taskbar and selecting “Task Manager”. - Processes: In the Task Manager, navigate to the “Processes” or “Details” tab, depending on your Windows 10 version.
- Sort by Network Usage: Click on the “Network” column to sort the processes by network usage. This will display the applications using the most network resources at the top.
- Identify Bandwidth-Consuming Applications: Look for applications or processes that are consuming a significant amount of network bandwidth. Examples may include file-sharing programs, streaming services, or software with automatic updates.
- Close or Pause Applications: Right-click on the bandwidth-consuming application and select “End Task” or “Close” to shut it down. Alternatively, if the application allows, you can pause or disable automatic updates or downloads while gaming.
By closing bandwidth-consuming applications, you can ensure that your internet connection is dedicated to providing the best possible gaming experience. This helps reduce latency, improve response times, and minimize any potential disruptions caused by network congestion.
It’s important to note that not all applications running in the background consume significant bandwidth. Some applications, such as chat clients or voice communication software, may be important for online multiplayer games. These applications can be essential for coordinating with teammates, so evaluate their impact on your gaming performance before closing them.
Additionally, for a more thorough approach, consider disabling or limiting the bandwidth usage of non-essential applications through their settings or preferences. This can help ensure that these applications do not hog bandwidth even when running in the background.
By actively managing and closing bandwidth-consuming applications, you effectively optimize your network resources and create a smoother online gaming experience on Windows 10. This allows you to enjoy gameplay with reduced lag, faster response times, and an overall improved gaming performance.
Run System Maintenance Tasks
Running regular system maintenance tasks on your Windows 10 PC is essential for optimizing performance and ensuring a smooth gaming experience. Over time, various issues can accumulate that may impact your system’s stability and performance. By performing routine maintenance, you can address these issues and keep your PC running at its best.
Here are some system maintenance tasks to consider:
- Disk Cleanup: Use the built-in Disk Cleanup tool to remove unnecessary files and free up disk space on your PC. It can clear temporary files, system logs, and other clutter that accumulates over time, improving overall system performance.
- Defragment Your Hard Drive: Regularly defragmenting your hard drive helps optimize file storage and access, resulting in faster and more efficient reading and writing of data. The built-in Disk Defragmenter tool in Windows can handle this task for you.
- Scan for Malware: Perform regular scans for malware and viruses to ensure that your system is free from malicious software. Windows Defender, the built-in antivirus program on Windows 10, provides real-time protection and scheduled scanning options.
- Update Software and Drivers: Keep your operating system, drivers, and other software up to date. Updates often include important bug fixes, security patches, and performance improvements. Check for updates regularly or enable automatic updates to ensure you’re running the latest versions.
- Check for System Errors: Use the Windows Event Viewer to check for system errors or warnings that may indicate issues with hardware or software. It can help you identify and troubleshoot potential problems that may affect your gaming performance.
- Manage Startup Programs: Review and disable unnecessary programs from running at startup. This can help reduce the boot time of your PC and free up system resources once your computer is up and running.
- Check for Disk Errors: Use the built-in Check Disk tool to scan your hard drive for errors. It can identify and fix disk errors that may impact system performance and stability. Running this tool periodically can help ensure the longevity and efficiency of your hard drive.
Performing these system maintenance tasks regularly helps keep your Windows 10 PC in optimal condition, improving gaming performance by addressing potential issues and optimizing system resources.
Consider setting a schedule or using automated tools to simplify the process of performing these maintenance tasks. Windows 10 includes various built-in utilities to assist with system maintenance, making it easier to keep your PC running smoothly.
By running system maintenance tasks, you can ensure that your Windows 10 PC is operating in peak condition, resulting in improved overall performance and a better gaming experience.
Enable High Performance Mode
Enabling the High Performance mode on your Windows 10 PC can provide a significant boost to gaming performance. By default, Windows 10 is set to a balanced power plan, which aims to strike a balance between power efficiency and performance. However, switching to the High Performance mode prioritizes performance over power saving, allowing your system to utilize its full potential for gaming.
Here’s how you can enable High Performance mode on your Windows 10 PC:
- Open the Windows Start menu and click on “Settings” (or press Windows key + I) to open the Windows Settings.
- In the Settings window, click on “System”.
- In the left sidebar, select “Power & sleep”.
- Scroll down to the “Related settings” section and click on “Additional power settings”.
- In the Power Options window that opens, select the “High performance” power plan.
Enabling High Performance mode ensures that your PC is utilizing its resources to deliver maximum performance during gaming. It sets the CPU to run at its highest clock speed and may disable power-saving features that could negatively impact gaming performance.
However, it’s important to note that enabling High Performance mode may result in increased power consumption and potentially higher temperatures. This mode is best suited for gaming on a desktop PC or a laptop that is plugged into a power source.
If you are using a laptop and want to save battery while not gaming, it’s recommended to switch back to a power-saving plan when you’re done with your gaming session.
It’s important to understand that enabling High Performance mode alone may not solve all performance issues. It should be combined with other optimizations, such as updating drivers, adjusting in-game settings, and optimizing your system’s resources.
By enabling High Performance mode, you can unleash the full power of your Windows 10 PC, ensuring that your system is performing at its best and maximizing gaming performance.
Remove Unnecessary Startup Programs
Having too many unnecessary programs running at startup can significantly impact the boot time of your Windows 10 PC and consume valuable system resources. By removing unnecessary startup programs, you can optimize your system’s performance, reduce startup time, and free up resources for a smoother gaming experience.
Here’s how you can remove unnecessary startup programs:
- Open the Task Manager by pressing
Ctrl + Shift + Escor right-clicking on the taskbar and selecting “Task Manager”. - In the Task Manager window, go to the “Startup” tab.
- You’ll see a list of programs that are set to run at startup. Identify the programs that you don’t need to run at startup.
- Right-click on the unnecessary program(s) and select “Disable” or “Disable Startup”. This prevents the program from running automatically when you start your PC.
- Repeat this process for all the programs you want to disable.
Disabling unnecessary startup programs not only reduces the time it takes for your PC to start up but also minimizes the strain on system resources. This can result in improved gaming performance, especially on systems with limited hardware capabilities.
However, exercise caution when disabling startup programs. Make sure you are familiar with the program and confident in your decision to disable it. Some programs may be necessary for the proper functioning of your PC or specific applications.
If you’re unsure about a particular program, it’s best to research it or consult with a knowledgeable source before disabling it. Additionally, it’s a good practice to periodically review your startup programs and adjust them as needed to ensure optimal system performance.
Remember, disabling startup programs does not uninstall the program from your PC; it simply prevents it from running automatically at startup. You can still manually launch the program when needed.
By removing unnecessary startup programs, you can minimize system resource usage, improve startup time, and create a more efficient environment for gaming on your Windows 10 PC.
Adjust Virtual Memory Allocation
Virtual memory, also known as the paging file, is a portion of your PC’s hard drive that is used as an extension of physical memory (RAM). Windows 10 manages virtual memory automatically, but adjusting its allocation can help improve system performance, including gaming performance, on your Windows 10 PC.
Here’s how you can adjust virtual memory allocation:
- Open the Windows Start menu and click on “Settings” (or press Windows key + I) to open the Windows Settings.
- In the Settings window, click on “System”.
- In the left sidebar, select “About”.
- Scroll down to the “Related settings” section and click on “System info”.
- In the System window that opens, click on “Advanced system settings” on the left sidebar.
- In the System Properties window, go to the “Advanced” tab and click on the “Settings” button under the “Performance” section.
- In the Performance Options window, go to the “Advanced” tab and click on the “Change” button under the “Virtual memory” section.
- Uncheck the box that says “Automatically manage paging file size for all drives”.
- Select the desired drive where the paging file is currently located.
- Select either the “System managed size” option for Windows to manage the allocation automatically or the “Custom size” option to manually allocate a specific size for the virtual memory.
- Click on “Set” and then “OK” to apply the changes.
Adjusting virtual memory allocation can help in cases where you have limited physical RAM or experience frequent memory-related issues. However, it is important to note that setting an excessively high virtual memory allocation may not necessarily yield better gaming performance. It is recommended to let Windows manage virtual memory automatically unless you are facing specific issues.
If you choose the custom size option, ensure that the size is within the recommended range provided by Windows. Setting an excessively large virtual memory allocation can lead to fragmented files and decreased overall system performance.
After adjusting the virtual memory allocation, it is advisable to restart your PC to apply the changes.
By adjusting virtual memory allocation, you can provide your system with additional memory resources, potentially enhancing gaming performance by reducing the chances of running out of physical RAM. However, keep in mind that virtual memory can never fully replace physical RAM and is best utilized as a supplement when required.
Clean Dust and Ensure Proper Ventilation
Proper cooling and ventilation are essential for maintaining optimal performance and preventing thermal issues with your Windows 10 PC, especially during intense gaming sessions. Over time, dust and debris can accumulate on cooling components, obstructing airflow and causing your system to overheat. By regularly cleaning dust and ensuring proper ventilation, you can improve system cooling and enhance your gaming experience.
Here are some steps to clean dust and ensure proper ventilation:
- Power Off and Unplug: Before cleaning, ensure that your PC is powered off and unplugged from the electrical outlet to prevent any potential electrical hazards.
- Open the Case: Depending on your PC’s design, use appropriate tools to open the case. Consult your PC’s manual or manufacturer’s website for specific instructions.
- Remove Dust with Compressed Air: Use a can of compressed air to blow away dust from cooling fans, heat sinks, and other components. Hold the can upright and follow the instructions on the can to avoid any potential damage or moisture buildup.
- Clean Air Filters: If your PC has air filters, remove them and clean them according to the manufacturer’s instructions. Air filters help prevent dust from entering your PC and are typically located on the front or bottom of the case.
- Check Cable Management: Ensure that cables inside the PC case are organized and do not obstruct airflow. Proper cable management can improve airflow and prevent them from interfering with cooling components.
- Reassemble the Case: Once the cleaning is complete, carefully reassemble the PC case, ensuring that all components are properly secured.
- Ensure Proper Placement: Place your PC in a well-ventilated area with sufficient space around it for proper airflow. Avoid placing it in enclosed spaces or against walls or other objects that may restrict airflow.
- Monitor Temperatures: Use software utilities or motherboard BIOS options to monitor your system’s temperatures. High temperatures could indicate inadequate cooling or other issues that need to be addressed.
Regularly cleaning dust and ensuring proper ventilation helps prevent overheating, system instability, and potential hardware damage. It also allows your system to maintain optimal performance during demanding gaming sessions.
Depending on your usage and the environment, it is recommended to clean dust and check ventilation every few months or whenever you notice a significant buildup. Adjust the frequency based on the dust levels in your location and your PC’s cooling capabilities.
By taking the time to clean dust and ensure proper ventilation, you can maintain a cooler and more efficient system, resulting in improved gaming performance and a longer lifespan for your Windows 10 PC.
Conclusion
Optimizing your Windows 10 PC for online gaming is essential for maximizing performance, minimizing lag, and enhancing your overall gaming experience. By implementing the strategies discussed in this article, you can ensure that your PC is ready to deliver smooth and immersive gameplay.
We began by highlighting the importance of keeping Windows 10 updated and optimizing game settings to suit your PC’s capabilities. Updating graphics drivers, adjusting power settings, and disabling background apps and processes are crucial steps to free up resources and improve gaming performance.
Clearing temporary files and cache, installing a reliable antivirus program, and monitoring CPU usage allow you to create an environment that is optimized for gaming. Additionally, using a wired connection, disabling the Windows Game Bar, and adjusting in-game graphics settings further minimize potential hurdles and enhance your gameplay.
Furthermore, optimizing network settings, closing bandwidth-consuming applications, running system maintenance tasks, and adjusting virtual memory allocation contribute to smoother online gaming experiences. Finally, keeping your PC clean from dust and ensuring proper ventilation help prevent thermal issues and enable optimal cooling.
Remember, each PC and gaming setup is unique, so it’s important to experiment and find the settings and optimizations that work best for your system. Regularly maintaining your PC and staying updated with the latest hardware drivers and software patches will improve stability, compatibility, and overall gaming performance.
By applying these optimization techniques, you can unlock the full potential of your Windows 10 PC and enjoy a seamless, immersive, and enjoyable gaming experience. So, gear up, power on your system, and get ready to conquer new gaming worlds!


