How To Allocate More CPU To A Game
To allocate more CPU to a game without upgrading hardware, the primary method is to raise the game's process priority in Windows Task Manager from "Normal" to "High." This is a limited, sometimes risky fix, it won't magically give a single-threaded game more cores, and setting it too high can destabilize your system, so closing background apps and lowering in-game settings are safer first steps.
Before you begin: Why process priority often isn't the fix
Microsoft's official documentation is blunt: "You actually should never use the priority setting." The reason is that Windows already manages CPU time fairly across all running processes. When you manually boost a game's priority, you're telling the scheduler to starve other tasks, including critical system services, which can cause audio stutters, input lag, or even a full freeze. Moreover, you cannot truly force a single-threaded application to use more CPU; if the game's code doesn't support multi-threading, it will only ever use one core, regardless of priority. Setting a process to "Realtime" (the highest option) can crash your system because it preempts even kernel-level operations. So before you touch any priority settings, understand that this is a band-aid, not a cure.
Close unnecessary background programs first
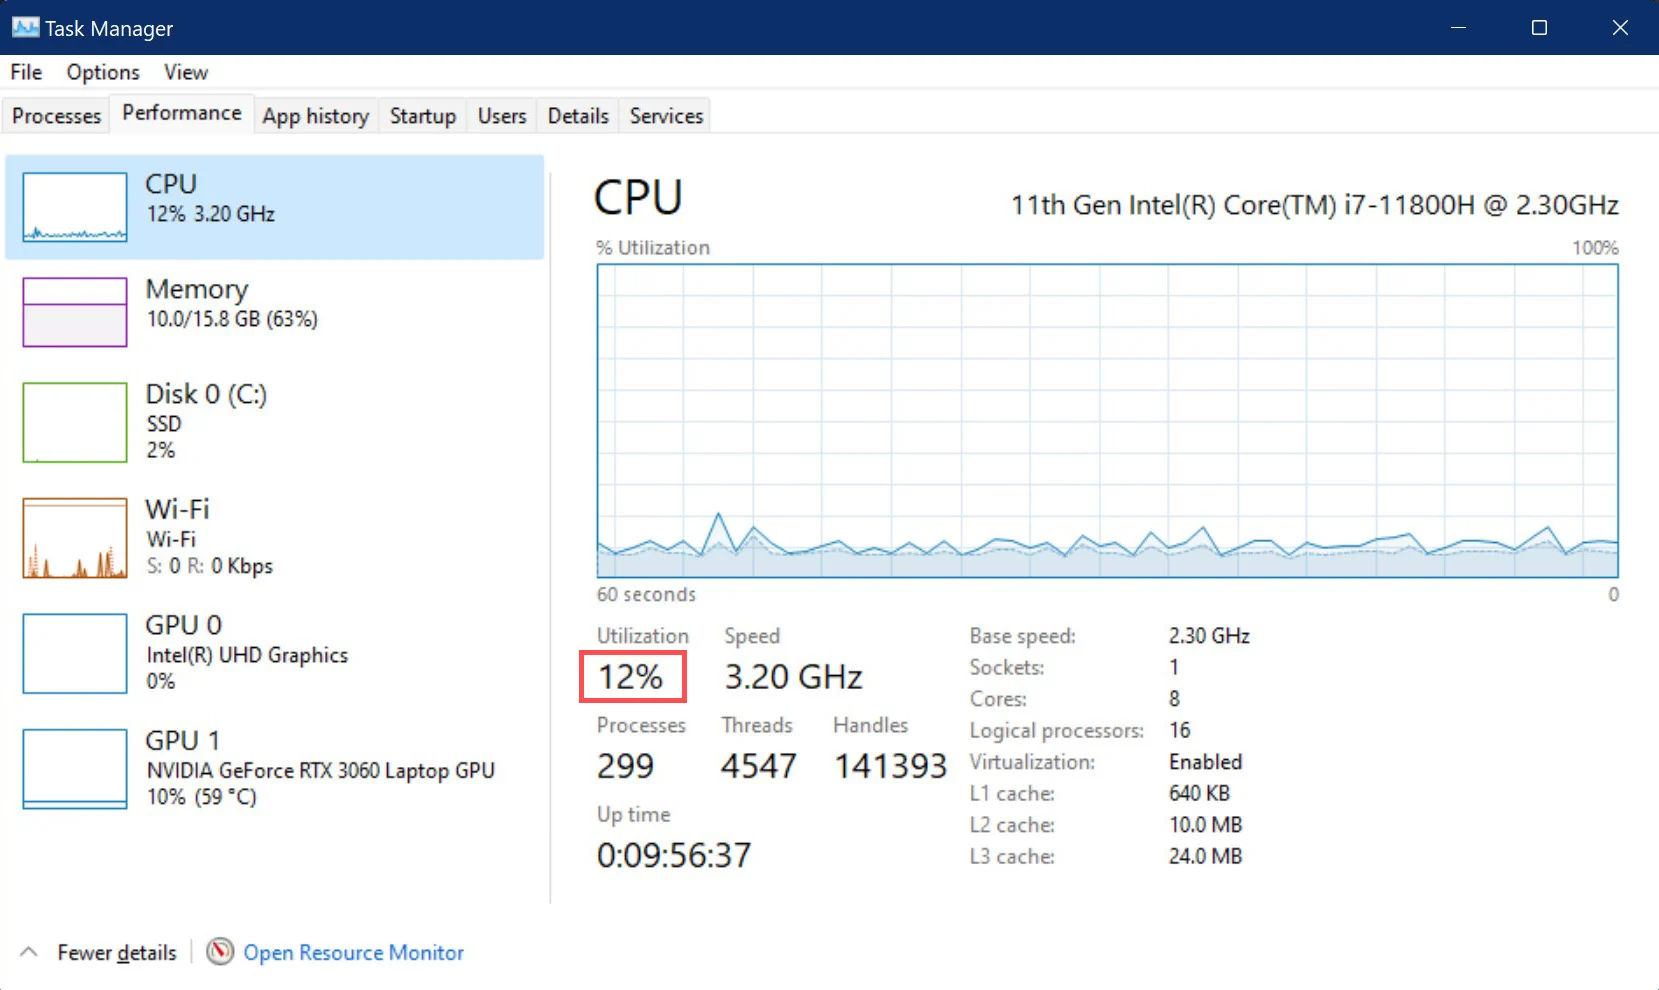
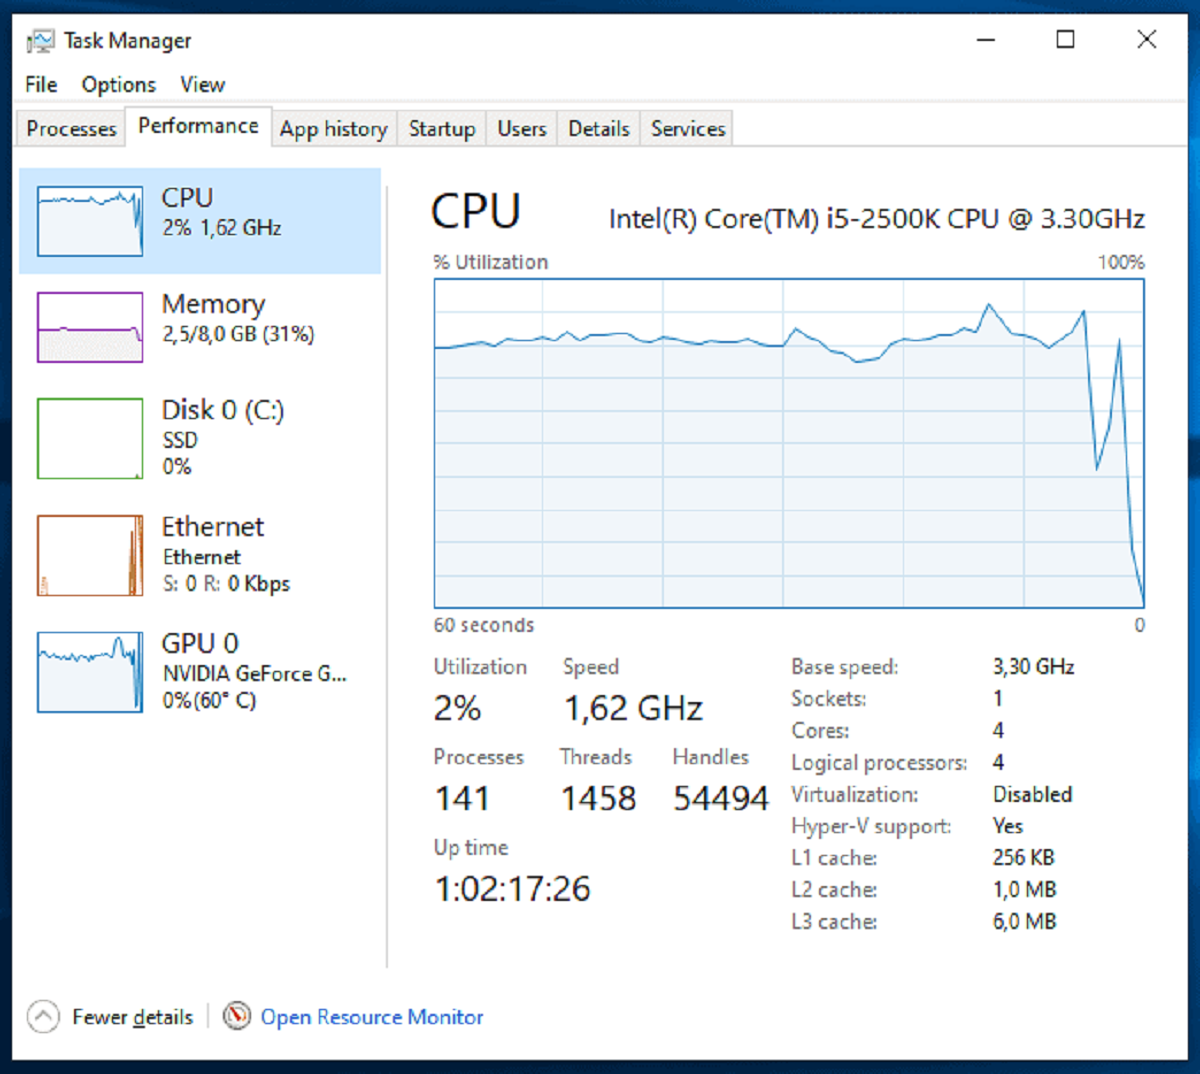
The safest and most effective way to free up CPU for your game is to shut down what's competing for it. Open Task Manager by pressing Ctrl+Shift+Esc, then click the "Processes" tab. Sort the list by CPU usage (click the "CPU" column header) and look for anything above 5-10% that isn't essential, browsers with dozens of tabs, Discord overlays, cloud sync apps, or antivirus scans. Right-click each offender and select "End Task." This frees up CPU automatically every time you launch a game, without any priority tweaks.
Change the game's priority in Task Manager (temporary)
If you've closed everything you can and still need more CPU headroom, here's the verified step-by-step for a temporary priority boost:
- Right-click on the taskbar and select Task Manager.
- Click the Details tab (not "Processes", Details shows exact process names).
- Find your game's executable (e.g.,
game.exe). If you don't see it, make sure the game is running. - Right-click the game process, hover over Set priority, and select High.
- Close Task Manager. The setting lasts only until the game exits.
Do not select "Realtime", it can cause system instability, as noted earlier. "High" gives your game priority over most background tasks while still letting Windows handle critical operations. You'll need to repeat this every time you launch the game.
Set a permanent CPU priority with Command Prompt
For advanced users who want the game to always launch with higher priority, you can use the built-in wmic command. This creates a persistent rule that applies every time the process starts. Here's the exact method:
- Press Win+R, type
cmd, and press Ctrl+Shift+Enter to open Command Prompt as administrator. - Type the following command, replacing
Process Namewith your game's executable name (e.g.,game.exe) andPriority Levelwith the numeric code:
wmic process where name="Process Name" call setpriority "Priority Level"
Use these numeric values for the priority level: Realtime: 256, High: 128, Above normal: 32768, Normal: 32, Below normal: 16384, Low: 64. For most games, you'll want 128 (High). Example:
wmic process where name="game.exe" call setpriority 128
This sets the priority immediately and persists for that process instance. To make it apply on every launch, you'd need to pair it with a script or a scheduled task, but be aware that this is a manual workaround, and Microsoft does not recommend it. The wmic command is deprecated in newer Windows versions, so it may not work forever.
Enable Game Mode in Windows settings
A safer, built-in alternative that doesn't carry the risks of manual priority changes is Windows Game Mode. Starting with Windows 10 May 2019 Update (19H1), Game Mode uses a special OEM power profile that automatically prioritizes CPU and GPU resources for your active game. To enable it:
- Open Settings (Win+I).
- Go to Gaming → Game Mode.
- Toggle Game Mode to On.
Game Mode doesn't just boost priority, it also suppresses background notifications, Windows updates, and driver installs during gameplay. The OEM power profile it activates is designed to fine-tune processor settings for gaming, giving you a measurable performance lift without the danger of crashing your system. It's the closest thing to a "set and forget" solution for CPU allocation.
Lower in-game CPU-intensive settings
Even with priority tweaks and Game Mode, the most reliable way to reduce CPU load is to reduce what the CPU has to compute. In your game's settings menu, focus on these options:
- Draw distance / view distance: Lowering this reduces the number of objects the CPU must track and render.
- Shadow quality: Shadows are notoriously CPU-heavy; drop them from Ultra to Medium or Low.
- Anti-aliasing: Turn this off or use a lighter mode like FXAA instead of MSAA.
- VSync: Disable it, VSync can force the CPU to wait for the GPU, creating a bottleneck.
- Physics effects: Turn off or reduce particle effects, cloth simulation, and destructible environments.
Lowering these settings won't just reduce lag, it directly frees up CPU cycles that can be used for game logic and frame pacing. If you're still seeing high CPU usage after all these steps, the issue may be a fundamental hardware bottleneck. To understand whether your CPU or GPU is the limiting factor, read our guide on CPU and GPU bottlenecks, which covers the causes, fixes, and how to balance your system so you know exactly where to invest your time or money. If you decide to upgrade, follow the steps after installing a new CPU to ensure your system runs safely and at full performance.
\nRelated reading: Why Is My CPU Usage So High With Nothing Running.