Introduction
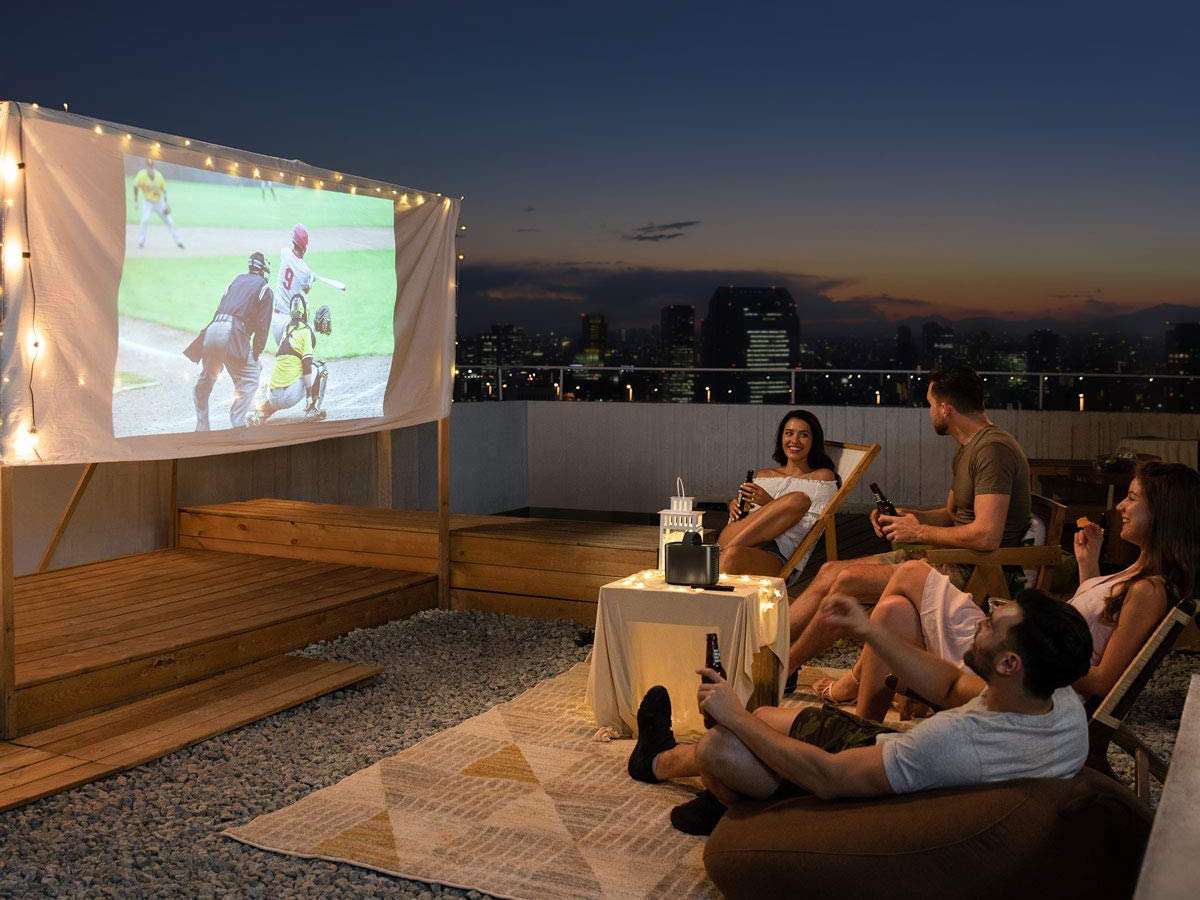
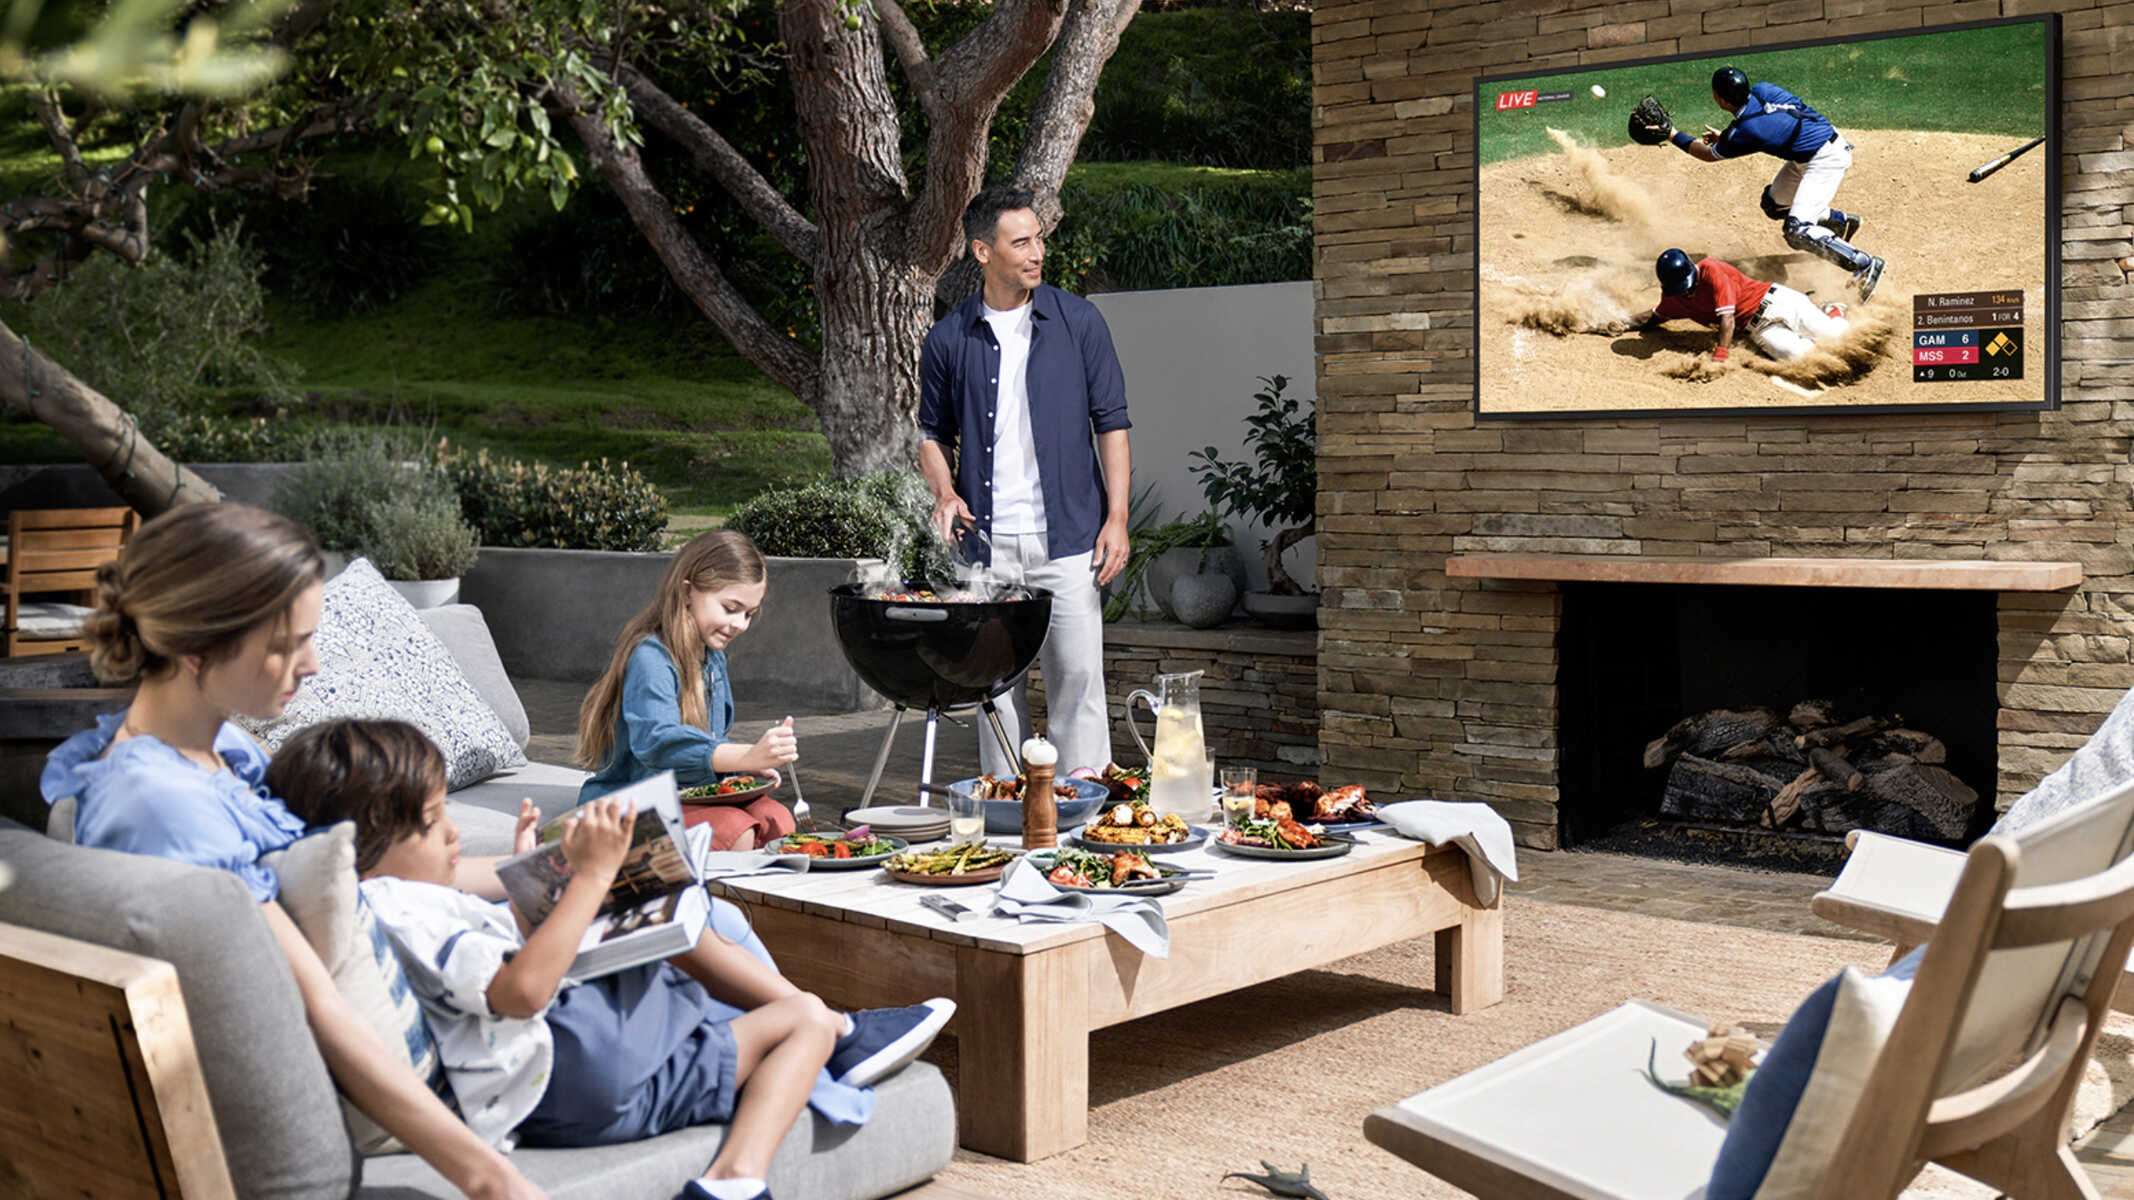
Setting up a projector screen outside can transform your outdoor space into a cinema-like experience. Whether you want to enjoy a movie night under the stars or host a backyard party with a big game screening, a properly hung projector screen can be the centerpiece of your outdoor entertainment setup.
However, hanging a projector screen outside requires careful planning and preparation to ensure optimal viewing experience and durability. In this guide, we will walk you through the step-by-step process of choosing the right location, measuring and preparing the area, setting up the screen, and securing it properly.
Additionally, we will provide tips on connecting and adjusting the projector, dealing with ambient light, and enhancing sound quality for an immersive outdoor movie-watching experience. We will also share valuable insights on weatherproofing your setup to protect it from the elements.
So, if you’re ready to elevate your outdoor entertainment game, let’s dive into the details of how to hang a projector screen outside!
Choosing the Right Location
When it comes to choosing the right location for your outdoor projector screen, there are a few factors to consider:
- Clear Line of Sight: Find a location where there is a clear line of sight between the projector and the screen. Avoid any obstructions such as trees, buildings, or other objects that may block the projection.
- Distance from Audience: Determine the ideal distance between the screen and the seating area. Consider the size and resolution of your projector to ensure that the image will be clear and easy to view from the desired viewing distance.
- Avoid Direct Sunlight: Choose a location where the screen will not be exposed to direct sunlight. Sunlight can wash out the image and make it difficult to see. Look for a shaded area or set up the screen in the evening when the sunlight is less intense.
- Accessibility: Consider the logistics of setting up the screen in your chosen location. Make sure it is easily accessible for installation and that there is enough space for the audience to comfortably view the screen.
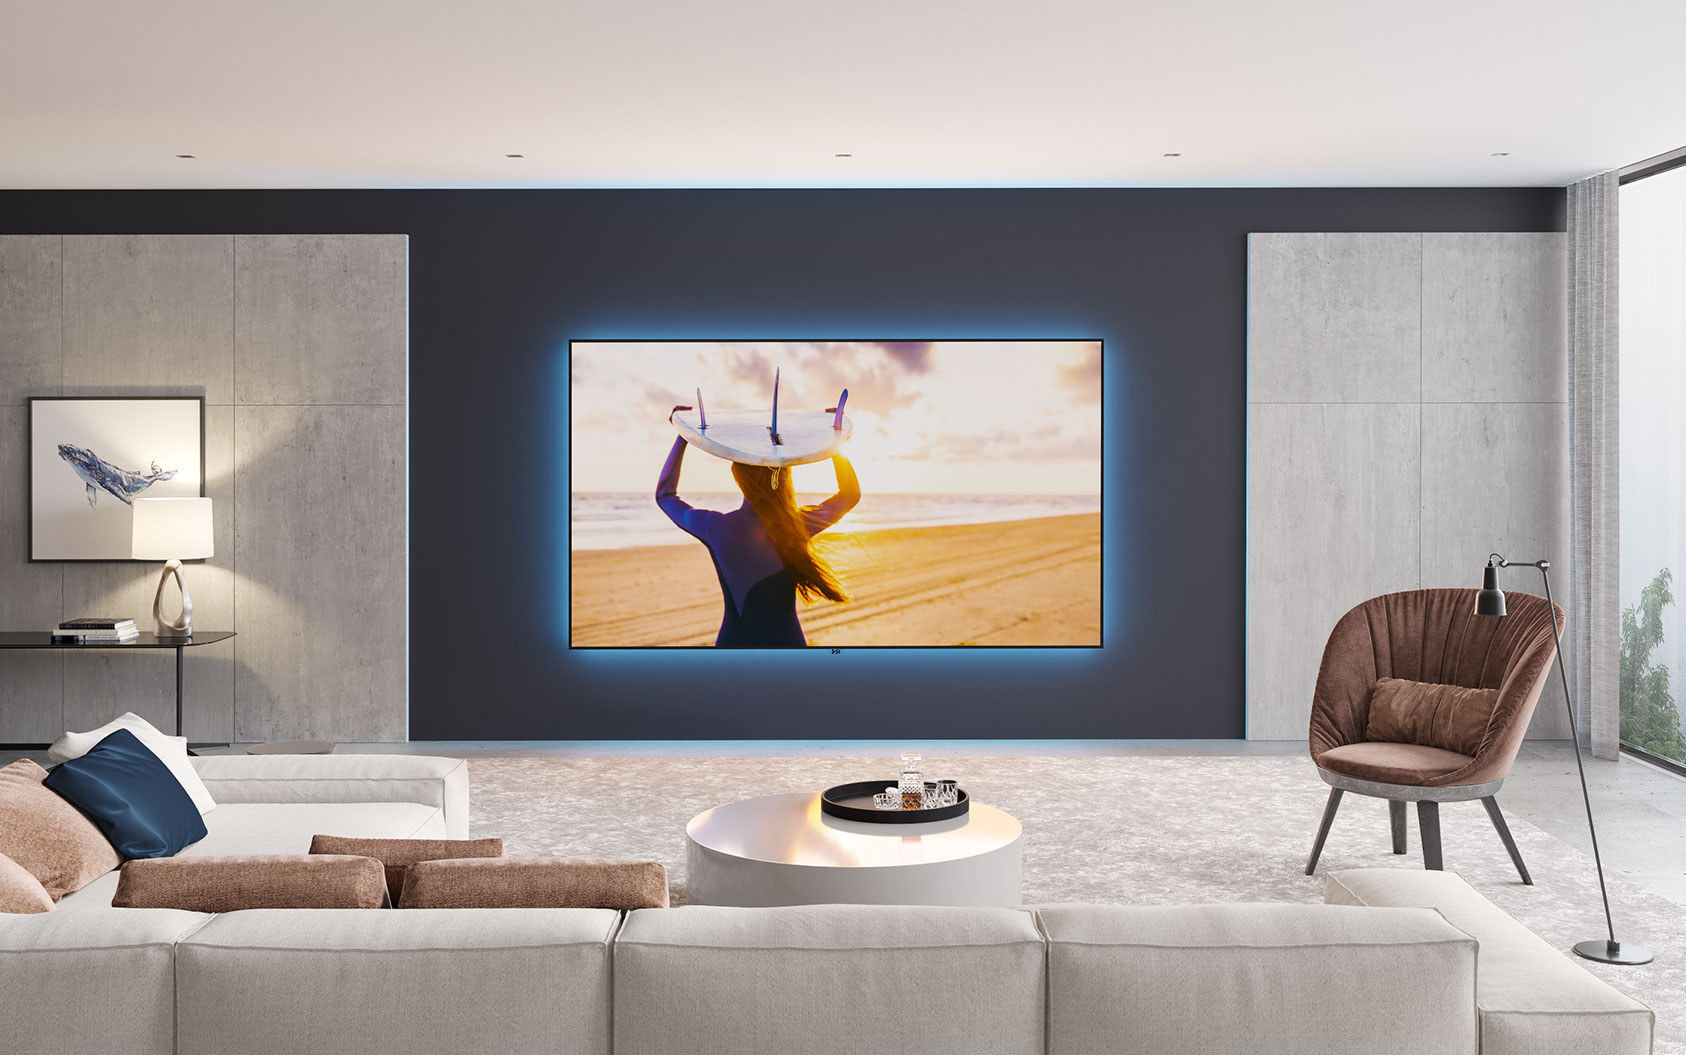
Additionally, think about the overall ambiance and atmosphere you want to create. If you have a beautiful landscape or a specific backdrop, position the screen to take advantage of these elements. This can enhance the overall viewing experience and add a touch of uniqueness to your outdoor setup.
By carefully selecting the right location for your projector screen, you can ensure that your outdoor movie nights or gatherings will be a visual delight for everyone to enjoy.
Measuring and Preparing the Area
Before you start hanging your projector screen outside, it’s important to measure and prepare the area properly. Follow these steps to ensure a seamless setup:
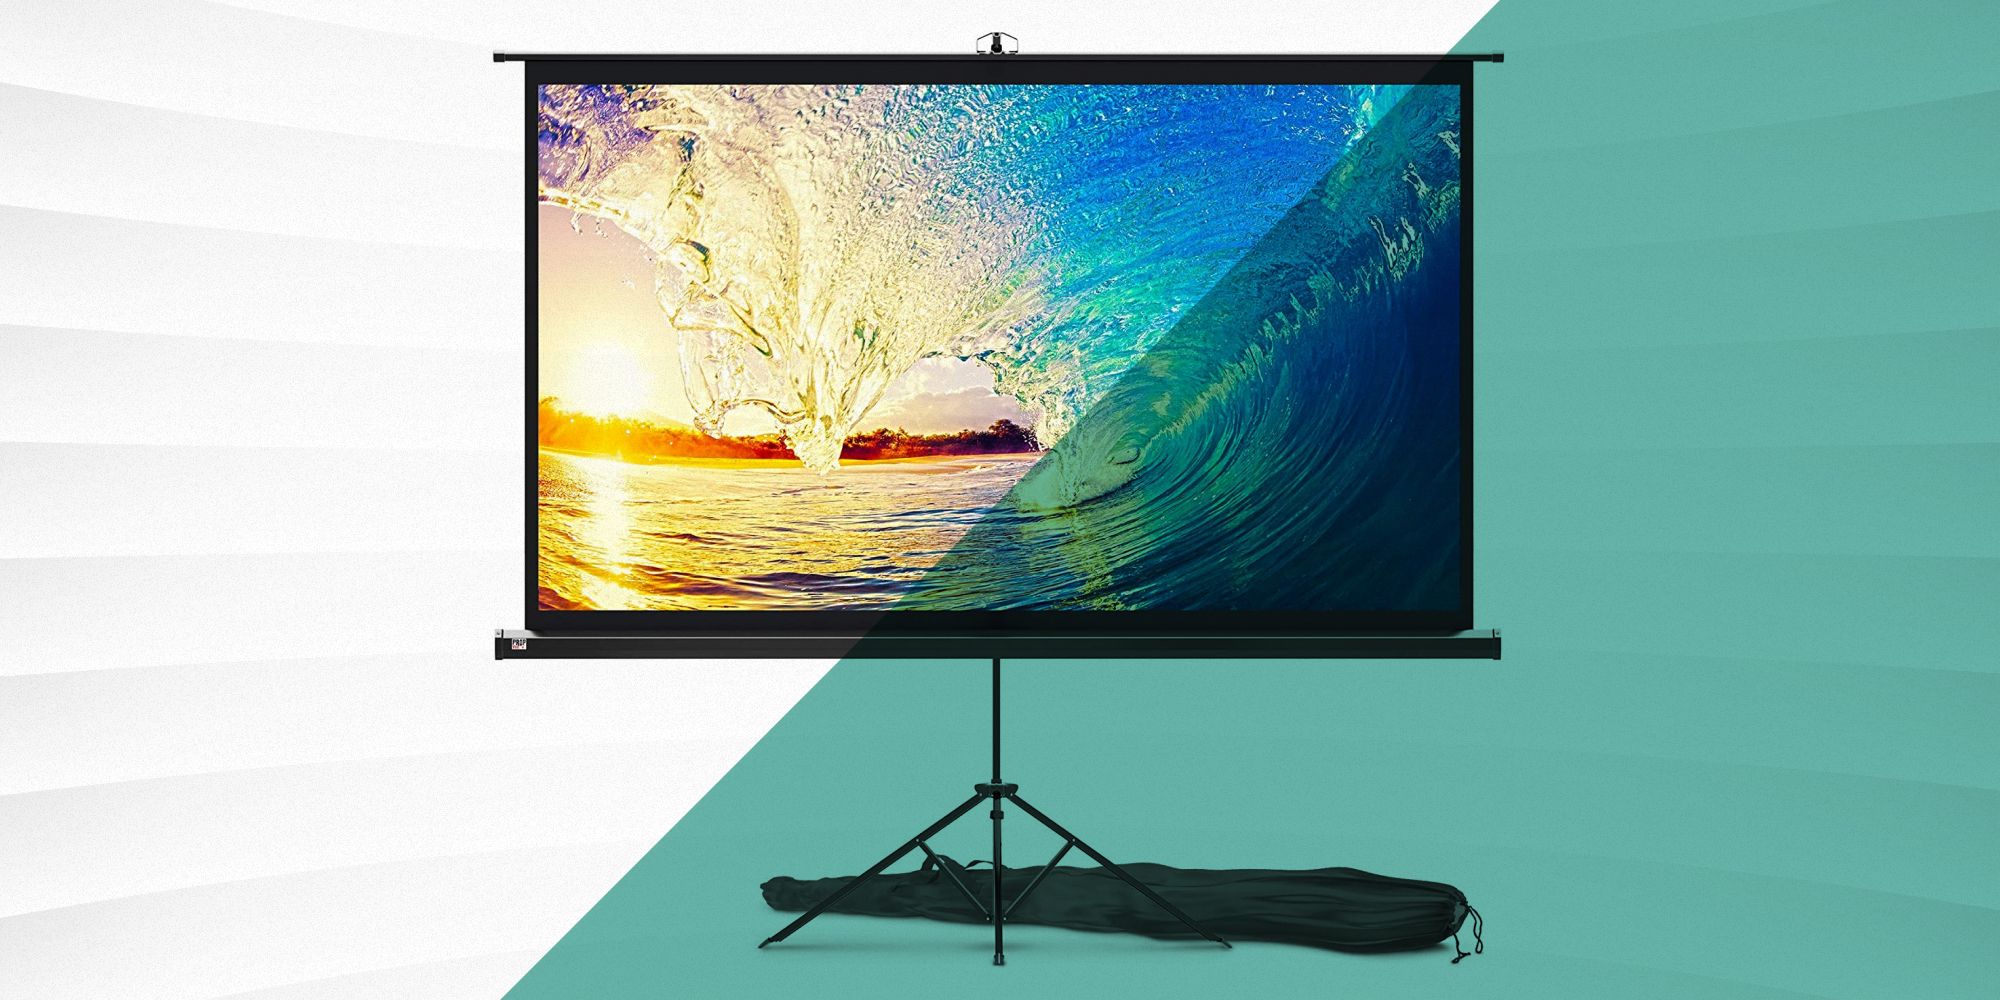
- Measure the Screen Size: Determine the size of the projector screen you want to hang outside. Measure the width and height of the screen to ensure you have enough space and can properly position it in the chosen location.
- Clear the Area: Remove any debris, plants, or objects that may obstruct the installation of the screen. Ensure the ground is level and free from any uneven surfaces that may affect the stability of the setup.
- Mark the Layout: Use stakes, ropes, or markers to outline the area where the screen will be positioned. This will help you visualize the setup and ensure that everything is aligned correctly.
- Consider Anchoring Points: Determine how you will anchor the screen. Depending on the type of screen and location, you may need to use stakes, ropes, or other anchors to secure the screen in place. Make sure you have the necessary equipment and that the anchors are sturdy and stable.
- Check for Power Sources: If your projector requires power, ensure that there is a nearby power source or consider using extension cords or generators if needed. Take safety precautions to avoid any trip hazards and ensure that the power source is protected from the elements.
By measuring and preparing the area beforehand, you can avoid any last-minute surprises and ensure a smooth installation process. This will help optimize the performance and longevity of your outdoor projector screen setup.
Setting Up the Screen
Now that you have chosen the right location and prepared the area, it’s time to set up your projector screen outside. Follow these steps to ensure a successful installation:
- Unpack and Inspect: Carefully unpack the projector screen and inspect it for any damage or defects. Ensure that all the necessary parts and accessories are included.
- Follow the Instructions: Refer to the manufacturer’s instructions for specific guidance on setting up the screen. Each screen may have slightly different installation requirements, so make sure to follow the provided guidelines.
- Assemble the Frame: If your screen requires assembling a frame, follow the instructions to do so. Ensure that all the frame pieces are securely connected and properly aligned.
- Attach the Screen: Attach the screen material to the frame according to the instructions provided. Make sure the screen is taut and free from any wrinkles or creases that may affect the image quality.
- Position the Screen: Carefully position the screen in the designated area, aligning it with the marks or layout you prepared earlier. Ensure it is level and centered for optimal viewing.
- Secure the Screen: Use the designated anchors or fastening mechanisms to secure the screen in place. Follow the instructions provided to ensure a stable and durable installation.
Take your time during the setup process to ensure accuracy and precision. Properly setting up the screen will not only improve the visual quality but also enhance the overall experience for your audience.
Securing the Screen
Once you have set up your projector screen outside, it’s crucial to secure it properly to ensure stability and prevent any potential damage. Here are some steps to secure the screen:
- Anchor Points: Identify the anchor points provided on the screen or frame. These may include grommets, loops, or hooks specifically designed for securing the screen.
- Stakes or Ropes: If your screen comes with stakes or ropes, use them to secure the corners or edges of the screen to the ground. Hammer the stakes securely into the ground and fasten the ropes tightly to prevent any sway or movement.
- Secure Frame Connections: If your screen has a frame, double-check that all connections and joints are secure. Use any provided locking mechanisms or screws to ensure the frame remains stable.
- Consider Wind Protection: If you anticipate strong winds or gusts in your area, consider using additional wind protection. This can include adding sandbags or weights to the base of the screen or using windbreakers or barriers to prevent excessive movement.
- Regular Inspections: Periodically inspect your screen to ensure it remains secured. Check for any loosened ropes, stakes, or frame connections. Make any necessary adjustments or repairs to maintain the stability and integrity of the setup.
By properly securing your projector screen, you can enjoy worry-free outdoor entertainment without the risk of the screen toppling over or getting damaged by wind or other elements.
Connecting and Adjusting the Projector
Now that your screen is securely set up, it’s time to connect and adjust the projector for optimal viewing. Follow these steps to get your projector up and running:
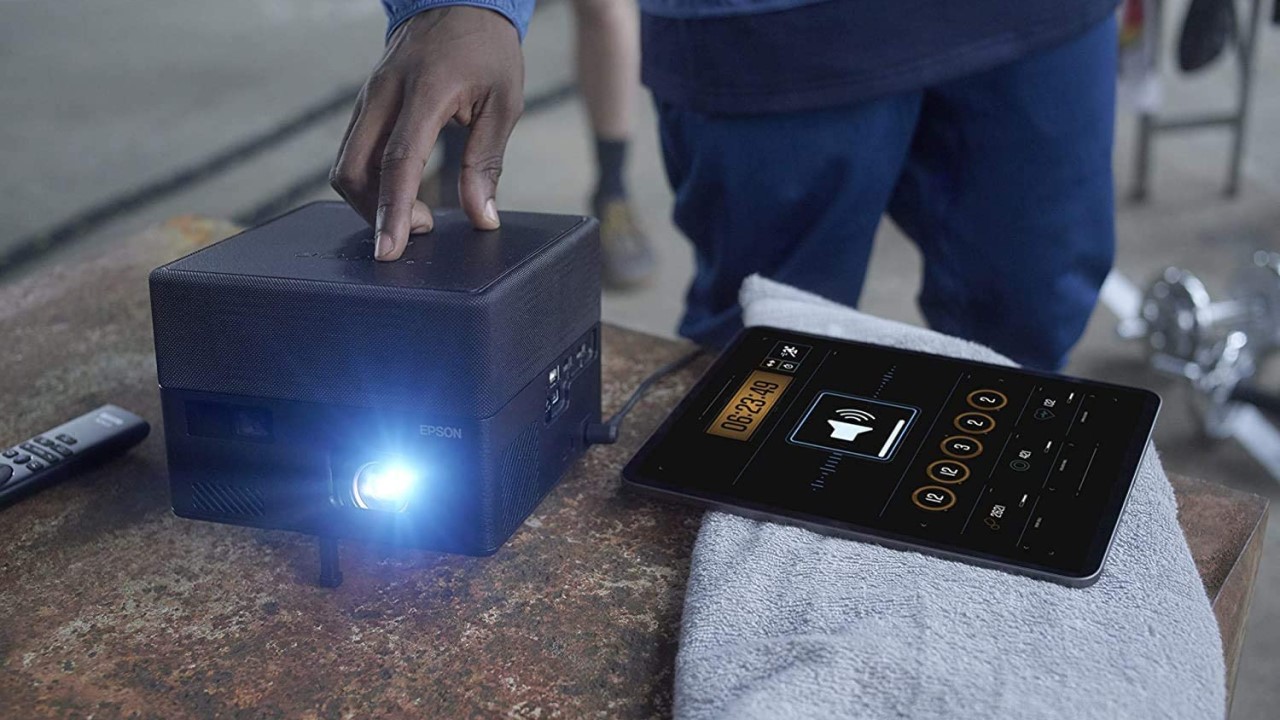
- Positioning the Projector: Set up the projector in a stable position, ensuring it is aligned with the screen. Consider using a projector mount or a flat surface such as a table or tripod to hold the projector securely.
- Connecting Cables: Connect the necessary cables between the projector and your video source, such as a laptop, Blu-ray player, or media streaming device. Use HDMI, VGA, or other compatible cables depending on the inputs and outputs available on your devices.
- Focusing and Adjusting: Adjust the focus and zoom settings on the projector to achieve a clear and sharp image. Most projectors have manual focus and zoom controls, while some may also have auto-adjustment features.
- Keystone Correction: Use the keystone correction feature if needed to correct any distortion caused by projecting the image from an angle. This will help ensure a rectangular and proportionate image on the screen.
- Image Positioning: Adjust the projector’s position or use the image shifting feature to align the projected image with the center of the screen. This will ensure that the image is displayed accurately and in the desired position.
- Screen Size and Aspect Ratio: Adjust the projector’s settings to match the screen size and aspect ratio. This will prevent any cropping or stretching of the image, maintaining the correct proportions and avoiding any loss of content.
- Testing and Fine-tuning: Conduct a test projection and make any necessary adjustments to the projector settings. This includes brightness, contrast, color accuracy, and other settings to achieve the best possible image quality.
By properly connecting and adjusting the projector, you can ensure a visually pleasing and immersive viewing experience for all your outdoor gatherings and movie nights.
Dealing with Ambient Light
Ambient light can have a significant impact on the clarity and visibility of the projected image. Here are some tips to help you deal with ambient light when using a projector screen outside:
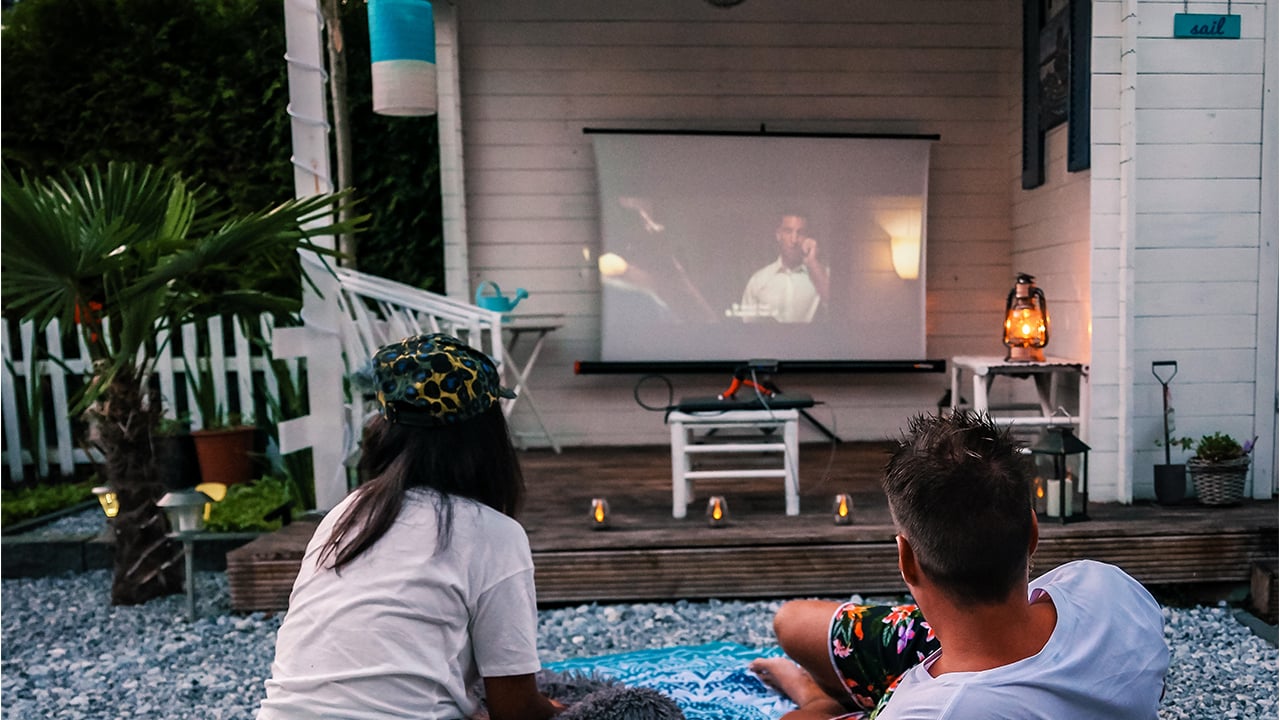
- Choose the Right Time: Plan your outdoor movie nights during dusk or nighttime when natural light is minimal. This will help reduce the impact of ambient light on the projection.
- Shade the Area: Position your screen in a shaded area to minimize the amount of direct sunlight or artificial light hitting the screen. Utilize trees, buildings, or other structures to create a natural shade canopy.
- Use a Screen with Light Rejection Technology: Consider investing in a projector screen with light rejection technology. These screens are designed to minimize the effects of ambient light and enhance image contrast and brightness.
- Blackout Curtains or Shades: If your outdoor setup permits, use blackout curtains or shades to block out ambient light sources. This can create a darker viewing environment and improve the image quality.
- Adjust Projector Brightness: Increase the brightness and contrast settings of your projector to compensate for ambient light. However, be cautious not to sacrifice image quality or overexpose the image.
- Consider an Outdoor Projector Enclosure: In situations where there is excessive ambient light, you may consider using an outdoor projector enclosure. These enclosures provide additional protection from ambient light and can enhance the image visibility.
- Screen Gain: Consider using a screen with a higher gain value. Screens with higher gain reflect more light back to the audience, which can help compensate for ambient light and improve the overall brightness of the image.
Remember, the goal is to minimize the impact of ambient light on the projected image. By implementing these strategies, you can create a more enjoyable and immersive viewing experience, even in outdoor settings where ambient light may be an issue.
Enhancing Sound Quality
While setting up a projector screen outside, it’s important to consider the sound quality to ensure an immersive and enjoyable viewing experience. Here are some tips to enhance the sound quality:
- Outdoor Speakers: Invest in a set of outdoor speakers specifically designed to withstand the elements. These speakers are built to deliver clear and powerful audio in outdoor environments.
- Positioning: Place the speakers strategically to achieve optimal sound distribution. Consider placing them on both sides of the viewing area or installing them on nearby walls or posts for better coverage.
- Bluetooth Connectivity: Opt for speakers that offer Bluetooth connectivity, allowing you to easily connect your devices without the hassle of cables.
- Sound Bar: Consider using a soundbar for a simplified audio setup. Soundbars can provide a virtual surround sound experience while being compact and easy to install.
- Subwoofer: Add a subwoofer to your speaker setup to enhance the low-frequency audio and bring depth to explosions, music, and other bass-heavy scenes.
- Acoustic Treatment: Consider using outdoor-friendly acoustic panels or rugs to reduce echoing and enhance sound clarity. These treatments can help absorb excess reflections and provide a more balanced sound.
- Volume Control: Ensure that you have proper volume control options. Depending on the size of the audience and the distance between the speakers and the seating area, you may need to adjust the volume levels accordingly.
- Test and Adjust: Conduct sound tests beforehand to ensure that the audio levels are balanced and clear. Make any necessary adjustments to the positioning and settings of the speakers to achieve the desired sound quality.
By paying attention to the sound quality and implementing these techniques, you can create a truly immersive outdoor movie-watching experience with exceptional audio.
Tips for Weatherproofing Your Setup
When setting up a projector screen outside, it’s important to consider weatherproofing to protect your equipment and ensure a successful outdoor viewing experience. Here are some tips to weatherproof your setup:
- Waterproof Screen Material: Invest in a projector screen made with waterproof material. Look for screens that are specifically designed to withstand rain, moisture, and other weather conditions.
- Protective Storage: When not in use, store your projector, cables, and other equipment in a secure and waterproof container. This will help prevent damage from elements such as rain, humidity, and dust.
- Use Weatherproof Connectors: Ensure that all cables and connectors used in your setup are weatherproof. Look for connectors that are designed to resist moisture and maintain a secure connection even in outdoor environments.
- Cover the Projector: Consider using a weatherproof cover or housing for your projector. This will protect it from rain, dust, and other elements. Make sure the cover allows ventilation to prevent overheating.
- Utilize Shelters or Canopies: If possible, set up your projector screen and seating area under a shelter or canopy. This will provide additional protection from rain and direct sunlight.
- Secure Loose Components: Regularly check and tighten any bolts, screws, or fasteners to ensure that your setup remains secure and stable even during harsh weather conditions.
- Consider Wind Protection: Use windbreakers or barriers to minimize the impact of strong winds on your setup. This can include using walls, fences, or temporary structures to shield the screen and projector from excessive wind.
- Monitor the Weather: Stay informed about upcoming weather conditions and plan your outdoor events accordingly. If inclement weather is expected, be prepared to reschedule or take necessary precautions to protect your setup.
- Regular Maintenance: Perform regular maintenance on your outdoor setup. This includes cleaning the screen, inspecting cables for damage, and replacing any worn-out or weather-damaged components.
By implementing these weatherproofing measures, you can ensure that your outdoor projector screen setup remains protected and functional, allowing you to enjoy movies and entertainment even in less-than-perfect weather conditions.
Conclusion
Setting up a projector screen outside can bring your entertainment experience to a whole new level. With the right location, careful measurement and preparation, secure installation, proper connection and adjustment of the projector, consideration of ambient light, and enhancement of sound quality, you can create an immersive outdoor movie-watching experience.
When hanging a projector screen outside, it’s important to choose a location with a clear line of sight, measure and prepare the area properly, and secure the screen to ensure stability. Connecting and adjusting the projector will help you achieve optimal image quality and alignment.
Dealing with ambient light and enhancing sound quality are also critical factors to consider. By addressing these elements, you can minimize the impact of ambient light on the screen and provide high-quality audio to accompany your outdoor movie nights. Additionally, weatherproofing your setup will protect your equipment and ensure its longevity.
Remember to follow safety guidelines, regularly inspect and maintain your outdoor setup, and stay informed about weather conditions to make the most of your projector screen setup outside.
Now that you have all the necessary knowledge and tips, it’s time to get out there and create memorable outdoor movie experiences for yourself, your family, and your friends. Enjoy your outdoor entertainment adventures!