Introduction
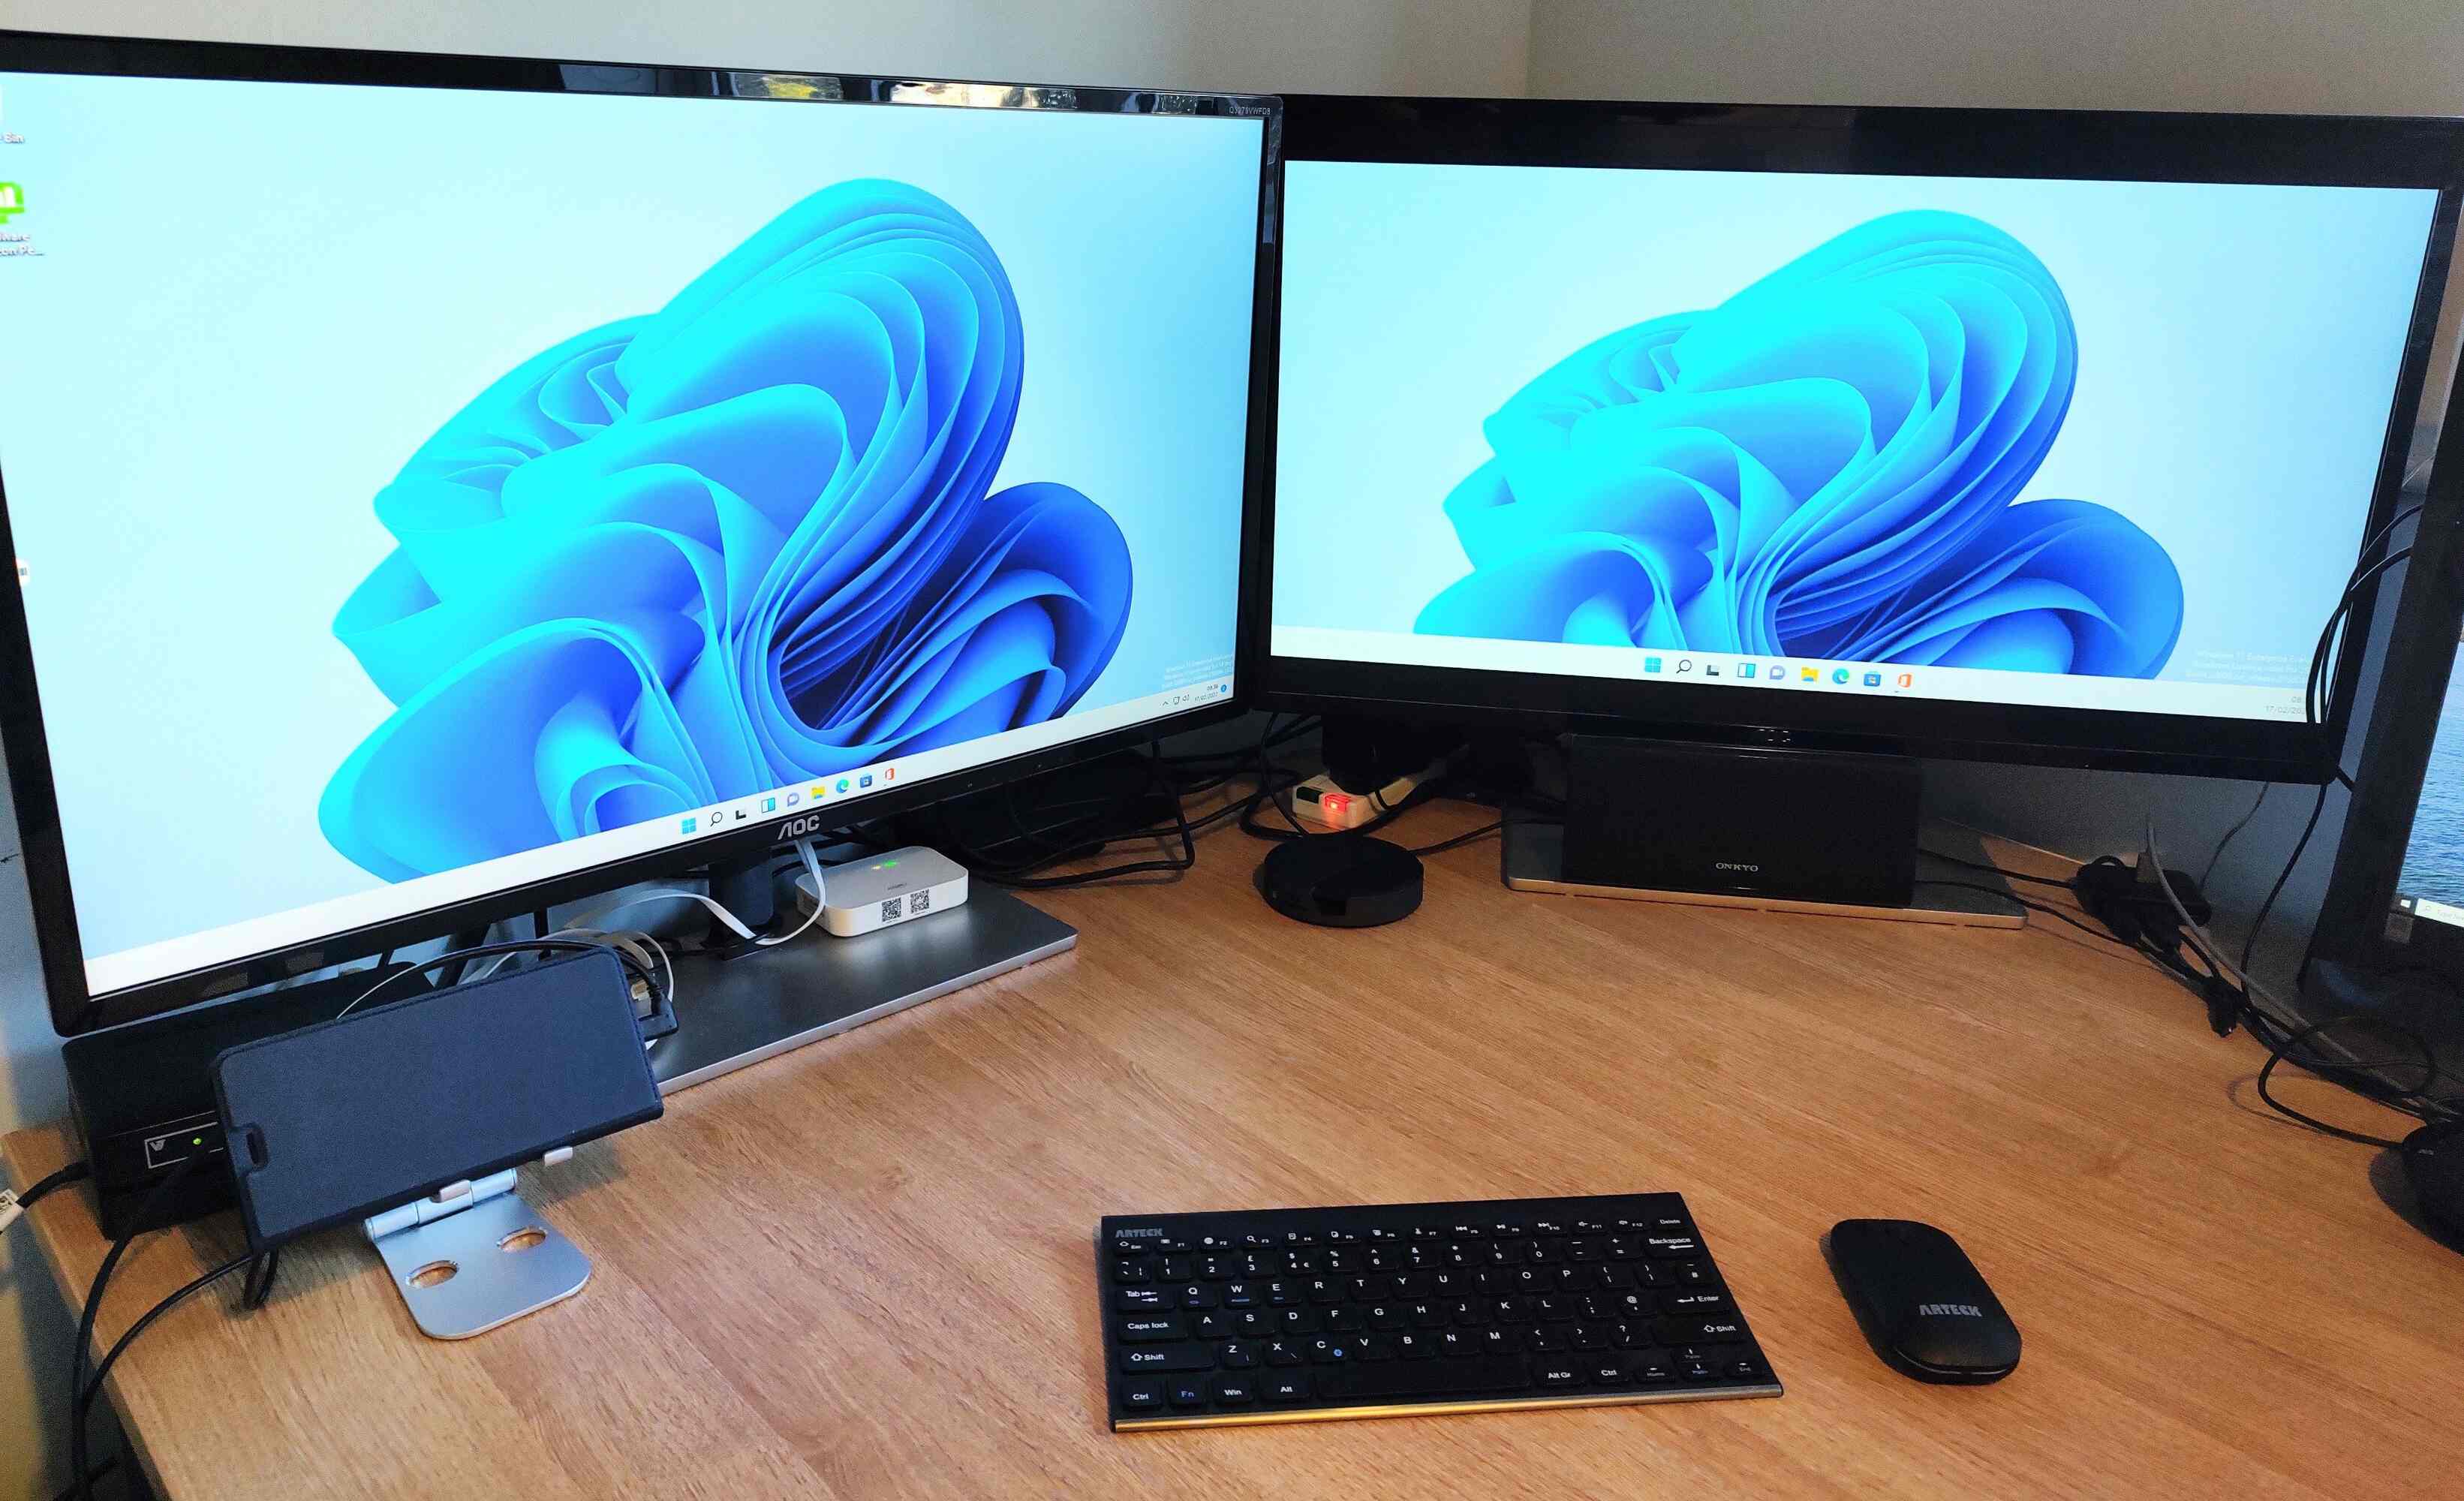
When working with virtual machines in VMware Workstation 12, one of the most convenient features is the ability to go into full-screen mode. This allows you to work on your virtual machine in a spacious and distraction-free environment, providing a seamless experience that closely resembles working on a physical computer.
In full-screen mode, your virtual machine will take up the entire screen, eliminating any distractions from the host operating system. Whether you’re running a Windows, Linux, or macOS virtual machine, going into full-screen mode enables you to maximize your productivity and focus on the task at hand.
In this article, we will guide you through the steps required to go into full-screen mode in VMware Workstation 12. We will also provide instructions on adjusting the screen resolution to ensure optimal display quality. So, whether you’re a novice or an experienced user, follow along to make the most of your virtual machine experience.
Step 1: Launch VMware Workstation 12
Before you can go into full-screen mode in VMware Workstation 12, you need to launch the application. First, locate the VMware Workstation icon on your desktop or in your Start menu and double-click it to open the application.
If you don’t have VMware Workstation 12 installed on your computer, you can download it from the official VMware website and follow the installation instructions provided.
Once VMware Workstation 12 is open, you will be greeted with the application’s main interface. This is where you can manage your virtual machines and perform various tasks.
If you already have a virtual machine that you want to run in full-screen mode, make sure it’s powered off or suspended. If you don’t have a virtual machine yet, you can create one by clicking on the “Create a New Virtual Machine” button on the toolbar and following the wizard’s instructions.
When you have a virtual machine ready, click on it to select it. You will see the virtual machine’s settings and options in the right pane of the VMware Workstation interface.
Now that VMware Workstation 12 is launched and you have a virtual machine ready, you can proceed to the next step to learn how to go into full-screen mode.
Step 2: Open the Virtual Machine
To go into full-screen mode in VMware Workstation 12, you first need to open the virtual machine that you want to work with. Here’s how you can do it:
- From the main interface of VMware Workstation 12, locate the list of virtual machines on the left side of the window. This list displays all the virtual machines available in your library.
- Click on the virtual machine that you want to open. The selected virtual machine will be highlighted.
- Once you have selected the virtual machine, either right-click on it and choose “Open”, or simply double-click on the virtual machine’s name.
After clicking “Open” or double-clicking the virtual machine’s name, VMware Workstation 12 will start running the virtual machine. You will see the virtual machine’s console window appear within the VMware Workstation interface.
The console window displays the virtual machine’s operating system, similar to how a physical computer’s monitor would display an operating system. From here, you can interact with the virtual machine and perform tasks just as you would with a physical computer.
It’s essential to note that the virtual machine needs to be powered on to activate the full-screen mode. If the virtual machine is currently powered off or suspended, you won’t be able to enter full-screen mode yet.
Now that you have opened the virtual machine, you are ready to learn how to go into full-screen mode in VMware Workstation 12. Proceed to the next step to continue.
Step 3: Click on the “View” Tab
To enter full-screen mode in VMware Workstation 12, you need to access the “View” tab, which is where you can find various display options and settings. Follow the steps below to navigate to the “View” tab:
- With your virtual machine open and its console window displayed, look at the top of the VMware Workstation interface.
- Locate the menu bar, which contains different options for managing your virtual machine.
- Click on the “View” tab in the menu bar. This will display a dropdown menu with various options related to the virtual machine’s display settings.
By clicking on the “View” tab, you will gain access to essential display options that allow you to customize your virtual machine’s appearance and behavior.
It’s worth noting that the “View” tab is dynamic and will change accordingly based on the active state of your virtual machine. For example, if the virtual machine is currently powered off or suspended, some options within the “View” tab may be grayed out or unavailable until the virtual machine is powered on.
Now that you have located the “View” tab and its contents, you are one step closer to entering full-screen mode in VMware Workstation 12. Continue to the next step to learn how to select the “Full Screen” mode.
Step 4: Select “Full Screen” Mode
Once you have accessed the “View” tab in VMware Workstation 12, you are ready to select the “Full Screen” mode to maximize your virtual machine’s display. Follow the steps below to enter full-screen mode:
- Click on the “View” tab in the menu bar at the top of the VMware Workstation interface.
- In the dropdown menu that appears, locate and click on the “Full Screen” option. This will activate full-screen mode for your virtual machine.
When you select the “Full Screen” option, VMware Workstation 12 will automatically adjust the virtual machine’s display resolution to match your host system’s display.
At this point, your virtual machine’s console window will expand to occupy the entire screen, hiding the host operating system’s interface. Your virtual machine will now have a dedicated and immersive environment, allowing you to work without any distractions.
To exit full-screen mode and return to the normal VMware Workstation interface, simply press the “Ctrl + Alt” keys on your keyboard together. This keyboard command switches between full-screen mode and windowed mode.
Now that you have successfully selected the “Full Screen” mode, you can proceed to the next step if you want to adjust the screen resolution to optimize your virtual machine’s display quality.
Step 5: Adjust Screen Resolution (Optional)
In VMware Workstation 12, you have the option to adjust the screen resolution of your virtual machine to ensure optimal display quality. Follow the steps below to modify the screen resolution:
- While your virtual machine is in full-screen mode, right-click anywhere on the virtual machine’s console window.
- In the context menu that appears, hover over the “Preferences” option and click on “Display Settings”. This will open the display settings for your virtual machine.
- In the display settings window, you will see a slider that allows you to adjust the screen resolution. Slide it to the left or right to decrease or increase the resolution, respectively, based on your preferences.
- Once you have set the desired resolution, click on the “OK” button to apply the changes.
Adjusting the screen resolution can be beneficial if you want to match the virtual machine’s display with your host system’s resolution or enhance the visual clarity of the virtual machine’s operating system.
It’s important to note that changing the screen resolution may affect the overall performance of your virtual machine, especially if you increase it beyond your system’s capabilities. Find the optimal balance between resolution and performance for the best experience.
If you’re unsure about the ideal resolution for your virtual machine, you can experiment with different settings and observe the display quality and performance effect until you find the configuration that suits your needs.
Now that you know how to adjust the screen resolution in VMware Workstation 12, feel free to fine-tune it according to your preferences. Proceed to the next step when you’re ready to learn how to exit full-screen mode.
Step 6: Exit Full-Screen Mode
When you’re ready to exit full-screen mode in VMware Workstation 12 and return to the normal interface, follow these simple steps:
- While in full-screen mode, hover your mouse cursor at the top of the screen to reveal the toolbar.
- Alternatively, you can press the “Ctrl + Alt” keys on your keyboard simultaneously to exit full-screen mode.
- Once the toolbar appears, locate and click on the “Restore” button. This will switch your virtual machine back to windowed mode.
Exiting full-screen mode allows you to access the VMware Workstation interface and perform other tasks on your host system without closing the virtual machine.
In windowed mode, you can resize the virtual machine’s console window, move it around your desktop, and interact with the virtual machine just as you would with any other application on your computer.
By exiting full-screen mode, you regain the ability to switch between your virtual machine and other applications on your host system seamlessly.
Remember that you can enter full-screen mode again at any time by following the steps mentioned earlier. This flexibility allows you to tailor your virtual machine experience to your specific needs and preferences.
Congratulations! You have successfully learned how to exit full-screen mode in VMware Workstation 12. Take advantage of this knowledge to enhance your productivity and create a comfortable working environment.


