Introduction
Snapchat is a popular social media application that allows users to share photos, videos, and messages with their friends and followers. It offers a unique and fun way to connect with others, thanks to its features like disappearing messages and creative filters. However, if you own a Chromebook, you may have noticed that Snapchat is not available on the Chrome OS. This can be disappointing for Chromebook users who want to enjoy Snapchat’s features on their device.
Fortunately, there is a way to get Snapchat on your Chromebook. By following a few steps, you can run Android apps on your Chromebook, including Snapchat. While it may require some technical knowledge and time, the process is definitely worth it for Snapchat enthusiasts who want to use the app on their Chromebook. In this article, we will guide you through the steps of getting Snapchat on your Chromebook, so you can start sharing Snap stories with your friends and followers.
Why Snapchat is not available on Chromebook
One of the reasons why Snapchat is not readily available on Chromebook is because Snapchat is primarily developed for mobile devices operating on Android and iOS platforms. Chrome OS, on the other hand, functions differently from these operating systems and is specifically designed for Chromebook devices. This fundamental difference in operating systems poses challenges when it comes to running apps like Snapchat on Chromebooks.
Another reason is that Snapchat utilizes the hardware capabilities of mobile devices, such as the camera and GPS, which are not typically found on Chromebook devices. This makes it difficult for Snapchat to function properly on a Chromebook without the necessary hardware components. The developers of Snapchat have not yet created a version of the app that is compatible with the Chrome OS, limiting its availability on these devices.
Additionally, Snapchat has certain security and privacy concerns that may affect its availability on Chromebooks. Snapchat heavily relies on the unique features and security measures provided by mobile devices, such as device-specific identification and encryption methods. Chromebooks, being a different type of device, may not meet these specific security requirements, preventing Snapchat from being accessible on Chrome OS.
It is also important to note that Snapchat intends to provide the best user experience, optimizing its features for mobile devices with touchscreens and intuitive interfaces. Chromebooks, on the other hand, typically have larger screens and are primarily designed for productivity, which may not align with Snapchat’s intended user experience. As a result, Snapchat may prioritize developing and optimizing their app for mobile platforms rather than for Chromebooks.
Despite these limitations, there are workarounds that can be used to run Snapchat on Chromebooks, which we will discuss in the following steps. While these methods may not offer the same seamless experience as using Snapchat on a mobile device, they do provide an alternative for Chromebook users who wish to access Snapchat’s features.
Step 1: Enabling Developer Mode on your Chromebook
To begin the process of getting Snapchat on your Chromebook, the first step is to enable Developer Mode on your device. Enabling Developer Mode allows you to make system modifications that are necessary for running Android apps on your Chromebook. Here’s how you can do it:
- Make sure to back up any important data on your Chromebook, as enabling Developer Mode will wipe all data on your device.
- Turn off your Chromebook completely.
- Press and hold the Esc + Refresh + Power buttons simultaneously.
- A warning screen will appear. Press Ctrl + D on your keyboard to proceed.
- Another warning screen will appear informing you that you are about to turn on Developer Mode. Press Enter to continue.
- Your Chromebook will now enter Developer Mode. This may take a few minutes.
- Once the process is complete, your Chromebook will reboot.
- Follow the on-screen instructions to set up your Chromebook again. Make sure not to sign in with your Google Account just yet.
Enabling Developer Mode on your Chromebook gives you more control over the system, but it also comes with some potential risks. It’s important to be cautious and only make system modifications if you’re comfortable doing so. Now that Developer Mode is enabled on your Chromebook, you can proceed to the next step of the process: installing Linux.
Step 2: Installing Linux on your Chromebook
After enabling Developer Mode on your Chromebook, the next step is to install Linux on your device. Linux is an open-source operating system that provides a foundation for running a variety of software, including Android applications. Here’s how you can install Linux on your Chromebook:
- Open the Chrome browser on your Chromebook and search for “Linux (Beta)” in the Chrome Web Store.
- Click on the “Install” button to start the installation process.
- Once the installation is complete, click on the “Turn On” button to enable the Linux container.
- A terminal window will open, indicating that Linux is being installed on your Chromebook. This process may take a few minutes.
- After the installation is finished, you will be prompted to create a username and password for your Linux environment. Follow the on-screen instructions to complete the setup.
- Once the setup is complete, you will have a Linux environment running alongside your Chrome OS.
Installing Linux on your Chromebook allows you to access a wide range of applications, including those that are not available on Chrome OS. This step is crucial for running Android apps on your Chromebook, as it provides the necessary environment for compatibility. With Linux installed, you’re now ready to proceed to the next step: installing a virtual machine on your Chromebook.
Step 3: Installing a virtual machine on your Chromebook
Once you have Linux installed on your Chromebook, the next step is to set up a virtual machine. A virtual machine allows you to run a different operating system within your Chromebook’s Linux environment. In this case, we will set up a virtual machine to run an Android operating system. Follow these steps to install a virtual machine on your Chromebook:
- Open the Terminal application in your Linux environment.
- Run the following command to update your system’s repositories:
sudo apt-get update. - Next, install the virtual machine software by running the command:
sudo apt-get install virtualbox. - During the installation, you may be prompted to confirm by pressing the “Y” key. Follow the on-screen instructions to complete the installation.
- Once the installation is complete, open the virtual machine software by searching for “VirtualBox” in your application launcher.
- Click on “New” to create a new virtual machine.
- Follow the on-screen instructions to set up the virtual machine, including selecting the Android ISO file and specifying the amount of RAM and hard disk space to allocate.
- After the virtual machine is set up, you can start it and wait for the Android operating system to load.
By installing a virtual machine on your Chromebook, you can now run Android applications within the Android operating system environment. This brings you one step closer to accessing Snapchat on your Chromebook. In the next step, we will install an Android emulator on the virtual machine to run Snapchat.
Step 4: Installing an Android emulator on the virtual machine
Now that you have a virtual machine set up on your Chromebook running the Android operating system, the next step is to install an Android emulator. An Android emulator allows you to simulate an Android device on your computer, enabling you to run Android apps. Here’s how you can install an Android emulator on the virtual machine:
- Within the virtual machine, open the web browser and search for “Android Studio” to download the software.
- Click on the official website’s link for Android Studio and download the installation package suitable for your operating system.
- Once the download is complete, open the installation package and follow the on-screen instructions to install Android Studio.
- After installation, launch Android Studio and select “AVD Manager” from the toolbar.
- In the AVD Manager, click on “Create Virtual Device.”
- Choose a device profile that closely matches your Chromebook’s screen size and specifications. If unsure, you can select the “Pixel” device profile.
- Select an Android version for the virtual device, preferably the latest stable release, and click “Next.”
- Review the emulator settings and click “Finish” to create the virtual device.
- Once the virtual device is created, select it from the AVD Manager and click “Play” to start the emulator.
With the Android emulator installed in your virtual machine, you now have a functioning Android environment on your Chromebook. This brings you one step closer to being able to download and use Snapchat. In the next step, we will guide you through the process of downloading the Snapchat app on the Android emulator.
Step 5: Downloading Snapchat on the Android emulator
With the Android emulator set up on your virtual machine, you can now proceed to download the Snapchat app. Here’s how you can do it:
- Launch the Android emulator within your virtual machine.
- Within the emulator, open the Google Play Store.
- Sign in with your Google account or create a new account if you don’t have one.
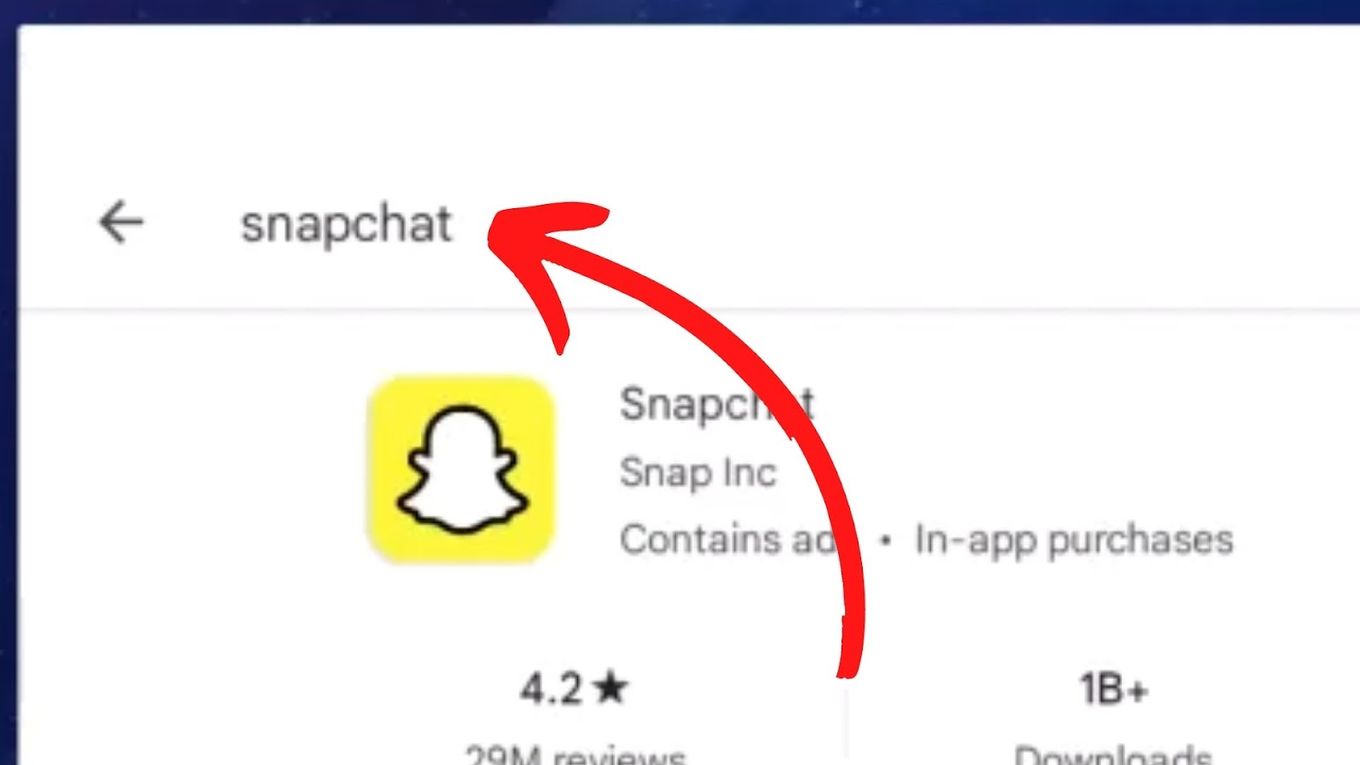
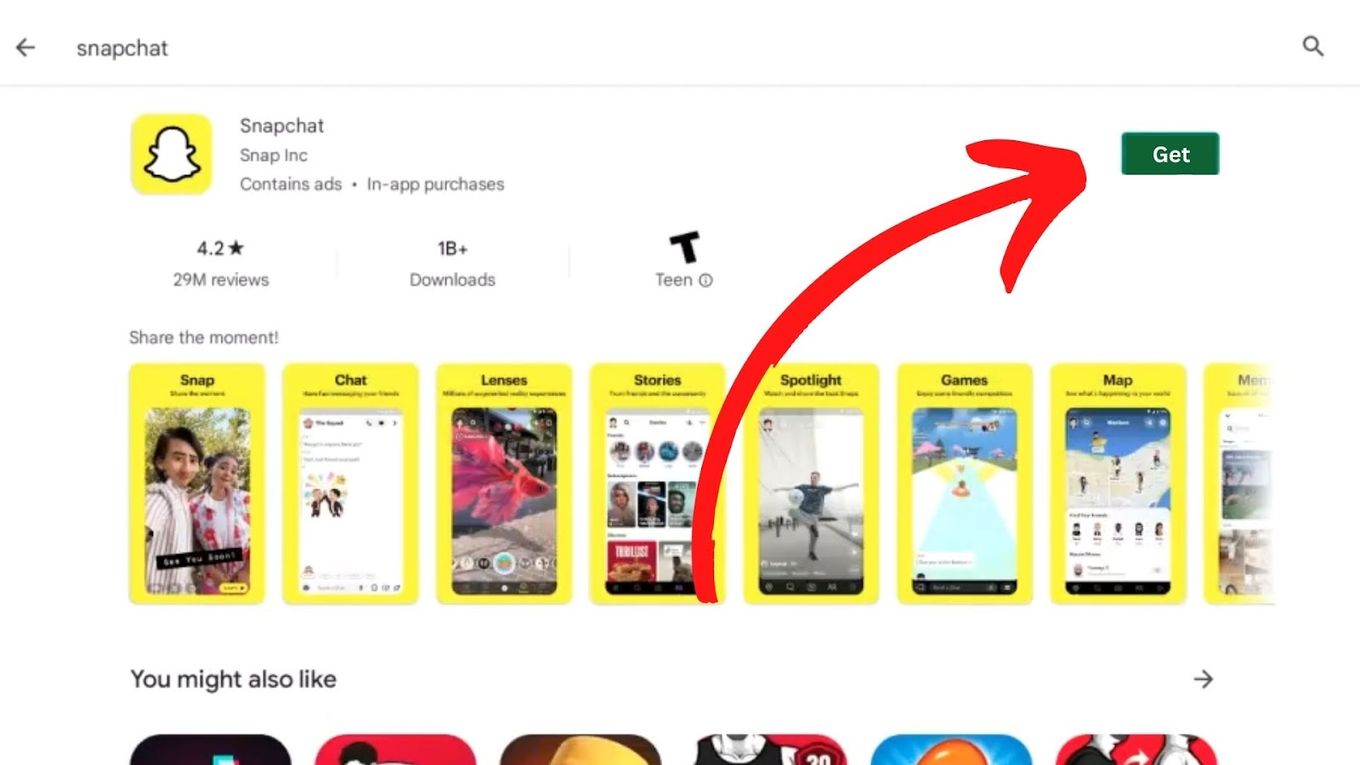
- Search for “Snapchat” in the Google Play Store.
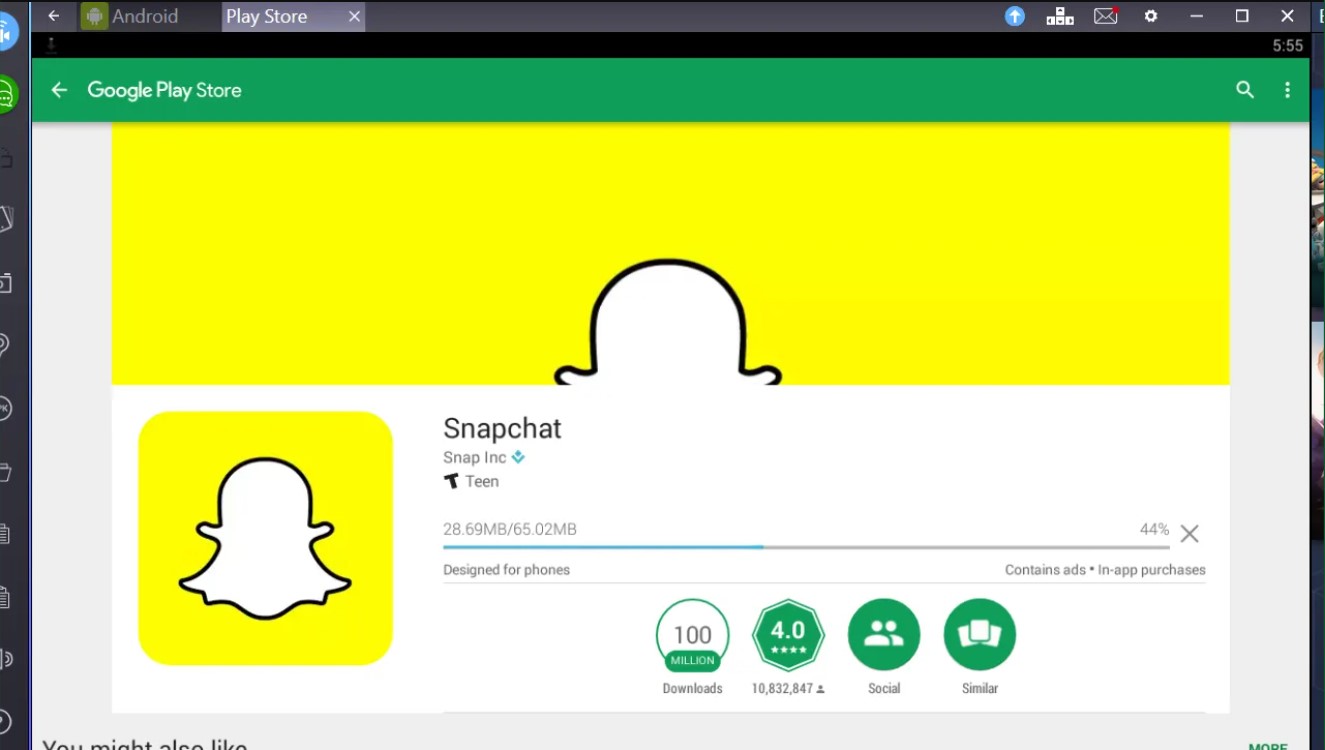
- Click on the “Install” button to download and install the Snapchat app.
- Once the installation is complete, you will find the Snapchat app icon in the app drawer or on the home screen of the Android emulator.
Congratulations! You have successfully downloaded and installed the Snapchat app on your Android emulator. This means you can now use Snapchat on your Chromebook and enjoy its features just as you would on a mobile device. However, there is one more step you need to complete before you can start using Snapchat on your Chromebook, which is configuring the app.
Step 6: Configuring Snapchat on your Chromebook
Now that you have successfully downloaded Snapchat on your Chromebook using the Android emulator, the final step is to configure the app to work properly. Here’s what you need to do:
- Open the Snapchat app on your Chromebook’s Android emulator.
- Sign in with your existing Snapchat account credentials or create a new account if you don’t have one.
- Follow the on-screen instructions to complete the initial setup process, including granting necessary permissions to the app.
- Once the setup process is complete, you can start using Snapchat on your Chromebook.
- Take advantage of Snapchat’s features like sending Snaps, adding filters, and connecting with friends.
It’s important to note that using Snapchat on your Chromebook may not provide the exact same experience as using it on a mobile device. Some features, such as accessing the camera or GPS, may be limited or unavailable. However, the majority of Snapchat’s functionality should still be accessible, allowing you to enjoy the app and connect with your friends and followers.
Keep in mind that running an Android emulator on your Chromebook might require a bit more processing power, which can impact the performance of your device. It’s recommended to close any unnecessary apps or processes running in the background to optimize the performance of the Android emulator and Snapchat.
With Snapchat successfully configured on your Chromebook, you are now ready to start using the app and sharing your Snap stories. Enjoy connecting with your friends and expressing yourself through the creative features offered by Snapchat.
Conclusion
In conclusion, while Snapchat may not be readily available on Chromebooks, it is still possible to enjoy the app’s features on your Chromebook by following a few steps. By enabling Developer Mode on your Chromebook, installing Linux, setting up a virtual machine, installing an Android emulator, downloading Snapchat, and configuring the app, you can successfully use Snapchat on your Chromebook.
It’s important to note that the process requires technical knowledge and time. However, for Snapchat enthusiasts who want to use the app on their Chromebooks, it is a worthwhile endeavor. With the Android emulator providing a simulated Android environment, you can access the features of Snapchat and connect with friends and followers just as you would on a mobile device.
While using Snapchat on a Chromebook may not offer the exact same experience as on a mobile device, it provides a viable solution for Chromebook users who want to enjoy the app’s functionality. Some features and capabilities, such as accessing the camera or GPS, may be limited. Nonetheless, the majority of Snapchat’s features, such as sending Snaps and adding filters, should be accessible on the Chromebook.
It’s important to keep in mind that running an Android emulator on your Chromebook may require additional resources and may impact the performance of your device. It is recommended to optimize the performance of the emulator by closing unnecessary apps and processes running in the background.
By following the outlined steps, you can successfully overcome the limitation of Snapchat not being directly available on Chromebooks and enjoy the app on your device. Embrace the fun and creative features of Snapchat, connect with friends, and share your Snaps and stories on your Chromebook.


