Introduction
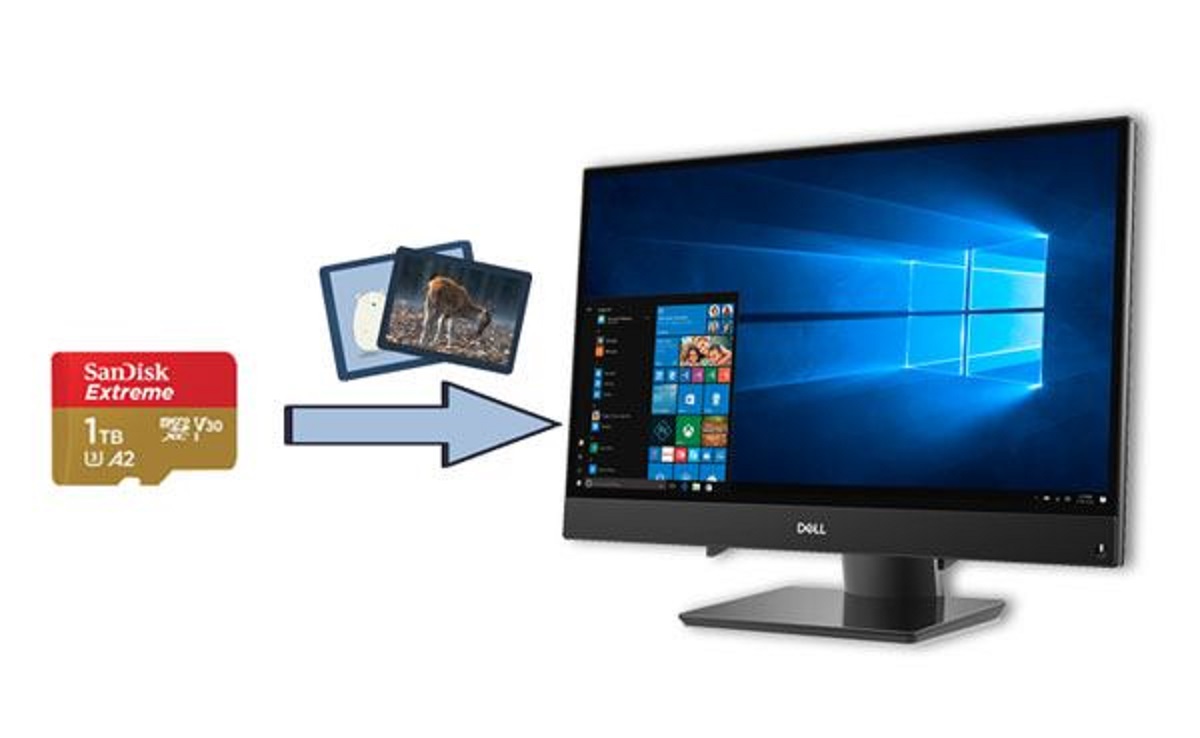
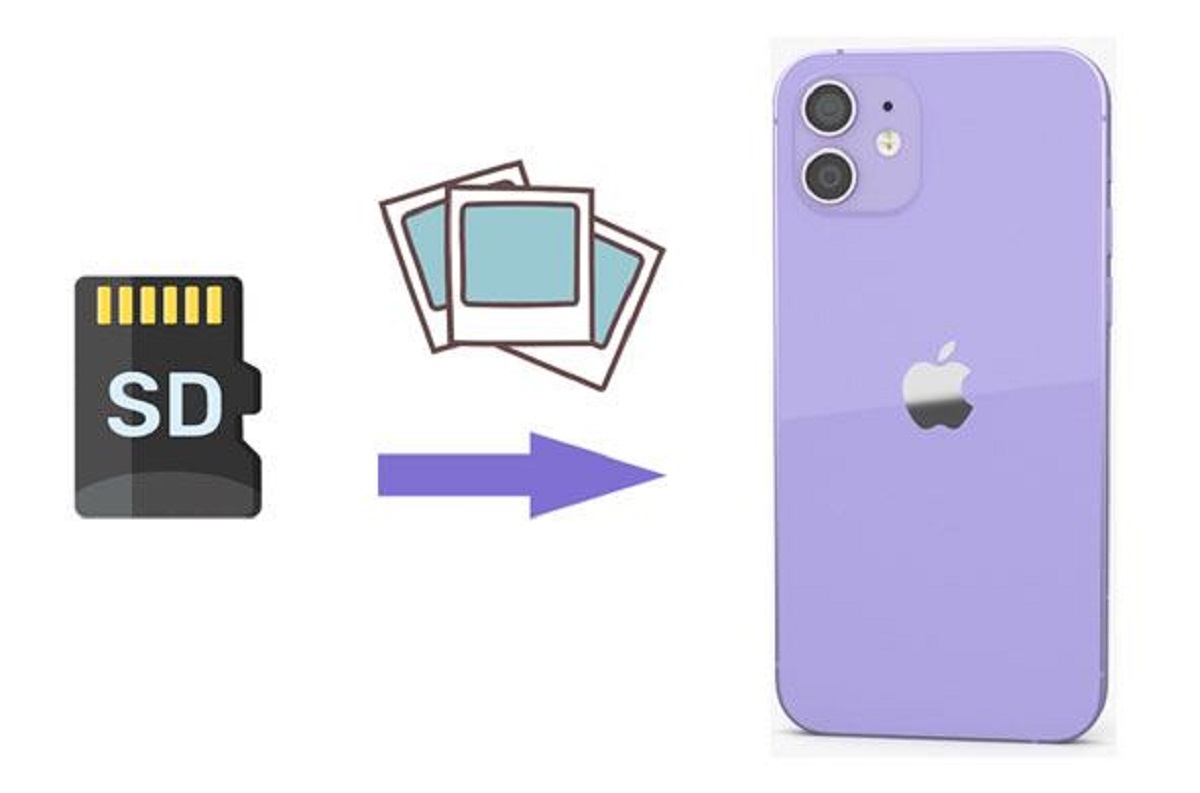
So, you’ve just returned from a memorable vacation or a remarkable photography expedition, and now you’re eager to transfer those amazing pictures from your SD card to your computer. Whether you’re a professional photographer or a casual snapper, knowing how to get pictures off a SD card is an essential skill in this digital age.
Fortunately, the process of transferring pictures from an SD card to a computer is relatively simple and straightforward. In this guide, we will walk you through the step-by-step process, ensuring that you can effortlessly access and preserve your cherished memories.
Before we dive into the details, it’s important to note that the specific steps may vary slightly depending on your computer’s operating system and the software you are using. However, the general principles remain the same, and we will provide instructions that can be easily adapted to your setup.
Are you ready to bring those captivating images to life on your computer screen? Let’s get started!
Step 1: Connect the SD Card to your Computer
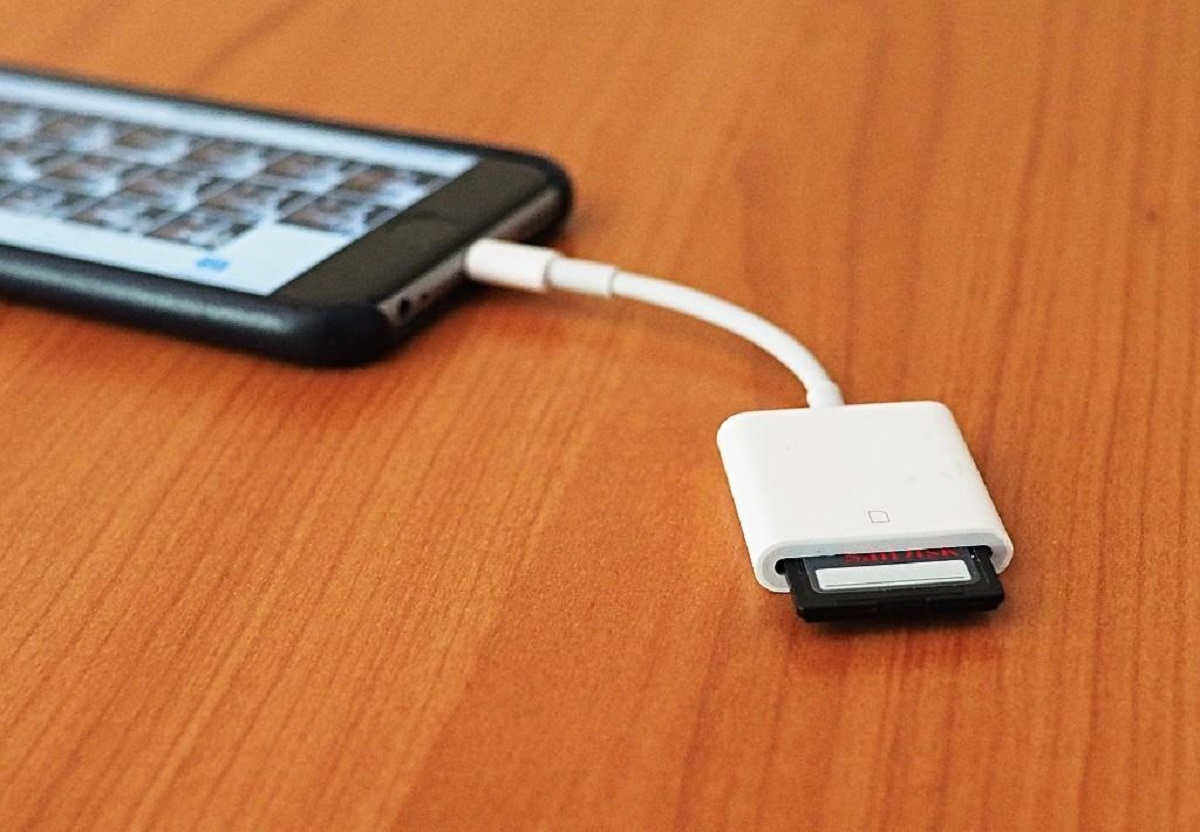
The first step in getting pictures off a SD card is to physically connect it to your computer. Most computers have built-in SD card readers, but if your computer doesn’t have one, you can use an external USB card reader.
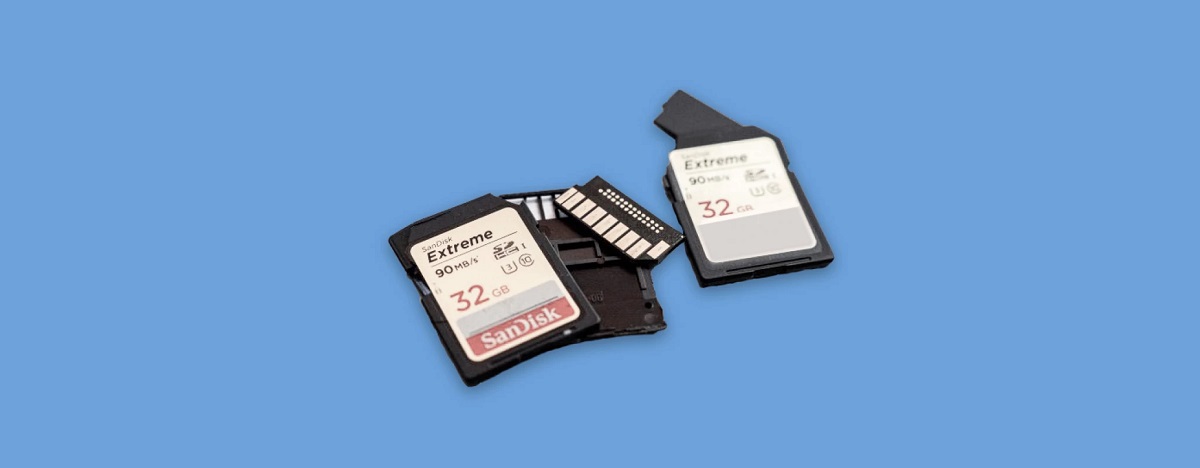
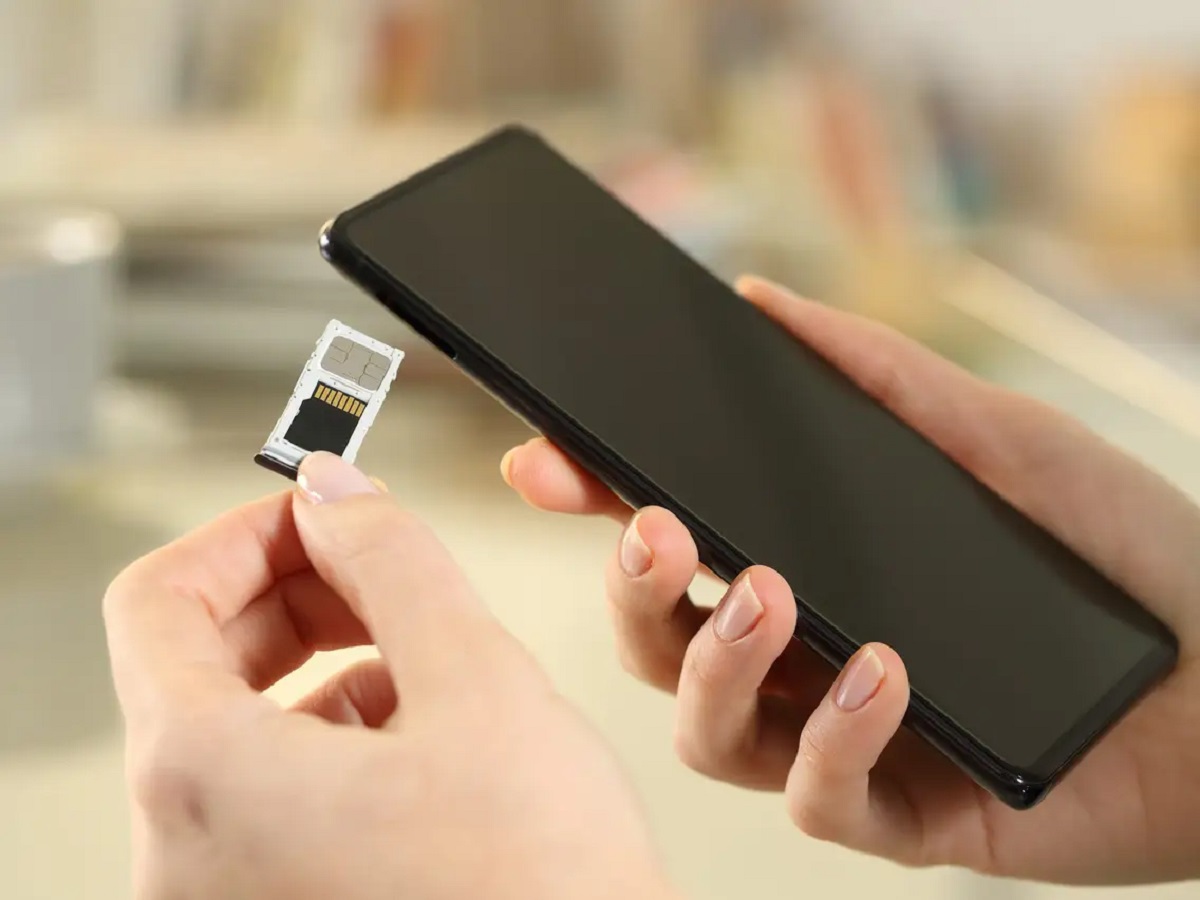
To connect the SD card, locate the appropriate slot on your computer or card reader. It is usually labeled with an SD card icon. Gently insert the SD card into the slot, ensuring that it is properly aligned. Be gentle to avoid any damage to the card or the slot.
Once the SD card is inserted, your computer will detect it and treat it as a removable storage device. Depending on your computer’s settings, a window may automatically open or a notification may appear, indicating that a new device has been detected.
If no window or notification appears, don’t worry. You can manually navigate to the SD card by opening the file explorer on your computer. Look for a drive letter that corresponds to the SD card, which is usually labeled as “SD” or “Removable Disk”.
Once you have located the SD card, you are ready to move on to the next step. It’s important to note that if you have other USB devices connected to your computer, make sure you select the correct drive letter for the SD card to avoid accidentally transferring files from or to the wrong device.
Now that you have successfully connected the SD card to your computer, let’s move on to selecting the pictures you want to transfer in Step 2.
Step 2: Select the Pictures You Want to Transfer
With the SD card successfully connected to your computer, it’s time to choose the pictures you want to transfer. This step allows you to filter out any unwanted or repetitive photos, ensuring that you only transfer the best and most meaningful shots.
Open the file explorer on your computer and navigate to the SD card drive letter where your pictures are located. You’ll likely find a folder labeled “DCIM” (Digital Camera Images) or something similar.
Click on the folder to open it and you’ll see sub-folders that correspond to different dates or events, depending on your camera settings. Open the sub-folder that contains the pictures you wish to transfer.
Now, take your time to browse through the photos in the folder. You can click on each photo to preview it and decide whether you want to transfer it to your computer. Consider factors like composition, exposure, focus, and overall quality.
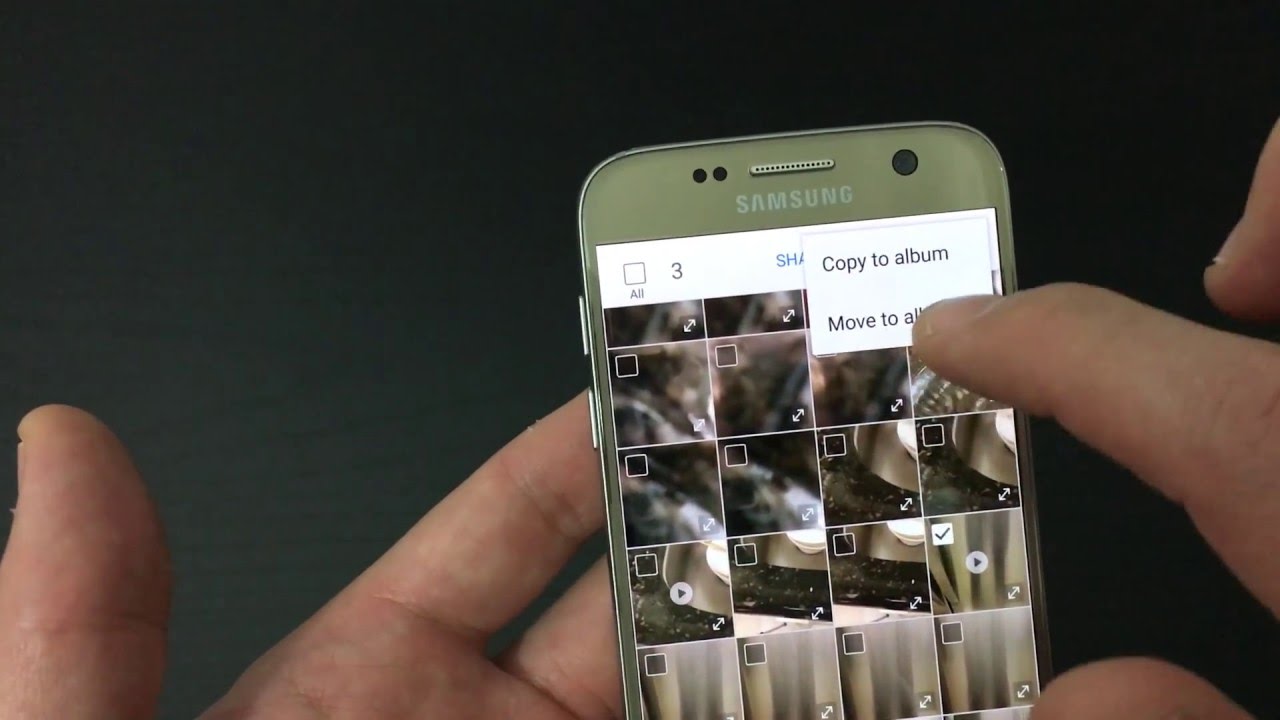
If you want to transfer all the photos in the folder, you can simply select them all by using the keyboard shortcut “Ctrl+A” (Windows) or “Cmd+A” (Mac). Alternatively, you can hold down the “Ctrl” (Windows) or “Cmd” (Mac) key and click on specific photos to select them individually.
However, if you only want to transfer specific photos, you can do so by holding down the “Ctrl” (Windows) or “Cmd” (Mac) key and then clicking on the desired photos to select them. This allows you to choose a customized selection.
Once you have selected the pictures you want to transfer, you can proceed to the next step, where we will discuss choosing the destination folder on your computer to save the pictures.
Step 3: Choose the Destination Folder
After selecting the pictures you want to transfer from your SD card, the next step is to choose the destination folder on your computer where you want to save these photos. This allows you to keep your files organized and easily accessible.
To choose the destination folder, open a new window of your file explorer and navigate to the location where you want to save the transferred pictures. This can be a specific folder on your desktop or within your Documents folder, or any other location of your choice.
Once you have reached the desired location, you can create a new folder specifically for these transferred pictures if you prefer. This will ensure that they are kept separate and organized from other files on your computer.
To create a new folder, right-click on the empty space within the destination folder and select “New” from the dropdown menu. Then, choose “Folder” and give it a descriptive name that reflects the content of the pictures you are transferring.
Alternatively, if you prefer not to create a new folder, you can simply use the existing folder within the destination location. Just ensure that this folder is easily identifiable, so you can easily locate the transferred pictures in the future.
Now that you have chosen the destination folder, you are ready to proceed to the next step and transfer the selected pictures from your SD card to your computer. This step involves transferring the actual files, as we will discuss in detail in Step 4.
Step 4: Transfer the Pictures to your Computer
With the pictures selected and the destination folder chosen, it’s time to transfer the photos from your SD card to your computer. There are several methods you can use to complete this step, depending on your computer’s operating system and your personal preferences.
One common method is to simply copy and paste the selected photos from the SD card folder to the destination folder on your computer. To do this, open both the SD card folder and the destination folder side by side in your file explorer.
Click and hold the mouse button down on the selected photos in the SD card folder, and then drag them over to the destination folder. Release the mouse button to drop the photos into the folder, and they will begin to transfer. This process may take a few moments, depending on the size of the files and the speed of your computer.
If you prefer a more streamlined approach, you can also use the “Cut” and “Paste” functionality. Select the photos you want to transfer, right-click, and choose “Cut” from the dropdown menu. Then, navigate to the destination folder, right-click inside it, and choose “Paste”. The photos will be moved from the SD card to the destination folder.
Another option is to use the import function of photo management software, such as Adobe Lightroom or Google Photos. These programs allow you to import photos from external devices and manage them in a more organized and efficient manner. Consult the documentation or online resources for the specific software you are using to learn how to import photos from an SD card.
Once the transfer process is complete, you can verify that the photos have been successfully transferred by opening the destination folder and checking that the photos are present. You can also double-click on individual photos to open and view them to ensure their quality and integrity.
With the pictures safely transferred to your computer, it’s time to move on to the final step and ensure that you safely eject the SD card to avoid data loss or corruption.
Step 5: Safely Eject the SD Card
Once you have successfully transferred the pictures from your SD card to your computer, it is important to safely eject the SD card before removing it from your computer. This ensures that all data has been written and that no files are in use, reducing the risk of data loss or corruption.
To safely eject the SD card, locate the icon representing the SD card in the file explorer or on your desktop. It is usually labeled with the name or drive letter of your SD card.
Right-click on the SD card icon and select the “Eject” or “Safely Remove” option from the context menu that appears. This action signals to the computer that you are finished using the SD card and that it can be safely removed.
Wait for a confirmation message to appear, indicating that it is safe to remove the SD card. This message may vary depending on your computer’s operating system.
Once you receive the confirmation, gently remove the SD card from the card slot or card reader. It is important to handle the SD card with care and avoid touching the connectors or exposing it to static electricity, as these can damage the card.
With the SD card safely ejected, you have successfully completed the process of getting pictures off a SD card and transferring them to your computer.
Remember to properly store your SD card in a safe place, such as a protective case, to prevent damage or loss. Additionally, make sure to have a backup of your transferred pictures to avoid any accidental data loss or hardware failures.
By following these steps, you can easily and safely transfer your pictures from an SD card to your computer, preserving your precious memories and allowing you to further edit, organize, or share your photographs.
Conclusion
Transferring pictures from an SD card to your computer is a simple process that allows you to preserve and enjoy your captured memories. By following the steps outlined in this guide, you can easily and safely transfer your photos, ensuring their accessibility and longevity.
Remember to connect the SD card to your computer, select the desired pictures, choose a destination folder, transfer the files, and safely eject the SD card. Each step plays a crucial role in the overall process, ensuring a smooth and efficient transfer of your cherished images.
While the specific steps may vary depending on your computer’s operating system and the software you are using, the core principles stay the same. The goal is to effectively move the pictures from the SD card to your computer, where you can further edit, organize, and share them as desired.
By mastering this essential skill, you can ensure that your valuable memories are securely stored and easily accessible for future enjoyment or professional use. Whether you are a professional photographer or a casual enthusiast, understanding how to get pictures off a SD card is a valuable skill that enhances your digital photography experience.
So, go ahead and start transferring your pictures with confidence. Connect your SD card to your computer, select the pictures you want to transfer, choose the destination folder, complete the transfer process, and safely eject the SD card.
With your pictures successfully transferred, you can now relive your special moments, share them with friends and family, or use them in your creative projects. Enjoy the convenience, flexibility, and peace of mind that comes with being able to access and manage your photos on your computer.
Keep exploring and capturing memorable moments, knowing that you have the knowledge and skills to effortlessly transfer your pictures from an SD card to your computer, preserving your memories for years to come.


