Introduction
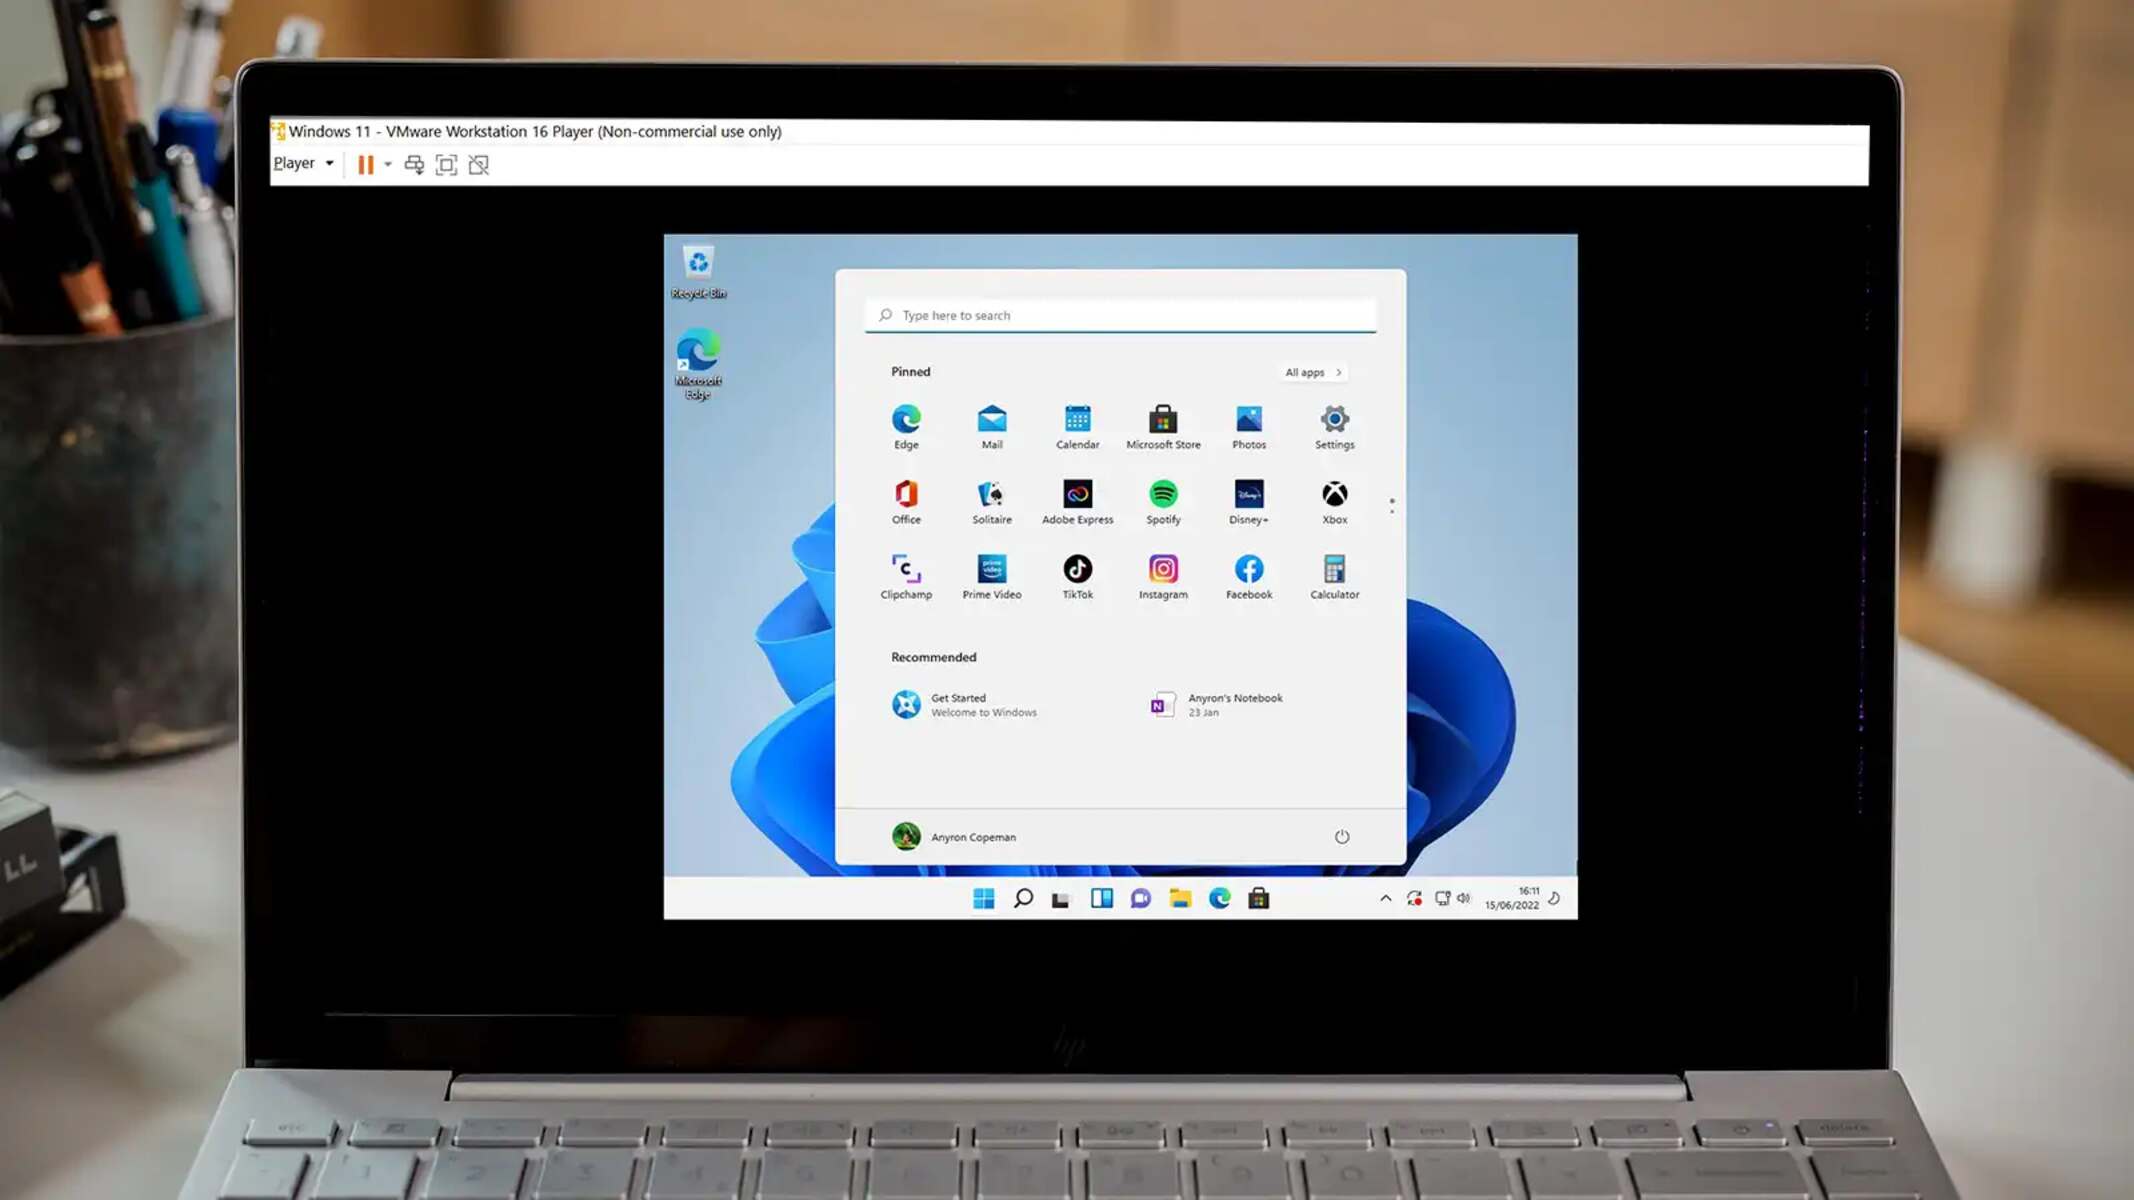
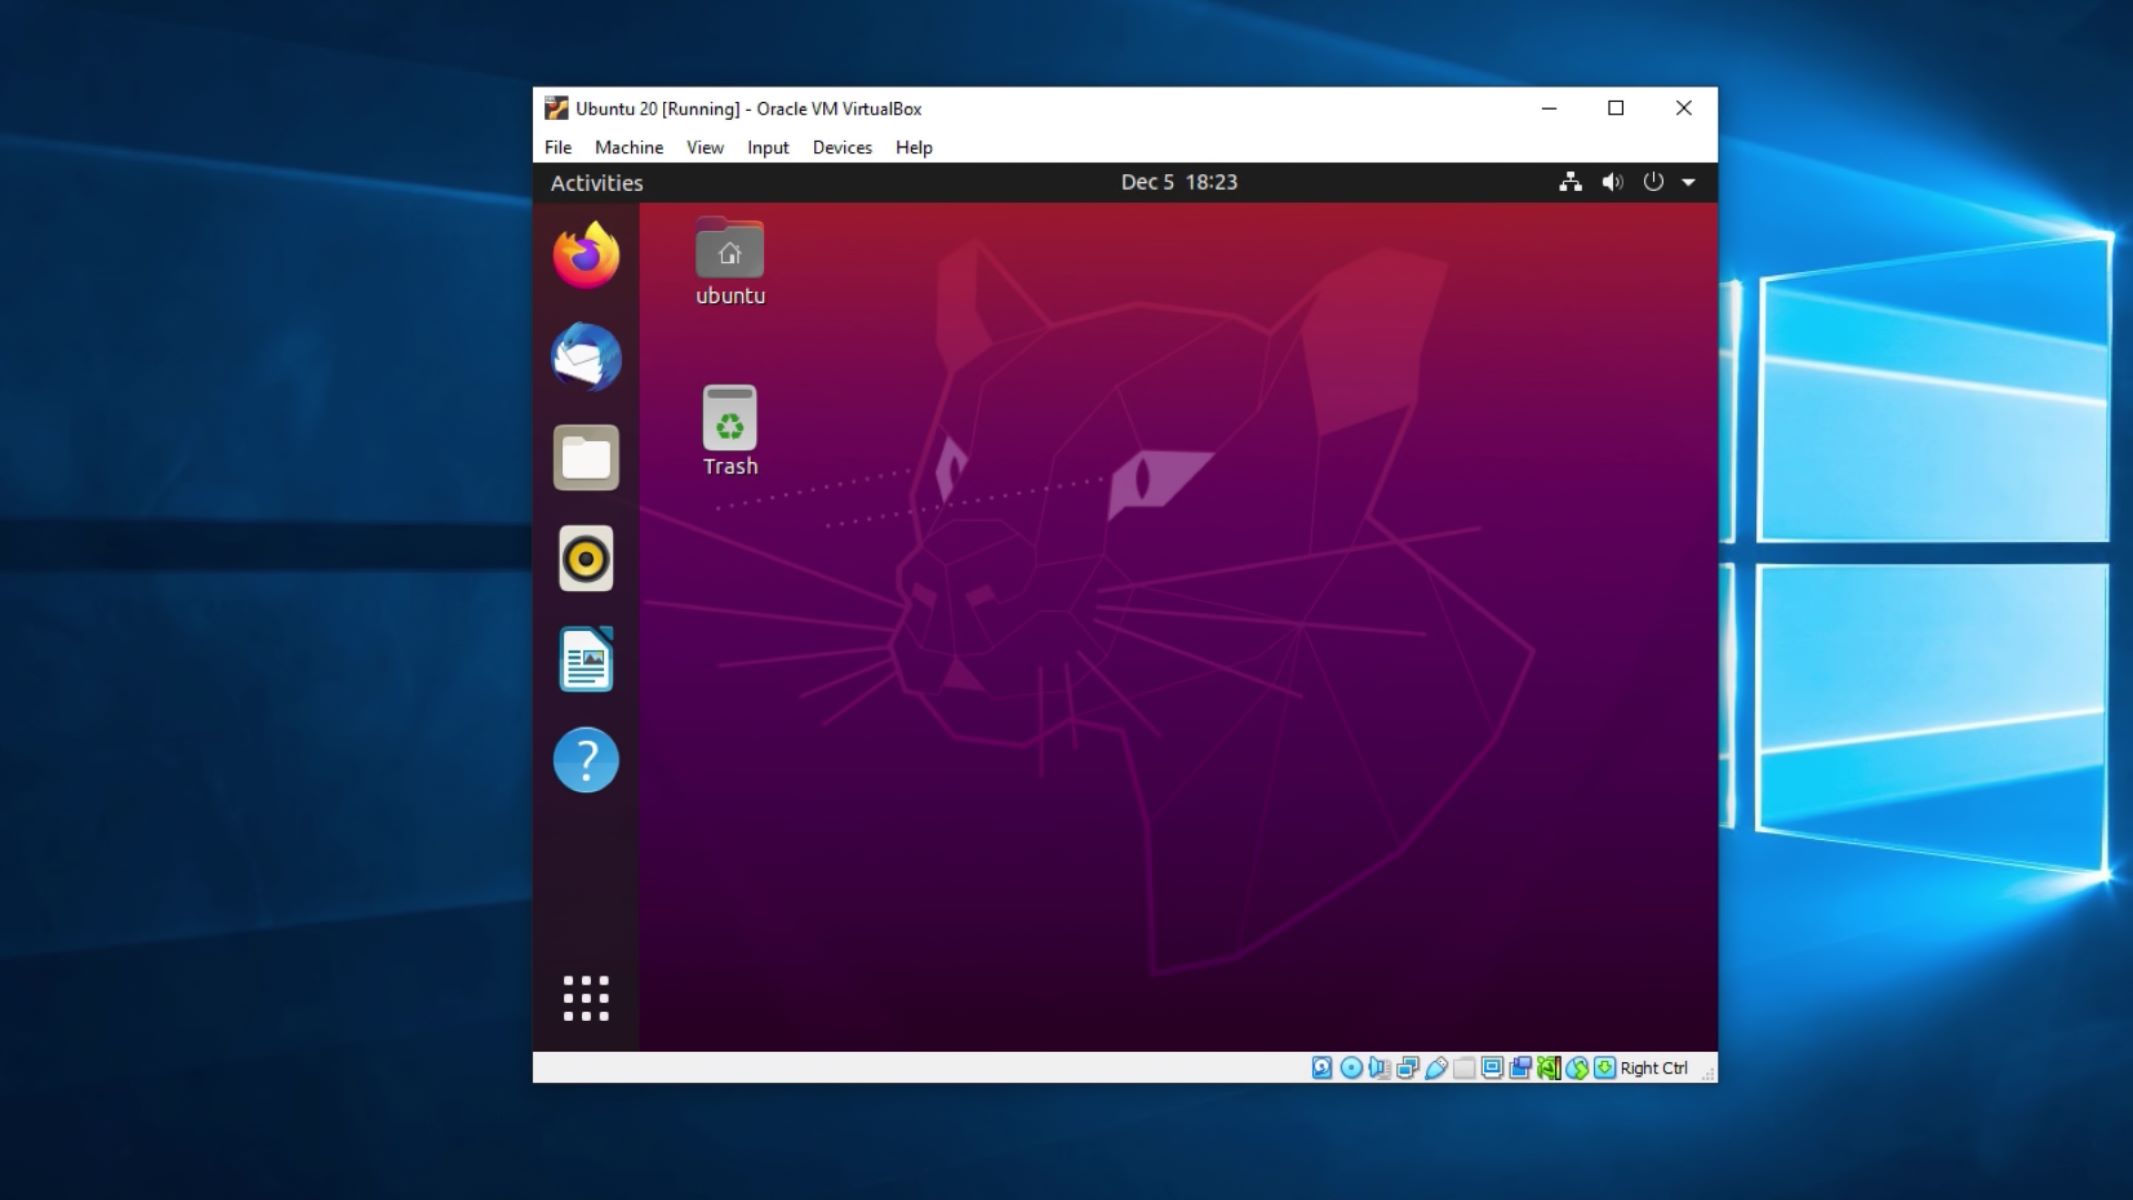
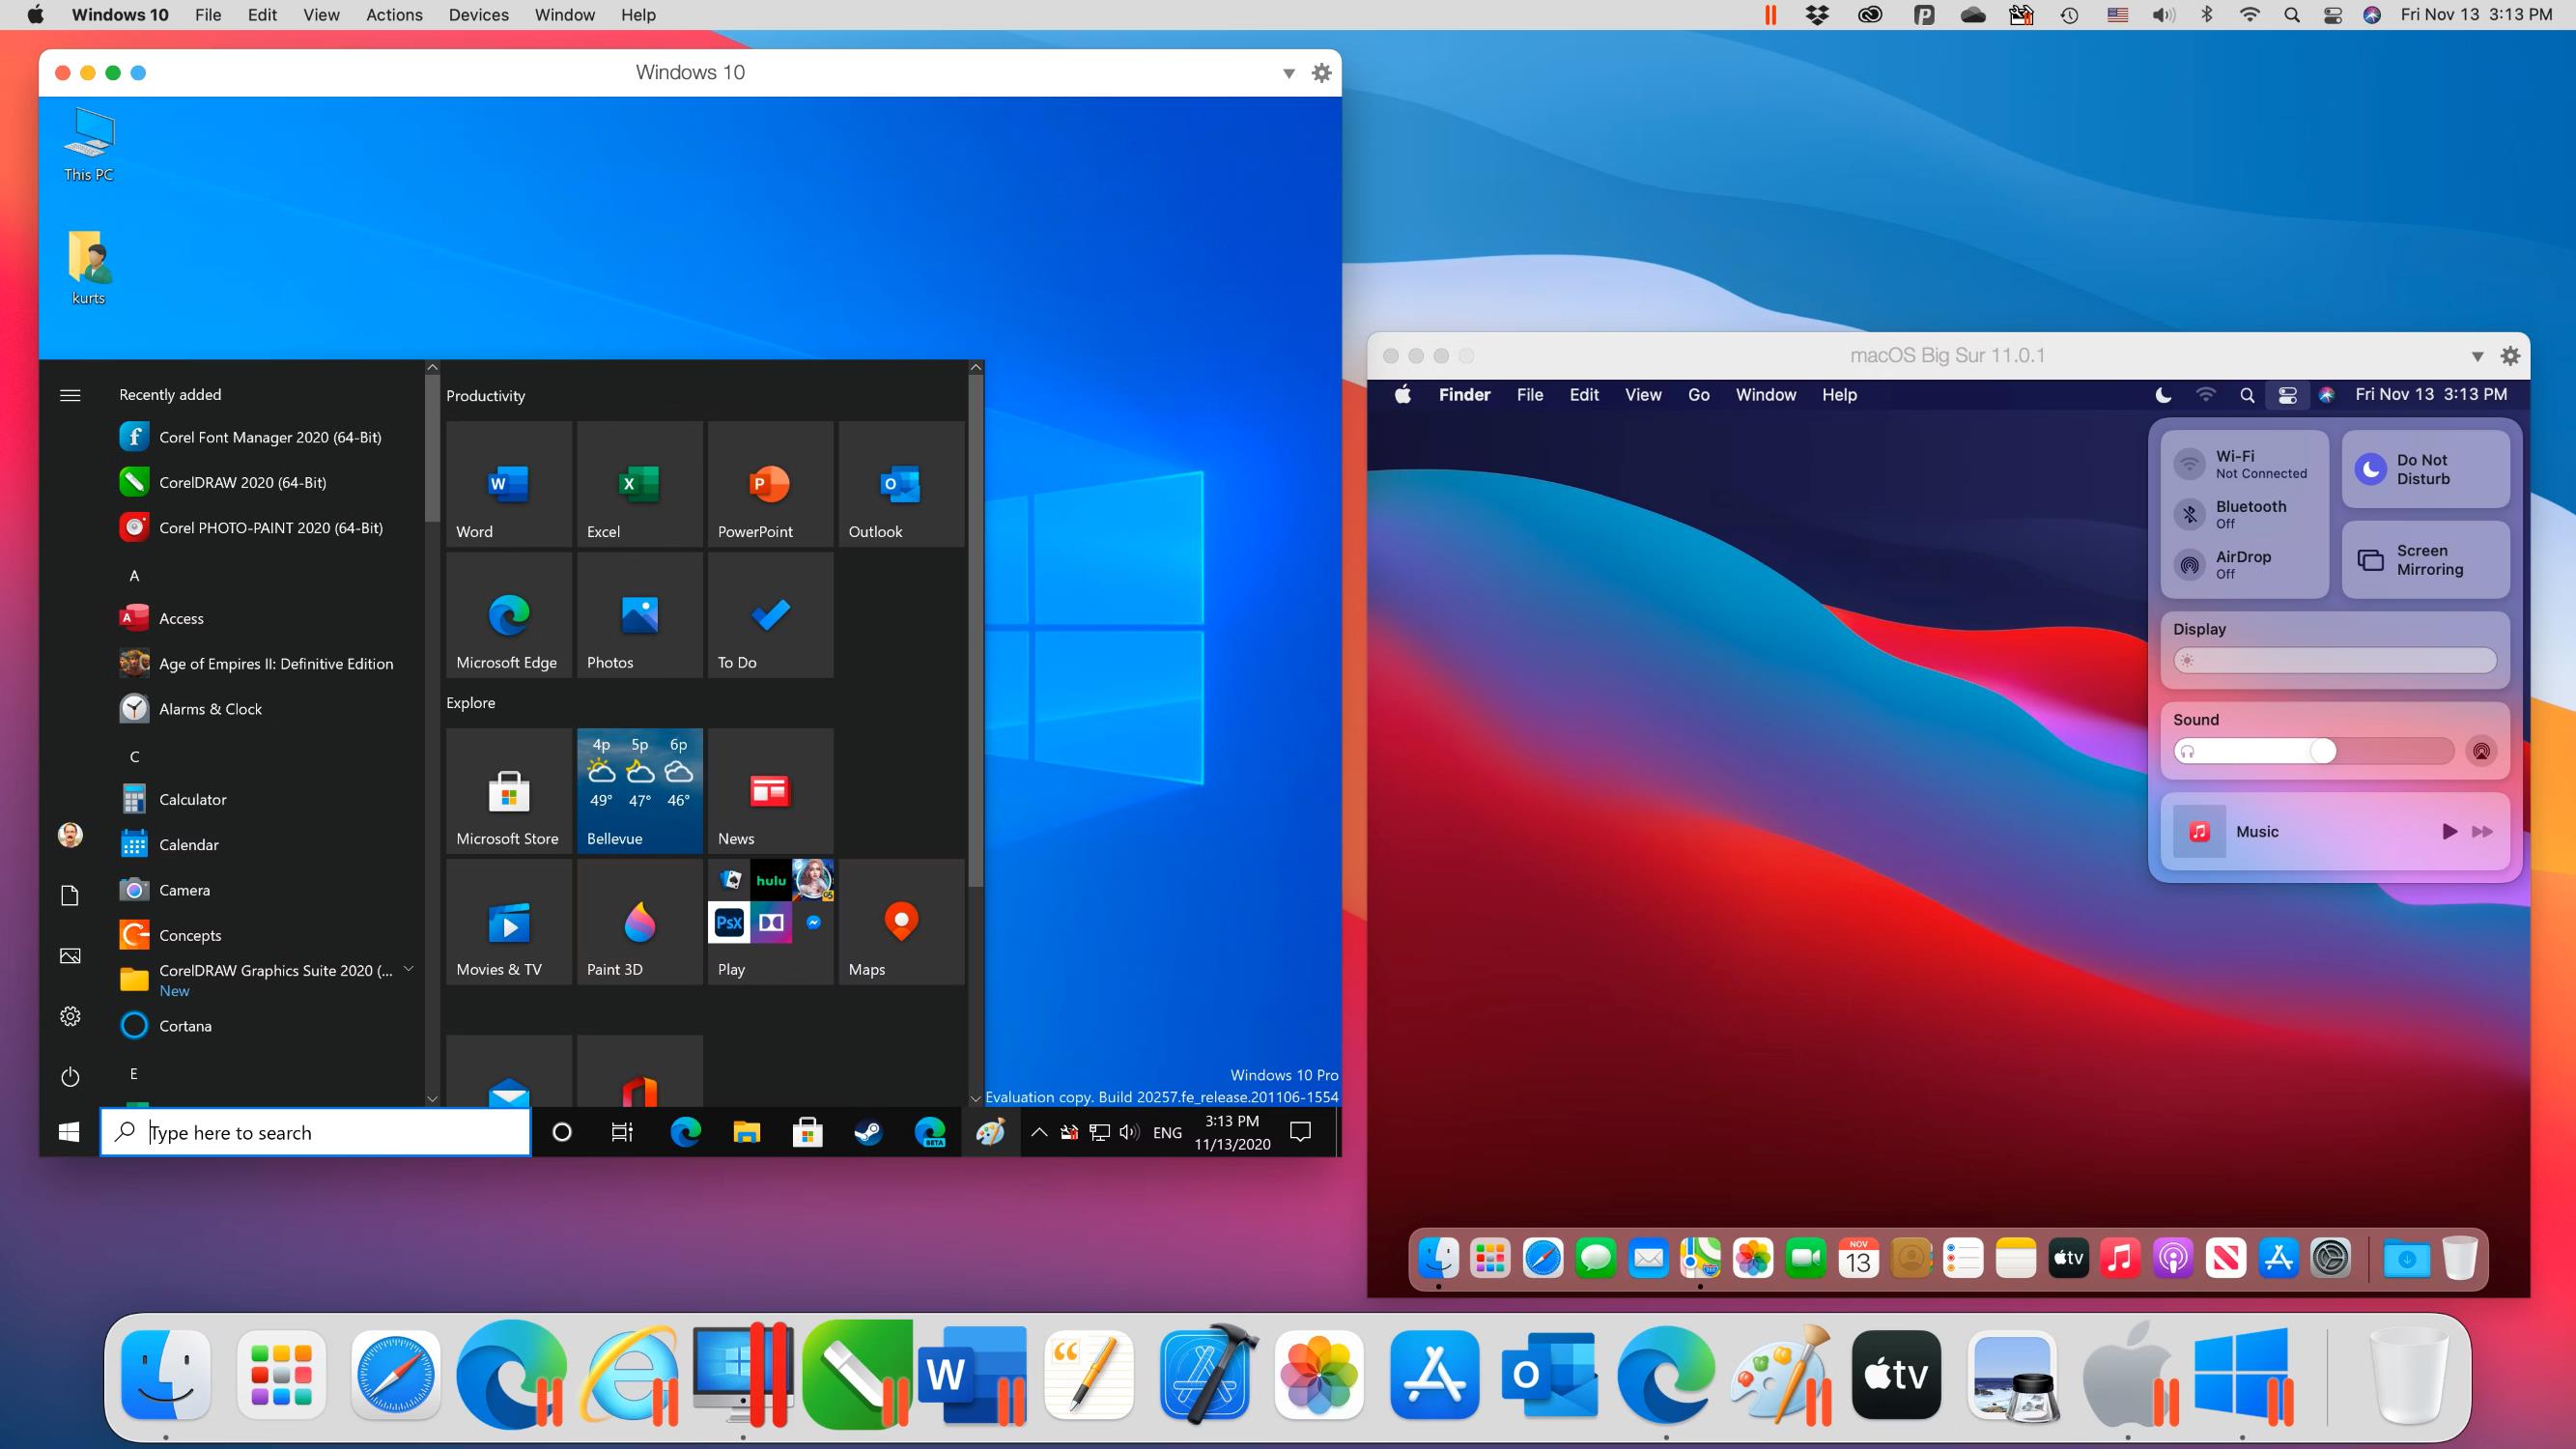
Welcome to the world of virtual machines! Virtual machines allow you to run multiple operating systems on a single physical machine, which is incredibly useful for various purposes including software development, testing, and sandboxing. However, like any technology, virtual machines can sometimes present challenges. One common issue that virtual machine users encounter is trouble with the mouse.
Having a non-responsive or erratic mouse can be frustrating, as it hampers your ability to navigate and interact within the virtual machine. Don’t worry though, as there are several troubleshooting steps you can take to get your mouse back on track and ensure a smooth operating experience.
In this article, we will walk you through the process of troubleshooting and resolving mouse issues in a virtual machine. Whether you’re using popular virtualization software like VMware, VirtualBox, or Hyper-V, these steps are applicable. Remember, before diving into the technical solutions, it’s always a good idea to check the basics such as your mouse connection and batteries, as these can sometimes be the root cause of the problem. Once you’ve ruled out any hardware-related issues, you’re ready to move on to the troubleshooting steps outlined below.
Troubleshooting the Mouse in a Virtual Machine
When you encounter mouse issues in a virtual machine, it’s essential to go through a systematic troubleshooting process to identify and resolve the problem. Follow these steps to troubleshoot the mouse in your virtual machine:
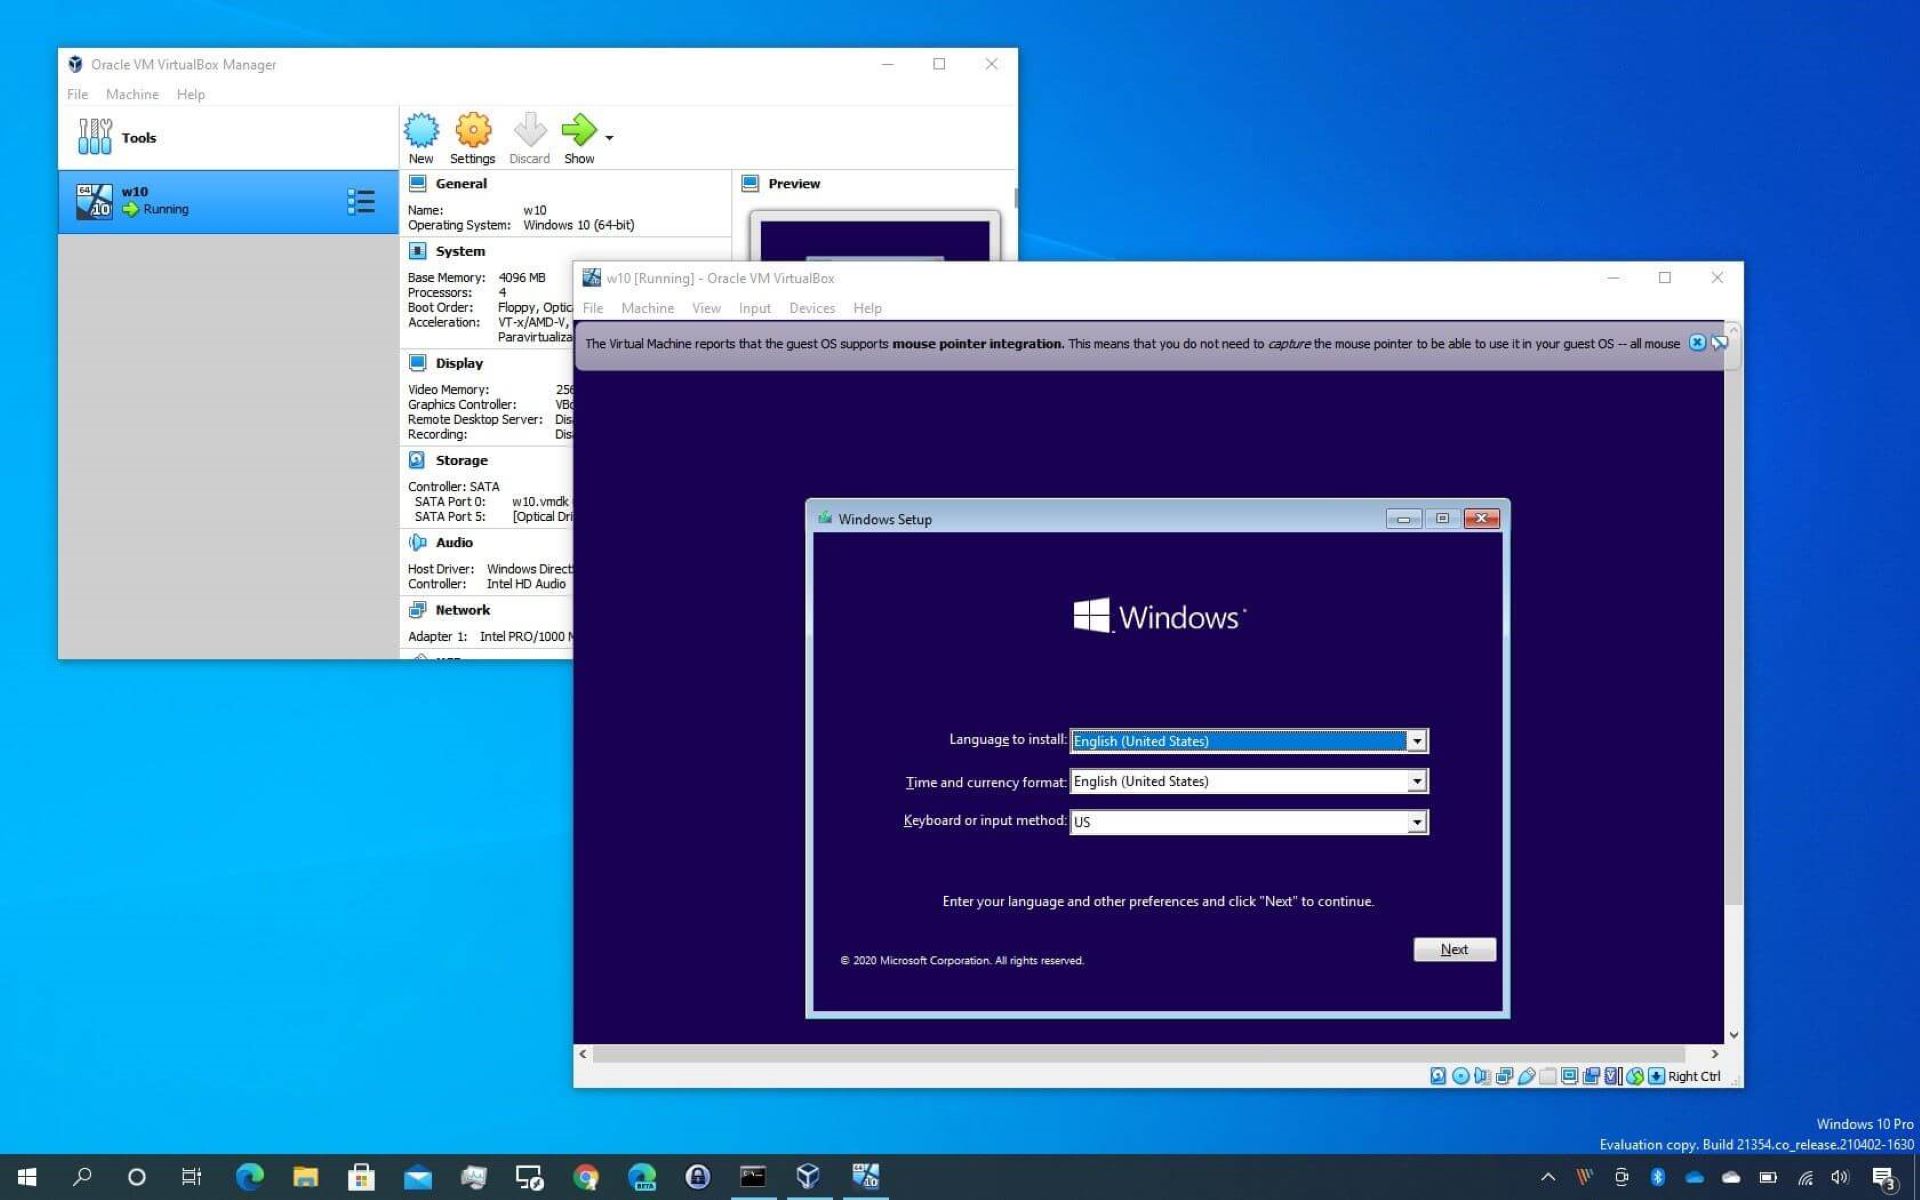
Step 1: Check the mouse integration: Most virtualization software provides a feature called mouse integration, which allows your host operating system to share the mouse with the virtual machine. Ensure that mouse integration is enabled in the virtual machine settings.
Step 2: Restart the virtual machine: Sometimes, a simple restart can fix mouse-related issues in a virtual machine. Close the virtual machine and restart it to see if the problem persists.
Step 3: Update the virtual machine software: Outdated virtual machine software can cause compatibility issues with the host operating system, leading to mouse problems. Make sure you have the latest version of your virtualization software installed and update it if necessary.
Step 4: Check for driver updates: Virtual machines often require specific mouse drivers to function properly. Visit the website of your virtual machine software provider and check for any available driver updates. Install them if necessary.
Step 5: Reset mouse settings in the virtual machine: Within the virtual machine, navigate to the Control Panel or System Preferences, depending on the operating system, and locate the Mouse settings. Reset the settings to their default values and test if the mouse starts working.
Step 6: Disable mouse acceleration: Mouse acceleration can sometimes cause erratic mouse behavior in a virtual machine. Disable mouse acceleration in the virtual machine settings and observe if the issue is resolved.
Step 7: Allocate more resources to the virtual machine: In some cases, resource limitations can impact the performance of the virtual machine, including mouse responsiveness. Increase the allocated CPU and memory resources to the virtual machine and see if it improves mouse performance.
Step 8: Reinstall the virtual machine tools: Virtual machine tools, such as VMware Tools or VirtualBox Guest Additions, provide additional features and drivers for virtual machines. Reinstall these tools to ensure all necessary components are installed properly and functioning correctly.
By systematically following these troubleshooting steps, you should be able to diagnose and fix mouse issues in your virtual machine. However, if the problem persists, it may be worth reaching out to the technical support of your virtualization software provider for further assistance.
Checking Mouse Settings in the Host Operating System
Before diving into the virtual machine settings, it’s important to ensure that the mouse settings in your host operating system are properly configured. Issues in the host operating system can sometimes affect the functionality of the mouse within the virtual machine. Follow these steps to check and adjust the mouse settings in the host operating system:
Step 1: Access the mouse settings: Open the Control Panel or System Preferences in your host operating system. Look for the “Mouse” or “Mouse & Trackpad” section and click on it to access the mouse settings.
Step 2: Check the mouse speed and sensitivity: Ensure that the mouse speed and sensitivity settings are appropriate for your needs. Test different settings to find the one that feels comfortable and responsive.
Step 3: Enable mouse gestures (if available): Some operating systems provide mouse gesture features that allow you to perform specific actions by using predefined mouse movements. Enable this feature and configure the gestures according to your preferences.
Step 4: Adjust the mouse pointer options: In the mouse settings, look for the “Pointer Options” tab or a similar option. Adjust the pointer options such as pointer speed, visibility, and trails to your liking.
Step 5: Update or reinstall mouse drivers: Ensure that you have the latest mouse drivers installed on your host operating system. Visit the manufacturer’s website to download and install any updated drivers. If the drivers are already up to date, try reinstalling them to refresh the installation.
Step 6: Test the mouse functionality in other applications: Open other applications on your host operating system and check if the mouse works properly. If the issue is isolated to the virtual machine, it’s more likely a virtualization-related problem rather than an issue with the host operating system.
Step 7: Restart the host operating system: Sometimes, a simple restart can resolve mouse-related issues in the host operating system. Save your work, close any running applications, and restart the host operating system.
By examining and adjusting the mouse settings in the host operating system, you can ensure that the mouse functionality is optimized for your overall computing experience. If the mouse issues persist even after checking and adjusting the settings, proceed to the next section to explore the mouse settings within the virtual machine software.
Adjusting Mouse Settings in the Virtual Machine Software
When troubleshooting mouse issues in a virtual machine, it’s important to check and adjust the mouse settings within the virtualization software you are using. Virtualization software such as VMware, VirtualBox, or Hyper-V provides options to control and customize mouse functionality within the virtual machine. Follow these steps to adjust the mouse settings in the virtual machine software:
Step 1: Access the virtual machine settings: Open the virtualization software and locate the settings or preferences menu for the virtual machine in question. This is typically achieved by selecting the virtual machine and clicking on the “Settings” or “Preferences” option.
Step 2: Navigate to the mouse settings: Within the virtual machine settings, look for the mouse-related settings. This may be listed as “Mouse,” “Input,” or something similar. Click on it to access the mouse settings.
Step 3: Adjust mouse integration settings: If your virtualization software provides a mouse integration feature, ensure it is enabled. Mouse integration allows the host operating system to share the mouse with the virtual machine, improving responsiveness and accuracy.
Step 4: Modify mouse tracking and acceleration: Virtual machine software often allows you to customize mouse tracking speed and acceleration. Adjust these settings to match your preferences and improve the mouse’s responsiveness within the virtual machine.
Step 5: Enable mouse capture/release: Some virtualization software provides options to capture or release the mouse cursor from the virtual machine window. Experiment with these options to find the setting that works best for your needs.
Step 6: Enable mouse pointer visibility: If the mouse cursor is disappearing within the virtual machine, check for options related to mouse pointer visibility. Ensure that the mouse pointer is set to be visible at all times.
Step 7: Test different mouse modes: Virtual machine software may offer different mouse modes, such as relative mouse mode or absolute mouse mode. Switch between these modes to see if it resolves any mouse-related issues.
Step 8: Apply the changes and test the mouse functionality: Once you have adjusted the mouse settings in the virtual machine software, apply the changes and test the mouse functionality within the virtual machine. Verify if the mouse is now working as expected.
By reviewing and adjusting the mouse settings within the virtualization software, you can optimize the mouse performance and resolve any issues that may have been affecting its functionality. If the mouse problems persist, continue with the next section to explore further troubleshooting steps.
Installing or Updating Mouse Drivers in the Virtual Machine
Mouse drivers play a crucial role in ensuring smooth and accurate mouse functionality within a virtual machine. If you’re experiencing mouse issues, it’s important to check the mouse drivers within the virtual machine and ensure they are up to date. Follow these steps to install or update the mouse drivers in your virtual machine:
Step 1: Determine the current driver status: Check the current driver status by accessing the virtual machine settings menu. Look for the “Hardware” or “Devices” section within the settings and locate the mouse device. Make note of the current driver version and any available driver details.
Step 2: Visit the mouse manufacturer’s website: Find the website of the mouse manufacturer and navigate to the support or download section. Look for any available driver updates corresponding to your mouse model.
Step 3: Download and install the updated driver: Download the latest driver version compatible with the virtual machine’s operating system. Once downloaded, run the installer and follow the on-screen instructions to install the updated mouse driver.
Step 4: Restart the virtual machine: After installing the updated driver, it’s often necessary to restart the virtual machine for the changes to take effect. Save any important work and close all applications, then restart the virtual machine.
Step 5: Verify driver installation and functionality: Once the virtual machine is back up and running, verify that the updated mouse driver is successfully installed. Check the driver version and ensure that it matches the updated version you downloaded. Test the mouse functionality to see if the issues have been resolved.
Step 6: Revert to a previous driver version (if necessary): In some cases, an updated driver may introduce new issues or conflicts within the virtual machine. If you experience any adverse effects after updating the driver, you may need to revert to a previous driver version. Visit the manufacturer’s website and download the previous version of the mouse driver. Uninstall the updated driver and install the previous version to restore the functioning mouse.
By installing or updating the mouse drivers within the virtual machine, you can ensure that the mouse is properly recognized and supported by the virtualization software. Updated drivers often address compatibility issues and improve overall performance, leading to a better mouse experience within the virtual machine.
Enabling the Mouse Integration Feature
One of the key features provided by virtualization software is mouse integration, which allows the host operating system and the virtual machine to seamlessly share mouse control. By enabling the mouse integration feature, you can enhance mouse responsiveness and eliminate potential issues. Follow these steps to enable mouse integration in your virtual machine:
Step 1: Open the virtual machine: Launch your virtual machine software and open the virtual machine in which you want to enable mouse integration.
Step 2: Locate the Settings or Preferences: Find the settings or preferences section relevant to the virtual machine you are using. This can typically be accessed by right-clicking on the virtual machine’s name and selecting “Settings” or “Preferences.”
Step 3: Access the Integration options: Within the virtual machine settings, navigate to the “Integration” or “Integration Features” tab. This section contains options related to integrating the host and virtual machine functionalities.
Step 4: Enable Mouse Integration: Locate the Mouse Integration option and ensure it is checked or toggled on. Enabling this feature allows the virtual machine to capture and release the mouse cursor seamlessly.
Step 5: Adjust other integration settings: Depending on your virtualization software, there may be additional integration settings that enhance the mouse functionality. Explore the available options and adjust them according to your preferences.
Step 6: Apply the changes and test the mouse: Click the Apply or OK button to save the changes made to the virtual machine settings. Start the virtual machine and test the mouse functionality to verify that mouse integration is working as expected.
Note: In some cases, mouse integration may already be enabled by default in your virtual machine. However, if you’re experiencing mouse-related issues, it’s worth checking the settings to ensure it is enabled.
Enabling the mouse integration feature allows for a smoother and more natural mouse experience within the virtual machine. By sharing mouse control between the host operating system and the virtual machine, you can navigate seamlessly and overcome any potential mouse-related issues that may arise during your virtualization tasks.
Switching Mouse Modes in the Virtual Machine
Virtual machine software often provides different mouse modes that can be switched to suit your needs and preferences. Depending on the virtualization software you are using, these modes can offer different levels of mouse control and behavior within the virtual machine. If you’re experiencing mouse issues, switching mouse modes can be a helpful troubleshooting step. Follow these steps to switch mouse modes in your virtual machine:
Step 1: Open the virtual machine: Launch your virtual machine software and open the virtual machine in which you want to switch mouse modes.
Step 2: Locate the Settings or Preferences: Find the settings or preferences section relevant to the virtual machine you are using. This can typically be accessed by right-clicking on the virtual machine’s name and selecting “Settings” or “Preferences”.
Step 3: Access the Mouse settings: Within the virtual machine settings, locate the “Mouse” or “Input” section. This section contains options related to mouse control and behavior within the virtual machine.
Step 4: Switch between mouse modes: Look for the available mouse mode options, which may vary depending on your virtualization software. Common mouse modes include relative mode and absolute mode. Switch between these modes by selecting the desired option.
Step 5: Apply the changes and test the mouse: Click the Apply or OK button to save the changes made to the virtual machine settings. Start the virtual machine and test the mouse functionality to verify that the switched mouse mode resolves the issues you were experiencing.
Switching mouse modes can provide different levels of mouse control and behavior within the virtual machine. If you’re encountering issues such as lag, sensitivity, or unresponsiveness, experimenting with different mouse modes can help in finding the most suitable mode for your needs. You may need to try different modes to find the one that works best for your specific virtualization tasks and hardware configuration.
Rebooting the Virtual Machine and Host Operating System
Rebooting your virtual machine and host operating system can often resolve various issues, including mouse-related problems. Restarting both systems helps refresh their configurations and clear any temporary glitches that may be affecting the mouse functionality. Follow these steps to reboot the virtual machine and host operating system:
Step 1: Save your work and close applications: Prior to restarting, make sure to save any important work and close all applications running within the virtual machine.
Step 2: Exit the virtual machine: Close the virtual machine by clicking on the “X” button or selecting “Close” from the virtual machine’s menu. This will shut down the virtual machine gracefully.
Step 3: Restart the host operating system: Once the virtual machine is closed, proceed to restart the host operating system. This can be done by clicking on the Start Menu, selecting the power button, and choosing the “Restart” option.
Step 4: Re-launch the virtual machine: After the host operating system has restarted, open your virtual machine software and start the virtual machine again. Allow it to boot up and reach the desktop or login screen.
Step 5: Test the mouse functionality: Once both the virtual machine and host operating system are fully rebooted, test the mouse to see if the issues have been resolved. Move the mouse cursor and check for responsiveness and accuracy.
Rebooting the virtual machine and host operating system can often serve as a simple yet effective solution for mouse-related problems. By restarting both systems, you give them a fresh start and an opportunity to reconfigure and recalibrate their settings, which can potentially resolve any issues that were impacting mouse functionality.
Configuring Mouse Options in the Virtual Machine Settings
Virtual machine settings provide various options to configure mouse behavior and functionality within the virtual machine. These settings can help you tailor the mouse experience according to your preferences and address any specific issues you may come across. Follow these steps to configure mouse options in the virtual machine settings:
Step 1: Open the virtual machine settings: Launch your virtualization software and open the virtual machine in which you want to configure mouse options.
Step 2: Locate the Settings or Preferences: Find the settings or preferences section relevant to the virtual machine you are using. This can often be accessed by right-clicking on the virtual machine’s name and selecting “Settings” or “Preferences”.
Step 3: Access the Mouse settings: Within the virtual machine settings, navigate to the “Mouse” or “Input” section. This section typically contains options related to mouse control and behavior within the virtual machine.
Step 4: Adjust mouse sensitivity and acceleration: Virtual machine settings often provide options to adjust mouse sensitivity and acceleration. Modify these settings to make the mouse movement more responsive and precise within the virtual machine.
Step 5: Enable or disable mouse integration: Virtualization software offers a feature called mouse integration, allowing the host operating system to share the mouse with the virtual machine. In the mouse settings, ensure that mouse integration is enabled for better mouse performance.
Step 6: Customize scrolling and button configuration: Some virtual machine settings allow you to customize scrolling behavior and button configuration. Explore these options to set up scrolling direction and assign specific functions to mouse buttons.
Step 7: Set up mouse shortcuts and gestures (if available): Depending on the virtualization software, you may have the option to configure mouse shortcuts or gestures. These allow you to perform specific actions by using predefined mouse movements. Configure these shortcuts or gestures according to your preferences.
Step 8: Apply the changes and test the mouse: Click the Apply or OK button to save the changes made to the virtual machine settings. Start the virtual machine and test the mouse functionality to ensure that the configured options have resulted in the desired mouse behavior.
By adjusting the mouse options within the virtual machine settings, you can customize the mouse experience to suit your preferences and improve its functionality. Experiment with different settings to find the optimal configuration for your virtualization tasks, hardware, and personal preferences.
Resizing the Virtual Machine Display
The display size of a virtual machine can affect the mouse experience, as it determines the available workspace and the accuracy of mouse movements. If you’re encountering mouse issues or difficulties, resizing the virtual machine display might help. Follow these steps to resize the virtual machine display:
Step 1: Open the virtual machine settings: Launch your virtualization software and open the desired virtual machine.
Step 2: Locate the Settings or Preferences: Find the settings or preferences section specific to the virtual machine you are using. This is typically accessible by right-clicking on the virtual machine’s name and selecting “Settings” or “Preferences”.
Step 3: Access the Display settings: Within the virtual machine settings, locate the “Display” or “Screen” section. This section contains options related to the virtual machine’s display settings.
Step 4: Adjust the resolution: Look for the display resolution option and choose a higher resolution to increase the available workspace. Alternatively, select a lower resolution if you want to make objects on the screen appear larger.
Step 5: Apply the changes: Click the Apply or OK button to save the changes made to the virtual machine display settings.
Step 6: Resize the virtual machine window: If the virtual machine display does not automatically adjust to the new resolution, manually resize the virtual machine window to fit the desired display size. Drag the edges or corners of the virtual machine window to adjust its dimensions.
Step 7: Test the mouse functionality: Once the virtual machine display is resized, test the mouse functionality to see if the issues have been resolved. Check for improved accuracy and responsiveness while navigating within the virtual machine.
Resizing the virtual machine display can provide a larger workspace and improve the mouse experience within the virtual machine. By matching the virtual machine’s display resolution to your preferences and hardware capabilities, you can enhance visibility and ensure efficient mouse movements within the virtual machine.
Conclusion
Dealing with mouse issues in a virtual machine can be frustrating, but by following the troubleshooting steps outlined in this article, you can overcome these challenges and regain a smooth mouse experience. It’s important to check various aspects, such as mouse integration, settings in the host operating system, virtual machine software, drivers, and display resolution to identify and address any underlying problems.
Remember, troubleshooting the mouse in a virtual machine requires a systematic approach. Start by ensuring that mouse integration is enabled and properly configured. Then, check and adjust the mouse settings in the host operating system to rule out any conflicts or misconfigurations. If the problems persist, explore the mouse settings within the virtual machine software and consider installing or updating the mouse drivers.
Additionally, experimenting with different mouse modes, rebooting both the virtual machine and host operating system, configuring mouse options, and resizing the virtual machine display can further aid in resolving mouse-related issues. Each step provides a potential solution based on the specific problem you’re facing.
Remember to document any changes made during the troubleshooting process and keep track of what solutions work best for your virtual machine setup. And, if necessary, don’t hesitate to reach out to the technical support of your virtualization software provider for further assistance.
By following these troubleshooting steps and making necessary adjustments, you can optimize the mouse functionality within your virtual machine and ensure a seamless experience while working or exploring various operating systems in a virtual environment.