Introduction
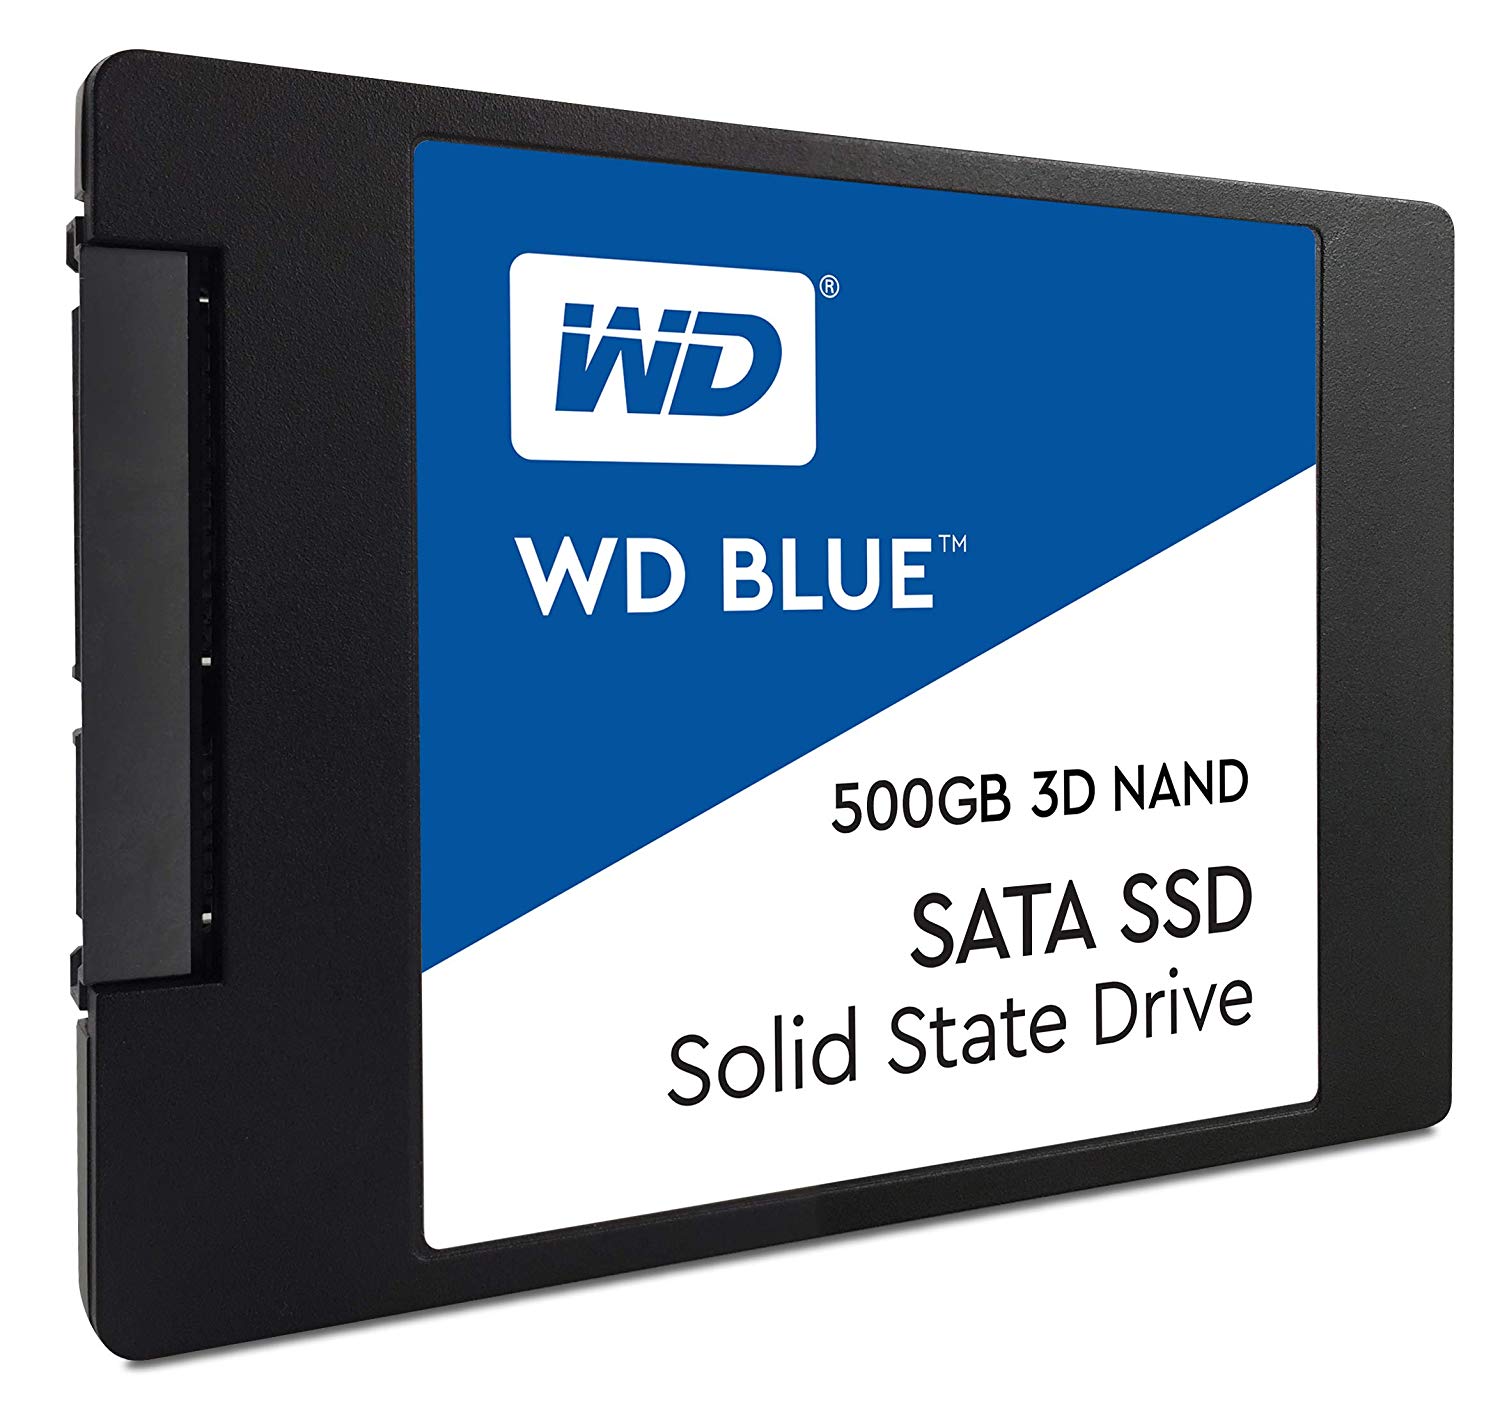
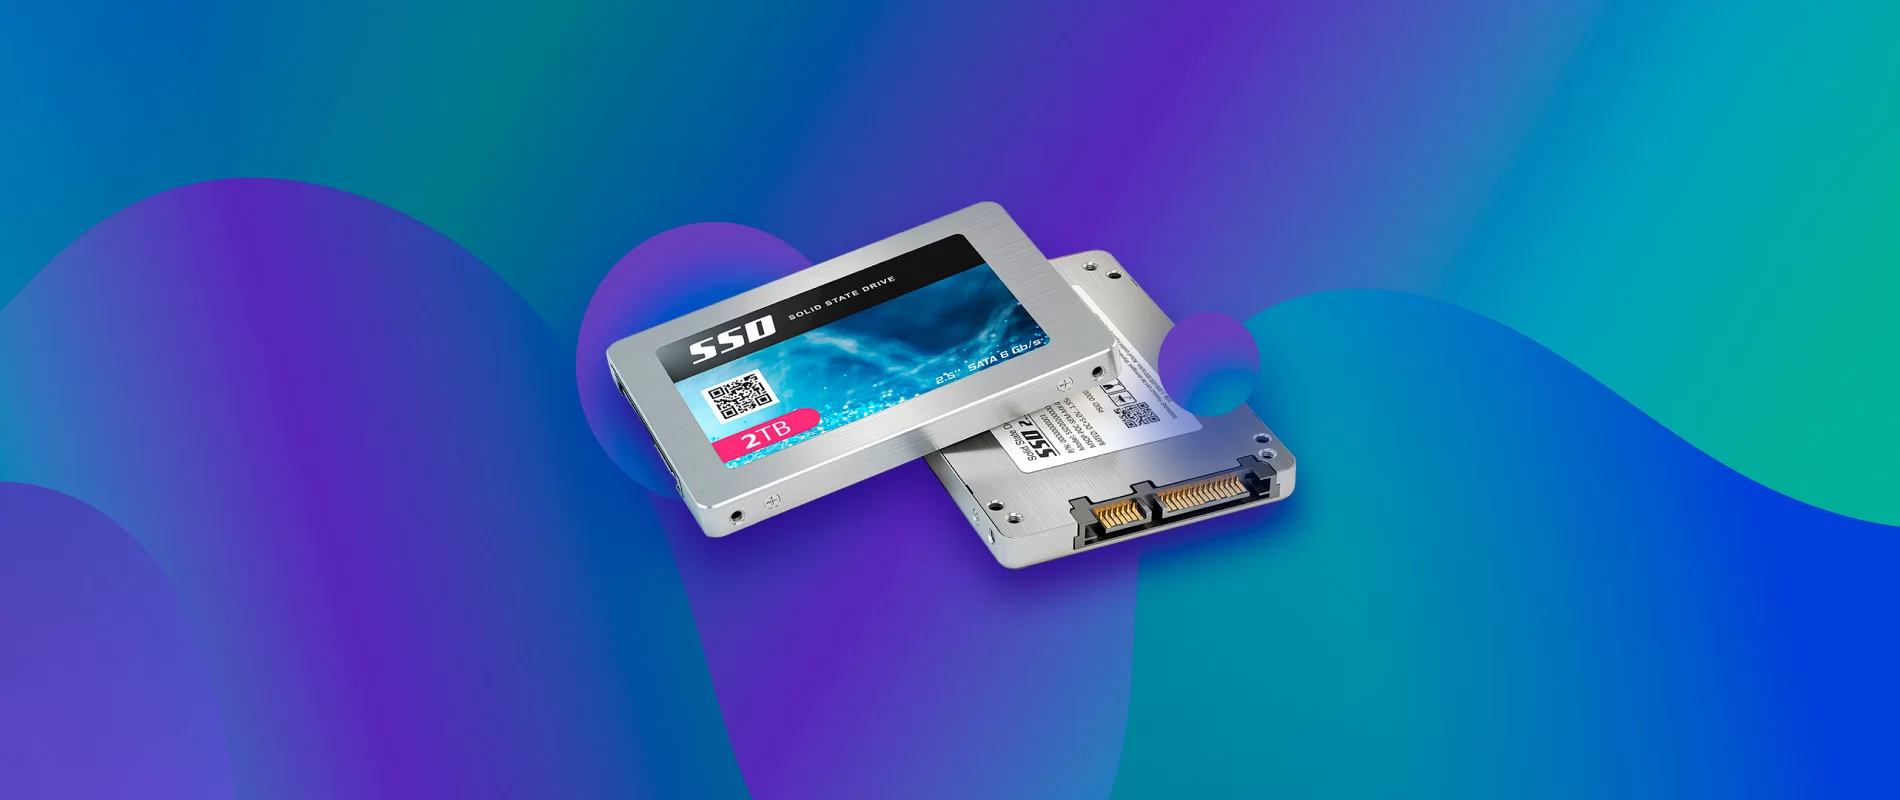
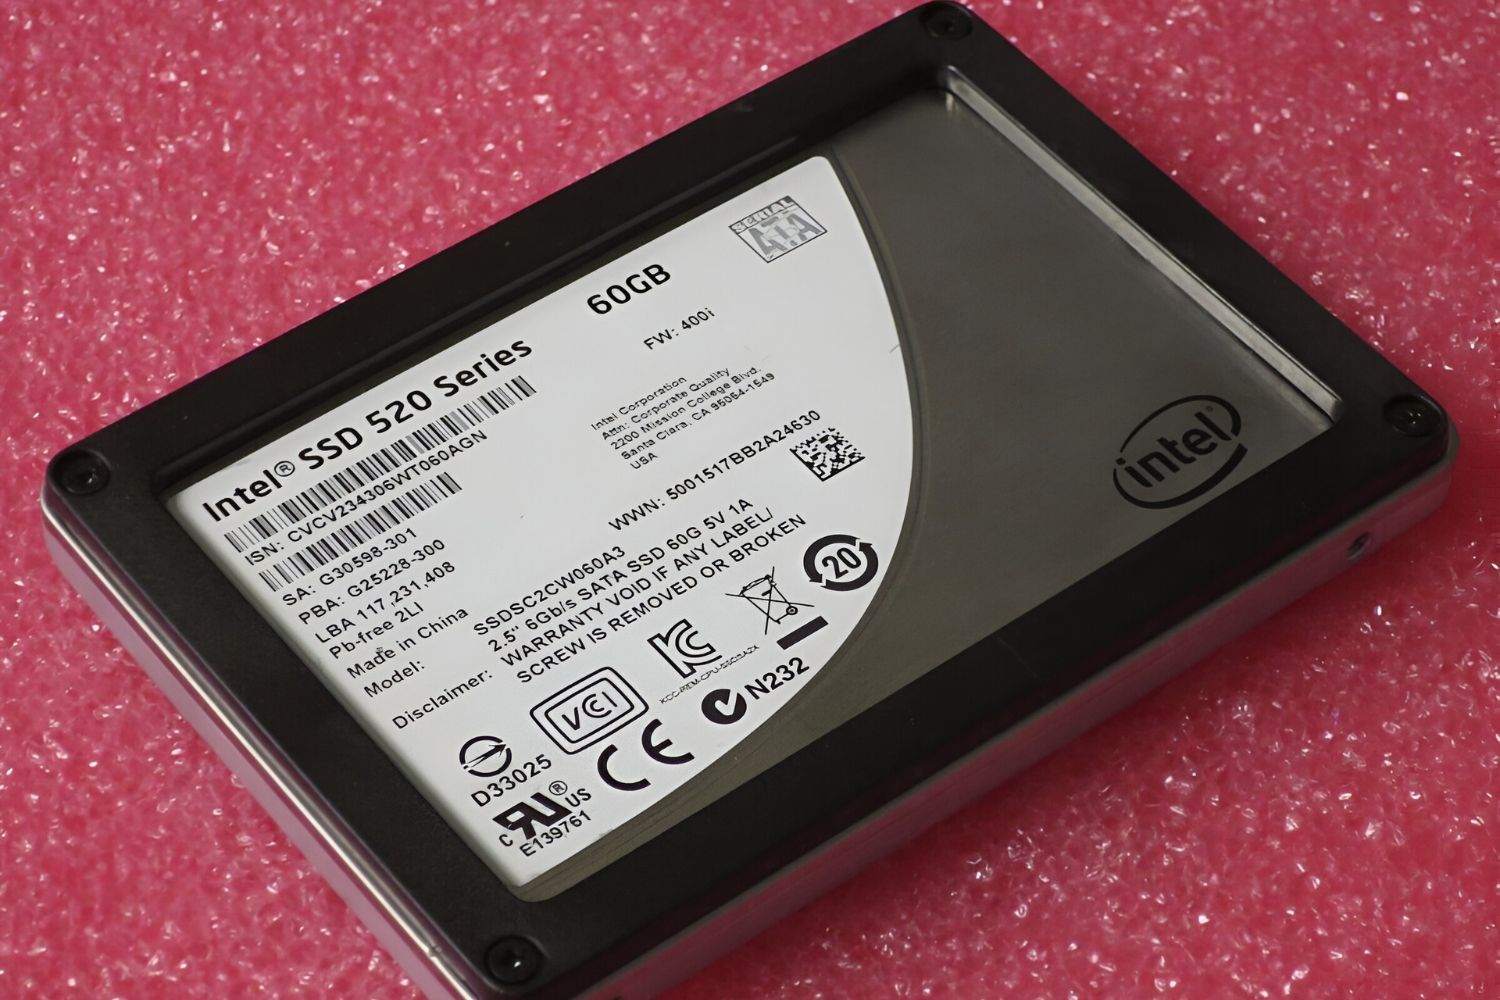
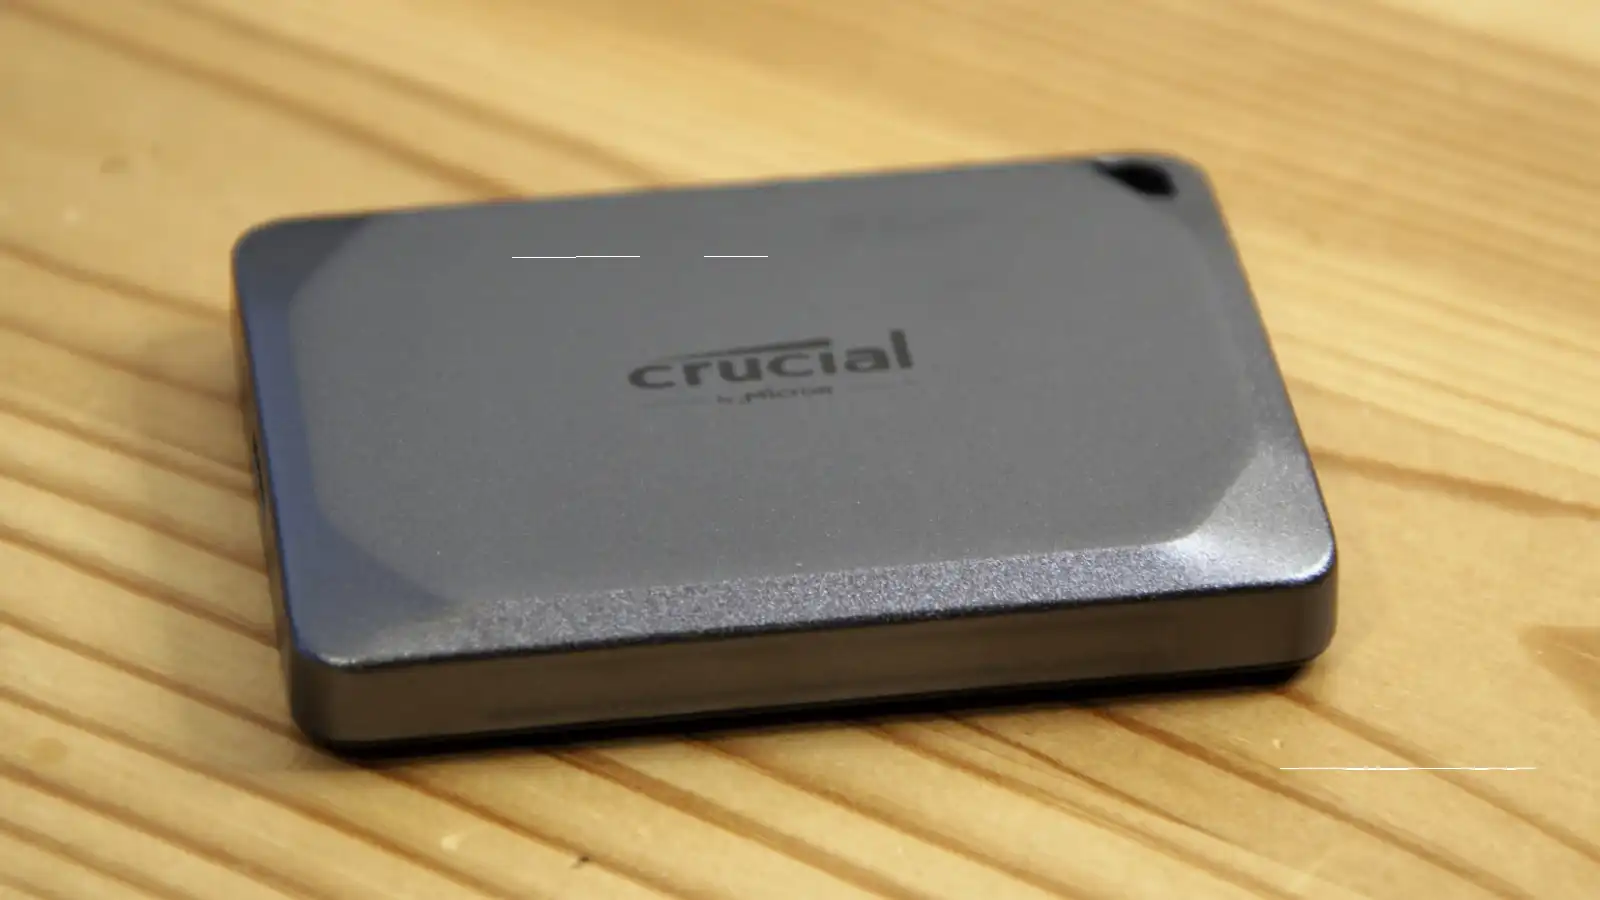
A solid state drive, or SSD, is a type of storage device that offers faster data access, improved performance, and increased durability compared to traditional hard disk drives. If you are using a Windows 7 operating system and you want to format your SSD, this article will guide you through the process.
Formatting your SSD can be necessary for various reasons, such as preparing it for a fresh installation of the operating system, erasing all data from the drive, or resolving issues with corrupted file systems. Regardless of the reason, it’s important to follow the correct steps to ensure that the formatting process is completed successfully and without any data loss.
In this article, we will provide you with a step-by-step guide on how to format a solid state drive on Windows 7. We will also discuss a few optional settings that you can choose during the formatting process to optimize your SSD’s performance. So, if you’re ready to get started, let’s dive in!
Step 1: Check if there is any important data on the drive
Before proceeding with the formatting process, it’s crucial to check if there is any important data on the solid state drive that you want to format. Formatting will erase all the data on the drive, so it’s essential to back up any necessary files or documents.
To check for important data, open File Explorer and navigate to the solid state drive. Take a look at the contents and determine if there are any files or folders that you need to keep. If there are, make sure to copy them to another location such as an external hard drive, a cloud storage service, or a different partition on your computer’s hard drive.
It’s always better to be safe than sorry when it comes to data loss. Even if you think you have already backed up everything, it’s worth doing a final check before proceeding with the formatting process. This way, you can have peace of mind knowing that your important files are safe and secure.
Step 2: Backup important data (if applicable)
Once you have identified any important data on the solid state drive, it’s time to backup those files to prevent any potential loss during the formatting process. While step 1 focused on checking for important data, this step emphasizes the necessity of creating a backup.
Creating a backup ensures that your valuable files are safely stored elsewhere, protecting them against accidental deletion or data corruption during the formatting process. It’s a simple yet crucial step that can prevent significant headaches and regrets down the line.
To backup your important data, you have several options. One of the most convenient methods is to copy the files to an external storage device, such as an external hard drive or a USB flash drive. Simply connect the external device to your computer, copy and paste or drag and drop the files from the solid state drive to the external device’s storage.
Alternatively, you can consider utilizing cloud storage services like Google Drive, Dropbox, or OneDrive. These services provide you with online storage where you can upload your files and access them from any device with an internet connection. This method offers the advantage of remote accessibility and additional backup protection against physical device failure or loss.
Before proceeding to the next step, double-check that your backup is complete and that all important files have been successfully copied or uploaded. Take a moment to verify the integrity of the backup by trying to access some of the files from the external storage device or cloud storage service.
With your important data securely backed up, you can move forward with peace of mind, knowing that your files are safe regardless of any unexpected issues that may arise during the formatting process.
Step 3: Open Disk Management
Once you have checked for important data and created a backup, the next step is to open Disk Management, the built-in utility in Windows 7 that allows you to manage your computer’s disks and partitions.
To open Disk Management, you can follow one of the two methods below:
- Method 1: Use the Start Menu
- Click on the “Start” button located at the bottom left corner of your screen.
- In the search bar, type “diskmgmt.msc” and press Enter.
- Windows will open Disk Management, displaying a list of all the disks and partitions on your computer.
- Method 2: Use the Run dialog
- Press the Windows key + R simultaneously to open the Run dialog.
- Type “diskmgmt.msc” in the Run dialog and press Enter.
- Windows will launch Disk Management, showing you the disk and partition information.
Once Disk Management is open, you will see a graphical representation of your computer’s disks, including your solid state drive. The graphical representation will show the drive’s capacity, the assigned drive letters, and other related information.
This step is essential as it allows you to access and manage your solid state drive, including the formatting process that you will undertake in the coming steps. Now that Disk Management is open and you can see your drive, you are ready to proceed to the next step.
Step 4: Locate the Solid State Drive (SSD)
Now that Disk Management is open, it’s time to locate your solid state drive (SSD) within the list of disks and partitions displayed in the utility. This step is crucial as it ensures you are selecting the correct drive for formatting.
Within the Disk Management interface, the solid state drive will be listed along with other drives and partitions connected to your computer. Look for a drive that matches the size and description of your SSD. It may be labeled as “Unallocated” or have a different status depending on its current state.
If you are unsure which drive is your SSD, you can identify it by its capacity or manufacturer. The capacity is usually displayed next to the drive’s description, and the manufacturer name may also be listed. Take your time and double-check to ensure you are selecting the correct drive for formatting.
It’s important to note that formatting the wrong drive can result in the loss of data on that drive. To avoid any accidental formatting of the wrong drive, exercise caution and make sure you are selecting the intended solid state drive for formatting.
Once you have located your solid state drive and confirmed that it is the correct one, you are ready to proceed to the next step of the formatting process. Remember to stay focused and attentive during this step to prevent any potential data loss on the wrong drive.
Step 5: Backup any necessary data (if applicable)
Before proceeding with the formatting process, it is crucial to backup any necessary data that is still present on the solid state drive (SSD). While step 4 focused on locating the correct drive, this step emphasizes the importance of backing up any remaining data.
If you have already completed the backup process in the earlier steps, you may skip this step if there are no new or additional files that need to be saved. However, if there are any recent changes or additions to the data on the SSD that you want to preserve, it is highly recommended to perform an additional backup.
Backing up your data ensures that you have a secure copy of all essential files and information before proceeding with the formatting process. This way, you can prevent any potential loss or accidental deletion of the data that may occur during the formatting process.
To backup any necessary data, you can use the same methods mentioned in step 2. External storage devices, such as external hard drives or USB flash drives, provide a convenient way to copy and store your files. Additionally, cloud storage services, like Google Drive or Dropbox, offer the advantage of storing your data online, providing remote access and extra protection against physical damage or loss.
Take the time to carefully review the contents of your SSD and identify any important files that need to be backed up. Once you have completed the backup process, verify the integrity of your backup by accessing some of the files from the external storage device or cloud storage service.
With your necessary data securely backed up, you can move forward with confidence, knowing that your important files are safely stored and protected throughout the formatting process.
Step 6: Right-click on the SSD and select Format
Now that you have located and backed up any necessary data, it is time to proceed with formatting the solid state drive (SSD). The next step involves right-clicking on the SSD and selecting the Format option from the context menu.
To perform this step, follow the instructions below:
- Go back to Disk Management and locate the solid state drive (SSD) that you want to format.
- Right-click on the SSD.
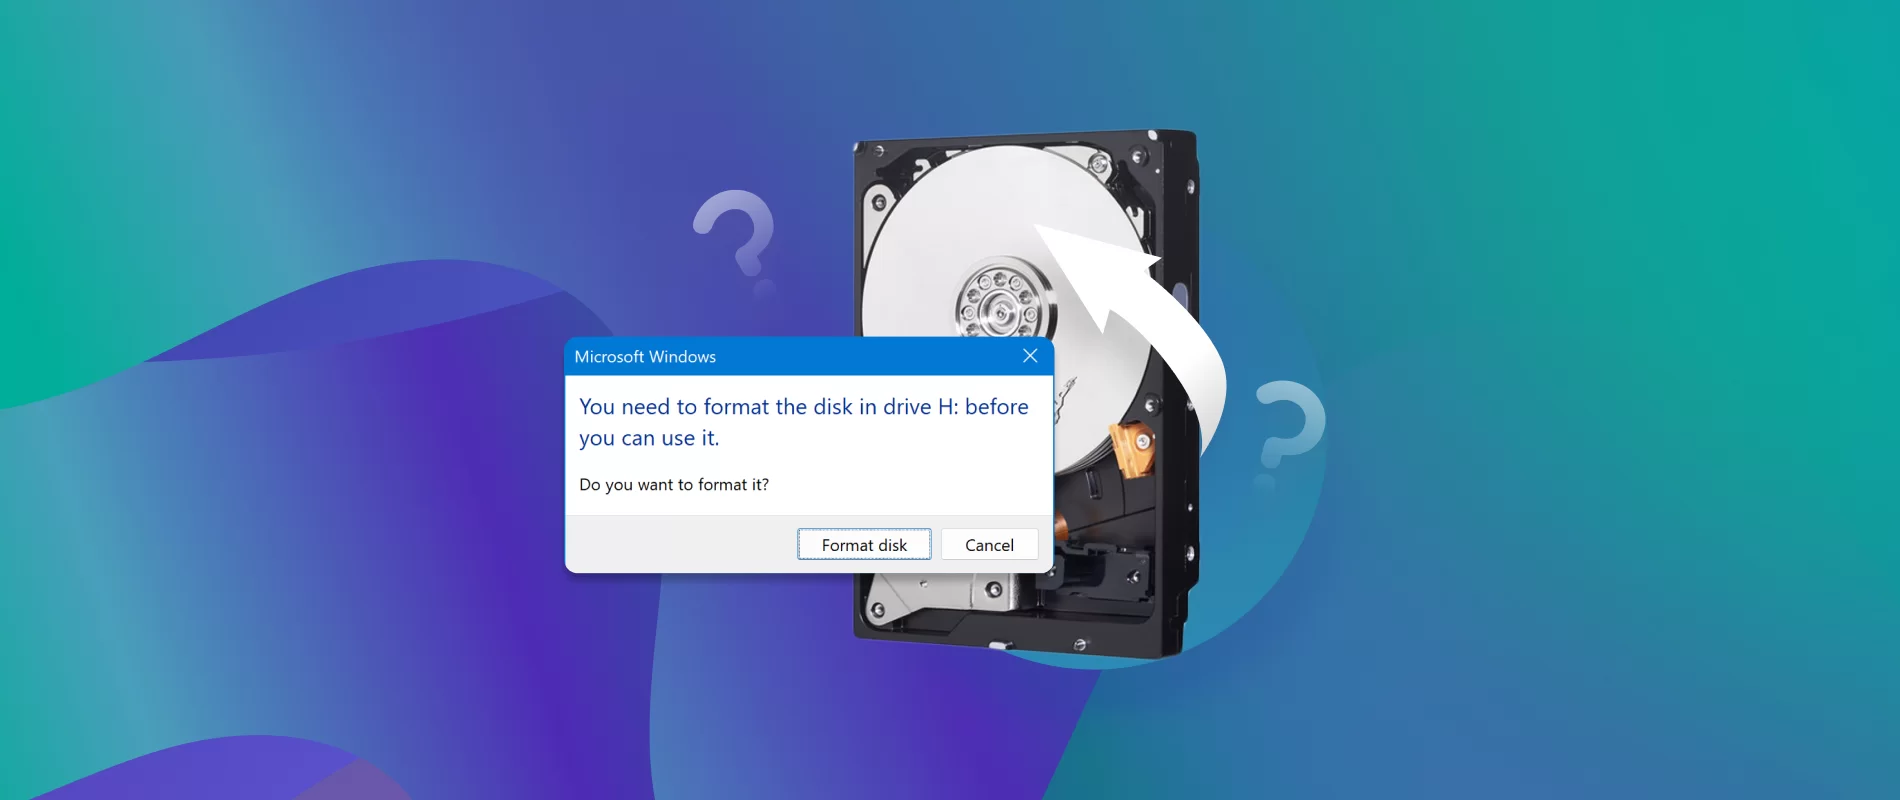
- A context menu will appear with various options. Select the option labeled “Format.” This action will open the Format dialog box.
Within the Format dialog box, you will find several settings and options that you can configure according to your requirements. These settings include the file system type, allocation unit size, and volume label. We will discuss these options in more detail in the following steps.
Before proceeding with the formatting process, make sure to double-check that you have selected the correct SSD for formatting. It is essential to verify this to avoid formatting the wrong drive and deleting any unintended data.
Once you have right-clicked on the SSD and selected the Format option, you are now ready to configure the formatting settings in the next steps. Stay focused and proceed with caution to ensure a successful and accurate formatting process.
Step 7: Choose the file system type
After right-clicking on the solid state drive (SSD) and selecting the Format option, you will be presented with the Format dialog box. In this step, you will choose the file system type for your SSD.
The file system is responsible for organizing and managing the data on the drive. Windows 7 supports multiple file system types, including NTFS and FAT32. The file system type you choose depends on the intended use of the SSD and the compatibility requirements with other devices.
Here’s how to choose the file system type:
- In the Format dialog box, you will see a dropdown menu labeled “File system.” Click on the dropdown menu to view the available file system options.
- Select the desired file system type from the list. The two most common options for Windows 7 are:
- NTFS (New Technology File System): This is the recommended file system for Windows 7. It offers advanced features, such as file-level security, journaling, and support for large file sizes and volumes.
- FAT32 (File Allocation Table 32): This file system is compatible with a wide range of devices and operating systems. However, it has limitations, such as a maximum file size of 4GB.
- Once you have selected the appropriate file system type, you can proceed to the next step.
It’s important to consider the compatibility of the chosen file system with other devices that you may need to connect the SSD to. If you are unsure, NTFS is a safe and widely supported option for Windows-based systems.
Remember to double-check your selection before proceeding to the next step. Once you have chosen the file system type, you are one step closer to completing the formatting process for your SSD.
Step 8: Assign a drive letter
After selecting the file system type for your solid state drive (SSD), the next step in the formatting process is to assign a drive letter. A drive letter is a unique identifier given to the SSD, allowing you to access it easily through File Explorer or other applications.
Here’s how to assign a drive letter:
- In the Format dialog box, you will see a dropdown menu labeled “Volume label.” Click on the dropdown menu to view the available options.
- Select the desired drive letter from the list. The available drive letters will vary depending on your system configuration and currently assigned letters.
- If you prefer, you can also enter a custom volume label for your SSD. This label will appear as the drive’s name in File Explorer and other file management tools.
- Once you have selected the drive letter and entered the volume label (if desired), you can proceed to the next step.
The drive letter you choose should be unique and not already assigned to another drive or partition on your computer. It is advisable to select a letter that is easy to remember and does not conflict with any existing drives.
Assigning a drive letter allows you to easily access your SSD and manage its contents. It’s a crucial step in the formatting process as it ensures smooth and seamless integration of the SSD into your system.
Take a moment to double-check your drive letter selection before moving on to the next step. Once you have successfully assigned a drive letter, you are ready to proceed with the formatting process for your SSD.
Step 9: Select the Allocation Unit Size
When formatting your solid state drive (SSD), you have the option to choose the allocation unit size. The allocation unit size determines the size of the clusters used to store data on the drive. The choice of allocation unit size affects the efficiency and performance of file storage.
To select the allocation unit size, follow these steps:
- In the Format dialog box, you will find a dropdown menu labeled “Allocation unit size.” Click on the dropdown menu to view the available options.
- Choose the desired allocation unit size from the list. Windows 7 offers preset options ranging from 512 bytes to 64 kilobytes.
- Consider the following factors when selecting the allocation unit size:
- Default: If you are unsure which allocation unit size to choose, it is recommended to stick with the default option. Windows will automatically select the most suitable allocation unit size based on the drive’s capacity.
- File size: If you frequently work with large files, such as videos or high-resolution images, opt for a larger allocation unit size. Larger file sizes will be stored more efficiently with a bigger cluster size.
- Storage efficiency: For smaller files or if you prefer to maximize the storage efficiency of your SSD, select a smaller allocation unit size. This reduces the wasted space for smaller files but may impact performance slightly.
- Once you have chosen the allocation unit size, you can proceed to the next step.
Choosing the appropriate allocation unit size is important to optimize the storage and performance of your SSD. Consider the nature of your files and the intended usage of the drive. If in doubt, the default option is a safe choice for most situations.
Ensure that you have made your selection correctly before proceeding to the next step. Selecting the correct allocation unit size will contribute to the efficient utilization of your SSD’s storage space and improve overall performance.
Step 10: Perform Quick Format (optional)
Once you have selected the allocation unit size for your solid state drive (SSD), you have the option to perform a quick format. The quick format option allows you to initiate a faster formatting process by skipping the complete scan and verification of the disk.
Before proceeding with the quick format, it’s essential to understand the implications:
- Quick Format: A quick format quickly initializes the disk and removes the file system structure, but does not thoroughly scan the entire drive for bad sectors or perform in-depth verification.
- Full Format: A full format performs a complete scan of the disk, checks for bad sectors, and performs in-depth verification. This option takes longer but provides a higher level of confidence in the integrity of the disk.
If you are confident that the SSD is in good condition and there are no indications of any disk issues, you can choose to perform a quick format. Here’s how:
- In the Format dialog box, ensure that the “Quick Format” checkbox is selected.
- If you prefer a more comprehensive format and want to perform a full scan and verification, uncheck the “Quick Format” checkbox.
- Double-check your selection and ensure that you have made the appropriate choice based on your requirements and available time.
- Once you are ready, click the “Start” button to begin the formatting process.
It’s important to note that a quick format does not completely erase the data on the drive. If data privacy is a concern, or if you are formatting the drive for security purposes, a full format or disk wiping tools may be more suitable.
Take a moment to consider your options and select the appropriate format type based on your needs. Once you have made your selection, proceed to the next step to initiate the formatting process for your SSD.
Step 11: Perform a Full Format (optional)
In addition to the quick format option, you have the choice to perform a full format for your solid state drive (SSD). Unlike the quick format, a full format performs a thorough scan of the entire disk, checks for bad sectors, and performs in-depth verification. This option provides a higher level of confidence in the integrity of the drive.
Before proceeding with a full format, it’s essential to consider the implications:
- Data Erasure: A full format will erase all data on the SSD. Make sure you have backed up any necessary files before proceeding.
- Timeframe: A full format takes longer to complete compared to a quick format, especially for larger capacity drives. Ensure you have enough time available to complete the process.
- Drive Integrity: A full format performs a thorough scan and verification, helping identify and isolate any potential disk issues or bad sectors.
If you want a more comprehensive formatting process and want to ensure the utmost reliability of your drive, you can opt for a full format. Here’s how:
- In the Format dialog box, uncheck the “Quick Format” checkbox, ensuring that it remains unchecked.
- Double-check your decision and ensure that you have backed up any necessary data because a full format will erase all existing information on the drive.
- Once you are ready to proceed with the full format, click the “Start” button to initiate the process.
Please note that a full format may take a considerable amount of time, especially for larger capacity drives. It’s important to exercise patience during the process and avoid interrupting it to ensure the formatting is completed successfully.
Consider your requirements and the time available before selecting the full format option. Once you have made your decision, proceed with caution and let the formatting process complete before moving forward.
Conclusion
Formatting a solid state drive (SSD) on Windows 7 is a straightforward process that involves several key steps. By following these steps, you can successfully format your SSD and optimize its performance for your specific needs.
Throughout the formatting process, it’s important to take precautions to avoid data loss. Checking for important data on the drive, backing up necessary files, and double-checking your selections are crucial steps to ensure the safety of your data.
Opening Disk Management, locating the SSD, and right-clicking to access the formatting options are initial steps in the process. Choosing the appropriate file system type, assigning a drive letter, and selecting the allocation unit size are important decisions that impact storage efficiency and compatibility.
Additionally, the choice between a quick format and a full format provides flexibility based on your requirements for time and verification. If you need a faster process, a quick format can be suitable. However, a full format provides a more comprehensive scan and verification for enhanced integrity.
Remember to exercise caution, double-check your selections, and be patient during the formatting process. Following these steps will provide you with a properly formatted SSD ready to use in your Windows 7 system.
By understanding the formatting process and being mindful of data backup, file system choices, and formatting options, you can ensure the successful formatting of your solid state drive. Enjoy the enhanced performance and efficiency that a formatted SSD brings to your Windows 7 experience!


