Introduction
Welcome to our guide on how to fix blurriness on your BenQ gaming monitor. Whether you’re a casual gamer or a professional esports player, having a sharp and clear display is essential for an immersive gaming experience. Blurriness on your monitor can be frustrating and can negatively impact your gaming performance. In this article, we will provide you with a step-by-step guide on how to address this issue and get your monitor back to its optimal performance.
Before we delve into the solutions, it’s important to understand the common causes of blurry displays. Blurriness can be attributed to various factors, such as improper display settings, outdated graphics drivers, connectivity issues, or even a faulty monitor. By identifying the root cause, you’ll be able to apply the appropriate fix and enjoy crisp visuals while gaming.
If you’re experiencing blurriness on your BenQ gaming monitor, don’t worry. In the following sections, we will walk you through a series of troubleshooting steps to help you resolve this issue. Whether it’s a simple adjustment of the display settings or a more comprehensive update of drivers, we’ve got you covered.
Please note that the solutions provided in this guide are specifically tailored for BenQ gaming monitors. While some general troubleshooting methods may apply to other monitor brands as well, it’s always recommended to refer to your monitor’s manual for brand-specific instructions.
Now, without further ado, let’s jump into the troubleshooting steps and fix that blurriness on your BenQ gaming monitor!
Check the Connection
First and foremost, it’s important to ensure that the connection between your computer and your BenQ gaming monitor is secure. A loose or faulty connection can result in a blurry display. Follow these steps to check the connection:
- Inspect the cables: Make sure that the cables connecting your computer to your monitor are securely plugged in. Ensure that there are no frayed or damaged cables.
- Swap the cables: If possible, try using different cables to connect your monitor to your computer. Sometimes, the issue may lie with a faulty cable, and swapping it out can resolve the blurriness problem.
- Check the port compatibility: Ensure that the cable you are using is compatible with the ports on both your monitor and your computer. For example, if your monitor supports HDMI, make sure you are using an HDMI cable.
- Test a different port: If you have multiple ports available on your monitor, try connecting your computer to a different port. This can help identify if the problem is specific to one port.
- Inspect the video card: If you have a dedicated graphics card, check that it is properly seated in the PCIe slot. A loose graphics card can cause display issues, including blurriness.
By thoroughly checking and ensuring a proper connection between your computer and your BenQ gaming monitor, you can eliminate any potential connectivity issues that may be causing the blurriness. If the problem persists, then it’s time to move on to the next troubleshooting step.
Change Display Settings
Adjusting the display settings on your BenQ gaming monitor can significantly improve image clarity and reduce blurriness. Follow these steps to change the display settings:
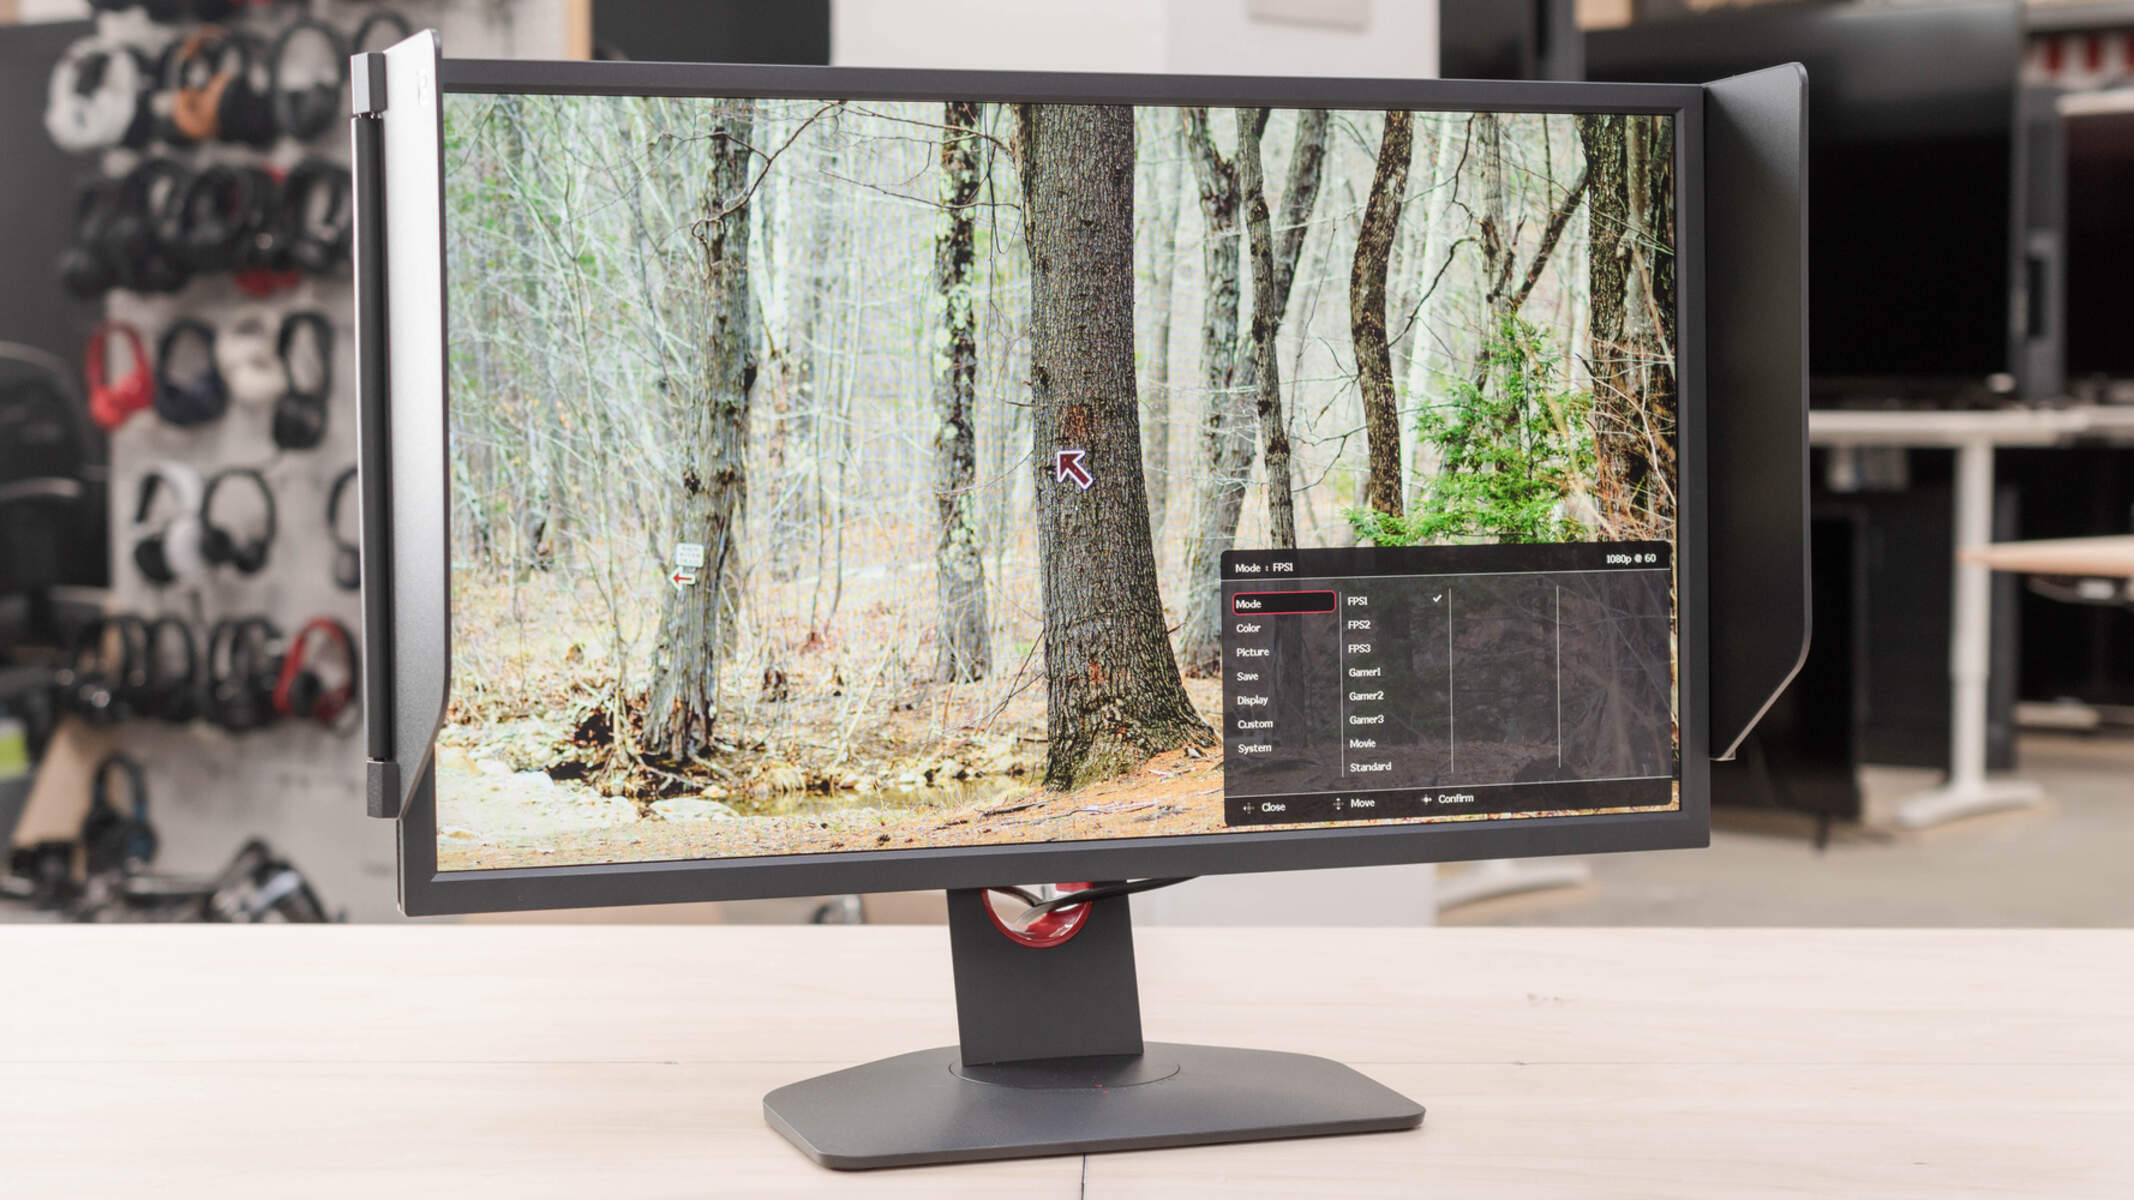
- Access the OSD menu: On your BenQ gaming monitor, locate the on-screen display (OSD) menu button. It’s usually labeled as “Menu” or represented by an icon. Press the button to access the OSD menu.
- Navigate to the display settings: Using the navigation buttons on your monitor, scroll through the OSD menu and locate the display settings option. It may be labeled as “Display” or “Picture”.
- Adjust the sharpness: Once you’ve accessed the display settings, look for the option to adjust the sharpness. Increase the sharpness level gradually to enhance the clarity of the images. However, be cautious not to over-sharpen, as it can lead to artificial artifacts.
- Check the resolution: Ensure that your monitor is set to its native resolution. Setting a lower resolution can result in a blurry display. To adjust the resolution, navigate to the display settings in your computer’s operating system and select the recommended resolution for your monitor.
- Enable gaming mode: Some BenQ gaming monitors feature a dedicated gaming mode that optimizes display settings for gaming. Check if your monitor has this feature and enable it. Gaming mode can enhance image clarity and reduce input lag, resulting in a smoother gaming experience.
- Color temperature settings: Experiment with different color temperature settings to find the one that suits your preferences. You can choose between presets such as Warm, Cool, or Standard, or manually adjust the red, green, and blue values to achieve your desired color balance.
After making the necessary adjustments to the display settings, check if the blurriness has improved. If not, continue to the next troubleshooting step.
Adjust Monitor Refresh Rate
The refresh rate of your BenQ gaming monitor refers to the number of times it refreshes the image on the screen per second. A higher refresh rate can result in a smoother and less blurry display. To adjust the refresh rate, follow these steps:
- Access the display settings: Press the OSD menu button on your BenQ gaming monitor to access the on-screen display menu.
- Navigate to the refresh rate settings: Using the monitor’s navigation buttons, locate the display settings option in the OSD menu and access it.
- Choose the desired refresh rate: Look for the refresh rate setting and choose a higher value if available. Common refresh rates include 60Hz, 75Hz, 120Hz, or even 144Hz, depending on your monitor’s capabilities.
- Apply the changes: Once you have selected the desired refresh rate, save the changes and exit the OSD menu.
After adjusting the refresh rate, observe if the blurriness has improved. Higher refresh rates are particularly beneficial for fast-paced gaming, as they can help reduce motion blur and provide a smoother gaming experience.
It’s important to note that the availability of higher refresh rates may depend on your graphics card and the type of connection you are using. Ensure that your graphics card and cable support the selected refresh rate. If your monitor does not support higher refresh rates, you may need to consider upgrading to a model that offers a higher refresh rate for a clearer gaming experience.
If adjusting the refresh rate does not resolve the blurriness issue, proceed to the next troubleshooting step.
Update Graphics Drivers
Outdated graphics drivers can often lead to display issues, including blurriness on your BenQ gaming monitor. Updating your graphics drivers to the latest version can potentially resolve this problem. Follow these steps to update your graphics drivers:
- Identify your graphics card: Determine the make and model of your graphics card. You can usually find this information in the device manager or by using a system information tool.
- Visit the manufacturer’s website: Visit the website of your graphics card manufacturer, such as NVIDIA, AMD, or Intel.
- Find the driver download section: Locate the section on the website where you can download the latest driver software for your graphics card.
- Search for the appropriate driver: Enter the details of your graphics card, such as the make and model, into the search bar or select it from the dropdown menus provided.
- Download and install the driver: Once you have found the correct driver for your graphics card, download it and follow the installation instructions provided by the manufacturer.
- Restart your computer: After the driver installation is complete, restart your computer to apply the changes.
Updating your graphics drivers ensures that your computer can communicate effectively with your BenQ gaming monitor, improving compatibility and reducing display issues such as blurriness. If there are no driver updates available or updating the drivers does not resolve the problem, proceed to the next troubleshooting step.
Disable Power Saving Modes
Power saving modes on your BenQ gaming monitor can sometimes interfere with the display performance and lead to blurriness. Disabling power saving modes can help ensure a consistent and clear display. Follow these steps to disable power saving modes:
- Access the OSD menu: Press the OSD menu button on your BenQ gaming monitor to access the on-screen display menu.
- Navigate to power saving settings: Use the navigation buttons on your monitor to locate the power saving settings in the OSD menu.
- Disable power saving mode: Look for options such as “Eco mode” or “Power saving mode” and turn them off. You may also find options related to sleep timers or screen-dimming features; ensure that these settings are disabled as well.
- Save changes and exit: Once you have disabled the power saving modes, save the changes and exit the OSD menu.
Disabling power saving modes ensures that your BenQ gaming monitor operates at its full potential without compromising display quality. By keeping these modes off, you can mitigate any blurriness caused by overly aggressive power-saving features.
If disabling power saving modes does not resolve the blurriness issue, continue to the next troubleshooting step.
Calibrate Color Settings
Incorrect color settings on your BenQ gaming monitor can contribute to a blurry and less vibrant display. Calibrating the color settings can help improve the overall image quality. Follow these steps to calibrate the color settings:
- Access the OSD menu: Press the OSD menu button on your BenQ gaming monitor to access the on-screen display menu.
- Navigate to the color settings: Using the navigation buttons on your monitor, locate the color settings option in the OSD menu.
- Adjust the brightness and contrast: Begin by adjusting the brightness and contrast settings to achieve a balanced image. Increase the brightness if the image appears too dark, or decrease it if the image appears washed out. Similarly, adjust the contrast to enhance the color depth and sharpness.
- Color temperature settings: Experiment with different color temperature settings to find the one that suits your preferences. You can choose between presets such as Warm, Cool, or Standard, or manually adjust the red, green, and blue values to achieve your desired color balance.
- Gamma settings: Gamma refers to the overall brightness and contrast of an image. You can adjust the gamma settings to fine-tune the details in darker or brighter areas of the display.
By calibrating the color settings, you can ensure that the colors are accurate and vibrant, resulting in a sharper and more enjoyable gaming experience. If calibrating the color settings does not improve the blurriness, proceed to the next troubleshooting step.
Use a Different Cable
The cable you use to connect your computer to your BenQ gaming monitor plays a significant role in the quality of the displayed image. Using a faulty or incompatible cable can result in blurriness and other display issues. To determine if the cable is the culprit, follow these steps:
- Inspect the current cable: Check for any visible signs of damage or wear on the cable. Look for frayed wires, bent connectors, or loose connections. If you notice any issues, it’s best to replace the cable.
- Try a different cable: If you have access to another cable, such as an HDMI or DisplayPort cable, try connecting your monitor to your computer using the different cable. This will help determine if the blurriness is related to the original cable.
- Ensure compatibility: Make sure that the cable you are using is compatible with both your computer’s graphics card and your BenQ gaming monitor. Refer to the specifications provided by the manufacturer to ensure a proper match.
- Test different ports: If your monitor has multiple input ports (e.g., HDMI, DisplayPort), try using a different port to eliminate the possibility of a faulty port causing the blurriness.
Using a different cable can often resolve blurriness issues by ensuring a stable and high-quality connection between your computer and your BenQ gaming monitor. If using a different cable does not improve the display, continue to the next troubleshooting step.
Reset Monitor Settings
If you’ve tried various troubleshooting steps and the blurriness issue persists on your BenQ gaming monitor, resetting the monitor settings to their default values may help. Follow these steps to reset the monitor settings:
- Access the OSD menu: Press the OSD menu button on your BenQ gaming monitor to access the on-screen display menu.
- Locate the reset option: Look for a “Reset” or “Factory Reset” option within the OSD menu. This option will reset all the settings on your monitor back to their original default values.
- Select the reset option: Use the navigation buttons on your monitor to select the reset option.
- Confirm the reset: Once you have selected the reset option, you will typically be prompted to confirm the action. Press the appropriate button to confirm and proceed with the reset.
- Wait for the reset to complete: The monitor will go through the reset process, which may take a few moments. Do not turn off or unplug the monitor during this time.
By resetting the monitor settings, you are essentially starting fresh and eliminating any potential software or configuration issues that may be causing the blurriness. After the reset, check if the blurriness problem has been resolved. If not, it might be necessary to consider the next troubleshooting step.
Replace Monitor if Necessary
If you have exhausted all troubleshooting steps and the blurriness issue on your BenQ gaming monitor persists, it may be time to consider replacing the monitor. While this is the last resort, it is important to acknowledge that some issues may be hardware-related and cannot be fixed with software adjustments. Here are some considerations when replacing your monitor:
- Warranty: Check if your monitor is still covered under warranty. If it is, contact BenQ or the retailer from which you purchased the monitor to inquire about a replacement. Warranty coverage can vary, so be sure to review the terms and conditions.
- Budget: Determine your budget for a new gaming monitor. Consider the features and specifications you require for your gaming needs, such as refresh rate, resolution, response time, and connectivity options.
- Research: Conduct thorough research on different gaming monitor models, comparing reviews, specifications, and prices. Look for models that have positive feedback regarding image quality and clarity.
- Compatibility: Ensure that the replacement monitor is compatible with your computer’s graphics card and supports your desired display settings.
- Consider professional assistance: If you are unsure about the issue or need assistance in selecting a suitable replacement, consult a professional or reach out to BenQ’s customer support for guidance.
Replacing your BenQ gaming monitor should only be considered if all other troubleshooting steps have been exhausted, and the blurriness issue remains unresolved. While it may require an investment, a new monitor can enhance your gaming experience, providing you with a crisp and clear display.
Remember to properly dispose of your old monitor according to local regulations or consider recycling options to minimize environmental impact. With a new monitor in place, you can enjoy your gaming sessions without the frustration of blurriness.
Conclusion
Dealing with blurriness on your BenQ gaming monitor can be a frustrating experience, but with the troubleshooting steps outlined in this guide, you should be well-equipped to address this issue. By checking the connection, adjusting display settings, updating graphics drivers, disabling power saving modes, calibrating color settings, trying different cables, resetting monitor settings, and considering a replacement if necessary, you have explored various avenues to resolve the blurriness problem.
Remember to approach each troubleshooting step systematically, following the instructions specific to your BenQ gaming monitor model and considering any brand-specific guidance provided. It’s important to be patient and go through each step carefully, as sometimes a simple adjustment or update can make a significant difference in the display quality.
If the blurriness issue persists even after following all the troubleshooting steps, it might be advisable to consult with a professional technician or reach out to BenQ’s customer support for further assistance. They will be able to provide specific guidance and suggest any additional measures to address the problem.
Ultimately, the goal is to ensure that you have a clear and crisp display on your BenQ gaming monitor, enhancing your gaming experience and allowing you to fully immerse yourself in the virtual world. By implementing the suggested solutions and, if needed, considering a replacement, you’ll be on your way to enjoying sharp, vibrant visuals while gaming.


