Introduction
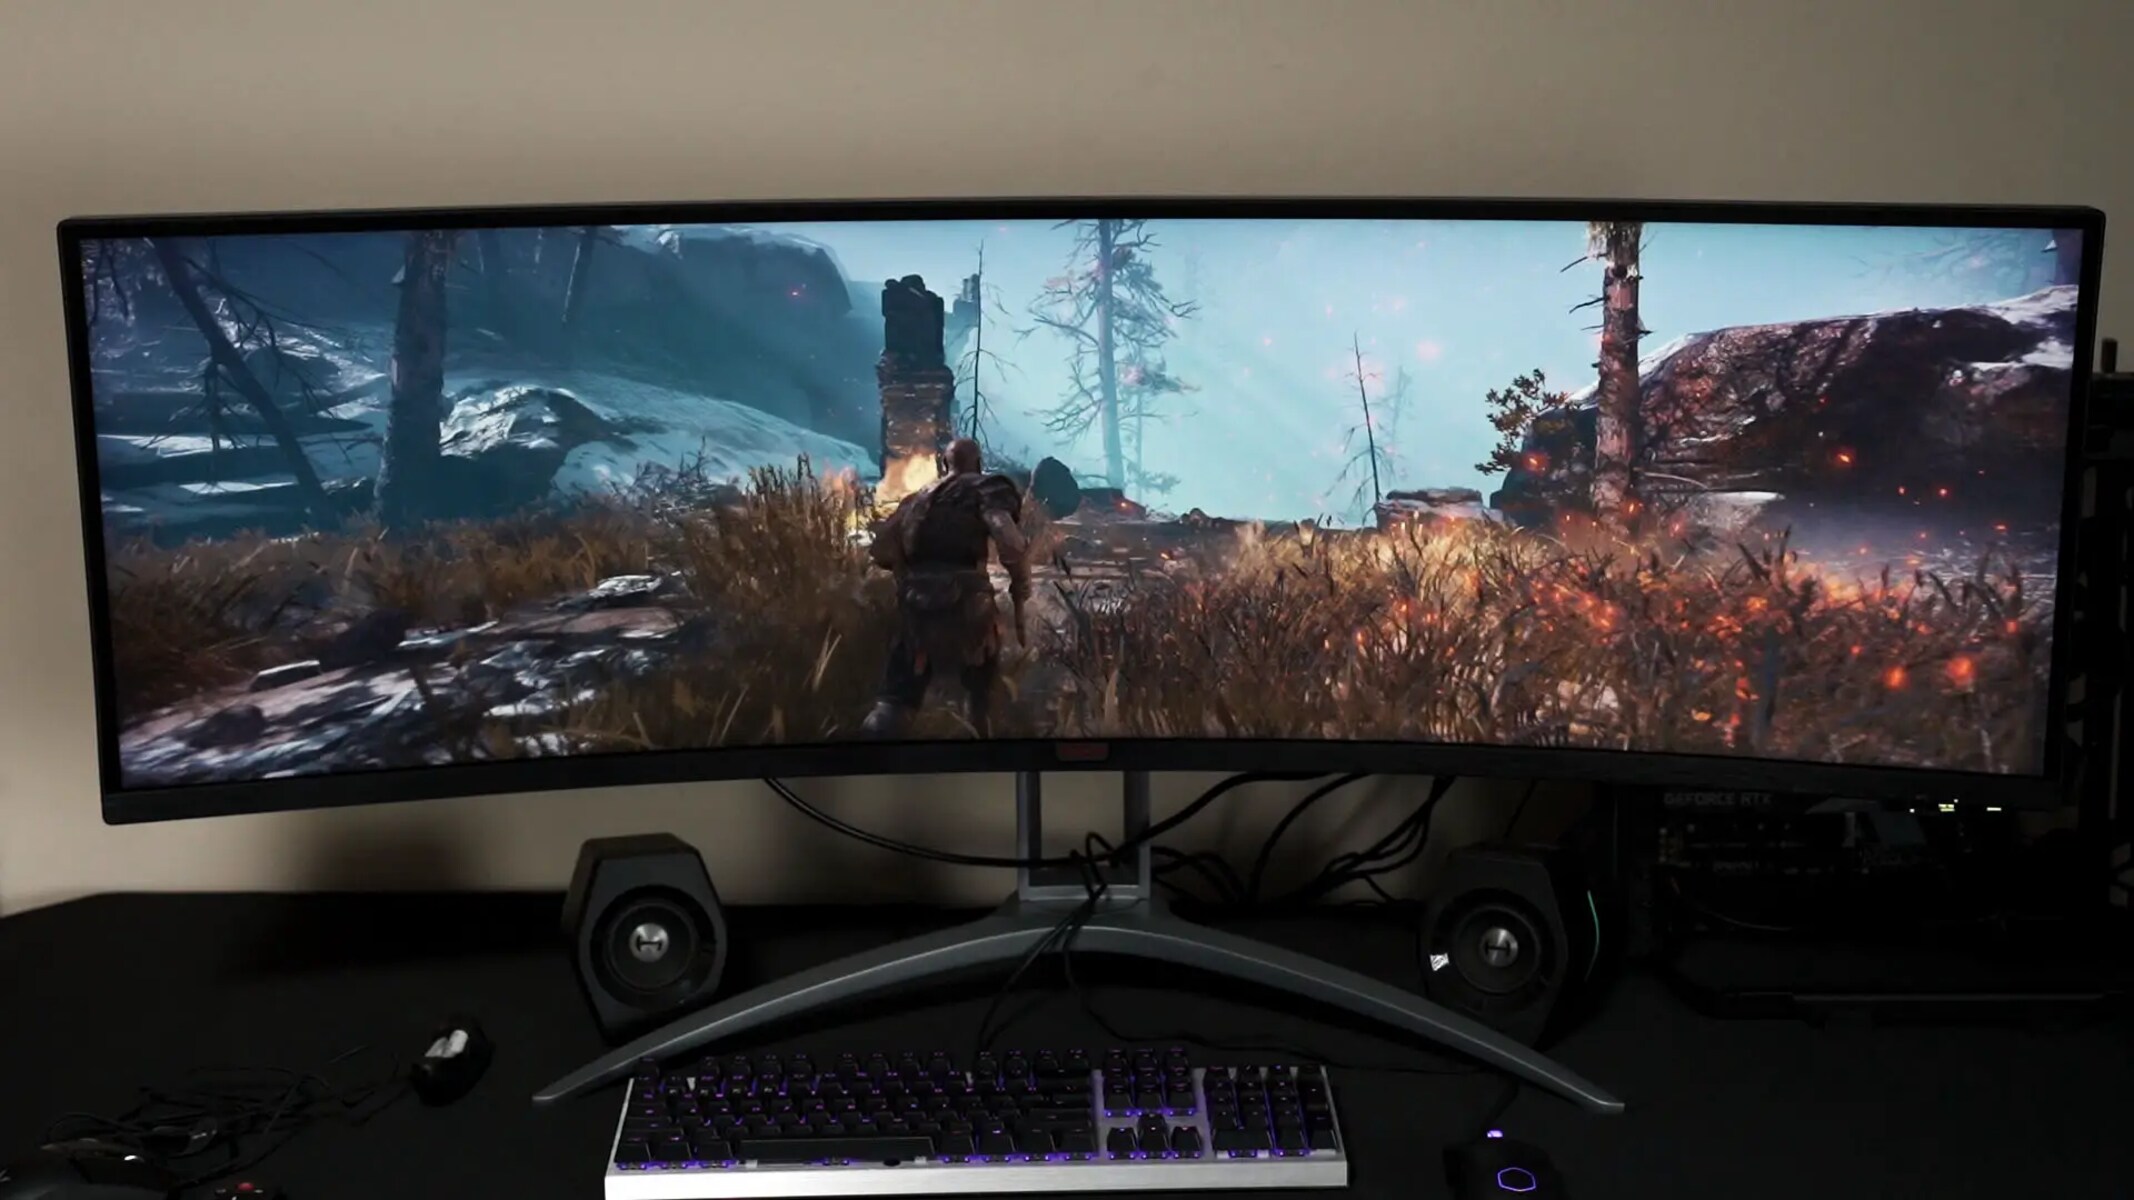
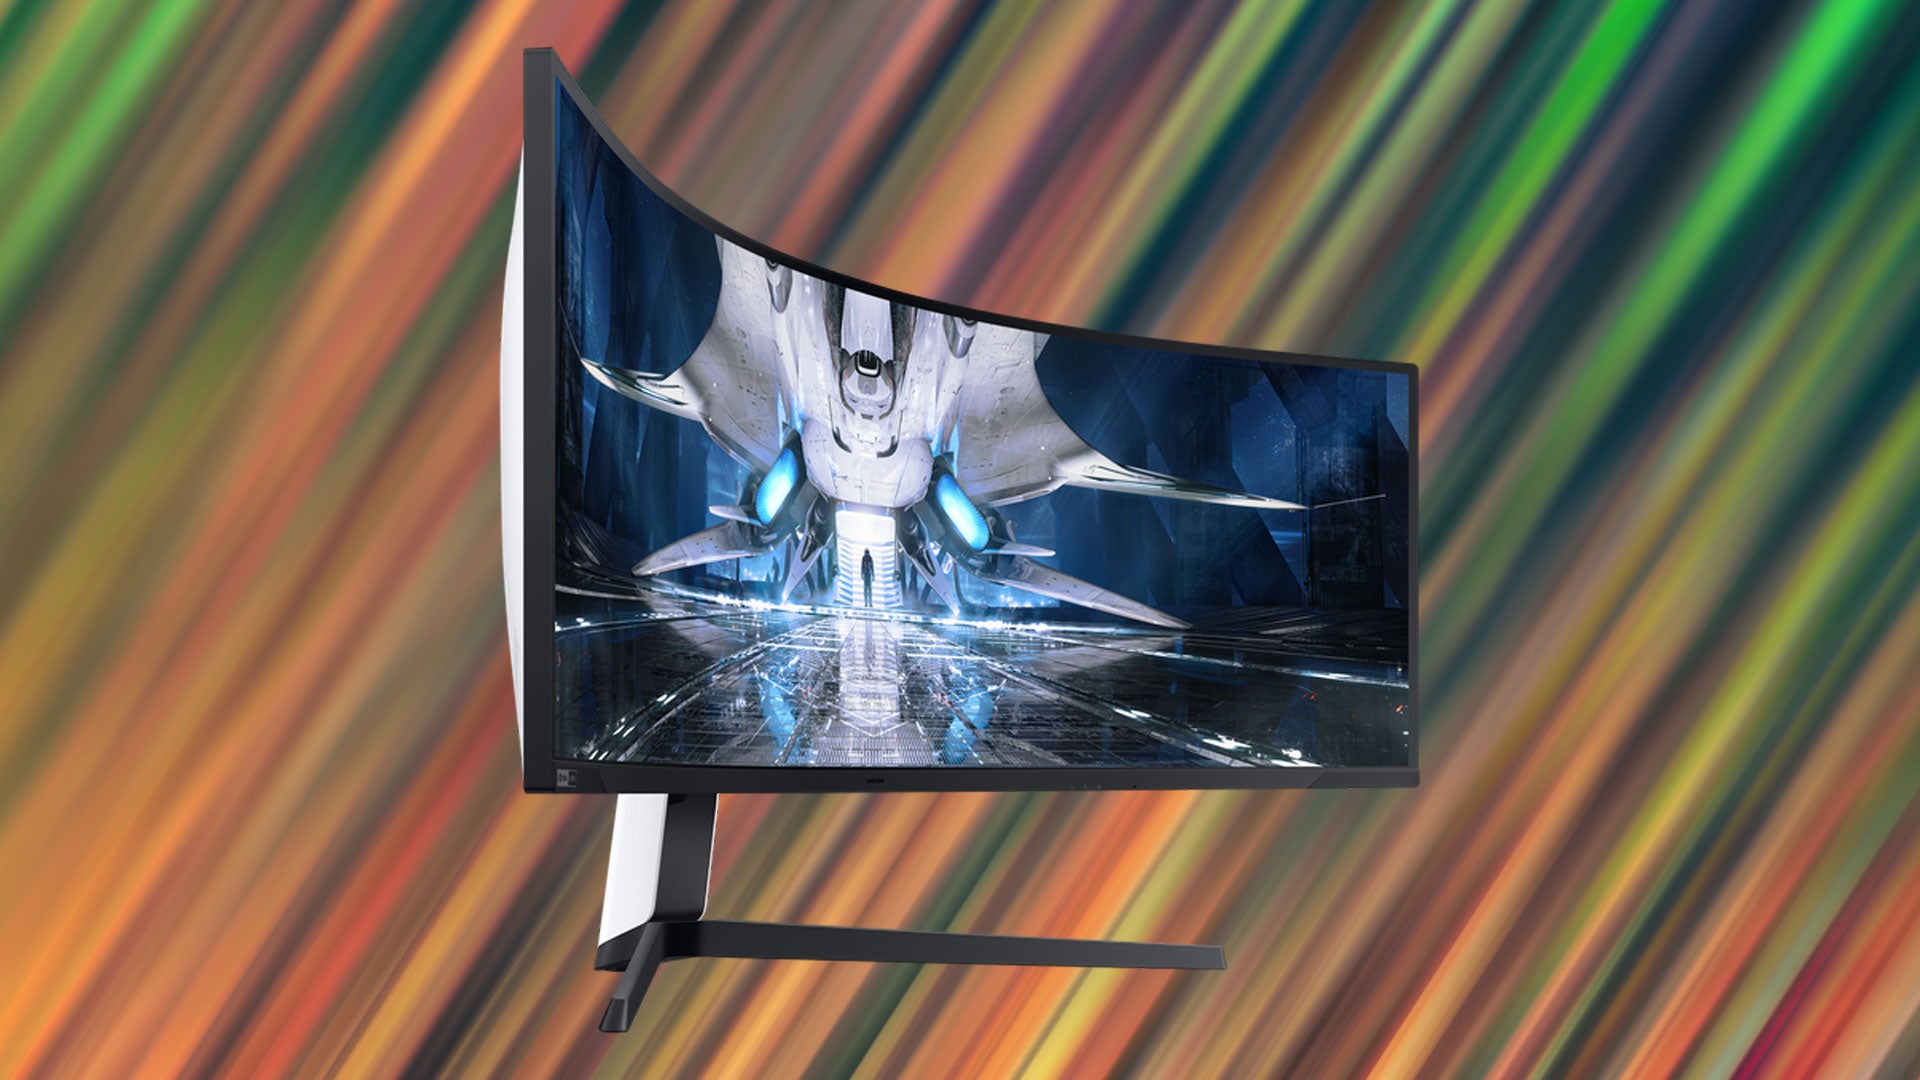
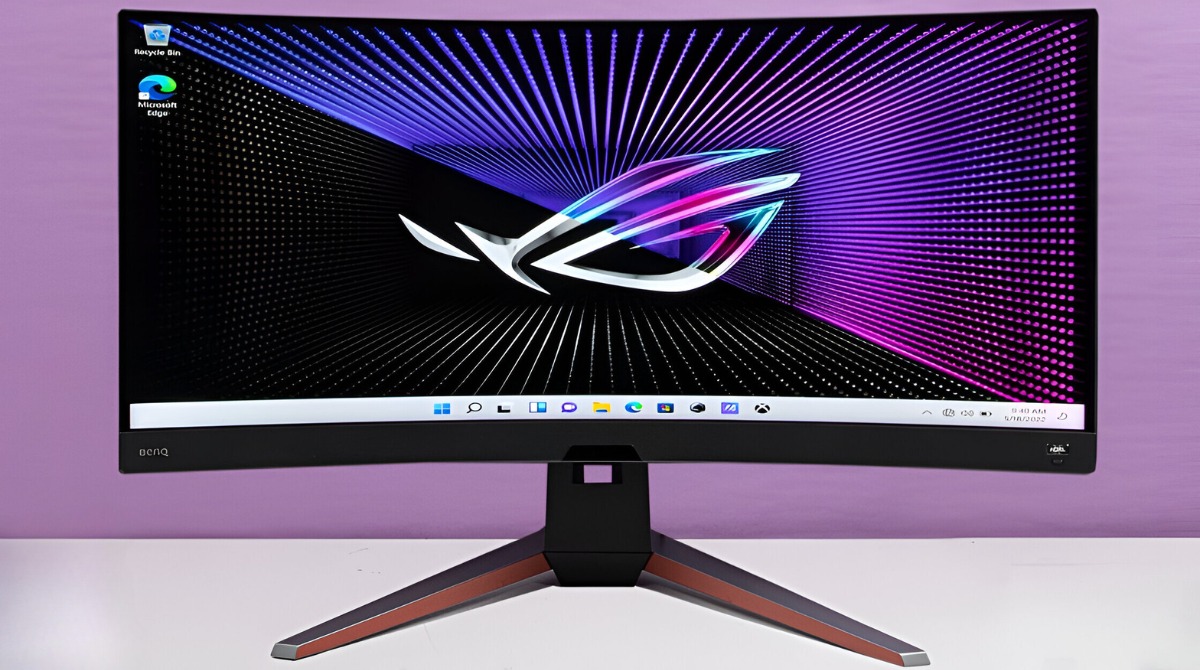
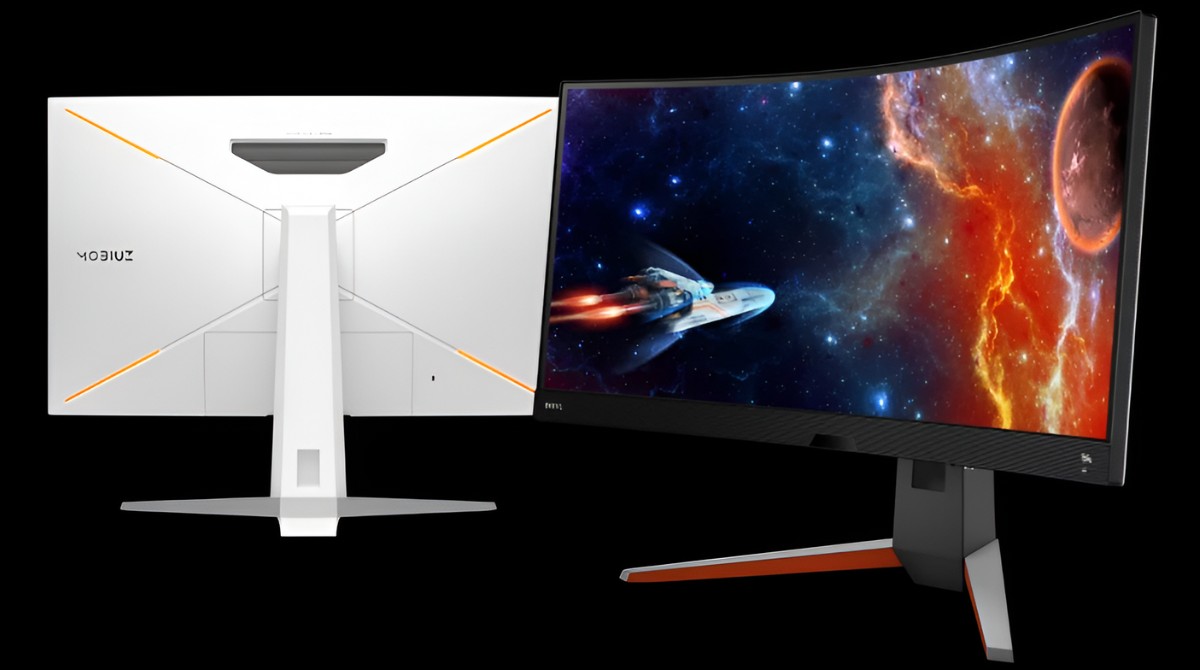
Welcome to the world of gaming with the BenQ XR Curved Gaming Monitor. Whether you’re a casual gamer or a hardcore enthusiast, this monitor is designed to elevate your gaming experience to new heights. With its stunning curved display and advanced features, you’ll be immersed in breathtaking visuals and crystal-clear audio.
But before you can fully enjoy all the amazing features this monitor has to offer, you need to know where to find the settings. In this article, we will guide you through the various settings of the BenQ XR Curved Gaming Monitor, helping you optimize your gameplay and customize your viewing experience.
From adjusting display settings to fine-tuning brightness and contrast, and from customizing color settings to optimizing audio and configuring eye-care features, we’ll cover everything you need to know to get the most out of your gaming monitor.
So, let’s dive in and explore the world of settings on the BenQ XR Curved Gaming Monitor. Whether you’re looking to enhance your gaming visuals, reduce motion blur, or simply find the perfect picture mode, we’ve got you covered. Let’s get started!
Adjusting Display Settings
One of the first things you’ll want to do when setting up your BenQ XR Curved Gaming Monitor is to adjust the display settings to suit your preferences. Luckily, this monitor offers a wide range of options to customize your viewing experience.
To access the display settings, press the menu button on the monitor’s control panel. Use the navigation buttons to scroll through the menu and locate the “Display” or “Picture” settings. Here, you can adjust various aspects of the display, such as brightness, contrast, sharpness, and gamma.
When adjusting the brightness, aim for a level that is comfortable to your eyes and matches the lighting conditions of your gaming environment. Avoid setting it too high, as it may cause eye strain during extended gaming sessions. Similarly, adjust the contrast to achieve a balance between bright and dark areas on the screen.
Another important setting to consider is the sharpness. A moderate sharpness level is usually recommended to prevent images from appearing too blurry or overly sharp. Experiment with different sharpness levels and find the one that provides a clear and well-defined picture.
Additionally, the gamma setting controls the overall brightness and contrast of the display. Adjusting the gamma level can help you achieve better visibility in dark or bright scenes, depending on your preferences. It’s worth noting that some games or applications may have their own gamma settings, so you might need to adjust them accordingly.
Once you’ve made your desired changes, be sure to save the settings. You can also create different profiles for different scenarios, such as gaming, working, or watching movies. This way, you can easily switch between profiles depending on your needs.
Remember, the display settings are highly subjective, and what looks best to one person may not be ideal for another. Experiment with different configurations and find the settings that provide the most enjoyable and immersive gaming experience for you.
Configuring Picture Mode
Picture mode is an essential feature of the BenQ XR Curved Gaming Monitor that allows you to adjust the color and image settings to suit your personal preference or the specific requirements of your game. With a variety of pre-set picture modes available, you can easily find the one that enhances your gaming experience.
To access the picture mode settings, navigate to the menu and locate the “Picture” or “Mode” option. Here, you’ll find a selection of pre-defined modes, such as Standard, Movie, FPS, RTS, and more. Each mode is optimized to deliver the best visuals for a specific type of content or gaming genre.
If you prefer vibrant and vivid colors, try the “Vivid” or “Game” picture mode. These modes typically offer enhanced saturation and contrast to make colors appear more vibrant and eye-catching. They are great for games that prioritize stunning visuals and vibrant environments.
On the other hand, if you prefer a more accurate and realistic representation of colors, opt for the “sRGB” or “Standard” mode. These modes aim to deliver accurate colors without any enhancements, providing a more natural look to the images on the screen. These modes are suitable for tasks that require color accuracy, such as photo editing.
For gamers looking for an optimized gaming experience, the “FPS” or “RTS” modes are worth exploring. These modes are specifically designed to enhance visibility and improve performance in first-person shooter (FPS) or real-time strategy (RTS) games. They often prioritize brightness, contrast, and sharpness to help you spot enemies or objects more easily.
Once you’ve selected a picture mode, you can further fine-tune the settings to suit your preferences. Options such as color temperature, gamma, and hue are available to customize the visuals according to your liking. Experiment with these settings to find the perfect balance that enhances your gaming experience.
Remember, the optimal picture mode settings can vary depending on the content you’re viewing or the games you’re playing. Take your time to explore different modes and tweak the settings until you find the configuration that delivers the visual experience you desire.
Fine-Tuning Brightness and Contrast
Getting the brightness and contrast settings right for your BenQ XR Curved Gaming Monitor is essential for achieving optimal image quality and visual comfort during your gaming sessions. Fine-tuning these settings can significantly enhance your overall gaming experience.
To adjust the brightness and contrast, access the monitor’s menu and locate the “Display” or “Picture” settings. Here, you’ll find options to modify these parameters and customize them according to your preferences.
Start by adjusting the brightness level to a comfortable setting that suits your gaming environment. Setting the brightness too high can cause eye strain, while setting it too low may make dark scenes difficult to see. It’s crucial to strike a balance where the brightness allows for clear visibility without causing discomfort.
Next, focus on tweaking the contrast setting. Contrast determines the difference between the brightest and darkest parts of the image. Adjusting the contrast can profoundly impact the overall visual quality and the level of detail you see on the screen. Aim to find a level that enhances the clarity of your games and provides a good balance of light and shadow.
It’s worth noting that the optimal brightness and contrast settings can vary depending on the lighting conditions in your gaming area. For a brightly lit room, you may need to increase the brightness to compensate, while in a dimly lit room, lowering the brightness may be more appropriate.
When fine-tuning these settings, it’s also a good idea to consider the content you’re viewing. Different games may have varying lighting conditions, so adjusting the brightness and contrast accordingly can help you see important details and improve your overall gameplay experience.
Lastly, don’t hesitate to experiment with different settings and use in-game calibration tools if available. Some games offer specific brightness or contrast calibration options, allowing you to optimize the visuals within the game itself.
By finding the perfect balance between brightness and contrast, you can ensure that the images on your BenQ XR Curved Gaming Monitor come to life with vibrant colors, realistic details, and an immersive gaming experience.
Customizing Color Settings
Customizing the color settings on your BenQ XR Curved Gaming Monitor can greatly enhance the visual quality of your games and give you more control over the color reproduction. By adjusting color settings, you can create a personalized visual experience that best suits your preference and the type of content you’re viewing.
To access the color settings, navigate to the monitor’s menu and locate the “Color” or “Color Settings” option. Here, you’ll find a range of adjustments that allow you to customize the color temperature, saturation, hue, and other color-related parameters.
The color temperature setting is an essential aspect to consider. It determines how warm or cool the colors appear on the screen. You can choose between different presets, such as “Cool,” “Normal,” or “Warm,” or manually adjust the temperature to achieve the desired color balance. Warmer tones are often associated with a more reddish hue, while cooler tones lean towards blue. Experiment with different settings to find the color temperature that pleases your eyes and provides a pleasing visual experience.
In addition to color temperature, you can also adjust the color saturation to control the intensity of colors on the screen. Increasing the saturation can make colors appear more vibrant and vivid, while decreasing it can result in a more muted, subdued look. Find the balance that appeals to your personal preference and enhances the visual impact of your games.
Hue adjustment allows you to alter the color balance and shift the overall tone of the screen. For example, you can make greens appear more yellowish or blues appear more purplish. This level of customization can be particularly useful if you prefer a specific color tone or want to match the visuals to your game’s art style.
Lastly, some monitors offer other color-related settings, such as gamma correction or color space selection. Gamma correction allows you to fine-tune the brightness and contrast curve, ensuring accurate representation of tonal gradations. Color space selection allows you to choose between different color gamuts, such as sRGB or Adobe RGB, to match your monitor’s color output with the content’s intended color space.
Remember, finding the ideal color settings can be subjective and depend on personal preference. What looks best to one person may not be ideal for another. Take your time to experiment with different configurations and find the color settings that provide the most visually appealing and immersive gaming experience for you.
Enhancing Gaming Experience with Game Mode
The BenQ XR Curved Gaming Monitor comes equipped with a specialized Game Mode feature that is designed to enhance your gaming experience. By activating Game Mode, you can optimize the monitor’s settings specifically for gaming, allowing you to enjoy smoother gameplay, reduced input lag, and enhanced visuals.
To access Game Mode, navigate to the monitor’s menu and look for the “Game” or “Gaming” option. Once enabled, the monitor will automatically adjust various settings to prioritize gaming performance and visuals.
One of the main benefits of Game Mode is reduced input lag. Input lag refers to the delay between your actions and the corresponding response on the screen. By enabling Game Mode, unnecessary image processing is minimized, resulting in faster response times and a more responsive gaming experience.
In addition to reduced input lag, Game Mode also optimizes the monitor’s settings to enhance visual quality. It often enhances brightness, sharpness, and contrast to make in-game visuals more vibrant and detailed. These adjustments can greatly improve visibility in dark areas and enhance the overall gaming immersion.
Game Mode also prioritizes frame rate and motion clarity. The monitor’s response time and motion blur reduction technologies are utilized to minimize blurring and ghosting, resulting in smoother and more fluid gameplay. This is particularly advantageous for fast-paced games that require quick reflexes and precise movements.
Furthermore, some gaming monitors feature specific game presets within Game Mode that are tailored to different genres, such as FPS, RTS, or RPG games. These presets optimize the monitor’s settings to deliver the best performance and visuals for that particular genre, allowing you to fully immerse yourself in the gaming experience.
Additionally, the Black eQualizer feature, which we will explore in more detail later, is often enhanced when Game Mode is activated. This feature allows you to have better visibility in dark areas of the game, enabling you to spot hidden enemies or objects more easily.
It’s important to note that Game Mode settings can vary between different monitors and models. Some monitors offer more customization options within Game Mode, allowing you to fine-tune specific settings to your preference. Explore the available options and experiment with different configurations to find the Game Mode settings that best suit your gaming style.
Overall, Game Mode on the BenQ XR Curved Gaming Monitor is designed to enhance your gaming experience by reducing input lag, improving visual quality, and delivering smoother gameplay. Activating Game Mode is an excellent way to optimize your monitor’s performance specifically for gaming and immerse yourself in your favorite games.
Adjusting Black eQualizer
The Black eQualizer is a powerful feature of the BenQ XR Curved Gaming Monitor that allows you to adjust the visibility of dark areas in your games. By adjusting the Black eQualizer settings, you can enhance the details in dark scenes, giving you a competitive edge and a more immersive gaming experience.
To access the Black eQualizer settings, navigate to the monitor’s menu and locate the “Black eQualizer” or “Black level” option. Here, you’ll find a slider that allows you to adjust the level of visibility in dark areas.
When set to a higher value, the Black eQualizer brightens the dark areas of the screen, making it easier to spot enemies, objects, or important details that may otherwise be hidden in the shadows. This can be particularly advantageous in games that feature a lot of dimly lit or atmospheric environments.
On the other hand, setting the Black eQualizer to a lower value preserves the natural darkness of the dark areas, providing a more realistic and immersive visual experience. This setting can be ideal for games that prioritize realistic lighting effects and environments.
It’s important to find the right balance when adjusting the Black eQualizer. Setting it too high may introduce some loss of detail in brightly lit areas, as the contrast between the bright and dark areas might become too extreme. Conversely, setting it too low may result in details being lost in dark areas, making it difficult to see important elements in the game.
Each game has its own unique lighting conditions and artistic style, so it’s recommended to experiment with different Black eQualizer settings to find what works best for each game. Try adjusting the setting during gameplay and evaluate the impact it has on your ability to spot details in dark areas without sacrificing visibility in well-lit areas.
Additionally, some gaming monitors offer different Black eQualizer presets or even customizable profiles, allowing you to save different settings for specific games or genres. This level of customization can further enhance your gaming experience by providing optimized visibility for each game’s unique lighting conditions.
By adjusting the Black eQualizer to suit your preferences and the requirements of the game, you can gain a strategic advantage and fully immerse yourself in the dark and atmospheric worlds of your favorite games.
Controlling Motion Blur Reduction
When it comes to gaming, motion blur can be a common issue that affects the clarity and smoothness of visuals, especially during fast-paced action sequences. However, the BenQ XR Curved Gaming Monitor provides a solution with its motion blur reduction feature, allowing you to control and minimize motion blur for a sharper and more fluid gaming experience.
To access the motion blur reduction settings, navigate to the monitor’s menu and locate the “Motion Blur Reduction” or “Blur Reduction” option. Here, you’ll find different levels or modes that you can choose from to reduce the blurriness caused by fast-moving objects on the screen.
The motion blur reduction feature typically works by adjusting the monitor’s response time or using backlight strobing techniques. By reducing the amount of time it takes for pixels to transition from one color to another, the monitor can effectively reduce the perceived motion blur.
It’s important to note that enabling motion blur reduction may result in a decrease in brightness or introduce some flickering. This is because the monitor’s backlight may be controlled differently to achieve the desired motion blur reduction effect. Experiment with different levels or modes to find the balance that provides the best reduction of motion blur while maintaining an acceptable level of brightness and minimizing flickering.
Keep in mind that the optimal motion blur reduction settings can vary depending on the game you’re playing and your personal preferences. Some games may have intense action sequences that benefit from higher levels of motion blur reduction, while others may require a more balanced setting to prevent the image from appearing too dim or introducing distracting flickering.
Moreover, it’s important to consider the capabilities of your gaming system. To fully take advantage of motion blur reduction, ensure that your gaming rig is capable of achieving high frame rates that match the monitor’s refresh rate. Higher frame rates can significantly reduce motion blur and provide smoother gameplay.
Overall, the motion blur reduction feature on the BenQ XR Curved Gaming Monitor allows you to take control of motion blur and enjoy sharper, more fluid visuals during intense gaming sessions. Experiment with different settings and find the level of motion blur reduction that enhances your gaming experience and provides the most immersive gameplay possible.
Optimizing Audio Settings
While visuals play a significant role in gaming, audio is equally important for a truly immersive and engaging gaming experience. The BenQ XR Curved Gaming Monitor offers audio settings that allow you to optimize the sound quality and customize it to your liking, enhancing the overall gaming audio experience.
To access the audio settings, navigate to the monitor’s menu and locate the “Audio” or “Sound” option. Here, you’ll find various options to adjust the audio settings.
One of the primary audio settings to consider is the equalizer or sound mode. Different sound modes are usually offered, such as “Music,” “Movie,” or “Gaming.” Each mode is designed to deliver the best audio experience for the corresponding content type. Selecting the appropriate sound mode can enhance the audio quality and make the game’s soundscape more immersive.
Within the sound mode settings, you might also find options to manually adjust bass, treble, and other audio frequencies. These adjustments allow you to fine-tune the audio output to your preference. Increase the bass for a more powerful and deep low-end, or adjust the treble for clearer and crisper high-end sounds. Experiment with the available settings until you achieve the desired audio balance.
Some gaming monitors also offer advanced audio technologies such as virtual surround sound or simulated 3D audio. These technologies create a more spatial audio experience, making it easier to identify the direction of in-game sounds and providing a more immersive and realistic gaming experience. Enable these features if available and see how they enhance your gaming audio.
If you prefer using external speakers or headphones, ensure that the audio output is set to the correct audio device. Many gaming monitors provide audio output options, including HDMI, DisplayPort, or an audio jack. Select the appropriate output to ensure the audio is directed to the desired device.
Lastly, make sure to check the volume settings on your gaming monitor. Adjust the volume level to a comfortable level that allows you to clearly hear all the in-game sounds without causing discomfort or distortion.
Remember, optimizing audio settings is subjective and depends on personal preference and the capabilities of your gaming setup. Take the time to experiment with the various audio settings to find the configuration that delivers the most immersive and enjoyable gaming audio experience for you.
Configuring Eye-Care Features
Keeping your eyes comfortable and protected during long gaming sessions is crucial, and the BenQ XR Curved Gaming Monitor offers a range of eye-care features that can help reduce eye strain and fatigue. Configuring these features is essential for ensuring your visual well-being while enjoying your favorite games.
To access the eye-care settings, navigate to the monitor’s menu and locate the “Eye-Care” or “Comfort” option. Here, you’ll find a variety of options to customize the visual experience and minimize the potential negative effects on your eyes.
One of the key eye-care features is the “Low Blue Light” setting. Blue light emitted by screens can cause eye strain and disrupt sleep patterns. By enabling the Low Blue Light setting, the monitor reduces the amount of blue light emitted, resulting in a warmer color temperature that is less harsh on your eyes. Adjust the intensity of the Low Blue Light setting to a level that is comfortable for you.
Another feature to consider is the “Flicker-Free” technology. Traditional monitors often use PWM (pulse-width modulation) to control brightness, which can cause flickering that may contribute to eye fatigue. Flicker-Free technology eliminates this flickering, providing a more stable and comfortable viewing experience. Ensure that the Flicker-Free feature is enabled to minimize eye strain during extended gaming sessions.
Additionally, some gaming monitors offer an ambient light sensor that automatically adjusts the screen’s brightness based on the lighting conditions in your gaming environment. This feature helps maintain a consistent and comfortable viewing experience, preventing eye strain caused by sudden changes in brightness. If available, adjust the sensitivity of the ambient light sensor to match your preference.
It’s also important to consider the ergonomics of your gaming setup. Adjust the monitor’s height, tilt, and swivel to ensure that the screen is at eye level and that you have a comfortable viewing position. This promotes better posture and reduces eye and neck strain during gaming sessions.
Lastly, remember to take regular breaks and practice good habits while gaming. Even with all the eye-care features in place, it’s essential to give your eyes a rest. Follow the 20-20-20 rule: every 20 minutes, look at an object 20 feet away for 20 seconds. This helps reduce eye fatigue and maintains eye health.
By configuring and utilizing the eye-care features of your BenQ XR Curved Gaming Monitor, you can minimize eye strain and promote a more comfortable and enjoyable gaming experience, allowing you to game for longer periods while keeping your eyes in good condition.
Managing OSD Settings
The OSD (On-Screen Display) settings of your BenQ XR Curved Gaming Monitor allow you to customize and manage various display options and features directly from the monitor’s menu. By efficiently managing the OSD settings, you can optimize your gaming experience and access important information quickly and conveniently.
To access the OSD settings, press the menu button on the monitor’s control panel, and navigate through the menu using the provided buttons. Here are a few key OSD settings to consider:
1. Language: Set the language of the OSD menu to your preferred language for ease of navigation and understanding.
2. Display Information: Enable the display information option to show important details such as resolution, refresh rate, and input source on the monitor’s screen. This information can be helpful when troubleshooting or adjusting settings for specific games or applications.
3. Input Source: The input source option allows you to select the device connected to your monitor, such as a PC, game console, or streaming device. Make sure to set the correct input source to ensure proper display and compatibility with your gaming setup.
4. OSD Timeout: Adjust the OSD timeout duration to control how long the OSD menu stays on the screen before it automatically disappears. This can be useful if you prefer a longer or shorter duration for the OSD menu to be visible.
5. OSD Transparency: Some monitors allow you to adjust the transparency or opacity of the OSD menu, allowing you to customize the visibility of the on-screen display. This can be particularly helpful if you find the OSD menu to be too distracting or obstructive during gameplay.
6. Shortcut Keys: Certain gaming monitors offer shortcut keys that can be customized to quickly access specific OSD settings or features. Take advantage of this option to assign hotkeys that align with your gaming preferences, making it easier to adjust settings on the fly without having to navigate through the entire OSD menu.
7. Reset Settings: In case you want to revert back to the default settings, there is usually an option to reset the OSD settings to factory defaults. This can be helpful if you’ve made extensive changes or encountered issues with the configuration and want to start fresh.
By effectively managing the OSD settings, you can streamline your gaming experience, access important information quickly, and customize the display options to align with your preferences. Take the time to explore and familiarize yourself with the options available in the OSD menu to maximize the potential of your BenQ XR Curved Gaming Monitor.
Conclusion
The BenQ XR Curved Gaming Monitor offers a wide range of settings and features that allow you to enhance your gaming experience and tailor it to your preferences. From adjusting display settings to configuring picture modes, fine-tuning brightness and contrast to customizing color settings, and optimizing audio and eye-care features, this monitor provides a wealth of customization options.
By adjusting the display settings such as brightness, contrast, and sharpness, you can achieve optimal image quality and clarity. Configuring picture modes allows you to enhance visuals based on content or gaming genre. Fine-tuning brightness and contrast ensures comfortable viewing and better visibility in both bright and dark scenes.
Customizing color settings adds a personal touch to the visuals, allowing you to manipulate color temperature, saturation, and hue to match your preferences. Activating Game Mode enhances gaming performance and visual quality, while adjusting the Black eQualizer provides better visibility in dark areas of the game.
Controlling motion blur reduction reduces blurriness during fast-paced gameplay, while optimizing audio settings ensures an immersive and high-quality audio experience. Configuring eye-care features helps reduce eye strain and maintain visual well-being during long gaming sessions. Managing the OSD settings allows you to customize and access important information conveniently.
Remember, finding the optimal settings is subjective and may require some experimentation to suit your preferences and gaming environment. Take the time to explore and customize the settings to create an immersive and enjoyable gaming experience tailored to your needs.
With the BenQ XR Curved Gaming Monitor’s plethora of settings and features, you can truly elevate your gaming experience to new heights. So, take control, fine-tune, and make the most out of your gaming monitor to enjoy the stunning visuals, seamless gameplay, and immersive audio that it offers.