Introduction
Ioncube Loader is a vital component for running encrypted PHP files, ensuring the security and integrity of your code. It allows you to protect your intellectual property by preventing unauthorized access and tampering with your PHP scripts. In order to enable Ioncube Loader, you need to make some configurations in your PHP settings.
In this article, we will guide you through the step-by-step process of enabling Ioncube Loader in your PHP ini file. By following these instructions, you will be able to seamlessly run encrypted PHP files on your website or server.
Whether you are a website owner, a developer, or a system administrator, this comprehensive guide will assist you in setting up Ioncube Loader and maintaining the security of your PHP applications.
Before we dive into the process, let’s discuss what exactly Ioncube Loader is and why it is important. Ioncube Loader is a PHP extension that decodes the encrypted PHP files produced by the Ioncube Encoder. It allows the PHP interpreter to read and execute the encoded files, ensuring that only authorized users can access and run them.
By encrypting your PHP files with Ioncube, you can safeguard your code from being reverse-engineered or modified. This is particularly useful if you are distributing commercial software or applications that rely on your proprietary PHP code. An additional benefit of Ioncube Loader is that it improves the performance of your PHP applications by optimizing the execution of encoded files.
Now that we understand the importance of Ioncube Loader let’s move on to the step-by-step process of enabling it in your PHP ini file. Whether you are using a shared hosting provider or managing your own server, the process remains the same. Let’s get started with the first step, which is downloading Ioncube Loader.
Step 1: Download Ioncube Loader
The first step in enabling Ioncube Loader is to download the necessary files. Head over to the official Ioncube website (www.ioncube.com) and navigate to the “Downloads” section. Here, you will find the latest version of Ioncube Loader available for different operating systems and PHP versions.
Ensure that you choose the correct Ioncube Loader version that is compatible with your PHP installation. If you are unsure about the PHP version you are using, you can check it by creating a PHP file with the following code:
Upload this file to your server and access it via a web browser. Look for the PHP version under the “PHP Version” section, and take note of it for future reference.
Once you have identified your PHP version, download the corresponding Ioncube Loader package. The downloaded package will typically be in .tar.gz or .zip format.
After the download is complete, extract the contents of the Ioncube Loader package to a location on your computer. This will create a folder containing the necessary files for enabling Ioncube Loader.
Now that you have downloaded and extracted the Ioncube Loader files, you are ready to proceed to the next step, which is to locate the PHP configuration file.
Step 2: Extract the Ioncube Loader Files
Now that you have downloaded the Ioncube Loader package, the next step is to extract the files from the package. This will allow you to access the necessary files that are required for enabling Ioncube Loader in your PHP configuration.
First, locate the downloaded Ioncube Loader package on your computer. The package is usually in .tar.gz or .zip format. Right-click on the package file and select “Extract” or “Extract Here” to extract the contents of the package.
After extracting the files, you will find a folder that contains the necessary files for Ioncube Loader. This folder is usually named something like “ioncube” or “ioncube_loader” and will contain files such as “ioncube_loader.so” (for Linux) or “ioncube_loader.dll” (for Windows).
It’s important to remember the location of this extracted folder, as you will need it later when configuring your PHP settings.
Now that you have successfully extracted the Ioncube Loader files, you are ready to move on to the next step, which is locating the PHP configuration file (php.ini).
Step 3: Locate the PHP Configuration File (php.ini)
In order to enable Ioncube Loader, you need to locate the PHP configuration file, also known as php.ini. This file contains various settings and directives that control the behavior of your PHP installation.
The location of the php.ini file can vary depending on your server setup and operating system. However, there are several common locations where the php.ini file is usually found.
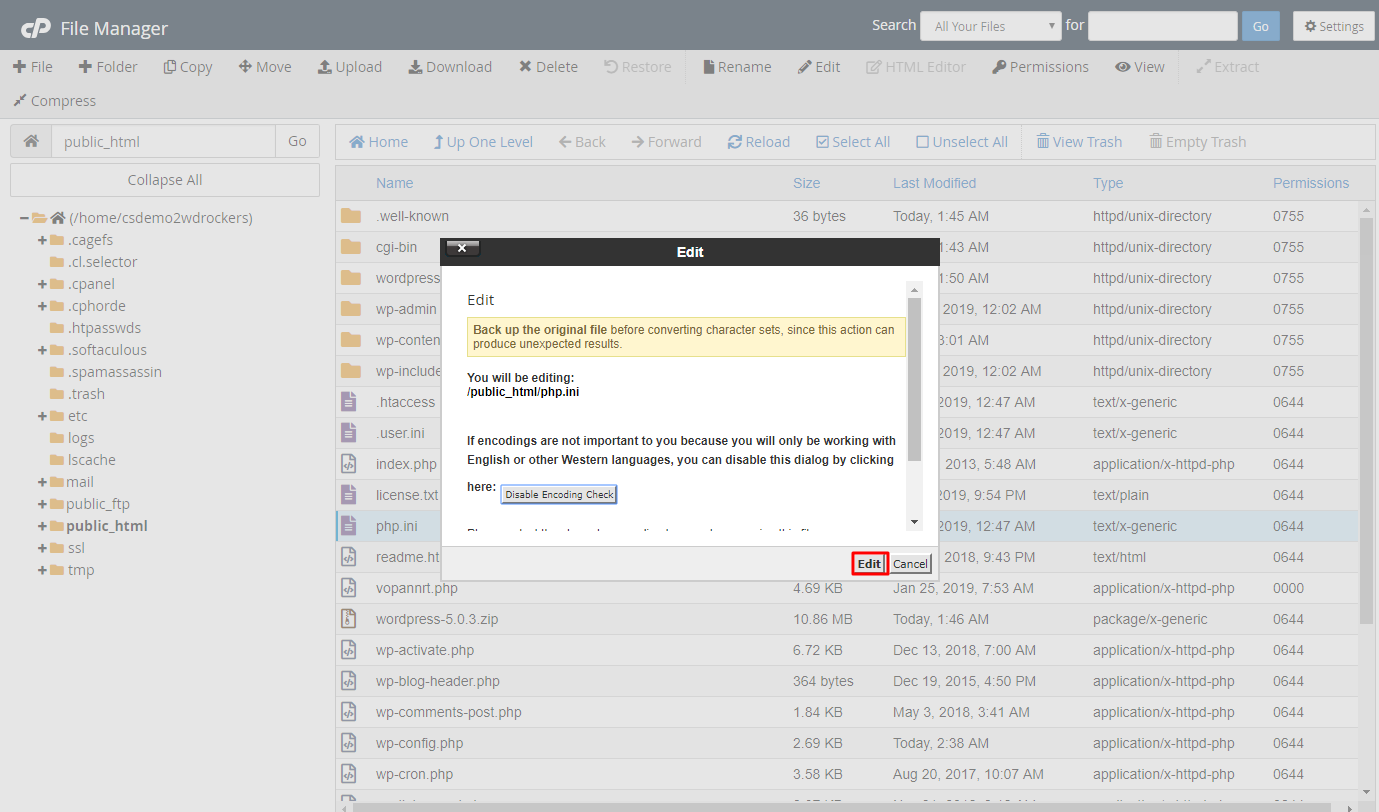
If you are using a shared hosting provider, the php.ini file is typically located in the root directory of your hosting account. This can be accessed via FTP or through the file manager provided by your hosting provider.
If you are managing your own server, the location of the php.ini file can depend on the PHP installation method and operating system. Some common locations for the php.ini file on Linux-based systems are:
- /etc/php.ini
- /etc/php/php.ini
- /usr/local/etc/php.ini
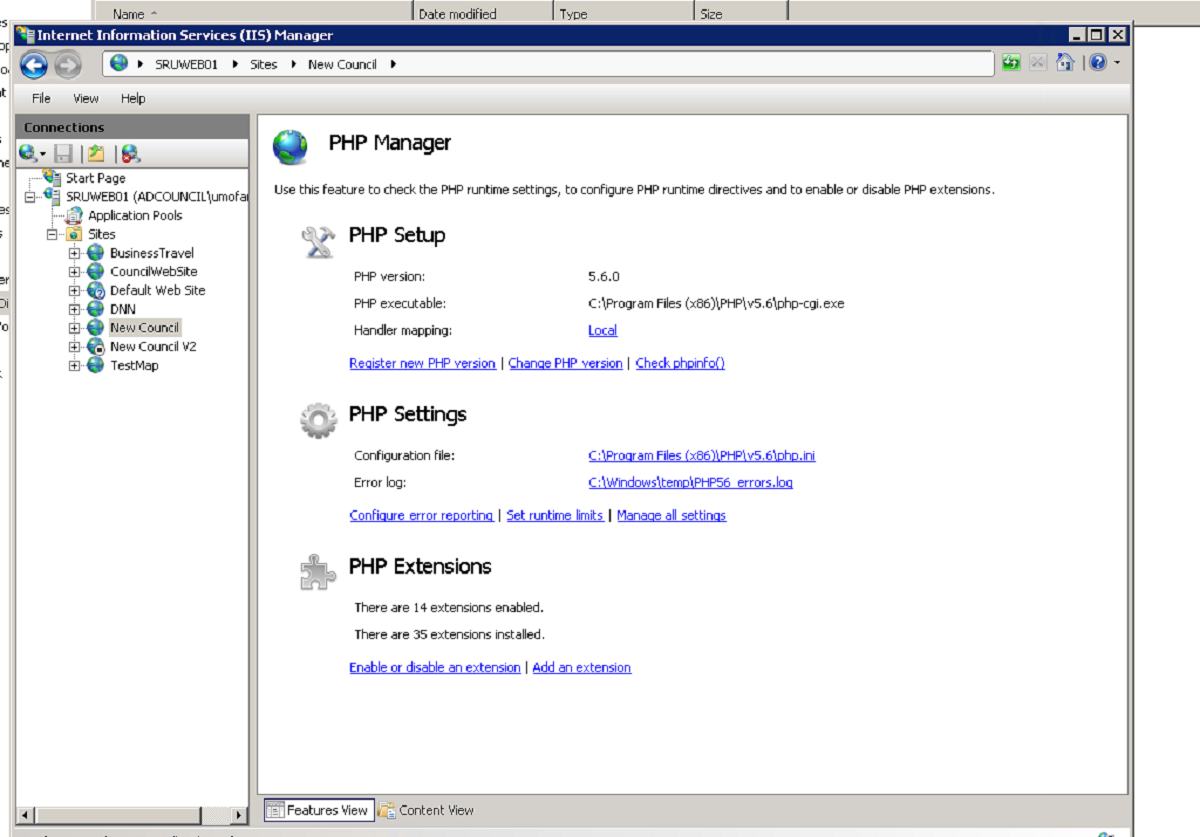
On Windows-based systems, the php.ini file is often found in the PHP installation directory, such as:
- C:\php\php.ini
- C:\Windows\php.ini
If you are unsure about the location of the php.ini file, you can use the following method to find it:
- Create a new PHP file on your server with the following code:
php
- Save the file and access it through a web browser.
- Look for the “Loaded Configuration File” section in the PHP information page. This will display the path to the php.ini file.
Once you have located the php.ini file, you are ready to proceed to the next step, which is editing the PHP configuration file to enable Ioncube Loader.
Step 4: Edit the PHP Configuration File
Now that you have located the php.ini file, the next step is to edit it and make the necessary changes to enable Ioncube Loader.
Using your preferred text editor, open the php.ini file. Before making any changes, it is recommended to create a backup copy of the file to revert back to in case of any issues.
Once the php.ini file is open, you will need to find the section where PHP extensions are configured. This section is typically labeled as [Extensions] or [ExtensionList].
Within this section, look for a line that begins with “extension=”. This line is used to load PHP extensions, and we will be adding a new line to enable Ioncube Loader.
Add the following line after the existing “extension=” lines:
extension=ioncube_loader.{extension}
Replace “{extension}” with the appropriate file extension depending on the operating system you are using:
- .so for Linux
- .dll for Windows
For example, on a Linux system, the line would look like:
extension=ioncube_loader.so
Save the changes to the php.ini file and close the text editor.
Now that you have edited the PHP configuration file, you are one step closer to enabling Ioncube Loader. In the next step, we will show you how to actually enable Ioncube Loader within the php.ini file.
Step 5: Enable Ioncube Loader
After editing the PHP configuration file, the next step is to enable Ioncube Loader by configuring a few more settings in the php.ini file.
Open the php.ini file using your preferred text editor and locate the section where the Ioncube Loader settings are configured. This section is usually labeled as [Ioncube] or [Zend].
Within this section, you will find several configuration directives related to Ioncube Loader. The most important directive is “zend_extension” or “zend_extension_ts” (for Thread-Safe PHP installations). Uncomment this line by removing the semicolon (;) at the beginning, if it is commented out. If the directive is not present, add it to the section.
Set the value of the “zend_extension” or “zend_extension_ts” directive to the full path of the ioncube_loader file you extracted in Step 2. For example:
zend_extension = /path/to/ioncube/ioncube_loader.{extension}
Replace “/path/to/ioncube” with the actual path to the directory where you extracted the Ioncube Loader files, and “{extension}” with the appropriate file extension (.so for Linux, .dll for Windows).
Save the changes to the php.ini file and close the text editor.
By enabling Ioncube Loader, you have successfully configured the necessary settings in the PHP configuration file. However, to apply the changes, you will need to restart your web server.
Proceed to the next step to learn how to restart the web server and complete the process of enabling Ioncube Loader in PHP.
Step 6: Restart the Web Server
After enabling Ioncube Loader in the PHP configuration file, the final step is to restart the web server. This ensures that the changes take effect and Ioncube Loader becomes active for your PHP applications.
The method to restart the web server can vary depending on your operating system and the web server software you are using. Here are a few common methods:
1. Using the Command Line:
If you have command-line access to your server, you can restart the web server by running a command. Here are some examples:
– For Apache:
sudo service apache2 restart
– For Nginx:
sudo service nginx restart
– For IIS:
iisreset
2. Using a Control Panel:
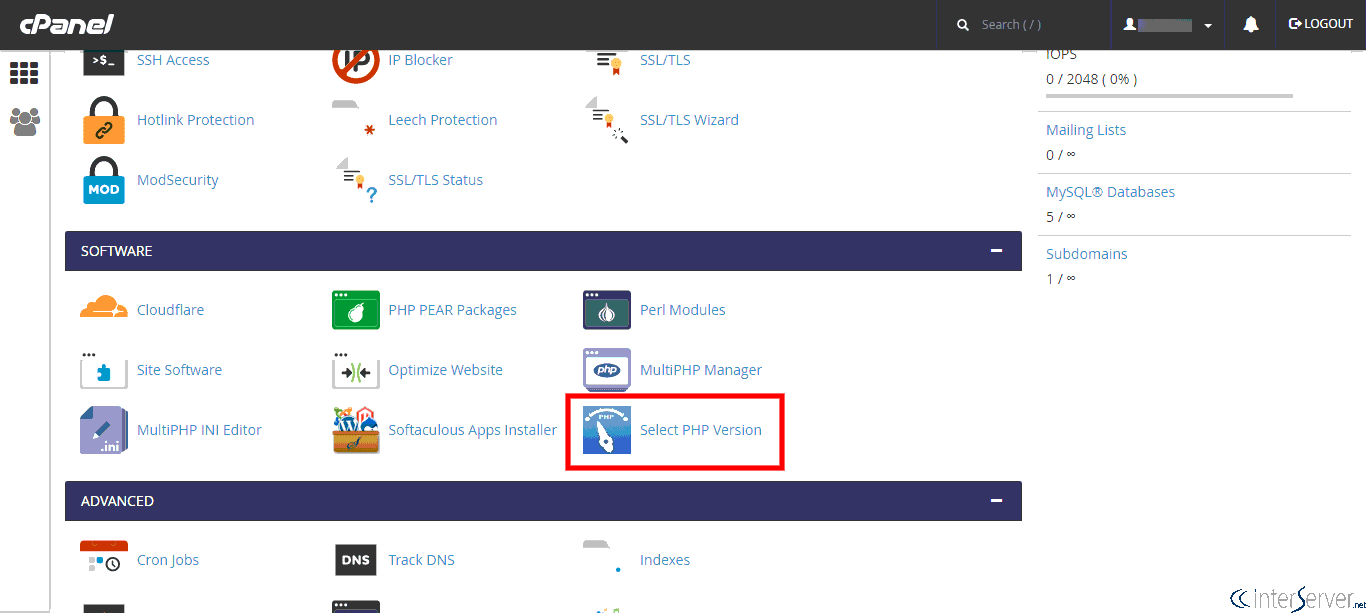
If you are using a hosting provider or a control panel like cPanel or Plesk, you can typically find an option to restart the web server in the control panel interface. Look for a section or menu related to server management or services, and locate the option to restart the web server.
3. Manually Restarting the Server:
In some cases, you may need to manually restart the entire server. This may require administrative access or contacting your hosting provider. Keep in mind that restarting the server will briefly interrupt the availability of your website or web applications.
Once the web server has been restarted, Ioncube Loader will be enabled and ready to decrypt and execute encrypted PHP files in your applications.
Congratulations! You have successfully enabled Ioncube Loader in your PHP environment. This powerful tool will help protect your PHP code and ensure the security of your applications.
Remember, if you encounter any issues after enabling Ioncube Loader, refer to the Ioncube documentation or seek assistance from your hosting provider or system administrator.
Conclusion
Enabling Ioncube Loader in your PHP environment is a crucial step in protecting the security and integrity of your PHP applications. By encrypting your PHP files and using Ioncube Loader, you can prevent unauthorized access and ensure that your code remains secure.
In this article, we have provided a step-by-step guide to help you enable Ioncube Loader in your PHP.ini file. We started by downloading Ioncube Loader from the official website and extracting the necessary files. Then, we located the PHP configuration file and made the required edits to enable Ioncube Loader. After that, we restarted the web server to activate the changes.
With Ioncube Loader properly enabled, your PHP applications can run encrypted files without any issues. The added security layer provided by Ioncube Loader will help safeguard your intellectual property and ensure that your PHP code remains secure.
It is important to stay vigilant and keep your Ioncube Loader installation up to date. Check for updates regularly and keep an eye out for security advisories from the Ioncube team. Regularly reviewing your code and implementing best practices for secure coding will help further enhance the protection of your PHP applications.
By following the steps outlined in this guide, you have taken an important step towards securing your PHP applications. With Ioncube Loader enabled, you can have peace of mind knowing that your code is protected and inaccessible to unauthorized individuals.
Remember, if you encounter any difficulties during the process, consult the Ioncube documentation or seek assistance from your hosting provider or system administrator. They will be able to provide further guidance and support.
Now that you have successfully enabled Ioncube Loader, enjoy the enhanced security and peace of mind it brings to your PHP applications!


