Introduction
Welcome to our guide on how to change the PHP.ini file in cPanel. If you are a website owner or administrator, you may often find yourself needing to modify the PHP settings of your website. PHP.ini is a configuration file that contains various settings that define the behavior of PHP on your web server.
By default, cPanel provides an easy way to access and modify the PHP settings for your website. Whether you need to increase the file upload limit, adjust memory settings, or enable specific PHP extensions, following these steps will allow you to make the necessary changes with ease.
It’s important to note that making incorrect changes to the PHP.ini file can result in your website experiencing issues or even becoming inaccessible. Therefore, it’s crucial to have a good understanding of the settings you are modifying and proceed with caution. If you are unsure about a specific change, it’s always recommended to consult with a knowledgeable professional.
In this guide, we will walk you through the process of changing the PHP settings in cPanel and modifying the PHP.ini file. We will cover each step in detail to ensure you can confidently make the necessary adjustments. So, let’s get started and empower you to take control of your website’s PHP configuration!
Step 1: Accessing cPanel
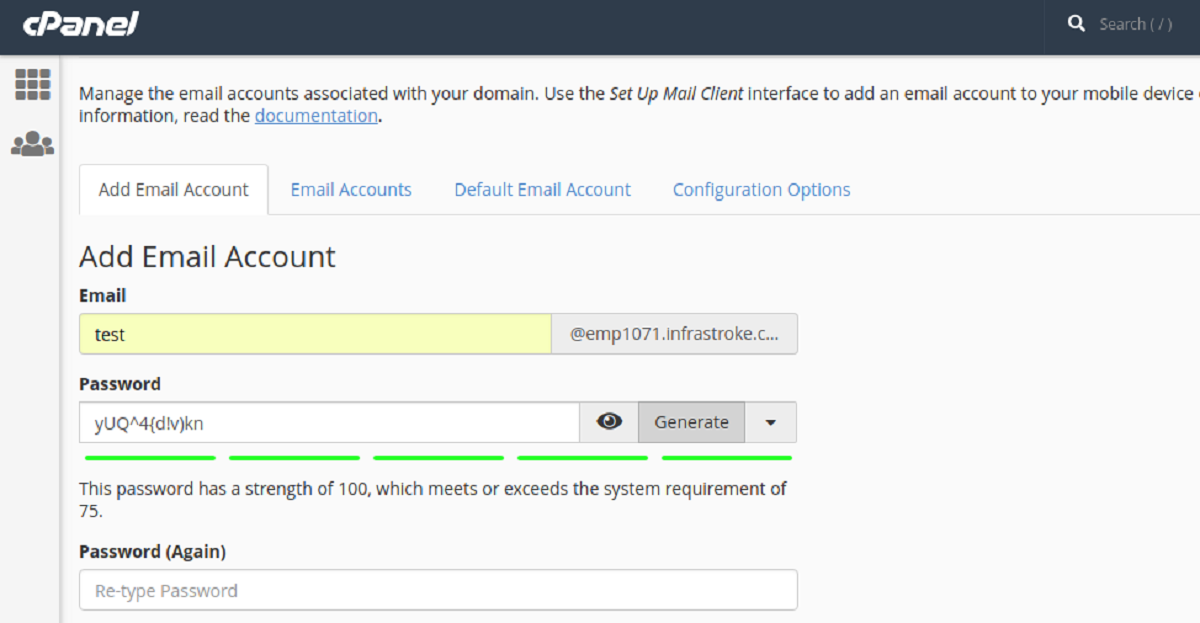
To begin the process of changing the PHP.ini file in cPanel, you need to access your cPanel account. cPanel is a web-based control panel that allows you to manage various aspects of your hosting account and website. Here’s how you can access it:
- Open your preferred web browser and type in your domain name followed by “/cpanel” (e.g., yourwebsite.com/cpanel).
- You will be directed to a login page where you need to enter your cPanel username and password. If you don’t have this information, please contact your hosting provider for assistance.
- After logging in, you will be taken to the cPanel dashboard, which provides access to a wide range of features and settings.
cPanel is designed to be user-friendly, with a clear and intuitive interface. Once you have successfully accessed your cPanel account, you can move on to the next step of locating the PHP Configuration module.
Note: If you are unable to access cPanel using the method mentioned above, it’s possible that your hosting provider has a modified login URL or a separate control panel. In such cases, please refer to your hosting provider’s documentation or contact their support team for guidance on accessing cPanel.
Step 2: Locating the PHP Configuration module
After accessing your cPanel account, the next step is to locate the PHP Configuration module. This module provides you with the ability to adjust the PHP settings for your website. Follow these steps to find the PHP Configuration module:
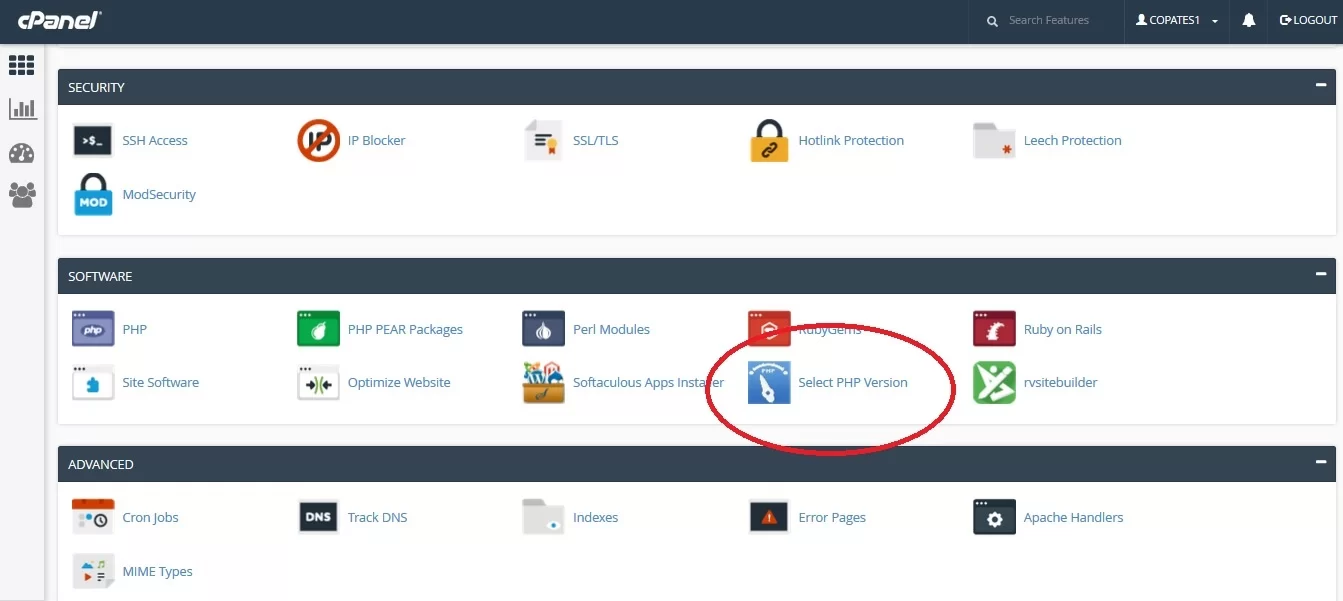
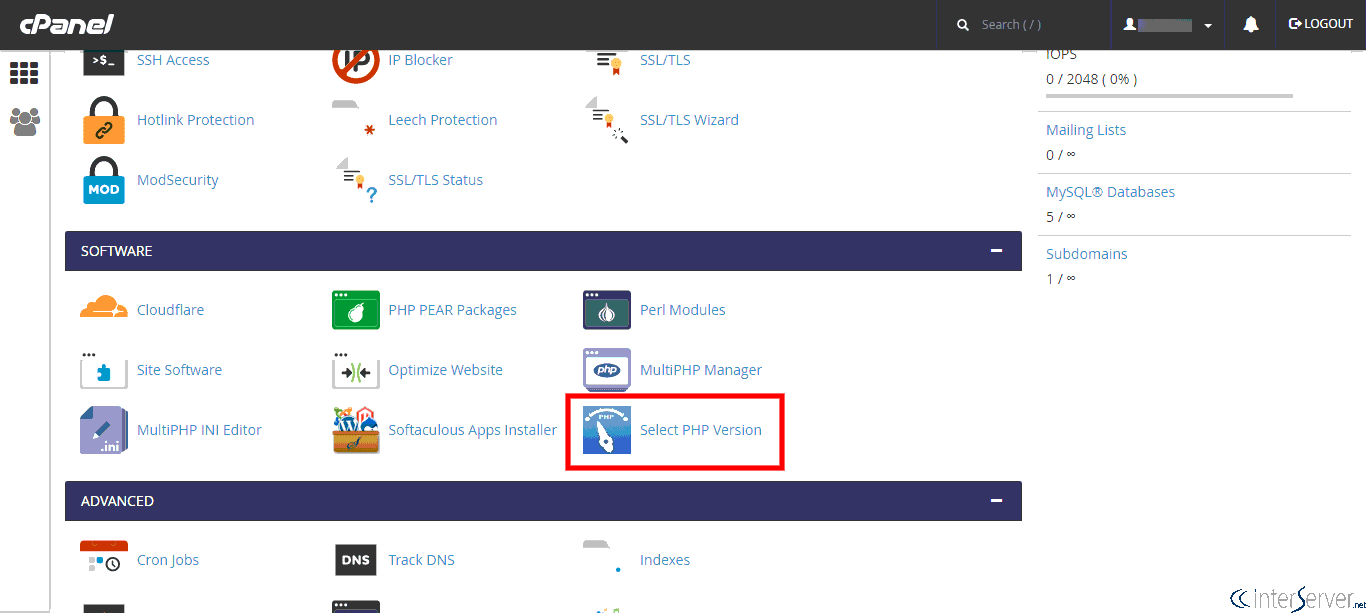
- On the cPanel dashboard, look for the section labeled “Software” or “Programming”. It may vary depending on the theme or layout of your cPanel.
- Within this section, you should find an icon or link for “Select PHP Version” or “PHP Configuration”. Click on it to proceed.
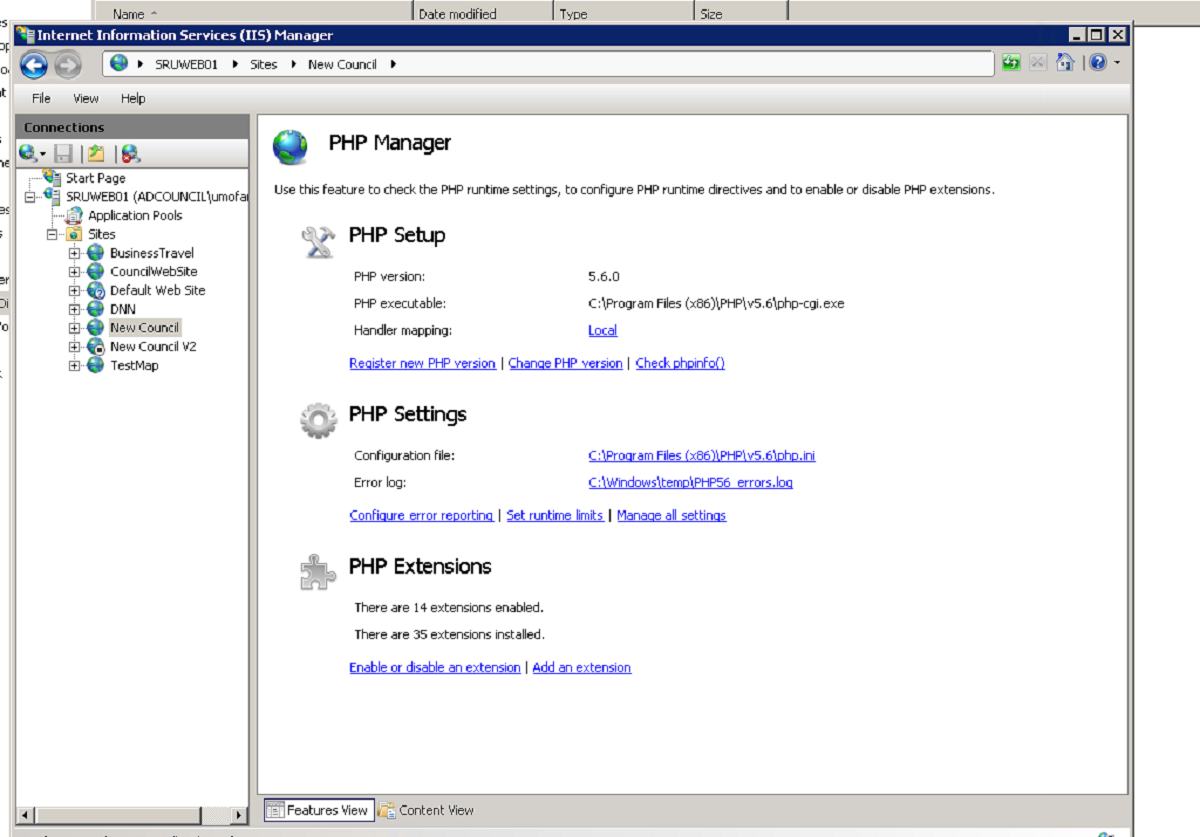
The PHP Configuration module allows you to choose the PHP version for your website and customize its settings. It provides a user-friendly interface that displays the current PHP version and a list of available options.
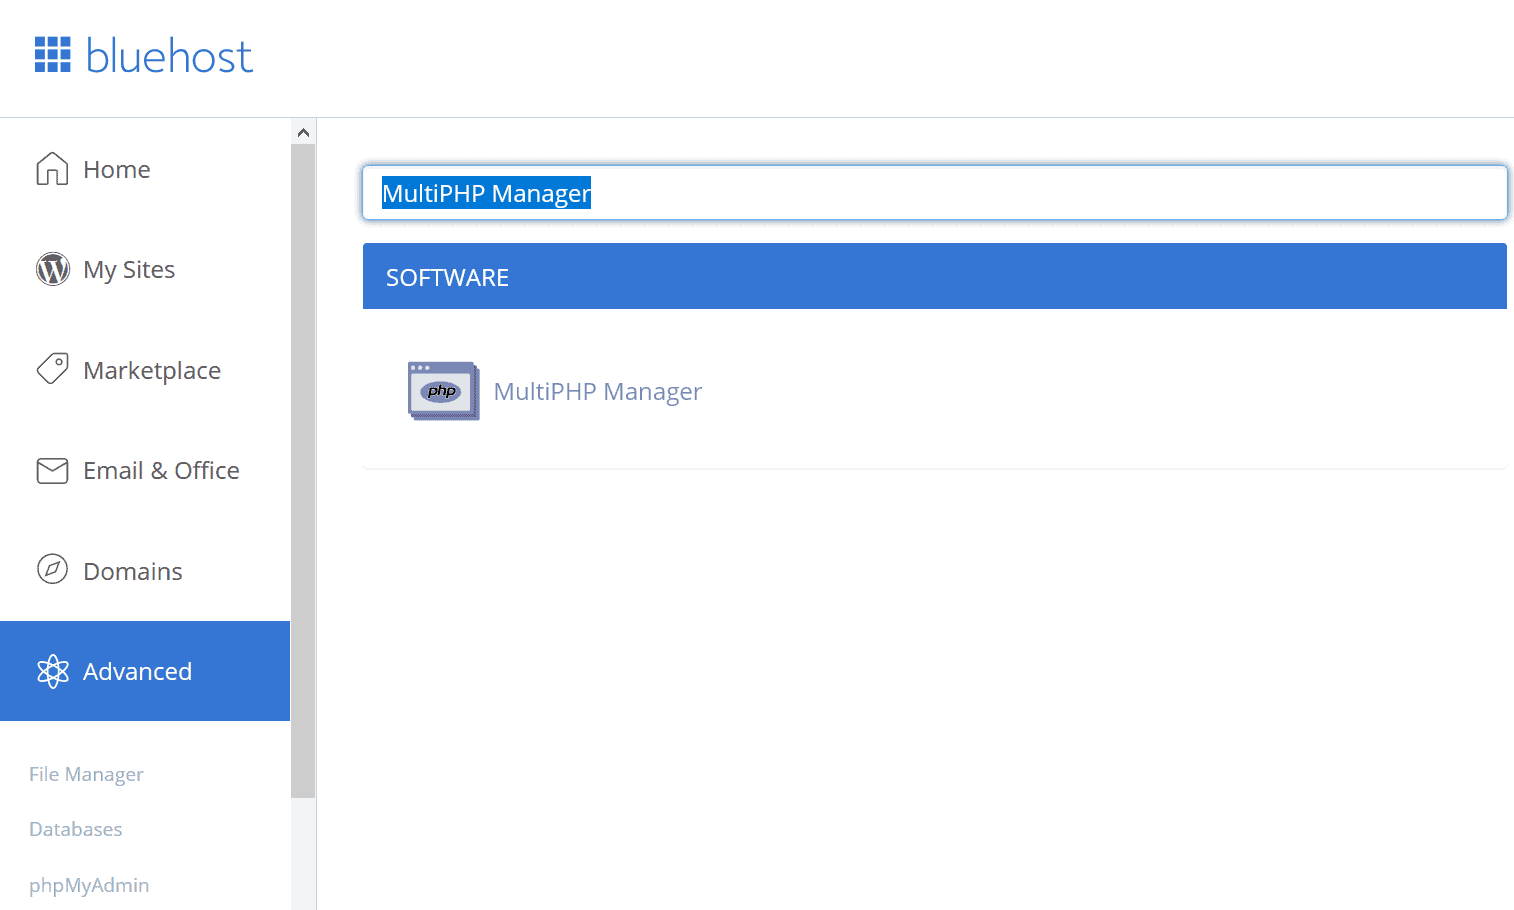
In addition to the PHP Configuration module, cPanel also offers other tools related to PHP management, such as “MultiPHP Manager” or “PHP Settings”. These tools may have slight variations in their interfaces, but the general concept remains the same – to manage PHP settings for your website.
If you are unable to locate the PHP Configuration module in your cPanel, it’s possible that your hosting provider has a customized interface or has disabled this feature. In such cases, we recommend reaching out to your hosting provider’s support team for further assistance.
Step 3: Selecting the appropriate PHP version
Once you have accessed the PHP Configuration module in cPanel, it’s time to select the appropriate PHP version for your website. Here’s how you can do it:
- Within the PHP Configuration module, you will see a dropdown menu labeled “PHP version” or similar. Click on the dropdown to view the available PHP versions.
- Select the desired PHP version from the list. It’s important to choose a version that is compatible with your website’s code and any third-party applications or plugins you are using.
- After selecting the PHP version, click on the “Set as current” or “Apply” button to save the changes.
cPanel usually offers multiple PHP versions to choose from, including the latest stable releases and some older versions for compatibility purposes. It’s recommended to use the latest stable version to ensure optimal performance, security, and compatibility with modern PHP applications.
However, before changing the PHP version, it’s essential to consider the compatibility of your website. Some older websites may rely on specific PHP versions or functions that may not be supported in the latest versions. You can consult with your web developer or review the documentation of any third-party applications or plugins to ensure compatibility.
Additionally, it’s worth mentioning that some hosting providers may have limitations on the available PHP versions. If you don’t see the desired PHP version in the dropdown menu, it could be due to such limitations. In such cases, you may need to contact your hosting provider for further assistance.
Step 4: Adjusting the PHP settings
Now that you have selected the appropriate PHP version for your website, the next step is to adjust the PHP settings according to your requirements. The PHP Configuration module in cPanel provides you with a range of options to customize the PHP settings. Follow these steps to make the necessary adjustments:
- Within the PHP Configuration module, you will find various tabs or sections representing different aspects of PHP settings, such as “Options”, “Extensions”, or “Performance”. Click on the relevant tab to access the settings you want to modify.
- Explore the available options and checkboxes within each tab. These options allow you to enable or disable specific PHP functionalities and modules to meet your website’s needs.
- Check or uncheck the boxes next to the settings you wish to modify. For example, if you want to enable a specific PHP extension, locate it in the list and check the corresponding box.
- Review other settings related to error reporting, display errors, file uploads, and memory limits. Adjust these settings based on your website’s requirements. However, ensure that you don’t set values excessively high, as it may lead to performance issues.
- Once you have made the desired changes, click on the “Apply” or “Save” button to save the new PHP settings.
It’s important to note that the available settings within the PHP Configuration module may vary depending on the PHP version you have selected. Some PHP extensions or features may not be available in certain versions. Therefore, it’s essential to review the available options and make adjustments accordingly.
If you are unsure about a specific setting or its implications, you can refer to the documentation provided by PHP or consult with a knowledgeable professional to ensure that you make the appropriate changes.
Step 5: Modifying the PHP.ini file
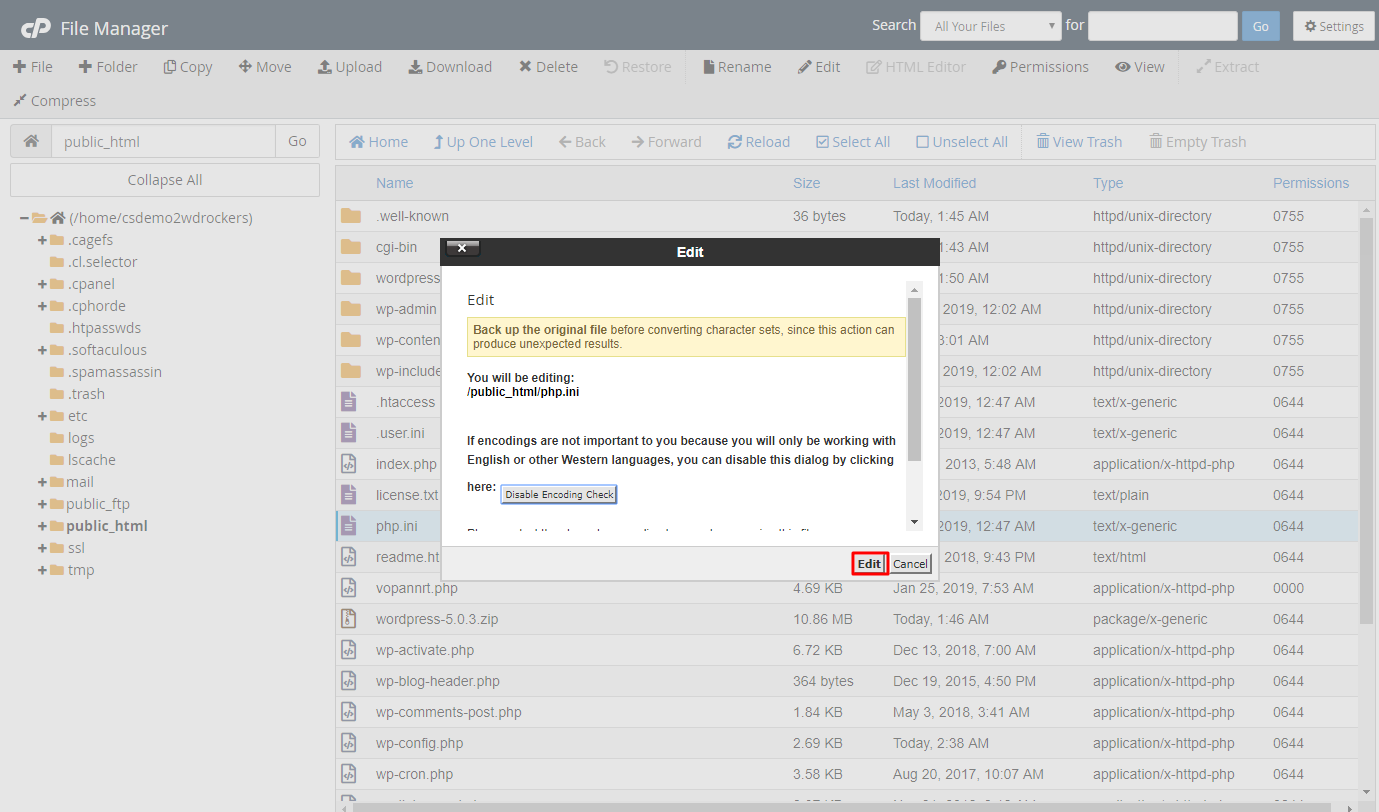
In some cases, the changes you need to make to the PHP settings may not be available within the PHP Configuration module in cPanel. If this is the case, you can directly modify the PHP.ini file to apply the desired changes. Here’s how you can do it:
- Within the PHP Configuration module, locate the “PHP Options” or “Switch to PHP Options” button. This will take you to the PHP options screen.
- Scroll down the page to find the specific PHP setting you want to modify. Each setting is listed with its default value and a text box where you can enter the new value.
- Enter the desired value in the text box next to the setting you want to modify. For example, you may want to increase the maximum file upload size or adjust the memory limit.
- Once you have made the necessary changes, scroll to the bottom of the page and click on the “Save” or “Apply” button to save the modifications.
The PHP.ini file contains various settings that govern the behavior of PHP on your server. Modifying these settings directly allows you to fine-tune PHP according to your website’s requirements. However, it’s important to exercise caution and have a good understanding of the implications of each change.
If you are unsure about a specific setting or its recommended values, you can refer to the PHP documentation or consult with a knowledgeable professional for guidance. Making incorrect modifications to the PHP.ini file can cause issues with your website’s functionality, performance, or security.
It’s worth noting that some hosting providers may have restrictions on modifying the PHP.ini file or may only allow certain settings to be modified. If you encounter any limitations or difficulties, it’s advisable to contact your hosting provider for further assistance.
Step 6: Saving the changes
After making the necessary modifications to the PHP settings or PHP.ini file, the final step is to save the changes and ensure they take effect on your website. Follow these steps to save the changes you have made:
- Once you have completed adjusting the PHP settings or modifying the PHP.ini file, locate the “Save” or “Apply” button at the bottom of the page.
- Click on the “Save” or “Apply” button to save the changes. Depending on your hosting environment, you may need to wait a few moments for the changes to take effect.
- It’s also a good practice to clear your website’s cache, if applicable, to ensure the updated PHP settings are reflected accurately.
- Finally, test your website to ensure that the changes you made have been successfully applied and are functioning as expected.
It’s important to note that changes to PHP settings or the PHP.ini file may not have an immediate effect on your website. Some changes may require a server restart or a certain amount of time to propagate across the server environment. Therefore, it’s recommended to be patient and allow for sufficient time for the changes to take effect.
If you encounter any issues or unexpected behavior on your website after saving the changes, double-check the modifications you made and revert any incorrect settings. If the problems persist, you may wish to consult with a professional or reach out to your hosting provider’s support team for further assistance.
Remember that modifying PHP settings requires careful consideration and knowledge of your website’s requirements. It’s always a good practice to maintain backups of your PHP.ini file or any other modified configuration files, in case you need to revert to previous settings.
Conclusion
Changing the PHP.ini file in cPanel is an essential task for website owners and administrators who need to customize the PHP settings for their websites. With the user-friendly interface of cPanel and the PHP Configuration module, you can easily make adjustments to accommodate your website’s specific requirements.
In this guide, we covered the steps involved in changing the PHP.ini file in cPanel. We started by accessing cPanel and locating the PHP Configuration module. From there, we explored how to select the appropriate PHP version and adjust the PHP settings according to your needs. Finally, we discussed the option of modifying the PHP.ini file directly and saving the changes.
However, it’s crucial to approach PHP configuration changes with caution. Modifying the PHP settings requires a good understanding of the implications and potential impact on your website’s performance, functionality, and security. If you are unsure about a specific setting or its recommended values, it’s always best to consult with professionals or refer to the PHP documentation.
Remember to regularly monitor and test your website after making any PHP configuration changes to ensure everything is functioning as expected. If you encounter any issues or difficulties during the process, don’t hesitate to reach out to your hosting provider’s support team for assistance.
By following the steps outlined in this guide, you can confidently modify the PHP.ini file in cPanel and take control of your website’s PHP configuration to optimize its performance and meet your specific needs. Stay informed, stay cautious, and enjoy the benefits of a finely tuned PHP environment!