Introduction
Xampp is a popular open-source web server solution that is widely used by developers for local development and testing purposes. It provides a convenient way to run a web server on your local machine without the need for a dedicated server. One of the key components of Xampp is PHP, a powerful scripting language that is widely used for web development.
By default, Xampp comes with a specific version of PHP. However, as a developer, you might encounter scenarios where you need to change the PHP version in Xampp to match the requirements of your project or to test compatibility with different PHP versions. Luckily, Xampp allows you to easily switch between different PHP versions to accommodate your needs.
In this article, we’ll guide you through the step-by-step process of changing the PHP version in Xampp. Whether you’re a seasoned developer or just starting, by following these instructions, you’ll be able to switch to the desired PHP version in no time.
Please note that the steps mentioned in this guide are specific to Xampp on Windows. If you’re using Xampp on a different operating system, the steps might vary slightly, but the overall process should be similar.
Requirements
Before you proceed with changing the PHP version in Xampp, make sure you meet the following requirements:
- Installed Xampp: Ensure that you have already installed Xampp on your computer. You can download the latest version of Xampp from the Apache Friends website (https://www.apachefriends.org).
- Administrator privileges: To perform the necessary modifications and configurations, you need to have administrative rights on your computer.
- Knowledge of your project requirements: Make sure you are aware of the specific PHP version required by your project or the version you wish to switch to.
- Internet access: Some of the steps in this guide require downloading PHP versions from the internet. Therefore, ensure that you have a stable internet connection.
Once you have confirmed that you meet these requirements, you are ready to proceed with changing the PHP version in Xampp. Take note of the current PHP version in Xampp and make a backup of any important files or databases before making any modifications, as the process involves renaming and copying folders. Let’s jump into the step-by-step process to change the PHP version in Xampp.
Step 1: Stop Xampp services
Before we can make any changes to the PHP version in Xampp, we need to stop all the running services. This will ensure that there are no conflicts or interruptions during the modification process. To stop the Xampp services, follow these steps:
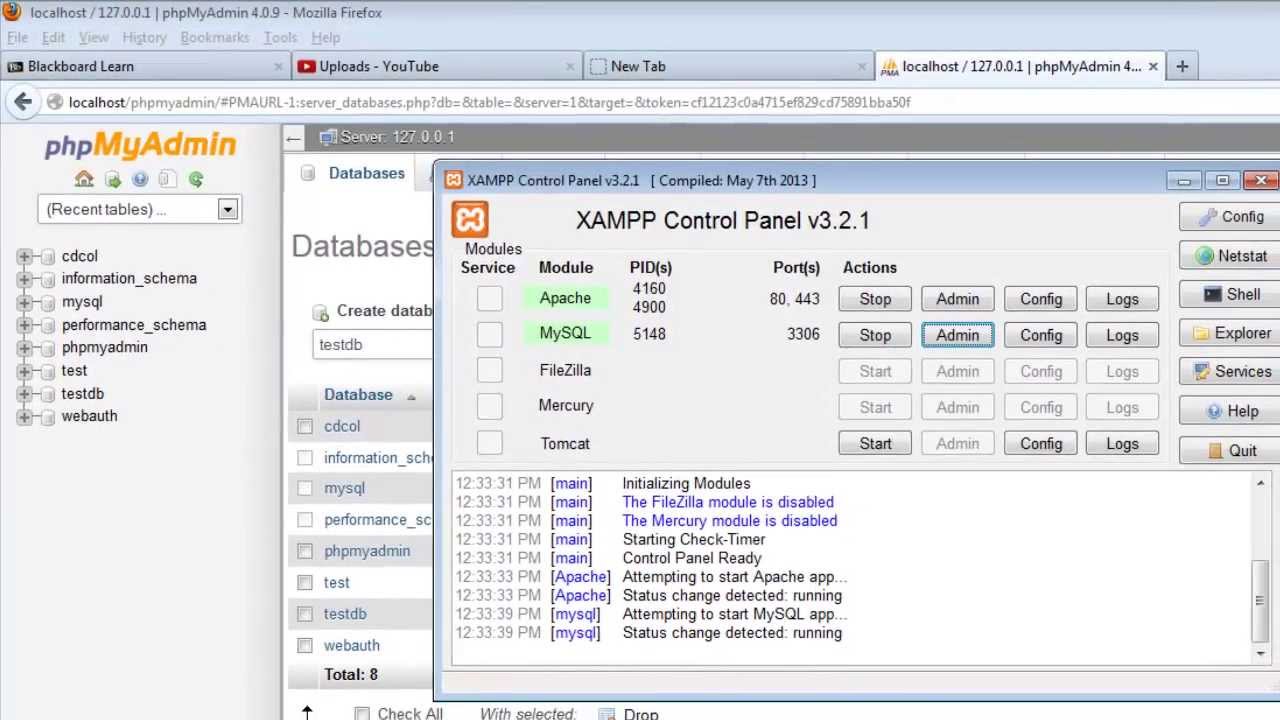
- Open the Xampp control panel: Locate the Xampp control panel on your computer. It is typically found in the installation directory of Xampp. Double-click on the control panel to open it.
- Stop Apache and MySQL: In the Xampp control panel, you will see a list of services such as Apache and MySQL. Click on the “Stop” button next to each service to stop them. Make sure that the status of each service changes to “Stopped”.
By stopping the Xampp services, we ensure that the web server and database server are not running while we make changes to the PHP version. This prevents any conflicts or issues that may arise during the modification process. Once the services have been successfully stopped, we can proceed to the next step of changing the PHP version in Xampp.
Step 2: Locate the PHP folder
In order to change the PHP version in Xampp, we need to locate the folder where the PHP files are stored. Here’s how you can find the PHP folder:
- Open the Xampp installation directory: Navigate to the directory where Xampp is installed on your computer. This is typically the “C:\xampp” directory for Windows users.
- Locate the “php” folder: Once you are inside the Xampp installation directory, you will find a folder named “php”. This folder contains all the PHP files and configurations for the current version of PHP in Xampp.
The “php” folder is the key folder that we will be working with to change the PHP version in Xampp. It contains important files such as “php.ini” and the PHP binaries. By locating this folder, we can proceed with the next steps of renaming the existing PHP version folder and downloading the desired PHP version.
Step 3: Rename the existing PHP version folder
Before we download and install the desired PHP version in Xampp, we need to rename the existing PHP version folder to avoid any conflicts. Here’s how you can rename the PHP version folder:
- Open the Xampp installation directory: Navigate to the Xampp installation directory on your computer. This is the same directory where you located the “php” folder in the previous step.
- Locate the current PHP version folder: Within the Xampp installation directory, you will find a folder with the name “php” followed by the version number. For example, if the current PHP version is 7.4.16, the folder name would be “php7.4.16”.
- Rename the PHP version folder: Right-click on the current PHP version folder and select “Rename” from the context menu. Give the folder a new name, preferably something descriptive like “php7.4.16_backup”. Press Enter to save the new folder name.
By renaming the existing PHP version folder, we create a backup of the current PHP version in case we need to revert back to it in the future. This also ensures that there are no conflicts when we install the desired PHP version in Xampp. Now that we have successfully renamed the PHP version folder, let’s move on to the next step of downloading the desired PHP version.
Step 4: Download the desired PHP version
To change the PHP version in Xampp, we need to download the desired PHP version from the official PHP website. Here’s how you can download the PHP version of your choice:
- Visit the PHP downloads page: Open a web browser and go to the official PHP website’s downloads page (https://www.php.net/downloads.php).
- Select the desired PHP version: On the downloads page, you will see a list of available PHP versions. Choose the version that you want to install in Xampp, based on your project requirements or personal preference.
- Choose the appropriate package: Once you have selected the desired PHP version, click on the corresponding package that matches your operating system. If you are using Windows, choose the Windows package.
- Download the PHP version: After selecting the appropriate package, you will be redirected to a page with various download options. Choose the ZIP file option to download the PHP version in a compressed format.
- Save the downloaded file: Specify a location on your computer to save the downloaded ZIP file. It is recommended to save it in a temporary folder for easy access during the next steps.
By downloading the desired PHP version, we are preparing to install it in Xampp and replace the existing PHP version. Ensure that you have downloaded the correct PHP version that matches your project requirements or personal preferences. Now that we have the downloaded file, let’s move on to the next step of extracting the PHP version.
Step 5: Extract the downloaded PHP version
In order to change the PHP version in Xampp, we need to extract the downloaded PHP version files from the ZIP archive. Here’s how you can extract the downloaded PHP version:
- Locate the downloaded ZIP file: Open the folder where you saved the downloaded PHP version ZIP file in the previous step.
- Extract the ZIP file: Right-click on the ZIP file and select “Extract All” from the context menu. Choose a location on your computer where you want to extract the PHP version files. This will create a new folder with the extracted files.
- Rename the extracted PHP version folder: By default, the extracted PHP version folder may have a long and complex name. Right-click on the folder and select “Rename” from the context menu. Give the folder a more recognizable and descriptive name, such as “php7.4.16”.
By extracting the downloaded PHP version, we now have the necessary files to replace the existing PHP version in Xampp. Make sure to choose a descriptive name for the extracted PHP version folder to easily identify it during the next steps. With the extracted folder ready, let’s proceed to the next step of copying the PHP version folder into Xampp.
Step 6: Copy the extracted PHP version folder
Now that we have the extracted PHP version folder, it’s time to replace the existing PHP version in Xampp. Here’s how you can copy the extracted PHP version folder into Xampp:
- Open the Xampp installation directory: Navigate to the Xampp installation directory on your computer. This is the same directory where you previously located the “php” folder.
- Copy the extracted PHP version folder: In the Xampp installation directory, right-click on the extracted PHP version folder and select “Copy” from the context menu.
- Paste the PHP version folder into Xampp: Go back to the Xampp installation directory and navigate to the “php” folder. Right-click inside the “php” folder and select “Paste” from the context menu. This will copy the extracted PHP version folder into Xampp, replacing the existing PHP version.
By copying the extracted PHP version folder into Xampp, we are replacing the current PHP version with the desired version. It is important to ensure that you have successfully copied the entire contents of the extracted folder into the “php” folder in Xampp. With the new PHP version in place, let’s move on to the next step of configuring Xampp to use the new PHP version.
Step 7: Configure Xampp to use the new PHP version
After copying the extracted PHP version folder into Xampp, we need to configure Xampp to use the new PHP version. Here’s how you can do it:
- Open the Xampp installation directory: Navigate to the Xampp installation directory on your computer if you’re not already there.
- Locate the “xampp” folder: Inside the Xampp installation directory, you will find a folder named “xampp”. Enter this folder.
- Open the “php” folder: Inside the “xampp” folder, locate another folder named “php”. Open this folder.
- Edit the “php.ini” file: Look for a file named “php.ini” within the “php” folder. Right-click on this file and select “Open With” and choose a text editor of your choice.
-
Configure the new PHP version: In the “php.ini” file, look for the following line:
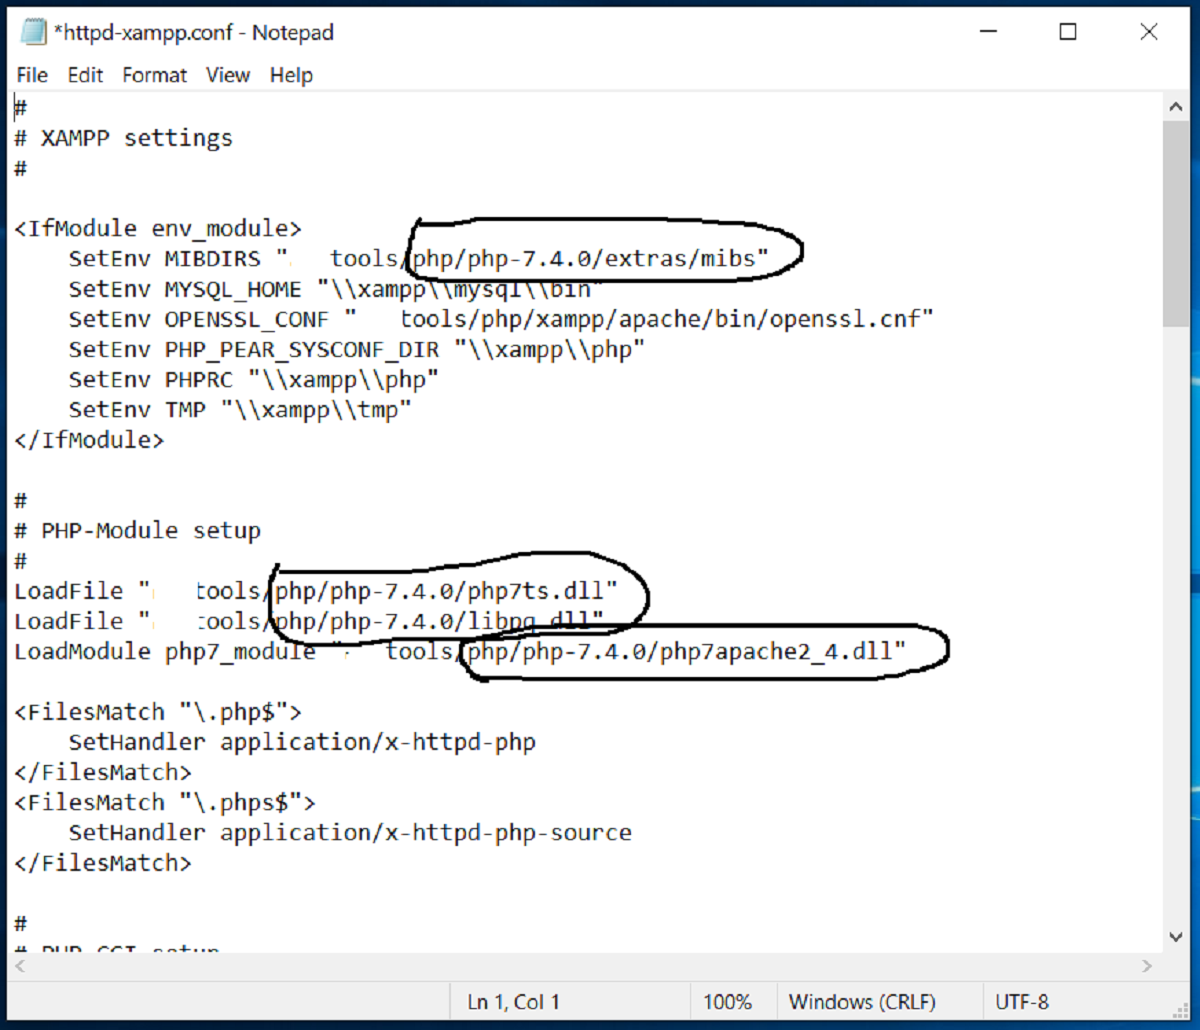
extension_dir = "ext". Replace the existing line with the following line:extension_dir = "C:\xampp\php\ext", whereC:\xampp\phpshould be the path to the PHP version folder you copied in Step 6. Save the “php.ini” file after making the change.
By modifying the “php.ini” file, we are configuring Xampp to use the new PHP version we copied. This ensures that Xampp recognizes and utilizes the correct PHP version for running web applications. Make sure to save the changes to the “php.ini” file before moving on to the next step. Now, let’s proceed to the final step of starting Xampp services and verifying the PHP version.
Step 8: Start Xampp services and verify PHP version
Now that we have configured Xampp to use the new PHP version, it’s time to start the Xampp services and verify that the PHP version has been successfully changed. Here’s what you need to do:
- Open the Xampp control panel: Locate the Xampp control panel on your computer and open it.
- Start Apache and MySQL: In the Xampp control panel, click on the “Start” button next to Apache and MySQL. This will start the web server and database server.
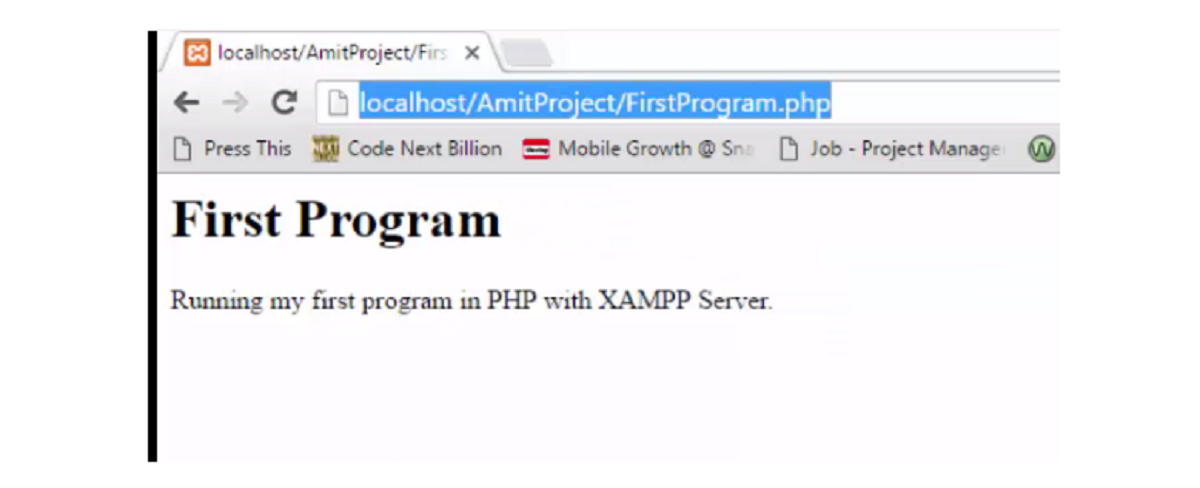
- Open a web browser: Launch a web browser of your choice and enter “localhost” or “127.0.0.1” in the address bar. Press Enter to access the Xampp dashboard.
- Verify the PHP version: On the Xampp dashboard, you will see information about the server status and configurations. Look for the PHP version displayed on the page. It should reflect the new PHP version that you installed.
By starting the Xampp services and accessing the Xampp dashboard, you can confirm that the PHP version has been successfully changed. Ensure that the displayed PHP version matches the desired version you installed in Step 6. If the PHP version displayed is the new version, congratulations! You have successfully changed the PHP version in Xampp.
Throughout this guide, we have outlined the step-by-step process of changing the PHP version in Xampp. By following these instructions, you can easily switch to the desired PHP version and ensure compatibility with your projects. Remember to always keep backups of important files and databases before making any modifications. Happy coding!
Conclusion
Changing the PHP version in Xampp is a straightforward process that allows developers to adapt to different project requirements or test compatibility with various PHP versions. By following the step-by-step instructions in this guide, you can seamlessly switch to the desired PHP version in Xampp.
We first covered the necessary requirements, including having Xampp installed, administrative privileges, knowledge of project requirements, and internet access. Meeting these requirements ensures a smooth transition during the PHP version change process.
Next, we walked through each step of the process, starting with stopping the Xampp services to avoid conflicts, locating the PHP folder, renaming the existing PHP version folder as a backup, downloading the desired PHP version from the official PHP website, and extracting the downloaded files.
We then covered the steps of copying the extracted PHP version folder into Xampp, configuring Xampp to use the new PHP version by editing the “php.ini” file, and finally, starting the Xampp services to verify the PHP version change.
By successfully completing these steps, you can ensure that your Xampp environment is running on the desired PHP version, enabling you to work on your projects or test compatibility with different PHP versions.
Remember to always make backups of important files and databases before making any modifications. Additionally, if you encounter any issues during the process, make sure to refer to the official Xampp documentation or seek assistance from the developer community.
We hope this guide has been helpful in empowering you to change the PHP version in Xampp effectively. With the ability to switch between PHP versions, you can stay up-to-date with the latest features and ensure optimal performance for your web development projects.