Introduction
Welcome to this guide on how to eject an SSD from your computer. Whether you’re looking to upgrade your SSD or replace it with a new one, it’s essential to know the proper steps to safely remove it from your system. Ejecting an SSD is a delicate process that requires some technical knowledge, but with the right guidance, you can do it successfully.
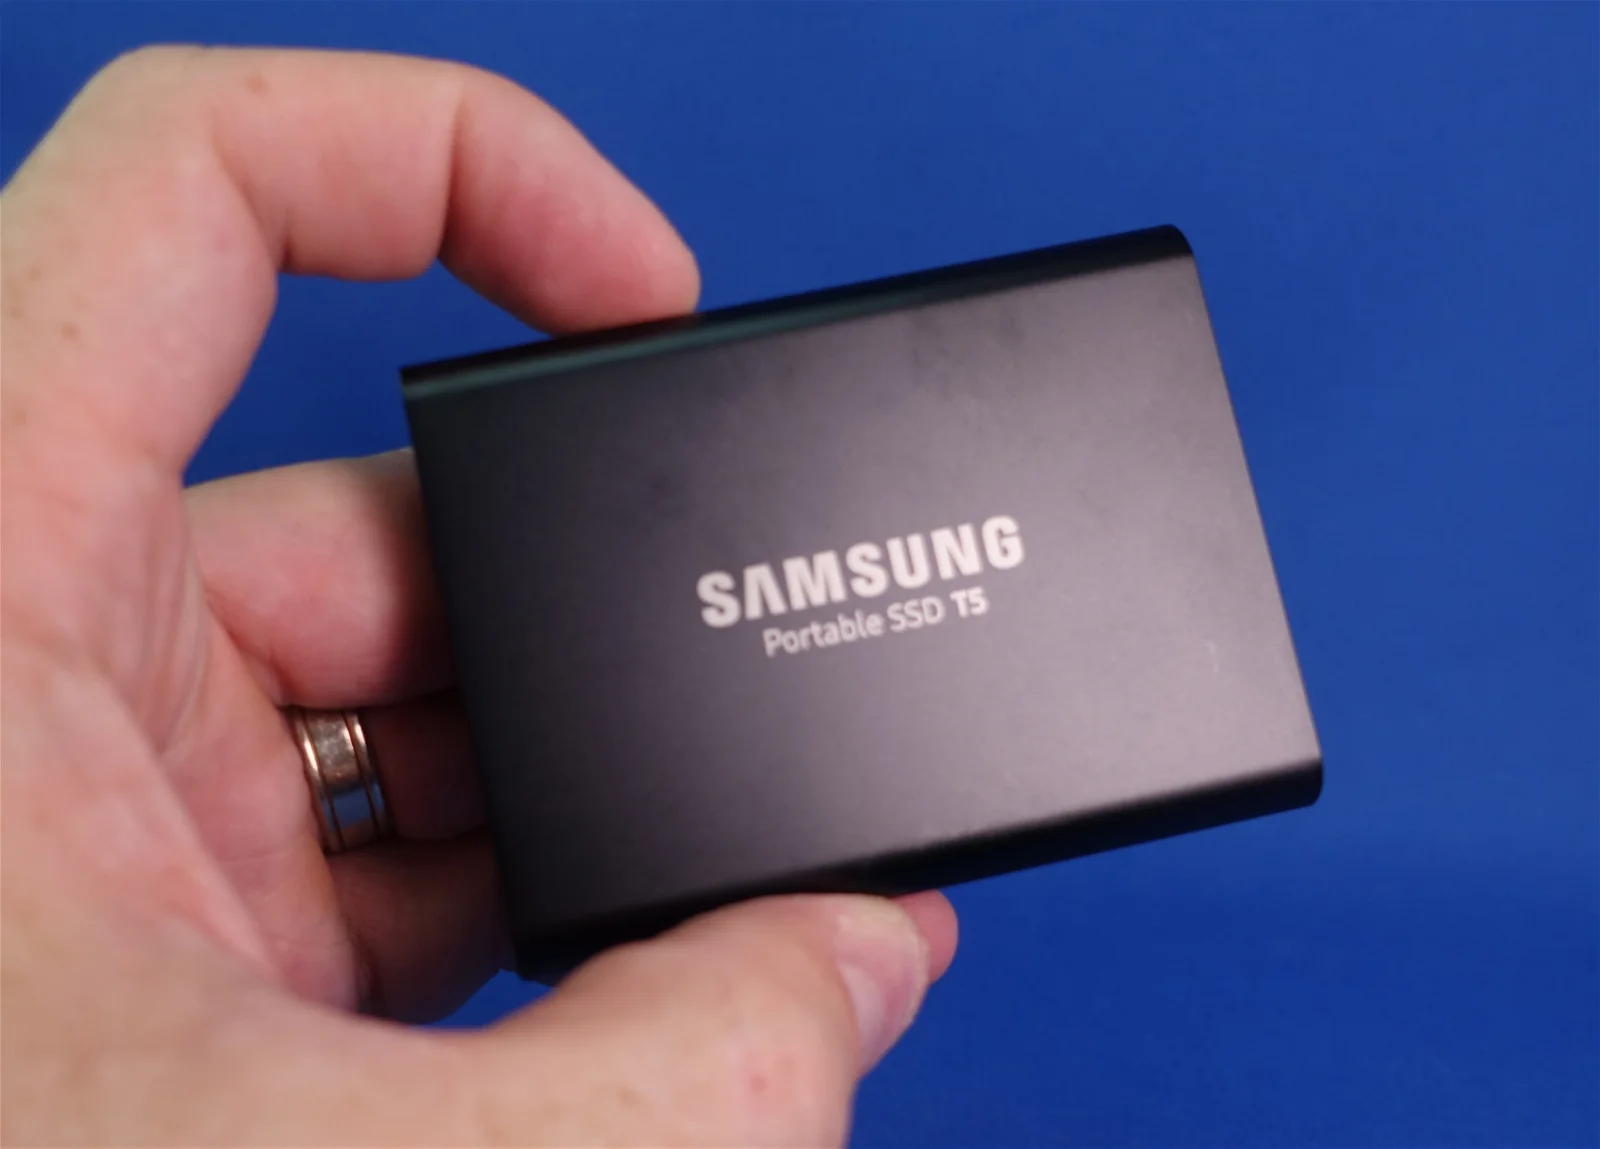
An SSD, or Solid State Drive, is a storage device that uses flash memory to store data. Unlike traditional hard drives, SSDs have no moving parts, making them faster, more reliable, and less susceptible to physical damage. However, there may come a time when you need to remove the SSD from your computer, either for maintenance or upgrading purposes.
In this guide, we will walk you through the step-by-step process of ejecting an SSD from your computer. We’ll cover everything you need to know, from backing up your data to safely storing or disposing of the SSD. Whether you’re a computer enthusiast or a beginner, this guide is designed to help you accomplish the task with ease.
It’s important to note that we assume you have basic knowledge of computer hardware and are familiar with opening computer cases. If you’re unsure about any of the steps or lack the necessary experience, we highly recommend seeking professional assistance to ensure the safety of your computer and data.
Now that you understand the importance of ejecting an SSD correctly, let’s get started with the step-by-step process. Grab your tools, and let’s ensure a smooth and successful SSD ejection.
What You Will Need
Before starting the process of ejecting your SSD, you’ll need to gather a few tools and items to ensure a smooth and hassle-free experience. Here’s a list of things you should have:
- A screwdriver: Most computer cases require a Phillips head screwdriver for removing screws. Make sure you have the appropriate size for your case.
- Anti-static wrist band (optional): While not entirely necessary, an anti-static wrist band can help protect your SSD and other computer components from electrostatic discharge.
- Backup storage device: It’s crucial to have a backup system in place before ejecting your SSD. This can be an external hard drive, a USB flash drive, or cloud storage. Ensure that you have enough storage space to back up all your important files and data.
- Access to a secure workspace: Find a clean, well-lit area where you can comfortably work on your computer. Make sure the surface is static-free and free from any clutter that could potentially damage your SSD or other components.
Having these tools and items ready will streamline the process and prevent any unnecessary delays or complications. It’s always better to be prepared before diving into the task.
Step 1: Back up your data
Before you begin the process of ejecting your SSD, it’s crucial to back up all your important data. This step ensures that even if something goes wrong during the ejection process, you won’t lose any valuable information.
There are several methods you can use to back up your data, depending on your preferences and available resources:
- External Hard Drive: Connect an external hard drive to your computer and transfer all your important files and folders to it. Ensure that the external hard drive has enough storage capacity for your data. Consider using backup software or built-in backup tools provided by your operating system to streamline the process.
- Cloud Storage: Utilize cloud storage services such as Google Drive, Dropbox, or Microsoft OneDrive to upload and store your files online. This option allows you to access your data from any device with an internet connection. Make sure you have enough storage space available in your chosen cloud storage service.
- USB Flash Drive: If you have a relatively small amount of data, you can back it up onto a USB flash drive. Insert the flash drive into your computer and copy the files and folders you want to back up onto it.
Remember to double-check that you’ve backed up all your important data, including personal documents, photos, videos, and any other files that you don’t want to lose. Take the time to organize and create a backup strategy that works best for you.
Once you’ve successfully backed up your data, you can proceed with the next steps in the process of ejecting your SSD with peace of mind. Knowing that your data is safely stored will alleviate any concerns about losing valuable information during the ejection process.
Step 2: Shut down your computer
Before you begin working on your computer and removing the SSD, it’s essential to shut down your computer properly. This step ensures that you can safely disconnect and handle the components without any risk of damaging them or causing a system malfunction.
To shut down your computer, follow these steps:
- Save your work: Make sure to save any open documents or projects you are working on. This step ensures that you don’t lose any unsaved changes or data.
- Close all programs: Close any open applications or software running on your computer. This step helps prevent any conflicts or issues during the shutdown process.
- Click on the Start Menu: Locate and click on the Start button on your desktop taskbar. This button is usually located in the lower-left corner of the screen.
- Select the “Power” option: From the Start Menu, select the “Power” option. It’s usually represented by a combination of a circle and a vertical line.
- Choose “Shut down”: A dropdown menu will appear with various options. Click on the “Shut down” option to initiate the shutdown process.
- Wait for the computer to shut down: Give your computer a few moments to complete the shutdown process. You may see a screen indicating that Windows is shutting down, along with a progress bar.
Once your computer has completely shut down, you can proceed to the next steps with confidence. Remember to be patient during the shutdown process and avoid forcing a shutdown by unplugging or pressing the power button, as this can lead to data loss or hardware damage.
By following this step, you ensure that your computer is in a safe state for you to continue working on and removing the SSD. With your computer powered off, you’re ready to move on to the next steps in the SSD ejection process.
Step 3: Open the computer case
To access your SSD inside the computer, you need to open the computer case. This step allows you to reach the internal components of your computer, including the SSD.
Follow these steps to open the computer case:
- Power off the computer: Ensure that your computer is completely powered off before proceeding.
- Unplug the power cable: Disconnect the power cable from the back of your computer case. This step prevents any electrical flow and ensures your safety.
- Ground yourself: Grounding yourself by touching a metal surface or wearing an anti-static wristband helps discharge any static electricity and protects your computer’s sensitive components. This step is crucial to prevent any electrostatic damage.
- Remove the side panel: Depending on your computer case, you may need to unscrew or release latches to remove the side panel. Place the removed panel in a safe location, ensuring it doesn’t get damaged.
- View the internal components: With the side panel removed, you can now see the internal components of your computer, including the SSD.
It’s important to note that each computer case may have variations in terms of how the panels are removed. Refer to your computer’s user manual or search for specific instructions for your case model if you are unsure about the process.
Opening the computer case allows you to have direct access to the SSD, which is essential for safely ejecting it from your computer. Remember to handle the internal components with care and avoid touching any exposed circuitry or sensitive parts to prevent damage.
With the computer case open, you’re now ready to proceed with the next steps in the SSD ejection process.
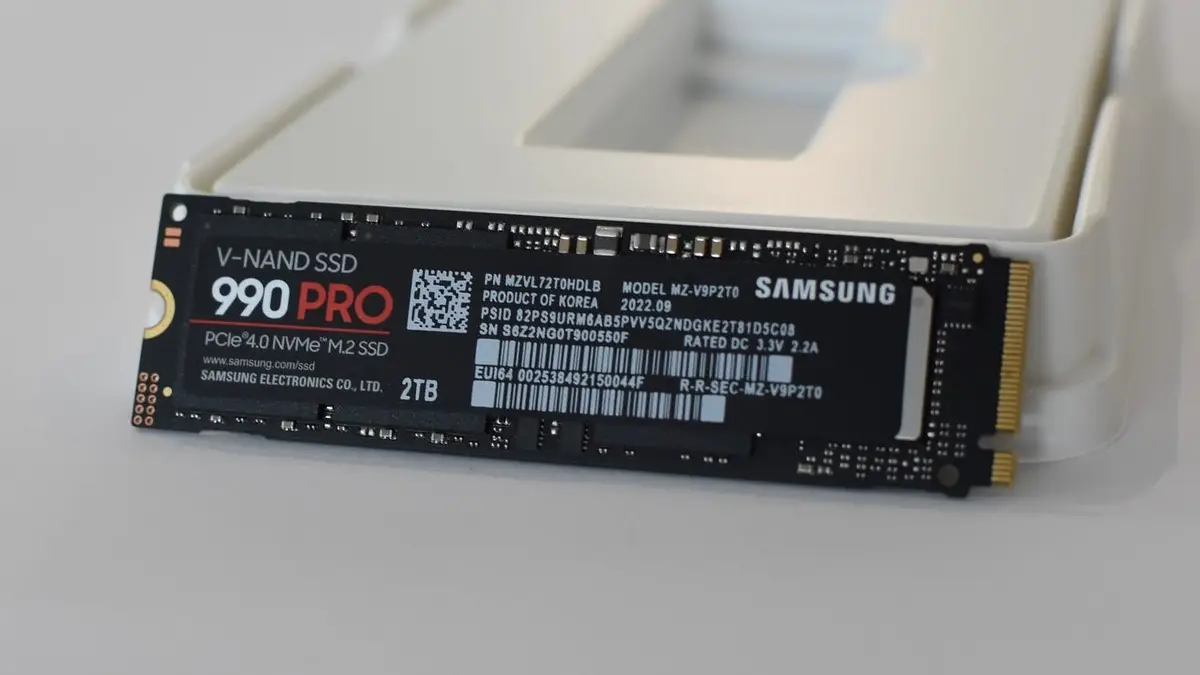
Step 4: Locate the SSD
After opening the computer case, the next step is to locate the SSD within your computer’s internal components. Finding the SSD is crucial as it allows you to identify the drive and proceed with the ejection process.
Follow these steps to locate the SSD:
- Observe the internal components: Take a look at the internal components of your computer case. Look for rectangular-shaped devices attached to the motherboard or connected to the SATA ports.
- Identify the SSD: Look for a device that matches the physical description of an SSD – a small, rectangular drive typically with a circuit board on one side. It will be smaller and thinner than traditional hard drives.
- Note the SSD’s position and connections: Pay attention to where the SSD is located within the case and how it is connected to the motherboard. Take note of any mounting screws, cables, or connectors that are attached to the SSD.
It’s important to keep in mind that the exact location of the SSD may vary depending on your computer’s configuration and case design. Some common locations include drive bays, cages, or slots specifically designed for SSD installation. If you’re having trouble locating the SSD, consult your computer’s user manual or online resources specific to your computer model.
Once you have located the SSD and familiarized yourself with its position and connections, you’re ready to proceed to the next steps for safely ejecting the SSD from your computer.
Step 5: Disconnect power and data cables
Before removing the SSD from your computer, you must disconnect the power and data cables connected to it. This step ensures that the SSD can be safely disconnected without causing any damage to the drive or the computer components.
Follow these steps to disconnect the power and data cables:
- Identify the power and data cables: Locate the cables connected to the SSD. The power cable typically has a small, rectangular connector, while the data cable is a flat, narrow cable.
- Remove the power cable: Gently grasp the power cable connector where it attaches to the SSD and pull it straight out. Be careful not to apply excessive force or pull on the cable itself.
- Detach the data cable: Similarly, hold the data cable connector near the SSD and pull it straight out of its socket. Take care not to bend or damage the pins on the connector.
It’s important to ensure that you disconnect both the power and data cables to prevent any remaining power or data flow to the SSD. Removing these cables also allows you to safely handle the SSD without any electrical interference.
If you encounter difficulty disconnecting the cables, make sure to check if there are any clips or locks securing them in place. Some connectors might require pressing down or sliding a latch to release the connection.
Once you have successfully disconnected the power and data cables, you can proceed to the next steps to remove the SSD from your computer.
Step 6: Remove the mounting screws
With the power and data cables disconnected, the next step in ejecting the SSD from your computer is to remove the mounting screws that secure it in place. These screws keep the SSD securely attached to the computer case or mounting bracket.
Follow these steps to remove the mounting screws:
- Identify the mounting screws: Look for small screws that are holding the SSD in place. They may be located on the sides, bottom, or top of the SSD, depending on your computer’s configuration.
- Use the appropriate screwdriver: Determine the type of screws used to secure the SSD. Most computers use standard Phillips head screws, but there may be variations depending on your computer case.
- Loosen and remove the screws: Using the appropriate screwdriver, gently loosen and remove each mounting screw one at a time. Turn the screwdriver counterclockwise to loosen the screws until they are loose enough to be lifted out of their holes.
- Place the screws in a safe location: As you remove each mounting screw, place them in a small container or a designated area. Keeping the screws organized ensures that they are easily accessible when reinstalling the SSD or handling other components.
It’s important to exercise caution when removing the mounting screws. Only apply enough force to loosen them without stripping the screw heads or damaging the mounting holes. If a screw is tightly secured, try applying gentle pressure while turning to avoid excess force.
Once all the mounting screws have been removed, the SSD will no longer be physically secured in place. You can now proceed to the next steps to safely remove the SSD from your computer.
Step 7: Carefully slide out the SSD
After removing the mounting screws, the next step is to carefully slide out the SSD from its current position within the computer. It’s crucial to handle the SSD with care to avoid any damage to the drive or other components.
Follow these steps to safely slide out the SSD:
- Hold the SSD with a firm grip: Take hold of the SSD at its sides or edges, ensuring a secure and stable grip. Avoid applying pressure or touching any of the SSD’s components, including the circuit board or connectors.
- Gently and evenly slide out the SSD: Slowly and evenly slide the SSD out of its current position. Be mindful of any cables or other components that may obstruct the removal process. If necessary, gently move cables aside to create enough space for the SSD to slide out smoothly.
- Do not force the SSD: If the SSD does not easily slide out, double-check for any possible obstructions or cables that may be impeding its removal. Avoid using excessive force or pulling on the SSD, as this can cause damage to both the drive and the surrounding components.
While sliding out the SSD, it is crucial to maintain a steady and controlled movement to prevent any accidental drops or collisions. Additionally, be mindful of any static electricity by either wearing an anti-static wristband or periodically grounding yourself during the process.
Once you have successfully slid out the SSD, place it in a static-free and safe location. Avoid placing it on a surface that may generate static electricity, such as carpets or blankets. Instead, use an anti-static bag or place it on a non-conductive material such as a wooden table or anti-static mat.
By following these steps, you can safely remove the SSD from your computer without causing any damage to the drive or other internal components.
Step 8: Safely store or dispose of the SSD
Once you have successfully removed the SSD from your computer, it’s important to handle it properly to ensure its safety and security. Depending on your intentions, you can either store the SSD for future use or dispose of it responsibly.
Here are some guidelines to help you safely store or dispose of the SSD:
- If you plan to store the SSD:
- Place the SSD in an anti-static bag or container: To protect the SSD from static electricity, place it in an anti-static bag or a container specifically designed for storing electronic components.
- Keep it in a cool, dry place: Store the SSD in a location where it won’t be exposed to extreme temperatures, humidity, or direct sunlight. This helps prevent any potential damage to the drive over time.
- Label the storage container: Clearly label the container with the SSD’s specifications and the date it was removed from your computer. This will make it easier to identify and locate the SSD in the future.
- If you plan to dispose of the SSD:
- Securely erase the SSD: Before disposing of the SSD, ensure that you securely erase all data from it. This can be done using specialized software or tools designed for secure data wiping.
- Consider professional disposal services: If you’re unsure about how to properly dispose of the SSD, consider using professional disposal services that specialize in electronic waste. These services ensure safe and environmentally-friendly disposal of electronic components.
- Follow local regulations: Check your local regulations regarding electronic waste disposal. Some areas have specific guidelines or recycling programs for handling electronic components.
Remember, if the SSD still contains any sensitive or personal data, it’s crucial to securely erase the drive before disposal to protect your privacy.
By following these guidelines, you can either store the SSD for future use or dispose of it responsibly, ensuring the safety of your data and the environment.
Step 9: Close the computer case
With the SSD safely removed and either stored or disposed of, the final step is to close the computer case. Closing the case protects the internal components from dust, debris, and potential damage, and also restores the aesthetic appearance of your computer.
Here are the steps to close the computer case:
- Ensure all components are properly positioned: Before closing the case, double-check that all internal components, cables, and connectors are properly positioned and secured. This ensures that they won’t interfere with the closing process or cause any damage.
- Align the side panel: Align the side panel of the computer case with the corresponding slots or hinges. Gently slide or push the panel back into place until it is fully aligned with the case.
- Secure the side panel: Once aligned, tighten the screws or engage the latches to securely attach the side panel to the computer case. Use the appropriate tool or method specified by your computer case manufacturer to ensure a tight and secure fit.
- Double-check the closure: Give the side panel a slight tug or wiggle to ensure that it is firmly closed and properly secured. This step confirms that the side panel is locked in place and won’t accidentally open during normal computer use.
It’s important to take care during the closing process to avoid forcing any parts or damaging any components. Ensure that the side panel is aligned and attached correctly to avoid any potential issues or safety hazards.
Once the computer case is closed, plug in the power cable and turn on your computer. Verify that everything is functioning properly before continuing to use your computer as usual.
With the computer case securely closed, you have successfully completed the process of ejecting an SSD from your computer. Congratulations on completing the steps with care and precision!
Conclusion
Congratulations! You have successfully learned how to eject an SSD from your computer. By following the step-by-step process outlined in this guide, you’ve gained the knowledge and confidence to safely remove an SSD, whether for upgrading, replacing, or any other purpose.
Remember, before starting the process, always back up your data to ensure you don’t lose any valuable files or information. Additionally, make sure to shut down your computer properly and ground yourself to prevent any static discharge that could harm your computer or SSD.
Once you have opened the computer case, located the SSD, and disconnected the power and data cables, be careful when removing the mounting screws and sliding out the SSD. Handle the SSD with care, avoiding any unnecessary force or contact with sensitive components.
Depending on your plans, you can either store the SSD for future use or dispose of it responsibly. In either case, securely erase the SSD if it contains any sensitive data and follow local regulations for proper disposal.
Finally, close the computer case, ensuring all components are properly positioned and the side panel is securely attached. Once the case is closed, you can reconnect the power cable, turn on your computer, and verify that everything is functioning correctly.
Remember, if you ever feel unsure or uncomfortable performing any of these steps, it’s always best to seek professional assistance. Properly ejecting an SSD is important to prevent damage to your computer and ensure data safety.
We hope this guide has been helpful in guiding you through the process of ejecting an SSD. Thank you for following along, and we wish you success on all your future computer-related endeavors!