Introduction
Welcome to our comprehensive guide on how to completely wipe an SSD. In this digital age, data security is of utmost importance, and ensuring that all sensitive information is completely removed from storage devices is crucial. Solid-state drives, or SSDs, have become increasingly popular due to their speed and reliability. However, when it comes time to dispose of or repurpose an SSD, it is essential to properly wipe all data to prevent any potential breaches.
In this article, we will explore the different methods you can use to wipe an SSD and discuss important considerations before proceeding. Whether you are looking to sell, donate, or recycle your SSD, wiping it clean ensures that no personal or confidential data is left behind.
Before we dive into the various methods, it’s important to note that the process of wiping an SSD differs from that of a traditional hard disk drive (HDD). Traditional methods, such as formatting or writing over the entire drive, may not effectively erase data on an SSD due to its unique architecture.
Now, let’s delve into the different methods you can employ to securely wipe your SSD and safeguard your sensitive information. Read on to discover the most effective ways to completely wipe an SSD and achieve peace of mind when it comes to data security.
What is an SSD?
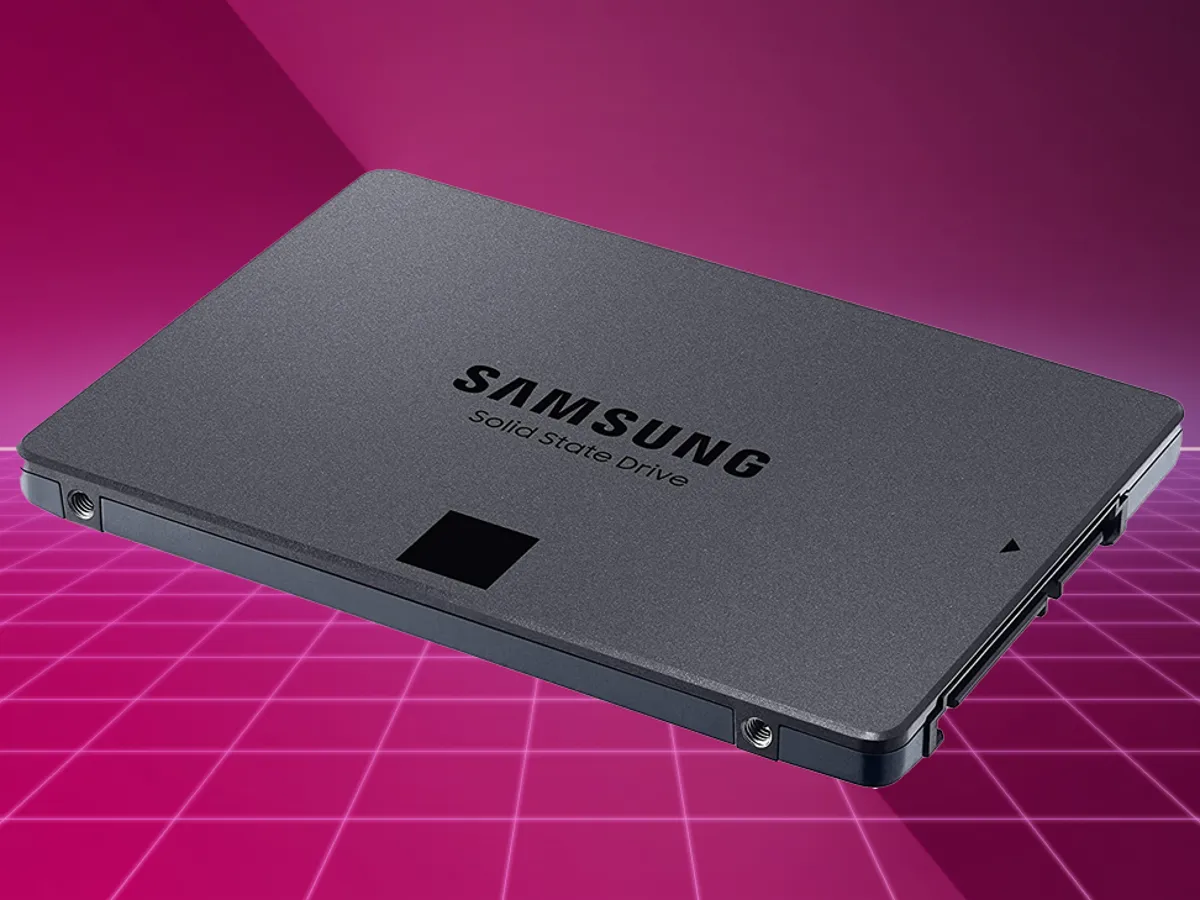
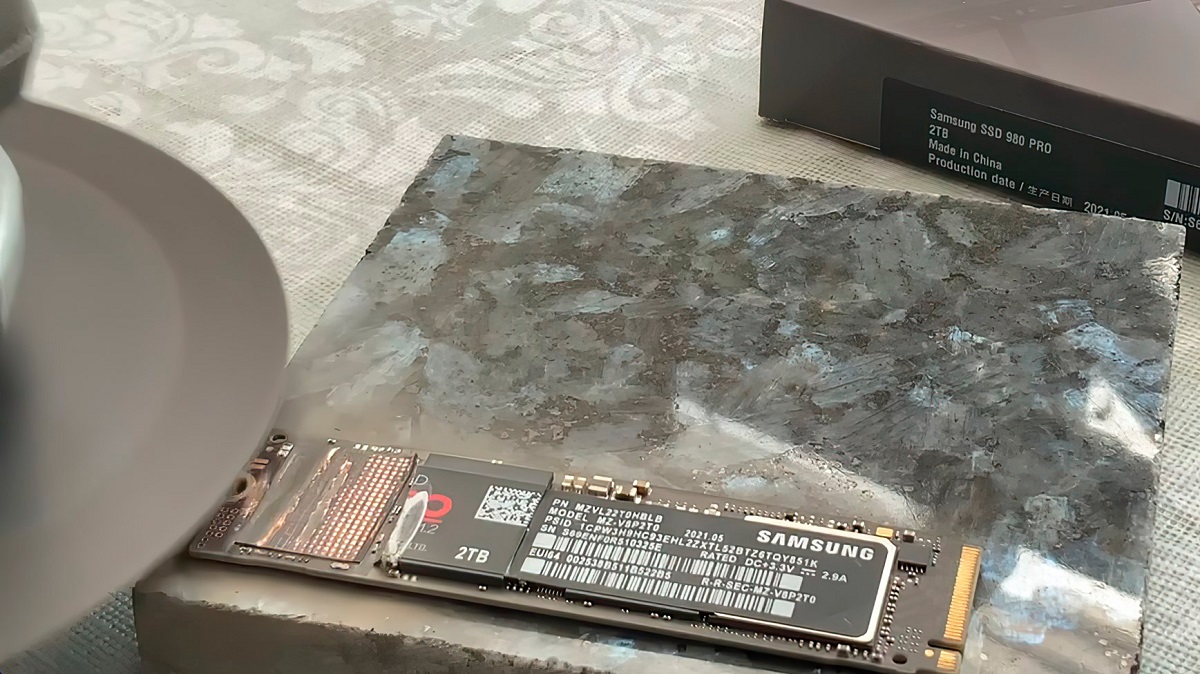
In order to understand the process of wiping an SSD, it is important to have a clear understanding of what an SSD actually is. SSD stands for solid-state drive, which is a type of storage device that uses flash memory to store data. Unlike traditional hard drives, which rely on magnetic spinning disks, SSDs have no moving parts. This absence of mechanical components not only makes SSDs more durable but also allows them to offer faster data transfer speeds and quicker access to stored information.
SSDs are built using integrated circuit assemblies to store data persistently, meaning the data remains on the drive even when the power is turned off. These drives are commonly found in laptops, desktop computers, and even portable storage devices. With their increasing affordability and efficiency, SSDs have become the go-to choice for many users who seek enhanced performance and reliability.
One of the key benefits of SSDs is their incredible speed. Since they do not need to physically move a read/write head across a spinning disk, they have significantly faster read and write times compared to traditional hard drives. This speed advantage translates into faster boot times, quicker file transfers, and reduced waiting times when launching applications or accessing data.
Another advantage of SSDs is their reliability. Because they lack moving parts, SSDs are less prone to mechanical failures. This means you are less likely to encounter issues such as disk fragmentation or read/write errors. Additionally, since SSDs are not affected by magnetic fields, they are less susceptible to damage caused by external factors such as magnetic interference or physical shocks.
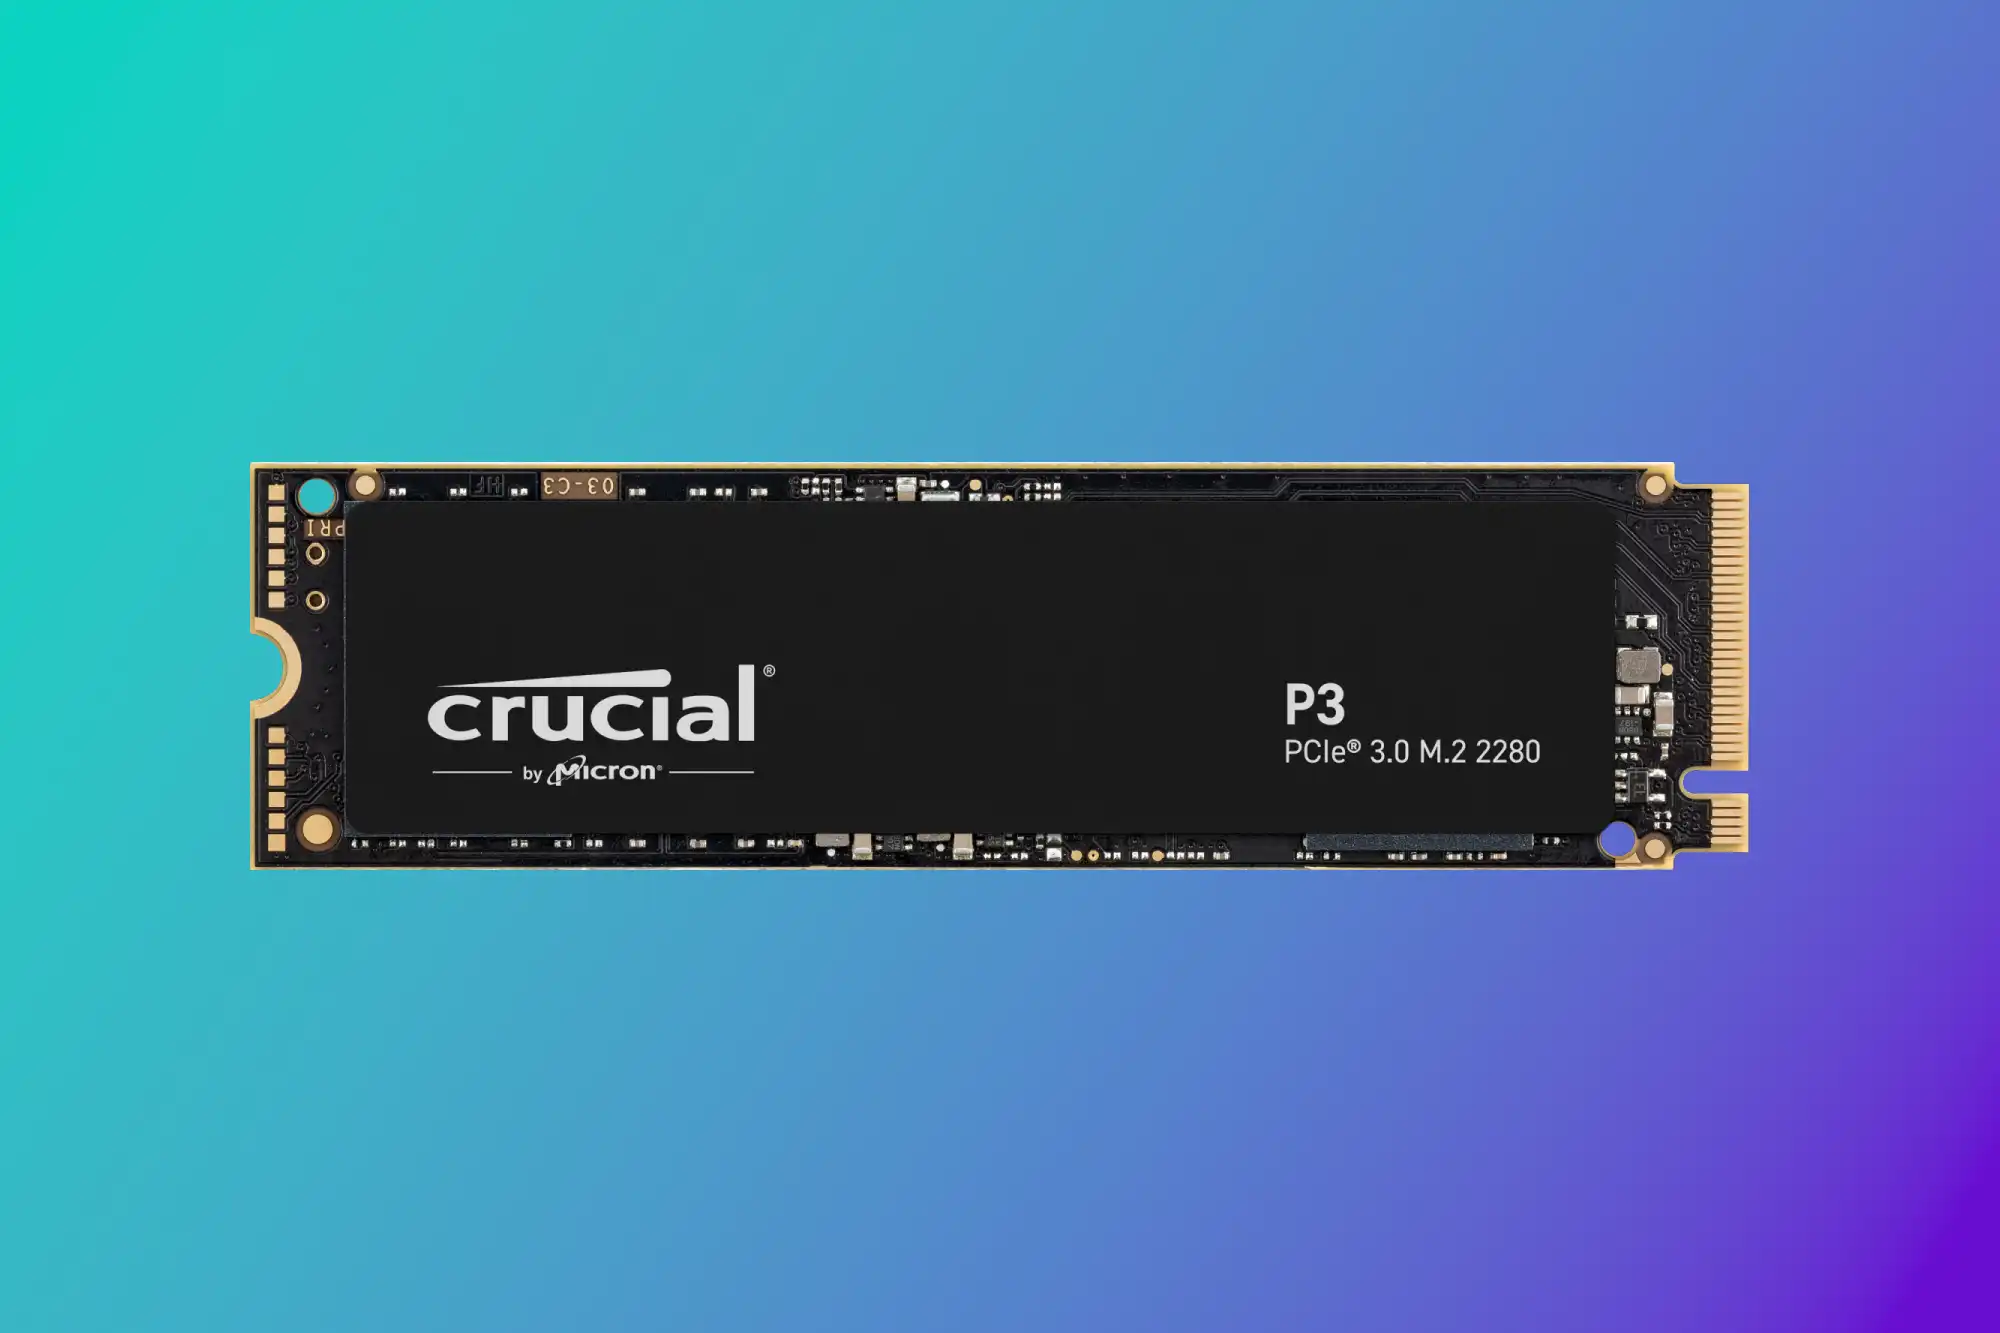
In terms of form factor, SSDs come in various shapes and sizes to accommodate different devices and use cases. From the standard 2.5-inch drives used in laptops and desktops to the smaller M.2 form factor used in ultrabooks and compact PCs, there is an SSD size to suit every need.
To summarize, SSDs are high-performance storage devices that utilize flash memory to store and access data. They offer faster speeds, enhanced durability, and improved reliability compared to traditional hard drives. Understanding the characteristics of an SSD is vital when it comes to properly wiping the drive and ensuring the security of your data.
Why would you want to wipe an SSD?
There are several scenarios in which you may want to wipe an SSD and ensure that all data is completely removed. Let’s explore some of the key reasons:
- Selling or donating your SSD: If you plan to sell or donate your SSD, it is essential to wipe it clean to protect your personal information. This ensures that no one else can access your sensitive data, including financial information, personal documents, or login credentials.
- Upgrading or repurposing your system: If you are upgrading to a new SSD or repurposing your current system, wiping the old SSD allows you to start with a clean slate. It ensures that any residual data from previous installations or usage is completely eliminated, preventing any potential conflicts or security risks.
- Returning or replacing a defective SSD: In the unfortunate event that your SSD is defective and needs to be returned or replaced, wiping the drive ensures that your personal data does not fall into the wrong hands during the servicing process.
- Protecting sensitive business or client information: If you use an SSD for business purposes, it is crucial to regularly wipe the drive to protect any sensitive business or client information. This is especially important if you handle confidential data, trade secrets, or personally identifiable information.
Regardless of the specific reason, wiping an SSD provides peace of mind and ensures that your data remains secure. It is important to note that simply deleting files or formatting the drive is not sufficient to completely erase the data on an SSD. This is due to the way SSDs handle data storage, with wear leveling and overprovisioning techniques that can leave remnants of data behind even after deletion.
To address this, specialized methods are required to effectively wipe an SSD and eliminate all traces of data. We will discuss these methods in the following sections, providing you with practical steps to securely wipe your SSD and protect your personal information.
Important Considerations Before Wiping an SSD
Before you proceed with wiping an SSD, there are several important considerations to keep in mind. These factors will help ensure that you make informed decisions and carry out the process effectively. Let’s take a look at some key considerations:
- Back up your important data: Before you begin the wiping process, it is crucial to back up any important data that you want to keep. Wiping an SSD will erase all data, including files, applications, and settings. By backing up your data, you can easily restore it to a new drive or a fresh installation after the wiping process is complete.
- Verify if data encryption is enabled: Some modern SSDs offer built-in hardware encryption features. If you have enabled encryption on your SSD, wiping the drive may not be necessary as the encryption key can render the data unreadable. However, it is essential to ensure that the encryption has been properly implemented and that the encryption key is securely stored.
- Consider the performance impact: Wiping an SSD involves carrying out multiple write operations, which can have a minor impact on the drive’s lifespan and performance. This impact is generally negligible for consumer-grade SSDs, but it is worth considering if you are dealing with enterprise-grade or heavily used SSDs.
- Evaluate the wiping method: There are various methods available to wipe an SSD, each with its own implications and level of effectiveness. It is important to research and select a method that aligns with your requirements and ensures that all data is completely erased.
Additionally, it is crucial to note that different SSD manufacturers may have specific instructions or software tools for wiping their drives. It is recommended to consult the manufacturer’s documentation or website to ensure that you follow the correct procedure for your specific SSD model.
By considering these factors and taking necessary precautions, you can proceed with confidence when it comes to wiping your SSD. Now that we have covered the important considerations, let’s explore the different methods you can use to securely wipe an SSD and protect your data.
Method 1: Using Secure Erase
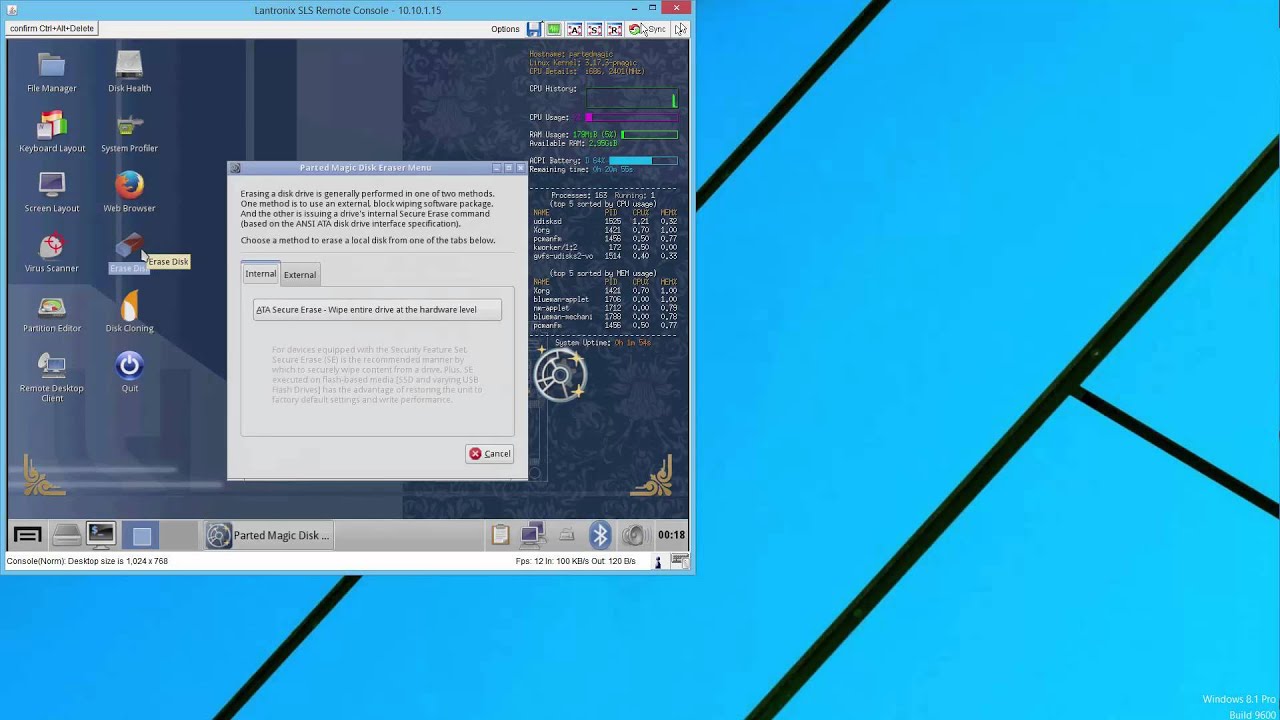
One of the most effective methods to securely wipe an SSD is by using the built-in Secure Erase feature. Secure Erase is a firmware command that instructs the SSD to delete all data on the drive and restore it to its original factory settings. This method ensures that all data is completely erased, including any remnants that may be left behind by traditional deletion methods.
Here are the steps to perform a Secure Erase:
- Back up your important data: Before initiating a Secure Erase, ensure that you have backed up any important data that you want to keep, as the process will delete all data on the SSD.
- Download and install the SSD manufacturer’s software: Many SSD manufacturers provide software tools specifically designed for their drives. Download and install the software for your SSD model from the manufacturer’s official website.
- Open the software and identify your SSD: Launch the SSD manufacturer’s software and select the connected SSD from the list of detected drives.
- Access the Secure Erase feature: Look for the Secure Erase option within the software’s interface. Depending on the manufacturer, this may be located in different sections or have a different name, such as “Sanitize” or “Erase”.
- Start the Secure Erase process: Follow the on-screen instructions provided by the software to initiate the Secure Erase process. This process may take some time, depending on the size and speed of the SSD.
- Verify the secure erase completion: Once the Secure Erase process is complete, the software will notify you. It is recommended to verify the completion and ensure that all data has been successfully erased.
It is important to note that not all SSDs support Secure Erase, especially older models. If your SSD does not have a Secure Erase feature or if the manufacturer’s software does not offer this functionality, you may need to explore alternative wiping methods.
By utilizing the Secure Erase feature provided by the SSD manufacturer’s software, you can confidently wipe your SSD and prevent any potential data breaches when disposing of or repurposing the drive.
Method 2: Formatting the SSD
Another method to wipe an SSD is by formatting the drive. While formatting generally erases data from traditional hard drives, the effectiveness of this method on SSDs is limited. Formatting an SSD may only remove the file system metadata and references to the data, but not necessarily the data itself. Therefore, it is not considered as secure as using methods specifically designed for SSDs, such as Secure Erase.
However, if you still choose to format your SSD, here are the steps to follow:
- Back up your important data: Before formatting the SSD, it is essential to back up any important data that you want to keep, as the process will delete all data on the drive.
- Access the Disk Management utility: On Windows, you can access the Disk Management utility by right-clicking on the Start button and selecting “Disk Management”. On macOS, open “Disk Utility” from the Utilities folder within the Applications folder.
- Select and initialize the SSD: In the Disk Management utility, locate the SSD and select it. Follow the prompts to initialize the disk if necessary.
- Create new partitions: Right-click on the unallocated space on the SSD and select “New Simple Volume” (Windows) or click on the “+” button (macOS) to create new partitions. Follow the on-screen instructions to set the desired partition size and file system format.
- Format the partitions: After creating the new partitions, right-click on each partition and select the “Format” option. Choose the desired file system format, such as NTFS for Windows or APFS for macOS, and follow the prompts to complete the formatting process.
While formatting an SSD may remove the file system and hide the data from normal users, it may still be recoverable with specialized software. If you want to ensure complete data erasure on an SSD, it is strongly recommended to use more secure methods, such as Secure Erase or encryption software.
Keep in mind that formatting an SSD should only be considered if you are intending to reuse the drive within your own system or if the data stored on the drive is not of a sensitive nature.
Next, we will explore another method you can use to wipe an SSD – using encryption software.
Method 3: Using Encryption Software
Using encryption software is another effective method to securely wipe an SSD. Encryption works by scrambling the data on the drive, making it unreadable without the correct encryption key. By encrypting the entire SSD and then securely wiping the encryption key, you can effectively render all data on the drive irretrievable.
Here are the steps to use encryption software to wipe an SSD:
- Back up your important data: Before initiating the encryption process, ensure that you have backed up any important data that you want to keep, as the process will delete all data on the SSD.
- Select reputable encryption software: Choose a reliable encryption software that supports full disk encryption. Examples include BitLocker for Windows and FileVault for macOS.
- Launch the encryption software: Open the chosen encryption software and follow the on-screen instructions to encrypt the entire SSD. It is important to set a secure encryption password that you will remember or safely store it where it can be retrieved later.
- Complete the encryption process: Allow the encryption software to complete the encryption process. This may take some time, depending on the size and speed of the SSD.
- Destroy the encryption key: Once the entire SSD is encrypted, securely wipe the encryption key. This step varies depending on the encryption software used. Some software may have an option to securely wipe the key within the program, while others may require manual deletion or secure deletion methods.
- Verify the encryption and key deletion: It is recommended to verify that the SSD is encrypted and that the encryption key has been securely wiped. Test accessing the encrypted drive and confirm that it requires the encryption password to unlock.
By using encryption software to encrypt the entire SSD and then securely wiping the encryption key, you can ensure that all data on the drive remains completely inaccessible.
However, it is essential to note that encryption may impact drive performance, especially on older or lower-end SSDs. Additionally, it is crucial to select reputable encryption software, keep your encryption password secure, and follow best practices for key deletion to ensure the effectiveness of this method.
Now that we have explored the use of encryption software to wipe an SSD, let’s move on to the final method – physical destruction of the SSD.
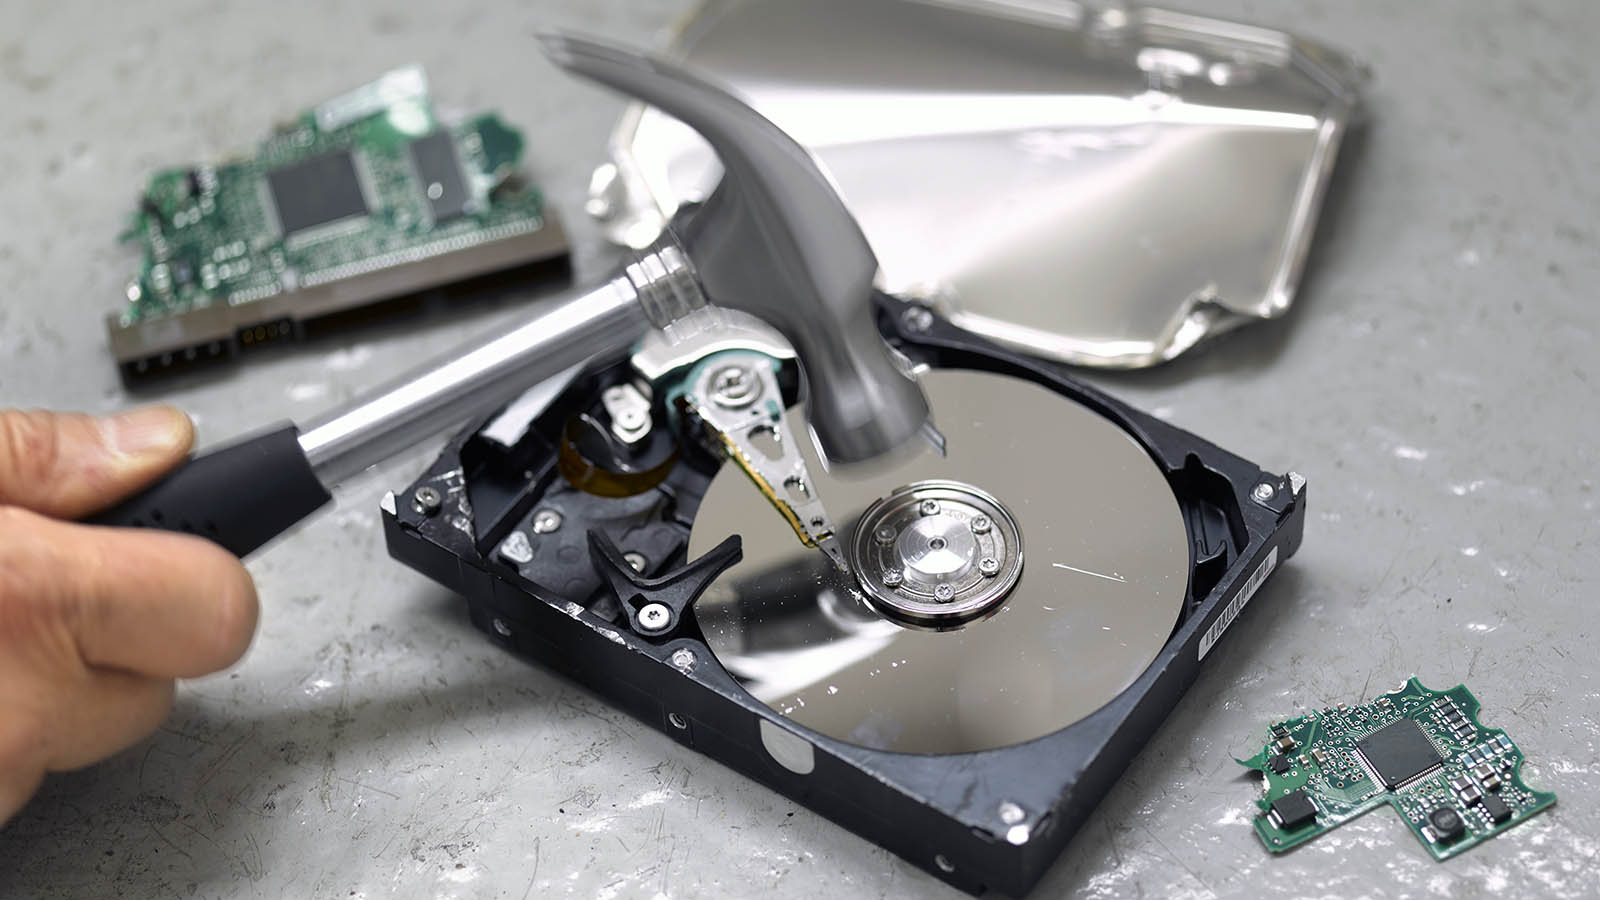
Method 4: Physical Destruction of the SSD
When it comes to completely wiping an SSD and ensuring that no data can be recovered, physical destruction is the most foolproof method. By physically damaging the SSD, you can render it inoperable and irretrievable. This method is particularly useful if you have highly sensitive or confidential data that must be securely disposed of.
Here are the steps to physically destroy an SSD:
- Back up your important data: Before proceeding with physical destruction, ensure that you have backed up any important data that you want to keep, as the process cannot be reversed.
- Ensure safety precautions: It is important to wear appropriate safety gear, such as gloves and eye protection when performing physical destruction. Be careful of sharp edges and potential hazards.
- Select an appropriate destruction method: There are several ways to physically destroy an SSD, depending on the tools and resources available to you. Some common methods include hammering, drilling, shredding, or using a disk crusher. Choose a method that can sufficiently damage the internal components of the SSD.
- Perform the destruction: Following the chosen method, physically destroy the SSD by striking it with a hammer, drilling holes into it, shredding it, or using a disk crusher. Ensure that the internal components are completely incapacitated.
- Dispose of the destroyed SSD: Once the SSD is irreversibly damaged, properly dispose of it according to local regulations. This may involve taking it to an authorized electronic waste recycling facility.
Physical destruction provides the highest level of certainty that the data on the SSD is no longer accessible. However, it is essential to exercise caution during the destruction process and dispose of the damaged SSD responsibly.
Keep in mind that physical destruction should only be considered if you are certain that you no longer need the SSD or if the data stored on it is extremely sensitive and must be securely destroyed.
Now that we have covered the various methods to wipe an SSD, including using Secure Erase, formatting, encryption software, and physical destruction, you can choose the method that best suits your needs and ensures the complete eradication of data on your SSD.
Conclusion
Wiping an SSD is a crucial step in maintaining data security and privacy. Whether you are selling, donating, upgrading, or repurposing an SSD, it is essential to ensure that all data is completely erased, leaving no traces behind.
In this comprehensive guide, we explored four different methods to wipe an SSD: using Secure Erase, formatting the drive, using encryption software, and physical destruction. Each method has its own advantages and considerations, catering to different scenarios and security needs.
Secure Erase is the most effective method for wiping an SSD, as it invokes the drive’s firmware to completely erase all data and restore it to its factory settings. However, not all SSDs support this feature, so alternative methods may be necessary.
Formatting the SSD, while not as secure as other methods, can still be a viable option if the data is not highly sensitive, and you plan to reuse the drive within your own system. It’s important to remember that formatting may not completely erase the data on an SSD, making it less reliable for secure data disposal.
Using encryption software offers an additional layer of security by encrypting the entire SSD. By securely wiping the encryption key, you can render the data on the drive inaccessible. This method is ideal for those who prioritize data security and want to ensure that their sensitive information cannot be retrieved.
Finally, physical destruction provides the highest level of certainty that the data on the SSD is irretrievable. This method is often reserved for highly sensitive or confidential data where absolute destruction is required.
Before proceeding with any method, it is crucial to back up important data, consider the performance impact, and follow manufacturer guidelines if available. Additionally, always dispose of the SSD responsibly according to local regulations, especially if it has been physically destroyed.
By choosing the appropriate method based on your specific circumstances and needs, you can effectively wipe an SSD and safeguard your data. Prioritizing data security ensures that your personal and confidential information remains protected, providing you with peace of mind.