Introduction
Welcome to this guide on how to download playlists on Amazon Music. Streaming music has become incredibly popular, allowing us to access our favorite songs, artists, and playlists with just a few taps. However, sometimes you may find yourself in situations where an internet connection is unavailable or unreliable, making it difficult to enjoy your favorite music. That’s when downloading playlists comes in handy!
With Amazon Music, you have the option to download your favorite playlists, albums, and songs onto your device, allowing you to listen to them offline, wherever you go. Whether you’re heading on a long road trip, going camping, or simply want to conserve your mobile data, downloading playlists is a fantastic solution.
In this guide, we will walk you through the step-by-step process of downloading playlists on Amazon Music. Whether you’re using the Amazon Music app on your smartphone or tablet, we’ve got you covered. So, let’s get started and ensure that your favorite music is always at your fingertips, even without an internet connection!
Step 1: Open the Amazon Music app
The first step in downloading a playlist on Amazon Music is to open the Amazon Music app on your smartphone or tablet. If you haven’t installed the app yet, you can download it from your device’s app store. Once installed, open the app by tapping on its icon.
When the app opens, you may be prompted to sign in with your Amazon account. Enter your login credentials and proceed to the next step. If you don’t have an Amazon account, you can create one for free by following the on-screen instructions.
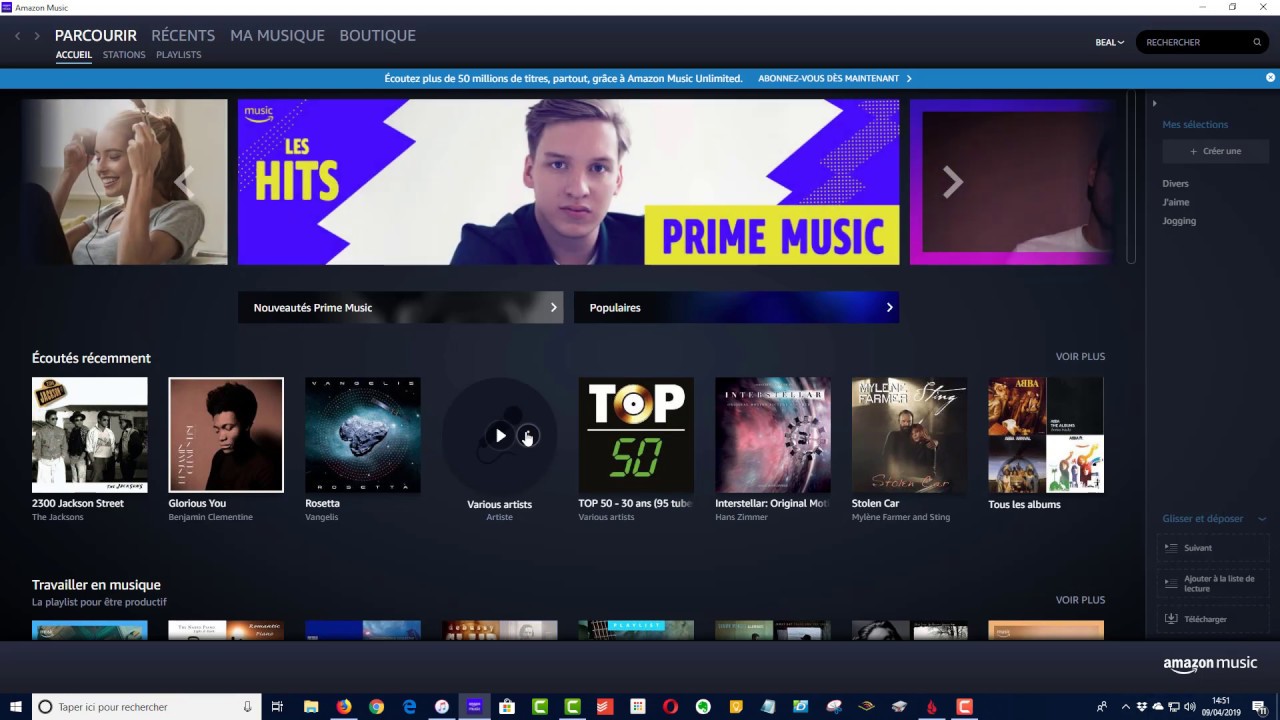
Once you’re logged in, you’ll be greeted by the Amazon Music home screen. This is where you can explore various music categories, discover new releases, and access your personalized recommendations. Take a moment to familiarize yourself with the app’s layout and features if you’re new to Amazon Music.
Now that you have successfully opened the Amazon Music app, you’re ready to proceed to the next step, where we’ll show you how to navigate to “My Music” and find your desired playlist.
Step 2: Navigate to “My Music”
After you have opened the Amazon Music app, the next step is to navigate to the “My Music” section, where you can find your playlists and other saved music.
To access “My Music,” look for the menu icon located in the top left corner of the app’s interface. It usually appears as three horizontal lines or a burger menu icon. Tap on this icon to open the side menu.
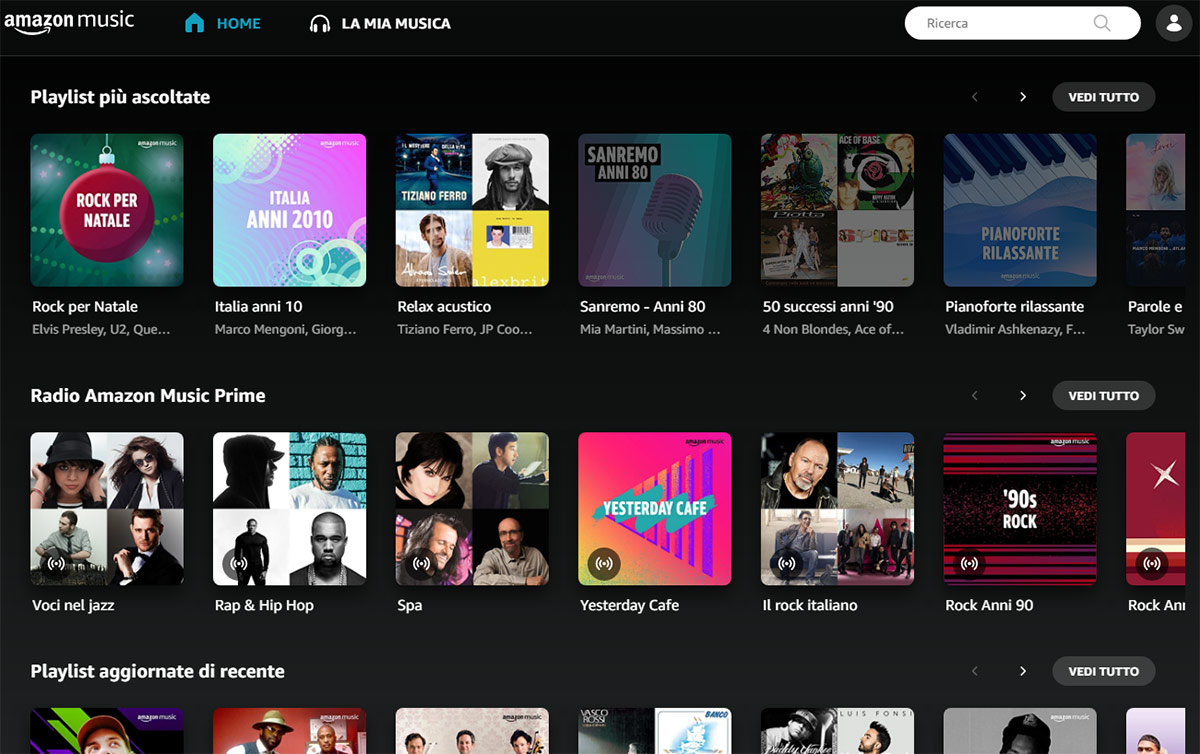
In the side menu, you’ll find a list of different sections and options. Look for the “My Music” or “Library” option and tap on it. This will take you to your personal music collection, which includes your playlists, albums, and songs that you have saved or added to your library.
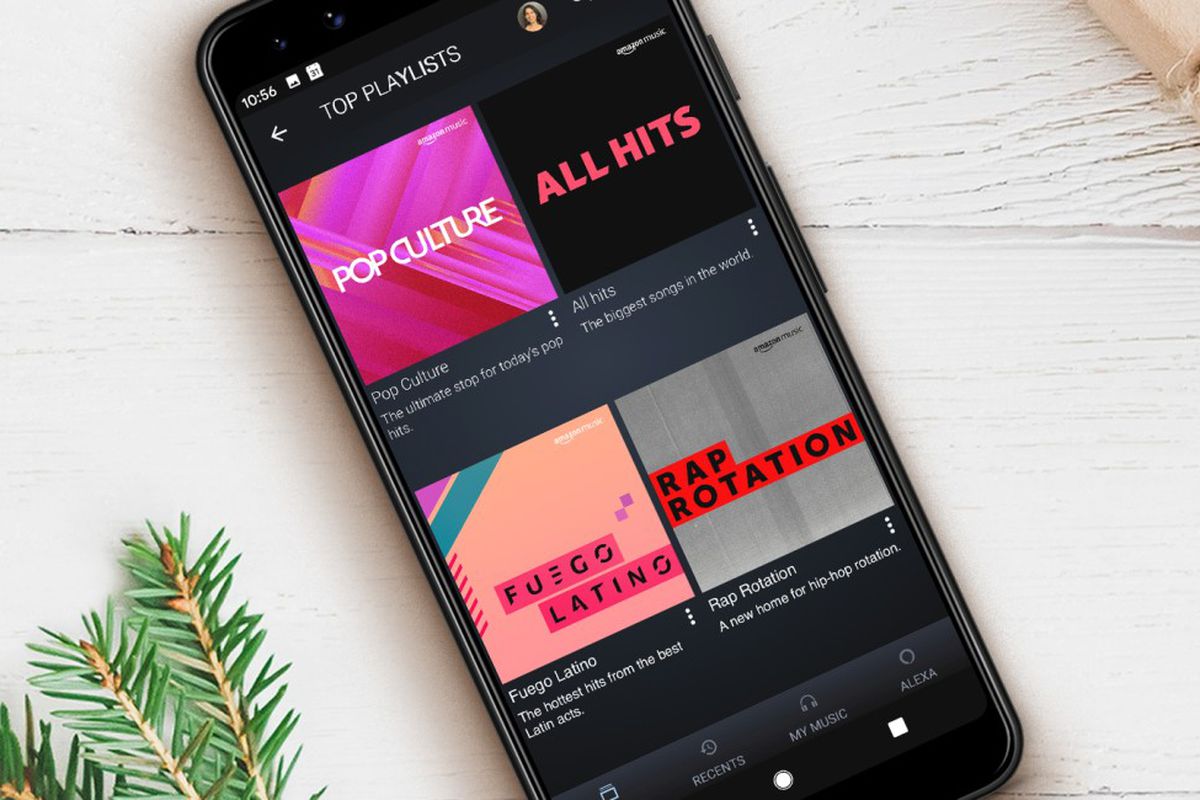
Once you’re in the “My Music” section, you’ll see different tabs or categories, such as “Recently Added,” “Artists,” “Albums,” and “Playlists.” Look for the “Playlists” tab and tap on it to view all of your saved playlists.
If you have a large number of playlists, you can use the search or filter options available in the “Playlists” tab to quickly find the specific playlist you want to download. Simply enter the name or keywords related to the playlist in the search bar, and Amazon Music will display the relevant results.
Now that you have successfully navigated to the “My Music” section and located your desired playlist, you’re ready to move on to the next step, where we’ll guide you through the process of downloading the playlist.
Step 3: Select the playlist you want to download
Now that you have accessed the “My Music” section and located the playlists tab, it’s time to select the specific playlist that you want to download onto your device.
Scroll through the list of playlists until you find the one you’re looking for. If you have a lot of playlists, you can use the search or filter options to quickly find the desired playlist by entering keywords or the playlist name.
Once you have found the playlist, tap on it to open it. This will take you to the playlist page, where you can view all the songs included in that playlist.
On the playlist page, you’ll see the song list along with information such as the artist, album, and duration. Take a moment to review the songs to ensure it’s the correct playlist you want to download.
If you’re not sure whether the playlist meets your requirements, you can preview the songs by tapping on the play button next to each song. This will give you a chance to listen to a snippet of the song before proceeding.
Once you have confirmed that this is the playlist you want to download, proceed to the next step, where we will show you how to access the download option.
Step 4: Tap on the three dots (More) icon
After selecting the playlist you want to download, the next step is to access the options menu for that playlist. This menu allows you to perform various actions, including downloading the playlist.
To access the options menu, look for the three dots icon (also known as the “More” icon) located somewhere on the playlist page. This icon is typically found at the top right corner of the screen or next to the playlist name.
Once you’ve located the three dots icon, tap on it to open the options menu. This will display a list of available actions and settings for the playlist.
In addition to the download option, you may find other actions such as deleting the playlist, adding songs to the playlist, or sharing the playlist with others. However, for now, focus on the download option as it is our main objective.
If you’re having trouble finding the three dots icon, make sure you’re on the correct screen and look for any additional icons or buttons that may indicate the options menu. It’s also worth noting that the placement and appearance of the icons may vary slightly depending on the device you’re using and the version of the Amazon Music app.
Now that you have successfully accessed the options menu for the playlist, proceed to the next step, where we will guide you through the process of choosing the download option.
Step 5: Choose “Download” or “Download all”
After tapping on the three dots (More) icon, you will see a menu with various options for the playlist. In this step, we will guide you on how to choose between the “Download” and “Download all” options to download the playlist onto your device.
In most cases, you will see two options: “Download” and “Download all.” The “Download” option allows you to download individual songs from the playlist, while the “Download all” option allows you to download the entire playlist at once.
If you only want to download specific songs from the playlist, you can choose the “Download” option. Tap on “Download,” and a progress bar will appear, indicating that the selected songs are being downloaded onto your device. You can repeat this process for each song you wish to download from the playlist.
On the other hand, if you want to download the entire playlist, simply select the “Download all” option. Tapping on this option will initiate the download process for all the songs in the playlist. Depending on the size of the playlist and your internet connection speed, it may take some time to download all the songs.
Before choosing an option, consider the amount of storage space available on your device. Downloading the entire playlist may require a significant amount of storage, so be sure to have enough free space to accommodate the downloaded songs.
Once you have chosen either “Download” or “Download all,” the selected songs or the entire playlist will start downloading onto your device. Be patient and wait for the download process to complete.
Now that you have selected the appropriate download option, proceed to the next step, where we will cover what to do while waiting for the playlist to download.
Step 6: Wait for the playlist to download
After choosing the desired download option, whether it’s individual songs or the entire playlist, you will need to wait for the download to complete. The duration of the download process will depend on various factors, including the size of the playlist and your internet connection speed.
While the playlist is being downloaded, it’s important to keep the Amazon Music app open and ensure a stable internet connection. Interrupting or disconnecting the download process may result in incomplete downloads.
During the download, you may notice a progress bar indicating the status of the download. This progress bar shows how much of the playlist has been downloaded and how much is remaining. Use this as a visual cue to estimate the time remaining for the download to complete.
If you have chosen to download individual songs, the progress bar will update accordingly for each song. You will see the progress of each song as it downloads, providing a clear indication of which songs have completed downloading.
While waiting for the playlist to download, you can use this time to explore other features of the Amazon Music app or continue browsing and discovering new music. Remember, you can still access other songs and playlists in your library while the download is in progress.
Once the download is complete, you can move on to the next step, where we will show you how to access your downloaded playlist and enjoy it offline!
Step 7: Access your downloaded playlist
Now that the playlist has finished downloading, it’s time to access and enjoy it offline on your Amazon Music app. Here’s how you can find and access your downloaded playlist:
1. Open the Amazon Music app on your device.
2. Navigate to the “My Music” or “Library” section, just like we did earlier in Step 2.
3. Tap on the “Playlists” tab, and you should see a list of all your playlists.
4. Look for the downloaded playlist you want to access. You can easily spot it by checking for a small download icon or some indication that it has been successfully downloaded.
5. Tap on the downloaded playlist to open it.
Once you’ve accessed the downloaded playlist, you can play any song from it even without an internet connection. The songs will play directly from your device’s local storage, ensuring uninterrupted playback.
If you are unable to find the downloaded playlist, double-check that you have completed the download process correctly. Sometimes, playlists may appear in a separate section called “Downloads” or “Offline” instead of the regular “Playlists” tab. Look for these sections and check if your playlist is located there.
Now that you know how to access your downloaded playlist, you’re ready to enjoy your favorite music offline, no matter where you are!
Step 8: Enjoy your playlist offline!
Congratulations! You have successfully downloaded and accessed your playlist on the Amazon Music app. Now, it’s time to enjoy your music offline, without the need for an internet connection.
Whether you’re on a long flight, traveling to a remote location, or simply want to conserve your mobile data, having your favorite playlist available offline ensures that you can enjoy your music anytime, anywhere.
To play your downloaded playlist offline:
1. Open the Amazon Music app on your device.
2. Navigate to the “My Music” or “Library” section, just as we did in previous steps.
3. Tap on the downloaded playlist to open it.
4. Select the first song from the playlist and tap the play button to start listening.
Once the first song begins playing, the subsequent songs from the playlist will automatically play in the order they are listed.
While listening to your playlist offline, you can use the playback controls to skip songs, pause, or adjust the volume, just like you would when streaming music online.
Remember, when you’re in offline mode, you won’t be able to access any songs or playlists that you haven’t downloaded. If you want to listen to new music or add more songs to your library, you’ll need to connect to the internet and stream or download them.
Enjoy the freedom and convenience of having your playlist available offline, allowing you to indulge in your favorite music whenever and wherever you please.
Conclusion
Downloading playlists on Amazon Music is a fantastic feature that allows you to enjoy your favorite music offline, without the need for an internet connection. Whether you’re on a plane, in a remote area, or simply want to save on data usage, having your playlists readily available offline ensures a seamless and uninterrupted music experience.
In this guide, we walked you through the step-by-step process of downloading playlists on the Amazon Music app. We started by opening the app, navigating to the “My Music” section, selecting the desired playlist, accessing the options menu, choosing between “Download” or “Download all,” waiting for the download to complete, and finally, accessing and enjoying your downloaded playlist offline.
Remember, downloading playlists is not only convenient, but it also saves you precious mobile data and ensures that you never miss out on your favorite songs, even in areas with limited or no internet access.
So go ahead, explore different playlists, create your own collections, and download them to enjoy a customized music experience wherever you go. With Amazon Music, your favorite tunes are just a few taps away!
Happy downloading and happy listening!