Introduction
Welcome to the world of Amazon Music, where you can immerse yourself in a vast library of songs, albums, and playlists. Whether you’re working, studying, or simply enjoying some downtime, having your favorite tunes playing continuously can enhance the experience. In this guide, we will show you how to make Amazon Music play continuously so that you can enjoy uninterrupted listening pleasure.
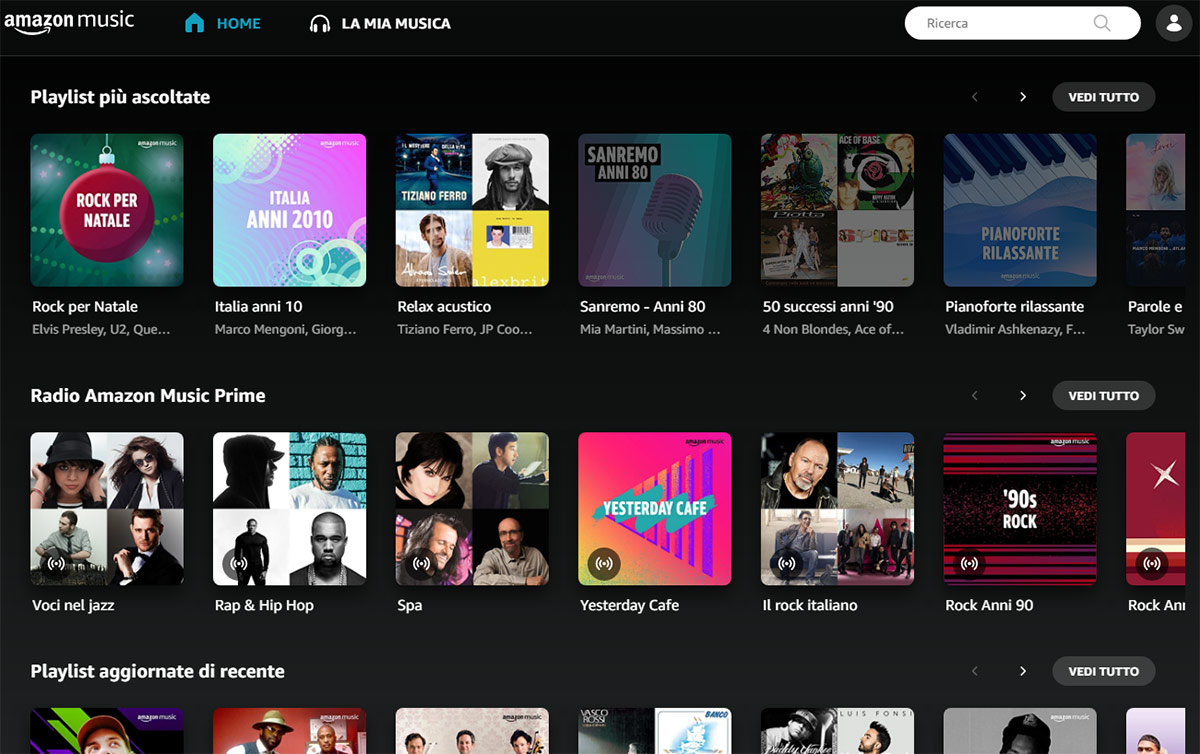
Amazon Music is a popular streaming service that offers a wide range of music genres and artists, making it perfect for every mood and occasion. While the default playback settings of Amazon Music may allow for continuous playback within a single playlist, ensuring uninterrupted music throughout multiple playlists can require a little tweaking. Thankfully, we have a step-by-step guide that will help you achieve just that.
Whether you’re a casual listener or a devoted music enthusiast, having the ability to create your own playlists and enjoy a seamless flow of music is invaluable. With Amazon Music, you can curate personalized playlists that cater to your unique taste and mood. By following the steps outlined in this guide, you will be able to listen to your carefully crafted playlists in an uninterrupted loop, creating a never-ending stream of your favorite songs.
So, if you’re ready to dive into the world of continuous music playback on Amazon Music, let’s get started! In the following sections, we will take you through a step-by-step process of creating playlists, downloading the Amazon Music desktop app, enabling autoplay settings, and troubleshooting any potential issues that may arise. By the end of this guide, you will be able to enjoy non-stop music on Amazon Music and elevate your listening experience to new heights.
Step 1: Create a Playlist
Creating a playlist is the first step towards enjoying continuous playback on Amazon Music. Follow these steps to create your own personalized playlist:
- Open the Amazon Music app on your desktop or mobile device.
- Sign in to your Amazon account if prompted.
- Navigate to the “My Music” or “Library” section of the app.
- Click on the “Create Playlist” button or the “+” symbol to create a new playlist.
- Give your playlist a descriptive name that reflects the genre, mood, or theme of the songs you plan to add.
- Start adding songs to your playlist by searching for specific titles, artists, or albums in the search bar provided.
- Select the songs you want to include in your playlist by clicking on the “+” or “Add to Playlist” button next to each track.
- Continue adding songs until your playlist is complete.
- Arrange the songs in the desired order by dragging and dropping them within the playlist.
- Save your playlist by clicking on the “Save” or “Done” button.
Once you have created your playlist, you are one step closer to enjoying continuous playback on Amazon Music. In the next section, we will discuss how to download the Amazon Music desktop app to enhance your listening experience even further.
Step 2: Download Amazon Music Desktop App
To fully optimize your Amazon Music experience and enable continuous playback, it is recommended to download the Amazon Music desktop app. Here’s how you can do it:
- Visit the Amazon Music website on your computer.
- Look for the option to download the Amazon Music app for your operating system (Windows or macOS).
- Click on the appropriate download link to initiate the download process.
- Once the download is complete, locate the installation file and double-click on it to begin installing the Amazon Music desktop app.
- Follow the on-screen prompts to complete the installation.
- Launch the Amazon Music app after installation.
- Sign in to your Amazon account using your credentials.
- Once you’re logged in, the app will synchronize with your Amazon Music library and playlists.
By downloading the Amazon Music desktop app, you gain access to additional features, such as improved performance, offline listening, and the ability to enable autoplay settings for uninterrupted playback. Now that you have the app installed, let’s move on to the next step and learn how to enable autoplay settings.
Step 3: Enable Autoplay in Amazon Music Settings
Enabling autoplay in your Amazon Music settings is crucial for ensuring continuous playback of your playlist. Follow these steps to enable autoplay:
- Open the Amazon Music app on your desktop.
- Click on the “Settings” or “Preferences” option, usually represented by a gear icon.
- Navigate to the “Playback” or “Autoplay” section within the settings menu.
- Toggle the autoplay switch to the “On” position.
- Choose the “Continuous Playback” option or a similar setting that allows the playback of multiple playlists.
- Save your changes.
Enabling autoplay ensures that once your playlist reaches the end, Amazon Music automatically transitions to the next playlist or starts playing your playlist from the beginning again. This feature eliminates the need for manual intervention and guarantees a seamless listening experience.
It’s worth noting that the specific location and wording of the autoplay settings may vary depending on the version of the Amazon Music app you are using. However, most versions should have a dedicated section for autoplay options in the settings menu. If you encounter any difficulties locating the autoplay settings, refer to the app’s documentation or seek assistance from Amazon Music support.
Now that you have enabled autoplay in your Amazon Music settings, you’re ready to start enjoying continuous playback of your playlist. In the next section, we’ll guide you on how to start playing your playlist and explore some troubleshooting tips in case you encounter any issues.
Step 4: Start Playing Your Playlist
Now that you have created your playlist, downloaded the Amazon Music desktop app, and enabled autoplay settings, it’s time to sit back, relax, and enjoy the continuous playback of your favorite songs. Here’s how you can start playing your playlist:
- Launch the Amazon Music app on your desktop.
- Sign in to your Amazon account if prompted.
- Navigate to the “My Music” or “Library” section of the app.
- Locate your playlist in the list of available playlists.
- Click on your playlist to open it.
- Click on the “Play” button to start playing your playlist.
Once you click the play button, Amazon Music will begin playing the first song in your playlist. As the songs continue playing, the app will seamlessly transition from one track to the next, providing you with a non-stop music experience.
During playback, you can use the playback controls within the app to pause, skip or repeat songs as desired. You can also adjust the volume, access shuffle options, and explore additional features available to enhance your listening experience.
Remember that with autoplay enabled, your playlist will automatically repeat once it reaches the end, ensuring continuous playback of your favorite songs for as long as you desire.
Now that you know how to start playing your playlist, let’s move on to the next section, where we’ll provide some troubleshooting tips to help you address any potential issues that may disrupt your continuous music playback experience.
Step 5: Troubleshooting Tips
While Amazon Music generally provides a seamless listening experience, you may encounter occasional issues that could disrupt continuous playback. Here are some troubleshooting tips to help you resolve any problems:
- Check your internet connection: Ensure that you have a stable and reliable internet connection. Poor connectivity can cause interruptions in playback or prevent the app from loading your playlist.
- Restart the Amazon Music app: Sometimes, simply restarting the app can resolve minor glitches or temporary issues. Close the app completely and relaunch it to see if that solves the problem.
- Update the Amazon Music app: Outdated versions of the app may have compatibility issues or bugs. Check for updates and install the latest version of the app to ensure optimal performance.
- Clear the app cache: Clearing the cache can help resolve issues related to stored temporary data. Refer to the app’s settings or documentation on how to clear the cache.
- Restart your device: If you’re experiencing persistent problems, try restarting your device. Rebooting can refresh the system and resolve any underlying issues.
- Contact Amazon Music support: If the troubleshooting tips mentioned above don’t resolve the issue, reach out to Amazon Music support for further assistance. They can provide specific guidance based on your situation.
By troubleshooting any potential issues that arise, you can ensure a smooth and uninterrupted listening experience on Amazon Music. Remember to explore the app’s documentation or support resources for more detailed troubleshooting instructions related to your specific device and operating system.
With these troubleshooting tips in mind, you now have the knowledge and tools to address any playback issues and maintain continuous music enjoyment on Amazon Music.
Congratulations! You have successfully learned how to make Amazon Music play continuously. By following the steps outlined in this guide and implementing the troubleshooting tips, you can now curate your own playlists and enjoy uninterrupted music to enhance your daily routines, study sessions, workouts, and more.
Now go ahead, create your playlists, and let the music play seamlessly!
Conclusion
Congratulations! You have reached the end of our guide on how to make Amazon Music play continuously. By following the steps outlined in this article, you now have the knowledge and tools to curate personalized playlists and enjoy uninterrupted music on the Amazon Music platform.
We started by showing you how to create your own playlist, allowing you to handpick your favorite songs and arrange them in the desired order. Next, we walked you through the process of downloading the Amazon Music desktop app, which opens up a world of enhanced features and performance.
We then enabled autoplay settings, ensuring that your playlist seamlessly transitions from one track to the next, providing an uninterrupted stream of music. And finally, we discussed troubleshooting tips to address any potential issues that may arise during playback.
With these steps, you can now immerse yourself in the world of Amazon Music, enjoying your favorite songs, albums, and playlists without any interruptions. Whether you’re working, studying, or simply unwinding, continuous playback on Amazon Music can enhance your listening experience and keep you in the groove.
Keep in mind that Amazon Music is continually evolving, so it’s always a good idea to stay updated with the latest features and options. Stay connected with the Amazon Music community, explore new playlists, and discover emerging artists to expand your musical horizons.
Thank you for joining us on this journey to optimize your Amazon Music experience. We hope this guide has been helpful in enabling continuous playback and enhancing your enjoyment of music. Now, go ahead and start creating your playlists, hit the play button, and let the rhythm and melodies accompany you every step of the way!