Introduction
In today’s digital age, capturing and sharing screenshots has become an essential part of our daily communication. Whether you want to save a memorable moment, troubleshoot an issue, or share information with others, being able to take a screenshot on your Samsung tablet is a valuable skill to have. Fortunately, Samsung tablets offer various methods to capture screenshots, ensuring that you can do so quickly and effortlessly.
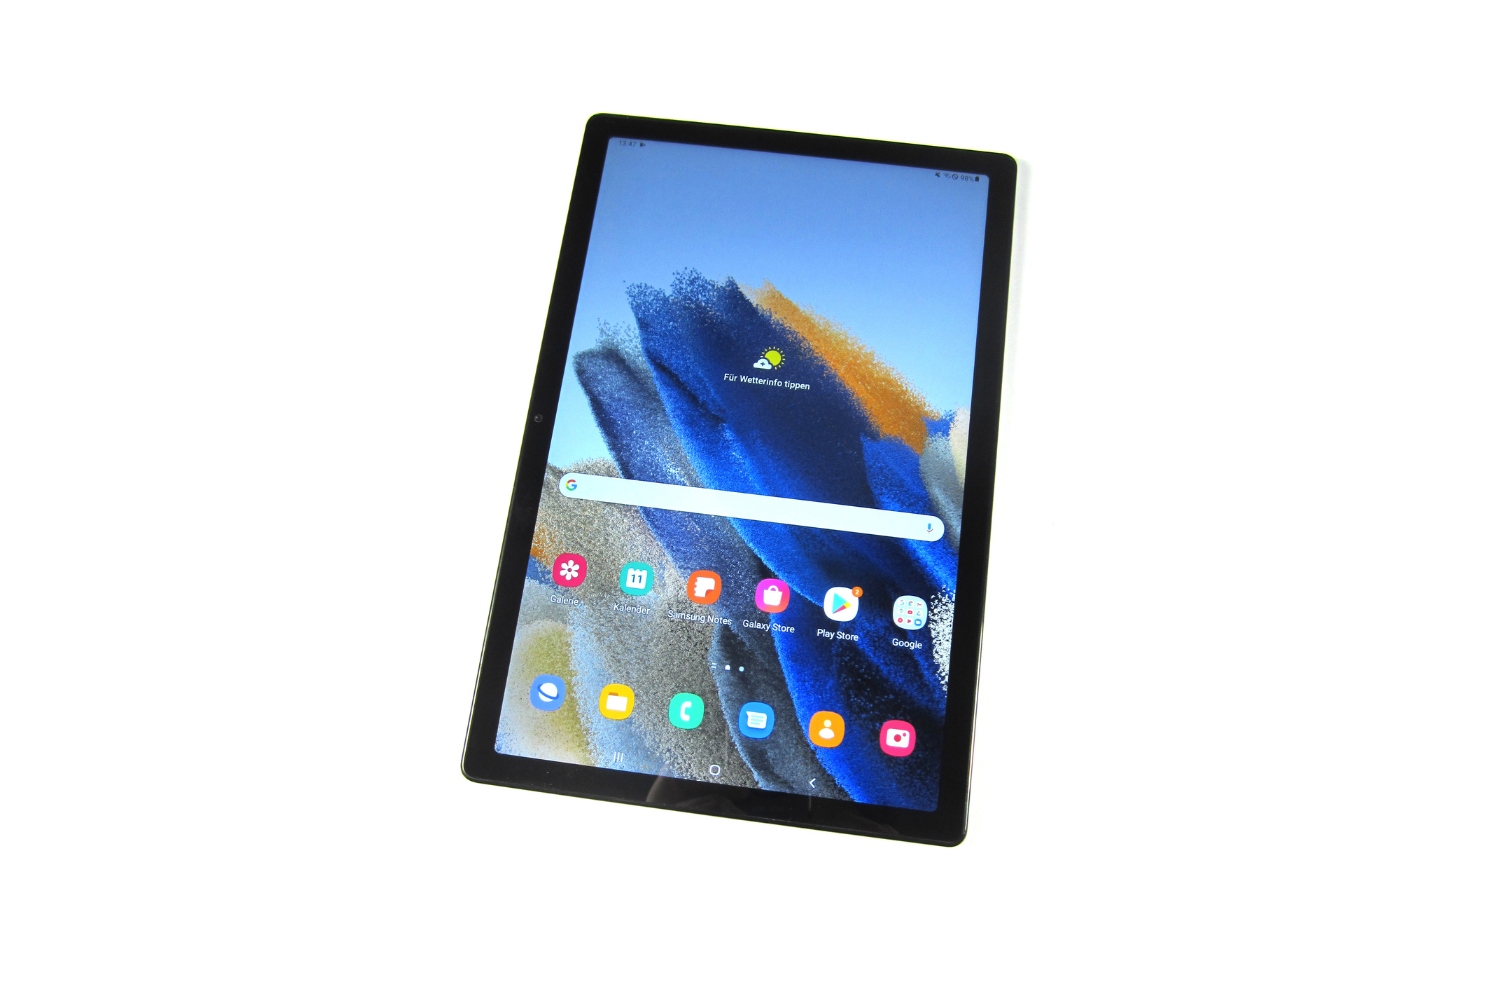
From the latest Samsung Galaxy Tab S6 to the reliable Galaxy Tab A, there are multiple tablet models available, each with its own unique features. In this article, we’ll explore different methods to take a screenshot on a Samsung tablet, including using hardware buttons, palm swipe gestures, the S Pen (if applicable), and the assistive menu.
Whether you are a tech enthusiast, a student, or a professional, learning how to take screenshots on your Samsung tablet can be incredibly useful in various situations. Let’s delve into the different methods and explore how you can capture and save those important moments on your Samsung tablet.
Reasons to Take a Screenshot on a Samsung Tablet
Taking a screenshot on your Samsung tablet can serve a multitude of purposes. Whether you use it for personal or professional reasons, here are some common scenarios where capturing a screenshot can be beneficial:
- Sharing Important Information: Screenshots are a convenient way to quickly share important information with others. Whether it’s a webpage, a document, or a chat conversation, capturing a screenshot allows you to preserve and send the content exactly as it appears on your Samsung tablet.
- Troubleshooting Issues: When you encounter an error message, a software bug, or a technical problem on your Samsung tablet, taking a screenshot can be immensely helpful for troubleshooting. By capturing the error or issue, you can easily provide visual evidence to technical support or forums, assisting them in understanding and resolving the problem more effectively.
- Collecting Inspiration: For creatives and designers, capturing screenshots on your Samsung tablet can be a great way to collect inspiration. Whether it’s a beautiful piece of artwork, a captivating design, or a striking color palette, saving screenshots allows you to create a reference library that can inspire your own creative projects.
- Recording Conversations: Screenshots can be valuable when you need to document and preserve important conversations or instructions. Whether it’s a work-related discussion, an interview, or an online tutorial, capturing screenshots of the relevant parts ensures that you have a visual record to refer back to when needed.
- Capturing Memorable Moments: From heartwarming messages to funny social media posts, there are countless moments we come across on our Samsung tablets that we want to cherish and share. By taking a screenshot, you can preserve these memorable moments and revisit them whenever you want, allowing you to hold onto those special memories.
These are just a few examples of why taking screenshots on your Samsung tablet can be helpful. Now that we understand the importance of this feature, let’s explore the various methods available to capture screenshots on your Samsung tablet.
Method 1: Using the Hardware Buttons
One of the most common and straightforward methods to take a screenshot on a Samsung tablet is by using the hardware buttons. This method is universally available on most Samsung tablets and works consistently across different models.
Here’s a step-by-step guide on how to take a screenshot using the hardware buttons:
- Position the screen that you want to capture on your Samsung tablet.
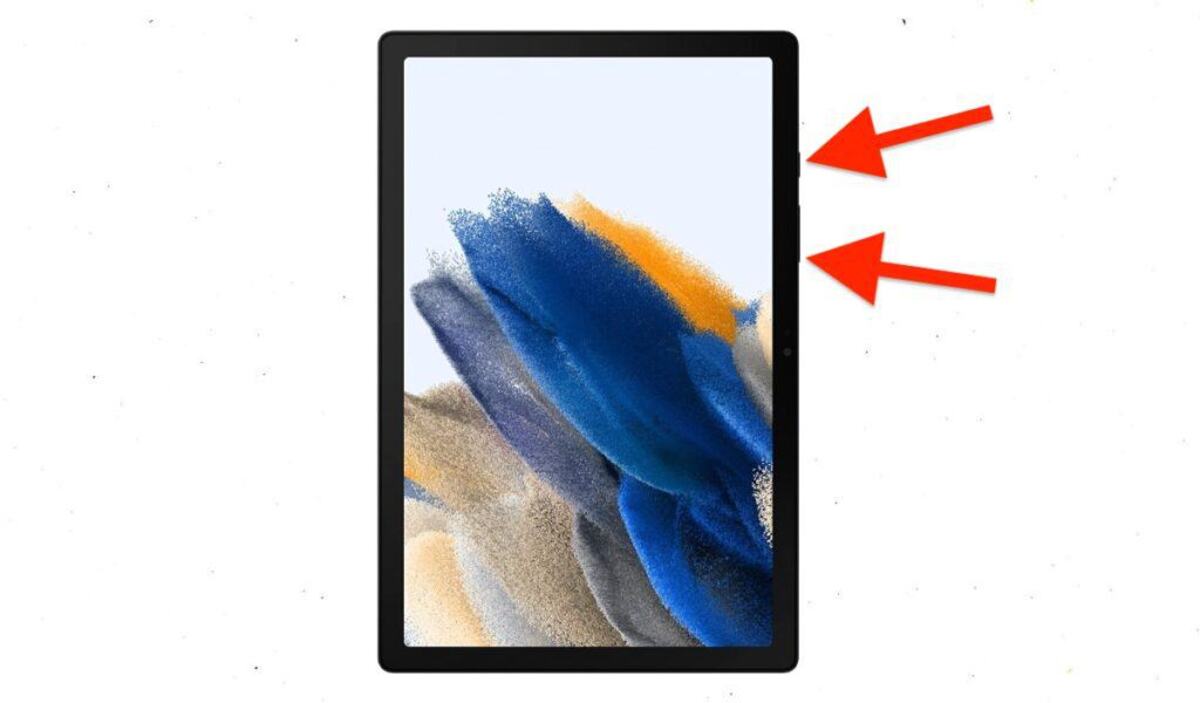
- Simultaneously press and hold the Power button and the Volume Down button at the same time.
- After a brief moment, you will hear a shutter sound and see a visual animation indicating that the screenshot has been successfully captured.
- You can find the captured screenshot in your Gallery app or the Screenshots folder.
- You can now edit, share, or save the screenshot as per your requirement.
It’s important to note that the key combination to take a screenshot may slightly vary depending on the specific model and Android version of your Samsung tablet. However, the Power button and Volume Down button combination is the most commonly used.
Using the hardware buttons to take screenshots on your Samsung tablet is a quick and reliable method that doesn’t require any additional settings or installations. It’s a great go-to option for capturing screenshots whenever needed.
Method 2: Using the Palm Swipe Gesture
If you prefer a more hands-free approach to taking screenshots on your Samsung tablet, you can utilize the palm swipe gesture feature. This feature allows you to capture screenshots by simply swiping your palm across the screen.
Here’s how to enable and use the palm swipe gesture for taking screenshots on your Samsung tablet:
- Open the Settings app on your Samsung tablet.
- Scroll down and select Advanced Features.
- Tap on Motions and Gestures.
- Look for the option called Palm swipe to capture and toggle the switch to turn it on.
- Once the palm swipe gesture is enabled, navigate to the screen you want to capture.
- Place the side of your hand vertically on one side of the screen, with your hand touching the screen.
- Swipe your entire hand across the screen horizontally, from one side to the other.
- You will hear a shutter sound and see a visual animation indicating that the screenshot has been successfully captured.
- The captured screenshot can be found in the Gallery app or the Screenshots folder.
- Edit, share, or save the screenshot according to your preferences.
It’s important to note that the palm swipe gesture feature may not be available on every Samsung tablet model or Android version. If you don’t find the option in your device settings, it means your tablet doesn’t support this feature.
Using the palm swipe gesture is a convenient and intuitive way to capture screenshots on your Samsung tablet. It eliminates the need for pressing physical buttons, allowing you to take screenshots effortlessly with just a simple swipe of your hand.
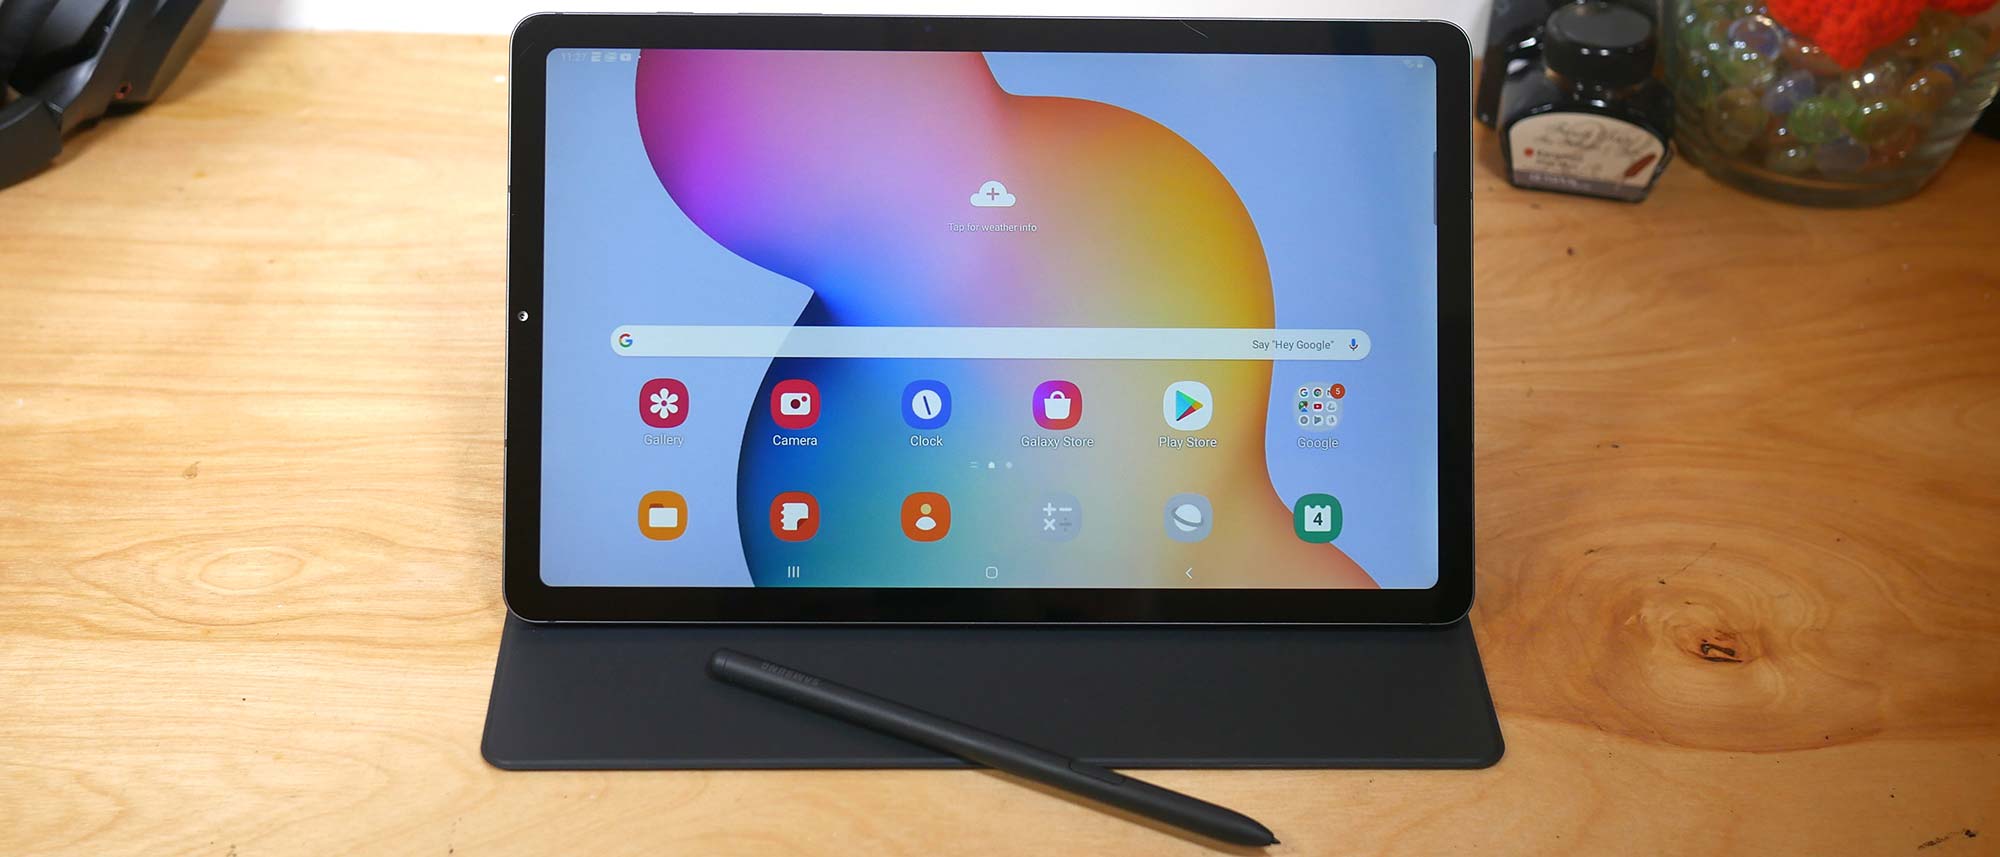
Method 3: Using the S Pen (If Applicable)
If you own a Samsung tablet that comes with the S Pen, you have the advantage of using this powerful stylus to take screenshots with added precision and control. The S Pen offers a seamless way to capture and annotate your screenshots, making it a popular choice among Samsung tablet users.
Here’s how you can use the S Pen to take screenshots on your Samsung tablet:
- Remove the S Pen from its slot or hold it near the tablet’s screen to activate Air Command.
- In the Air Command menu that appears, select the Screen Write option.
- The screen will briefly flash, and you’ll see a white overlay indicating that the screenshot has been captured.
- The screenshot will automatically open in the Image Editor where you can annotate, crop, or make any necessary modifications.
- Once you’ve made the desired changes, you can save, share, or export the screenshot to other apps or platforms.
The S Pen enhances the screenshot experience by allowing you to draw or write directly on the captured image, making it ideal for highlighting important details, adding notes, or emphasizing specific areas. Additionally, the Air Command feature offers quick access to other useful S Pen functions as well.
Keep in mind that not all Samsung tablet models come with the S Pen, so make sure to check if your device supports it before attempting to use this method.
By utilizing the S Pen to take screenshots, you can unleash your creativity and add a personal touch to your captured screen images with ease.
Method 4: Using the Assistive Menu
Another method available on Samsung tablets is using the Assistive Menu. This feature provides a virtual menu overlay on your screen, offering quick access to various functions, including taking screenshots.
Here’s how you can use the Assistive Menu to capture screenshots on your Samsung tablet:
- Open the Settings app on your Samsung tablet.
- Scroll down and select Accessibility.
- In the Accessibility menu, tap on Dexterity and Interaction.
- Look for the option called Assistive Menu and toggle the switch to turn it on.
- A white circle with a square icon will appear on your screen. This is the Assistive Menu.
- To take a screenshot, tap on the Assistive Menu icon.
- A virtual menu will appear with several options. Choose the Screenshot option.
- The screenshot will be captured, and you can find it in the Gallery app or the Screenshots folder.
- Access the screenshot to edit, share, or save it according to your requirements.
The Assistive Menu is a convenient solution for those who may have difficulty using physical buttons or gestures to capture screenshots on their Samsung tablets. It provides a floating menu that can be accessed from anywhere on the screen, making it easily accessible and user-friendly.
It’s worth mentioning that the Assistive Menu does not replace the physical buttons or other screenshot methods mentioned earlier. It simply provides an additional option for those who may find it more convenient or have accessibility needs.
By utilizing the Assistive Menu on your Samsung tablet, you can easily take screenshots with just a few taps, ensuring that you never miss capturing important moments or information.
Troubleshooting Tips
While taking screenshots on a Samsung tablet is usually a straightforward process, occasionally, you may encounter issues or face challenges. Here are some troubleshooting tips to help you overcome any potential hurdles:
- Screen Capture Not Working: If you’re having trouble capturing screenshots using any of the methods mentioned above, try restarting your Samsung tablet. This simple step can often resolve any temporary glitches or software issues that may be affecting the screenshot function.
- Incompatible Apps: Some apps, particularly those related to banking, security, or streaming services, may restrict the ability to take screenshots for security reasons. If you’re unable to capture a screenshot within a particular app, it’s likely an intentional restriction imposed by the app developer.
- Insufficient Storage: If you receive error messages stating that there’s not enough storage to save your screenshots, you might need to free up space on your Samsung tablet. Delete unnecessary files, transfer photos to cloud storage, or uninstall unused apps to make room for new screenshots.
- Wrong Key Combination: If the hardware button method doesn’t work, double-check the specific key combination needed for your Samsung tablet model. Look for variations like using the Home button or Bixby button in combination with the Volume Down button.
- Disabled Features: It’s possible that certain features, such as the palm swipe gesture or the S Pen functionality, may be disabled in your device settings. Ensure that these features are enabled in the settings menu to be able to use them for capturing screenshots.
- Screen Overlay Issues: If you have apps with screen overlay permission enabled, such as Facebook Messenger’s chat heads, they may interfere with taking screenshots. Temporarily disable any screen overlay apps or notifications before attempting to capture a screenshot.
If you’re still encountering difficulties after trying these troubleshooting tips, consider checking the user manual or contacting Samsung support for further assistance. They can provide specific guidance based on your tablet model and software version.
By following these troubleshooting tips, you can ensure that you can confidently capture screenshots on your Samsung tablet, regardless of any potential issues that may arise.
Conclusion
Taking screenshots on your Samsung tablet is an essential skill that allows you to capture and preserve important information, troubleshoot issues, collect inspiration, record conversations, and capture memorable moments. With the different methods available, you can choose the most convenient option for your specific Samsung tablet model and personal preference.
In this article, we explored four methods for taking screenshots on a Samsung tablet:
- Using the hardware buttons: This method is universally available on most Samsung tablets and involves pressing and holding the Power button and Volume Down button simultaneously.
- Utilizing the palm swipe gesture: If your tablet supports this feature, you can simply swipe your palm across the screen to capture a screenshot.
- Using the S Pen (if applicable): For Samsung tablets equipped with the S Pen, you can take screenshots and annotate them directly with the stylus.
- Accessing the Assistive Menu: This virtual menu overlay provides quick access to the screenshot function, making it a convenient option for those with accessibility needs.
Additionally, we provided troubleshooting tips to help you overcome any issues that may arise while taking screenshots on your Samsung tablet.
By mastering these methods and troubleshooting techniques, you can confidently capture and share screenshots on your Samsung tablet, enriching your communication and productivity in various situations. Whether you need to share information, troubleshoot technical problems, or simply cherish and revisit memorable moments, taking screenshots on your Samsung tablet ensures that you can easily capture and save those valuable moments with just a few simple steps.