Introduction:
Welcome to our quick and easy guide on how to delete a deposit in QuickBooks. As a small business owner or accountant, managing your finances efficiently is vital. QuickBooks is a powerful tool designed to streamline your accounting processes, including the ability to track and manage deposits. However, there may be instances where you need to delete a deposit due to errors or changes in financial transactions.
In this article, we will walk you through the step-by-step process of deleting a deposit in QuickBooks, ensuring that your financial records remain accurate and up-to-date. We will also provide an alternative method of voiding a deposit, giving you flexibility in handling different scenarios. It is important to note that deleting a deposit should be done with caution, as it permanently removes the deposit from your records.
Whether you are a seasoned QuickBooks user or just getting started, our guide will help you navigate through the process smoothly. Let’s dive in and learn how to effectively delete a deposit in QuickBooks.
Understanding Deposits in QuickBooks:
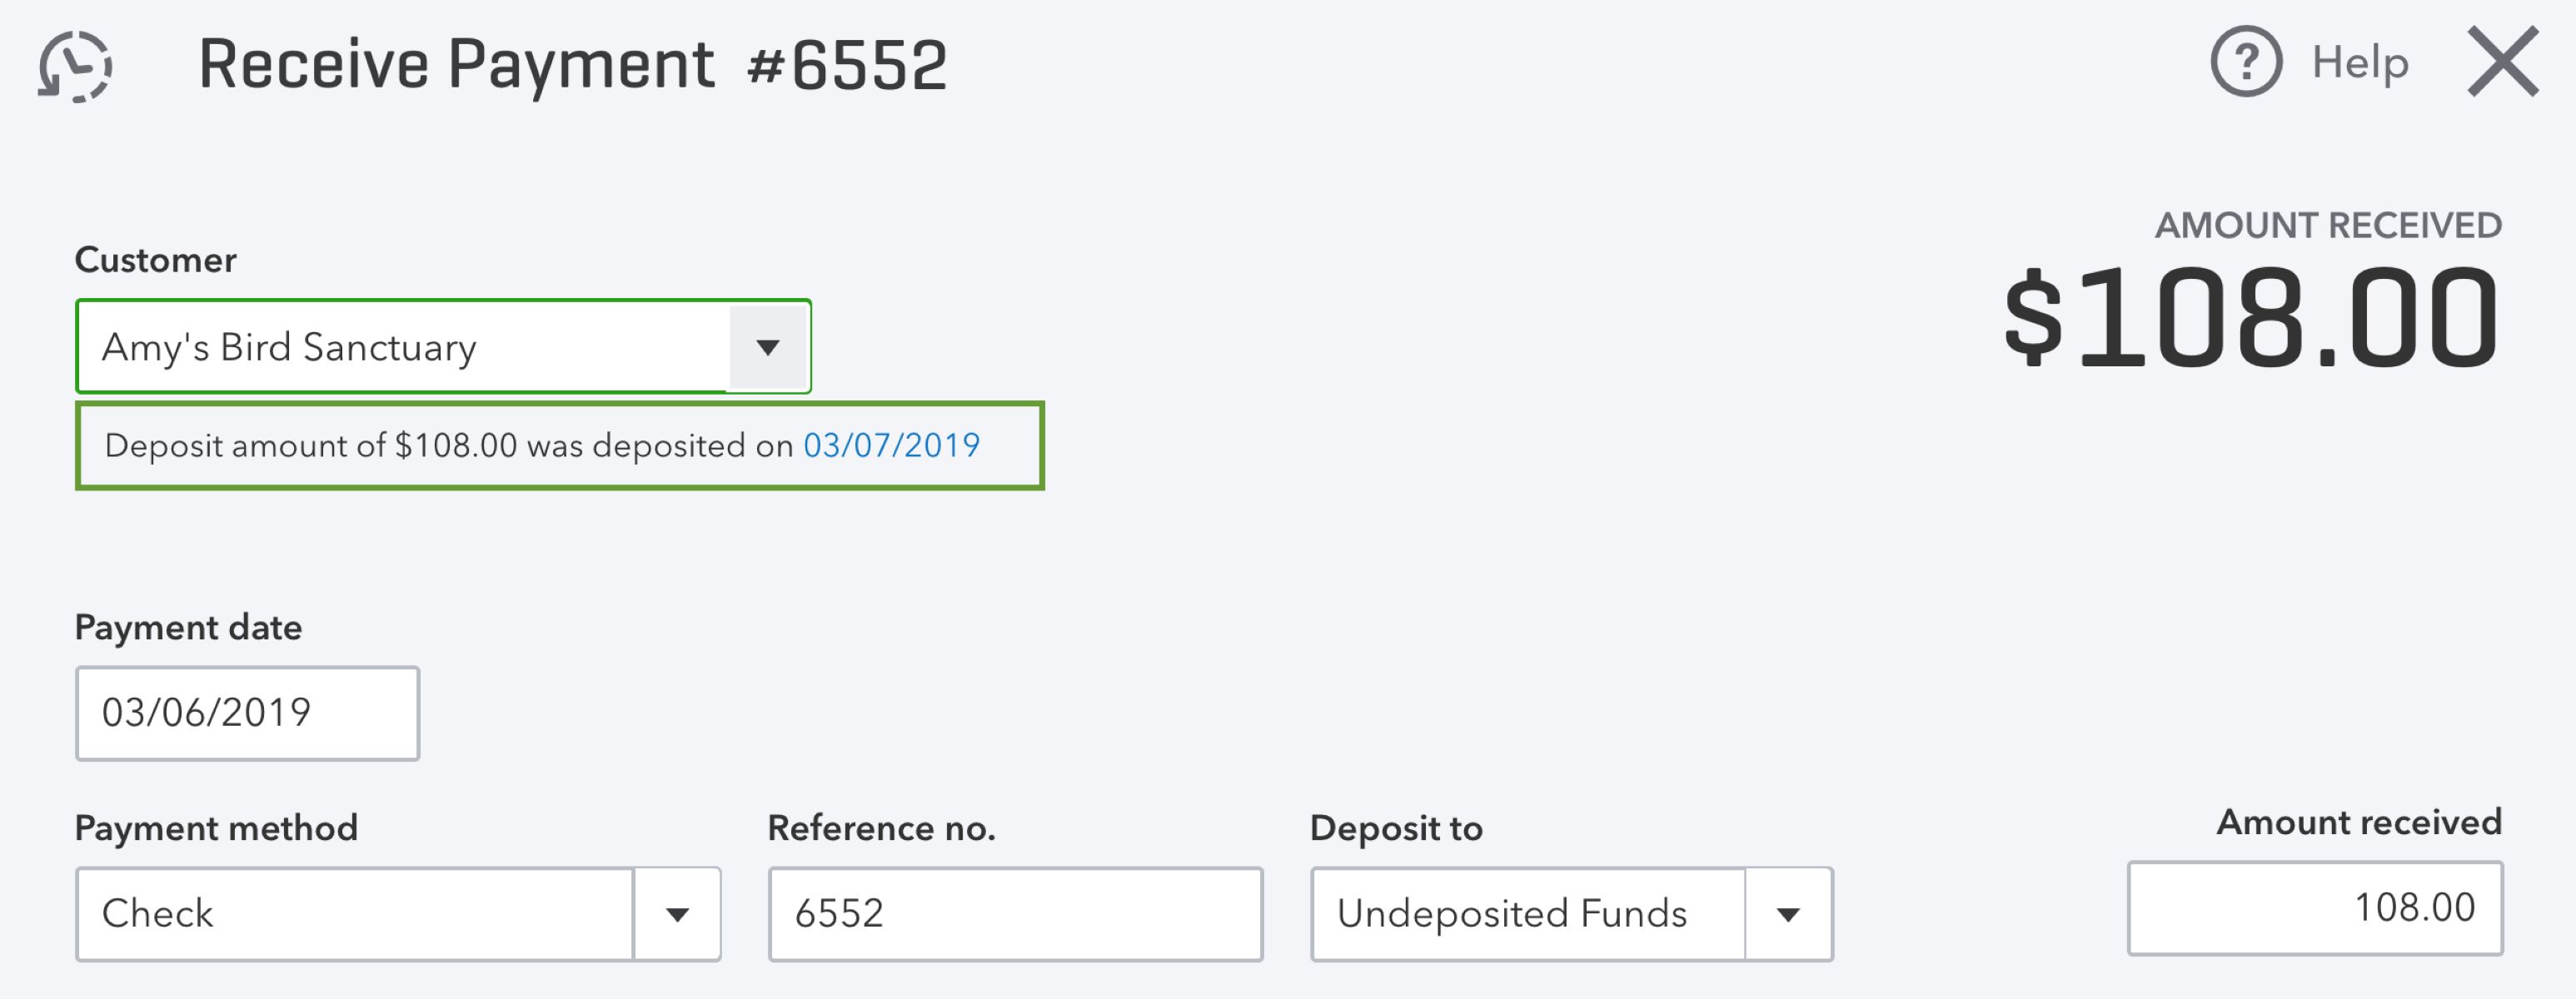
Before we delve into the process of deleting a deposit in QuickBooks, it is essential to have a clear understanding of what deposits are in the context of this accounting software. In QuickBooks, deposits are recorded as transactions that represent funds received by your business. These funds can come from various sources, such as customer payments, bank transfers, or credit card settlements.
Deposits play a crucial role in accurately tracking your business’s cash flow and ensuring that your financial records match the actual funds you have received. When you create a deposit in QuickBooks, it consolidates the individual payments and transfers into a single transaction, simplifying the process of reconciling your bank accounts.
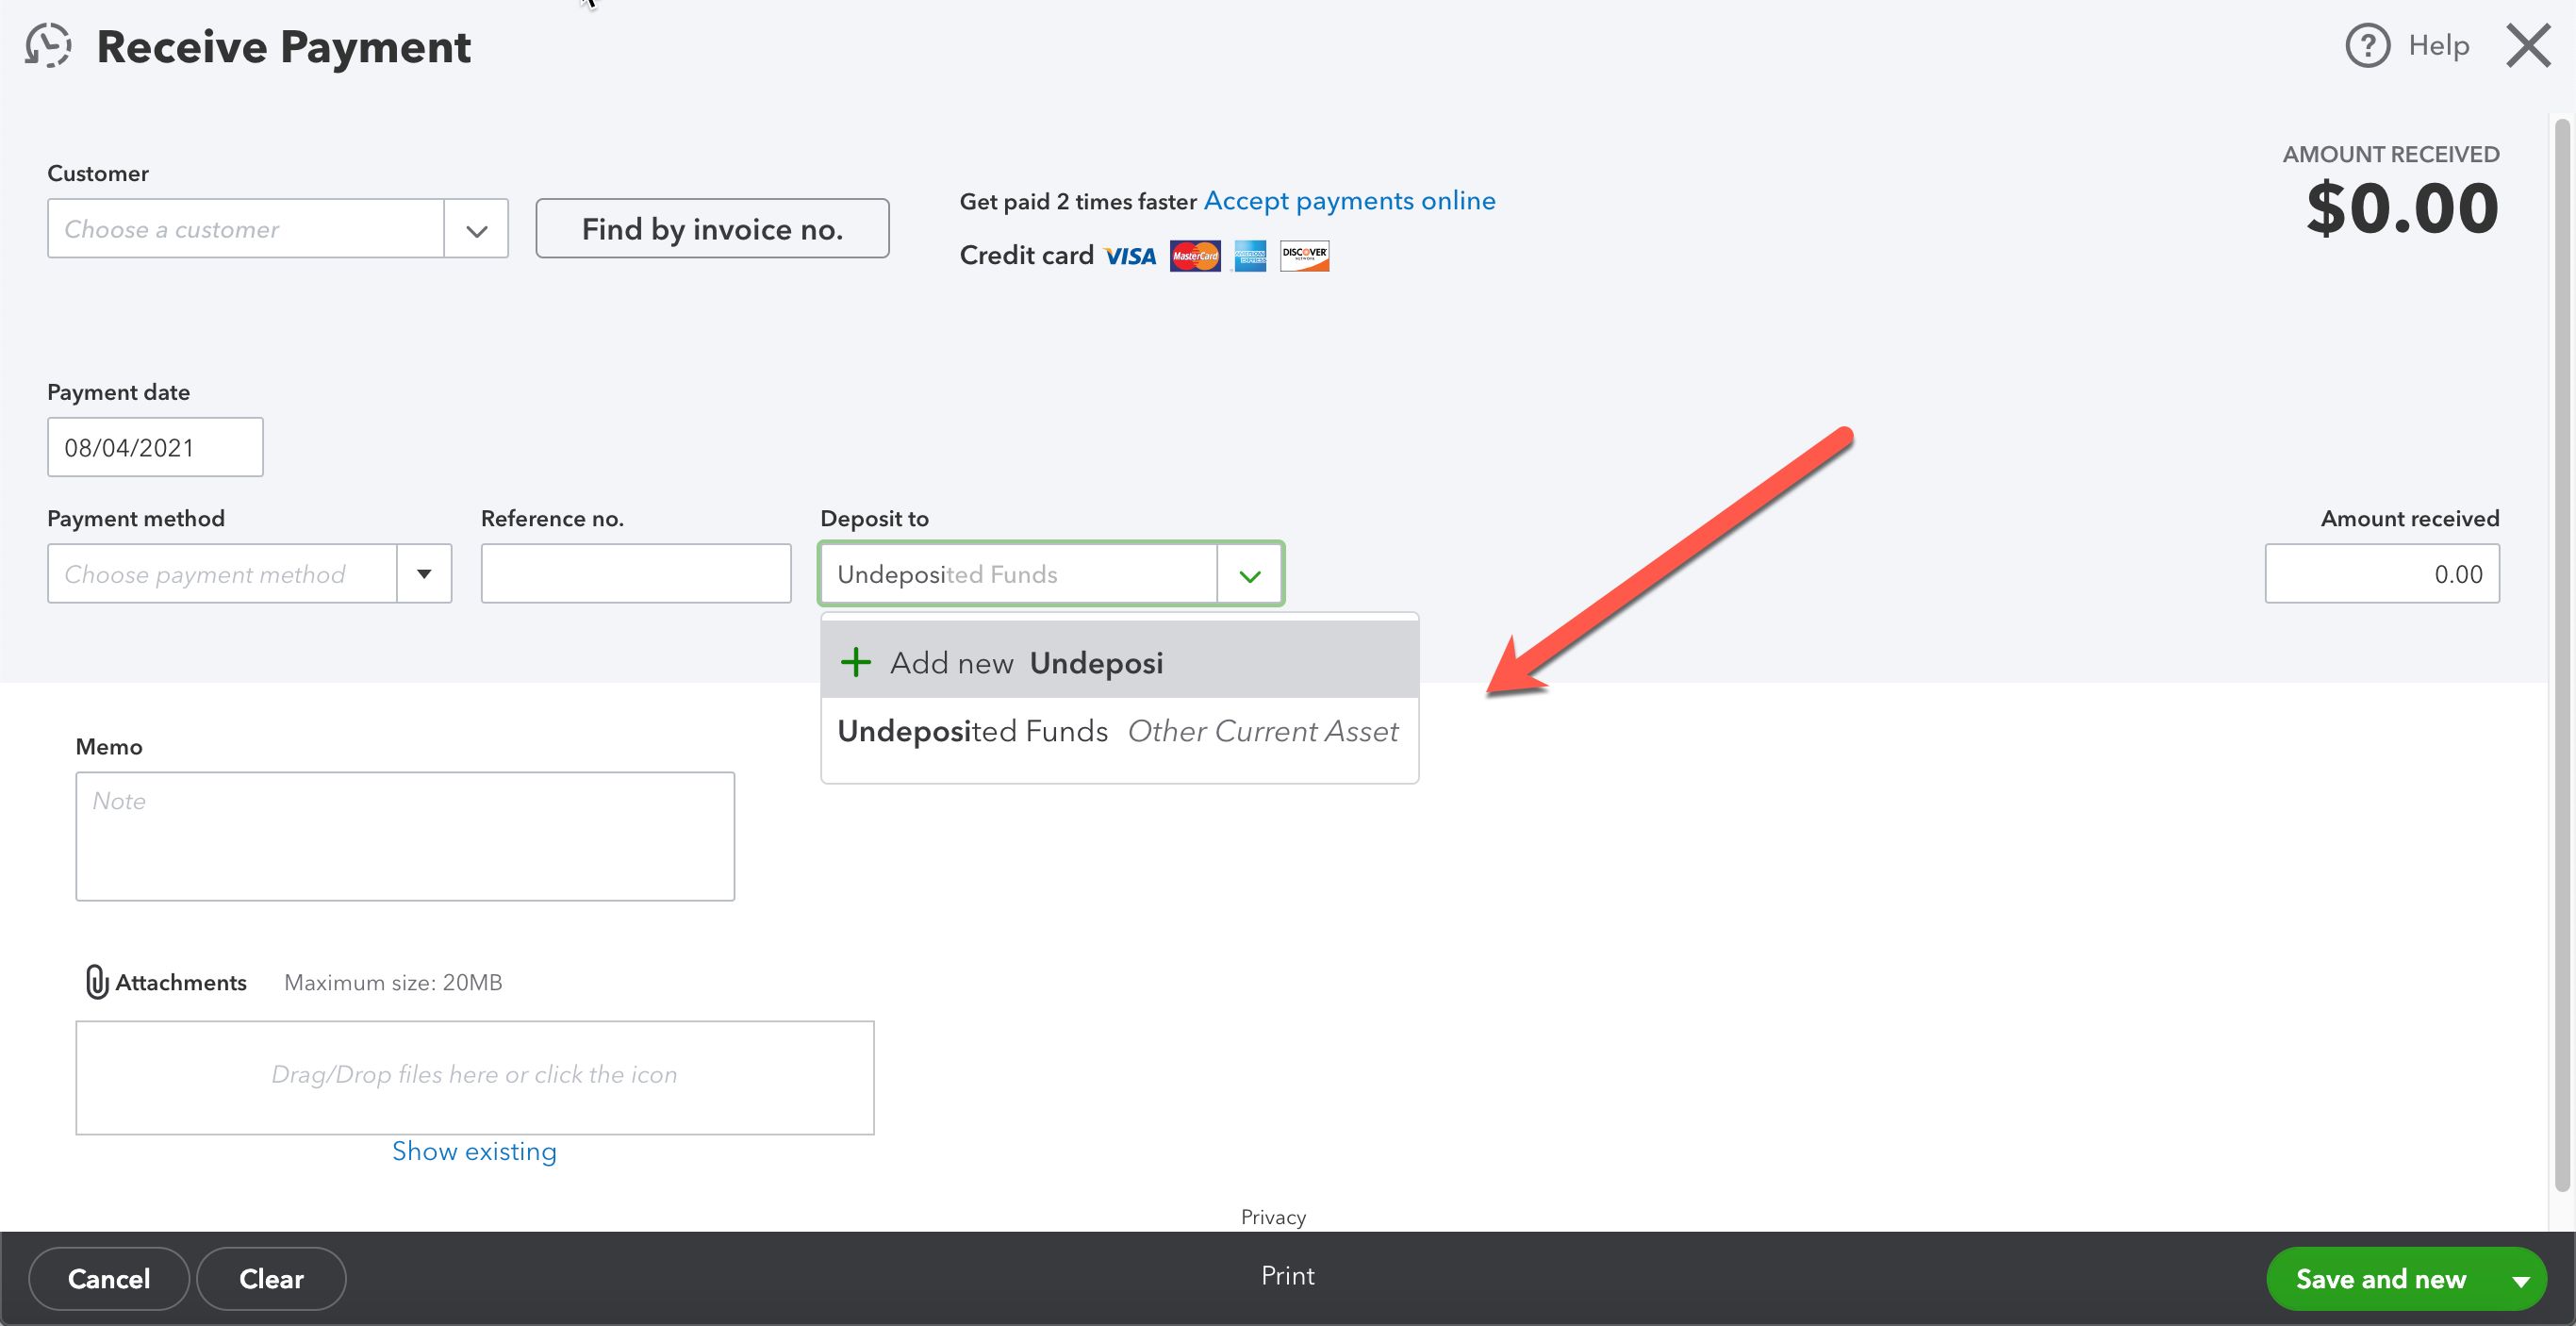
It is worth noting that QuickBooks categorizes deposits differently based on the type of payment. For example, customer payments received through invoices or sales receipts are considered undeposited funds until you manually deposit them into your bank account. On the other hand, bank transfers and credit card settlements are typically deposited automatically into the designated account.
Understanding how deposits function within QuickBooks is crucial as it allows you to maintain accurate financial records and make informed decisions related to your business’s cash flow. With this knowledge in hand, let’s proceed to the step-by-step guide on deleting a deposit in QuickBooks.
Step-by-Step Guide to Deleting a Deposit:
Deleting a deposit in QuickBooks is a straightforward process, but it’s important to follow the steps carefully to ensure accuracy in your financial records. Here’s a step-by-step guide:
- Launch QuickBooks on your computer and log in to your company file.
- From the main dashboard, click on the “Banking” tab located in the top menu.
- In the drop-down menu, select “Make Deposits.”
- A window will appear displaying your existing deposits. Locate the deposit you wish to delete and click on it to select it.
- Once the deposit is selected, click on the “Edit” menu at the top of the screen.
- In the drop-down menu, click on “Delete Deposit.” A confirmation window will appear to ensure you want to proceed with the deletion.
- Review the details of the deposit and cross-verify that it is the correct transaction you want to delete.
- If everything is accurate, click “Yes” to confirm the deletion. QuickBooks will permanently remove the deposit from your records.
- After deleting the deposit, your financial records will be updated accordingly, reflecting the removal of the deposit transaction.
It is crucial to double-check the deposit you’re deleting to avoid any unintended consequences. Once a deposit is deleted, it cannot be undone, so exercise caution while proceeding with this action.
Now that you have learned the step-by-step process of deleting a deposit, let’s move on to discussing an alternative method – voiding a deposit – which may be more appropriate in certain situations.
Alternative Method: Voiding a Deposit:
While deleting a deposit is a suitable option for removing an erroneous or unnecessary transaction, there may be cases where voiding a deposit is a more appropriate solution. Voiding a deposit allows you to maintain a record of the transaction while indicating that it is no longer valid. This method can be useful if you want to keep a trace of the deposit for auditing purposes or if you need to reverse a deposit due to changes in circumstances.
Here’s how you can void a deposit in QuickBooks:
- Open QuickBooks and log in to your company file.
- From the main dashboard, click on the “Banking” tab in the top menu.
- Choose “Make Deposits” from the drop-down menu.
- Locate and select the deposit you want to void from the list of existing deposits.
- Click on the “Edit” menu at the top of the screen.
- In the drop-down menu, select “Void Deposit” and confirm your decision when prompted.
- QuickBooks will mark the deposit as voided and update your financial records accordingly.
Voiding a deposit keeps the transaction visible in your records, but it will no longer affect your account balances or financial reports. It is important to note that voiding a deposit is typically more appropriate than deleting it if you want to maintain a thorough audit trail.
Now that you have learned how to void a deposit as an alternative method, it’s crucial to consider some important considerations and precautions before proceeding.
Important Considerations and Precautions:
Before deleting or voiding a deposit in QuickBooks, it is essential to keep the following considerations and precautions in mind:
- Accuracy: Double-check the deposit you are deleting or voiding to ensure you are removing the correct transaction. Once a deposit is deleted or voided, it cannot be undone.
- Backup: Prior to making any changes, it is advisable to create a backup of your QuickBooks company file. This ensures that you have a copy of your data in case any issues arise during the deletion or voiding process.
- Audit Trail: If you are deleting a deposit for recordkeeping purposes, consider keeping a manual record or document explaining the reason for the deletion. This can be useful during audits or for future reference.
- Reconciliation: If the deposit you are deleting or voiding has already been reconciled, consult with your accountant or bookkeeper to determine the best course of action. Deleting or voiding a reconciled deposit can impact the accuracy of your bank reconciliation.
- Financial Reports: Take into account that the deletion or voiding of a deposit will affect your financial reports. Ensure that you review and update any reports that may be impacted by the changes.
By considering these important factors and taking necessary precautions, you can confidently proceed with deleting or voiding deposits in QuickBooks without compromising the integrity of your financial records.
Now that you are well-informed on the considerations and precautions surrounding deposit deletion and voiding in QuickBooks, let’s wrap up this guide.
Conclusion:
In this comprehensive guide, we have explored the process of deleting and voiding deposits in QuickBooks. We started by emphasizing the importance of understanding deposits in the context of QuickBooks and how they impact your financial records. We then provided a step-by-step guide on deleting deposits, ensuring that you follow the necessary precautions to avoid any unintended consequences.
We also introduced an alternative method, voiding deposits, which allows you to maintain a record of the transaction while signifying that it is no longer valid. This method can be helpful in situations where you need to keep an audit trail or reverse a deposit due to changes in circumstances.
Throughout this guide, we stressed the significance of accuracy, backup creation, and consideration for reconciliations and financial reports. Following these precautions helps you maintain the integrity of your financial records and make informed decisions regarding your business’s financial health.
By mastering the process of deleting and voiding deposits in QuickBooks, you can effectively manage your financial transactions and ensure the accuracy and organization of your accounting records. Remember to exercise caution when performing these actions and consult with professionals if needed.
We hope that this guide has provided you with the necessary knowledge and tools to confidently navigate the process of deleting and voiding deposits in QuickBooks. As you continue to use the software, you will have greater control and understanding of your business’s finances, enabling you to make informed decisions and drive success.
Thank you for choosing QuickBooks for your accounting needs, and we wish you continued success in managing your business finances!