Introduction
Cancelling payroll in QuickBooks may be necessary for various reasons. Whether you need to rectify an error, adjust employee wages, or adjust tax calculations, understanding the steps to cancel payroll can save you time and ensure accurate financial records for your business. QuickBooks, a popular accounting software, provides users with the flexibility to manage employee payroll efficiently, including the ability to cancel payroll when needed.
In this article, we will guide you through the step-by-step process of cancelling payroll in QuickBooks. By following these instructions, you can effectively reverse the payroll process and ensure that all necessary adjustments are made accurately.
Before we delve into the detailed steps, it’s important to note that cancelling payroll in QuickBooks should be approached with caution. Any changes made to employee paychecks or tax calculations can have significant implications on your business’s financial records. It is recommended to consult with a qualified accountant or financial advisor before making any drastic changes to your payroll.
Now that we understand the importance of careful consideration and guidance, let’s explore the steps required to cancel payroll in QuickBooks. By following these steps diligently, you can ensure accurate and up-to-date financial information for your business.
Why would you need to cancel payroll in QuickBooks?
There are several reasons why you might need to cancel payroll in QuickBooks. It’s important to identify the specific situations that warrant cancelling payroll to ensure you make the correct adjustments in your financial records. Here are some common scenarios where cancelling payroll in QuickBooks may be necessary:
- Error in Employee Paychecks: If you notice an error in employee paychecks, such as incorrect wages, deductions, or withholdings, cancelling payroll allows you to rectify these mistakes and ensure accurate payment calculations.
- Tax Calculation Errors: In some cases, you may discover errors in tax calculations or filing. Cancelling payroll enables you to update the tax information and ensure accurate reporting to the relevant tax authorities.
- Changes in Employee Compensation: If there are changes in employee compensation, such as salary adjustments, commission changes, or new deductions, cancelling payroll allows you to reflect these modifications accurately in the payroll system.
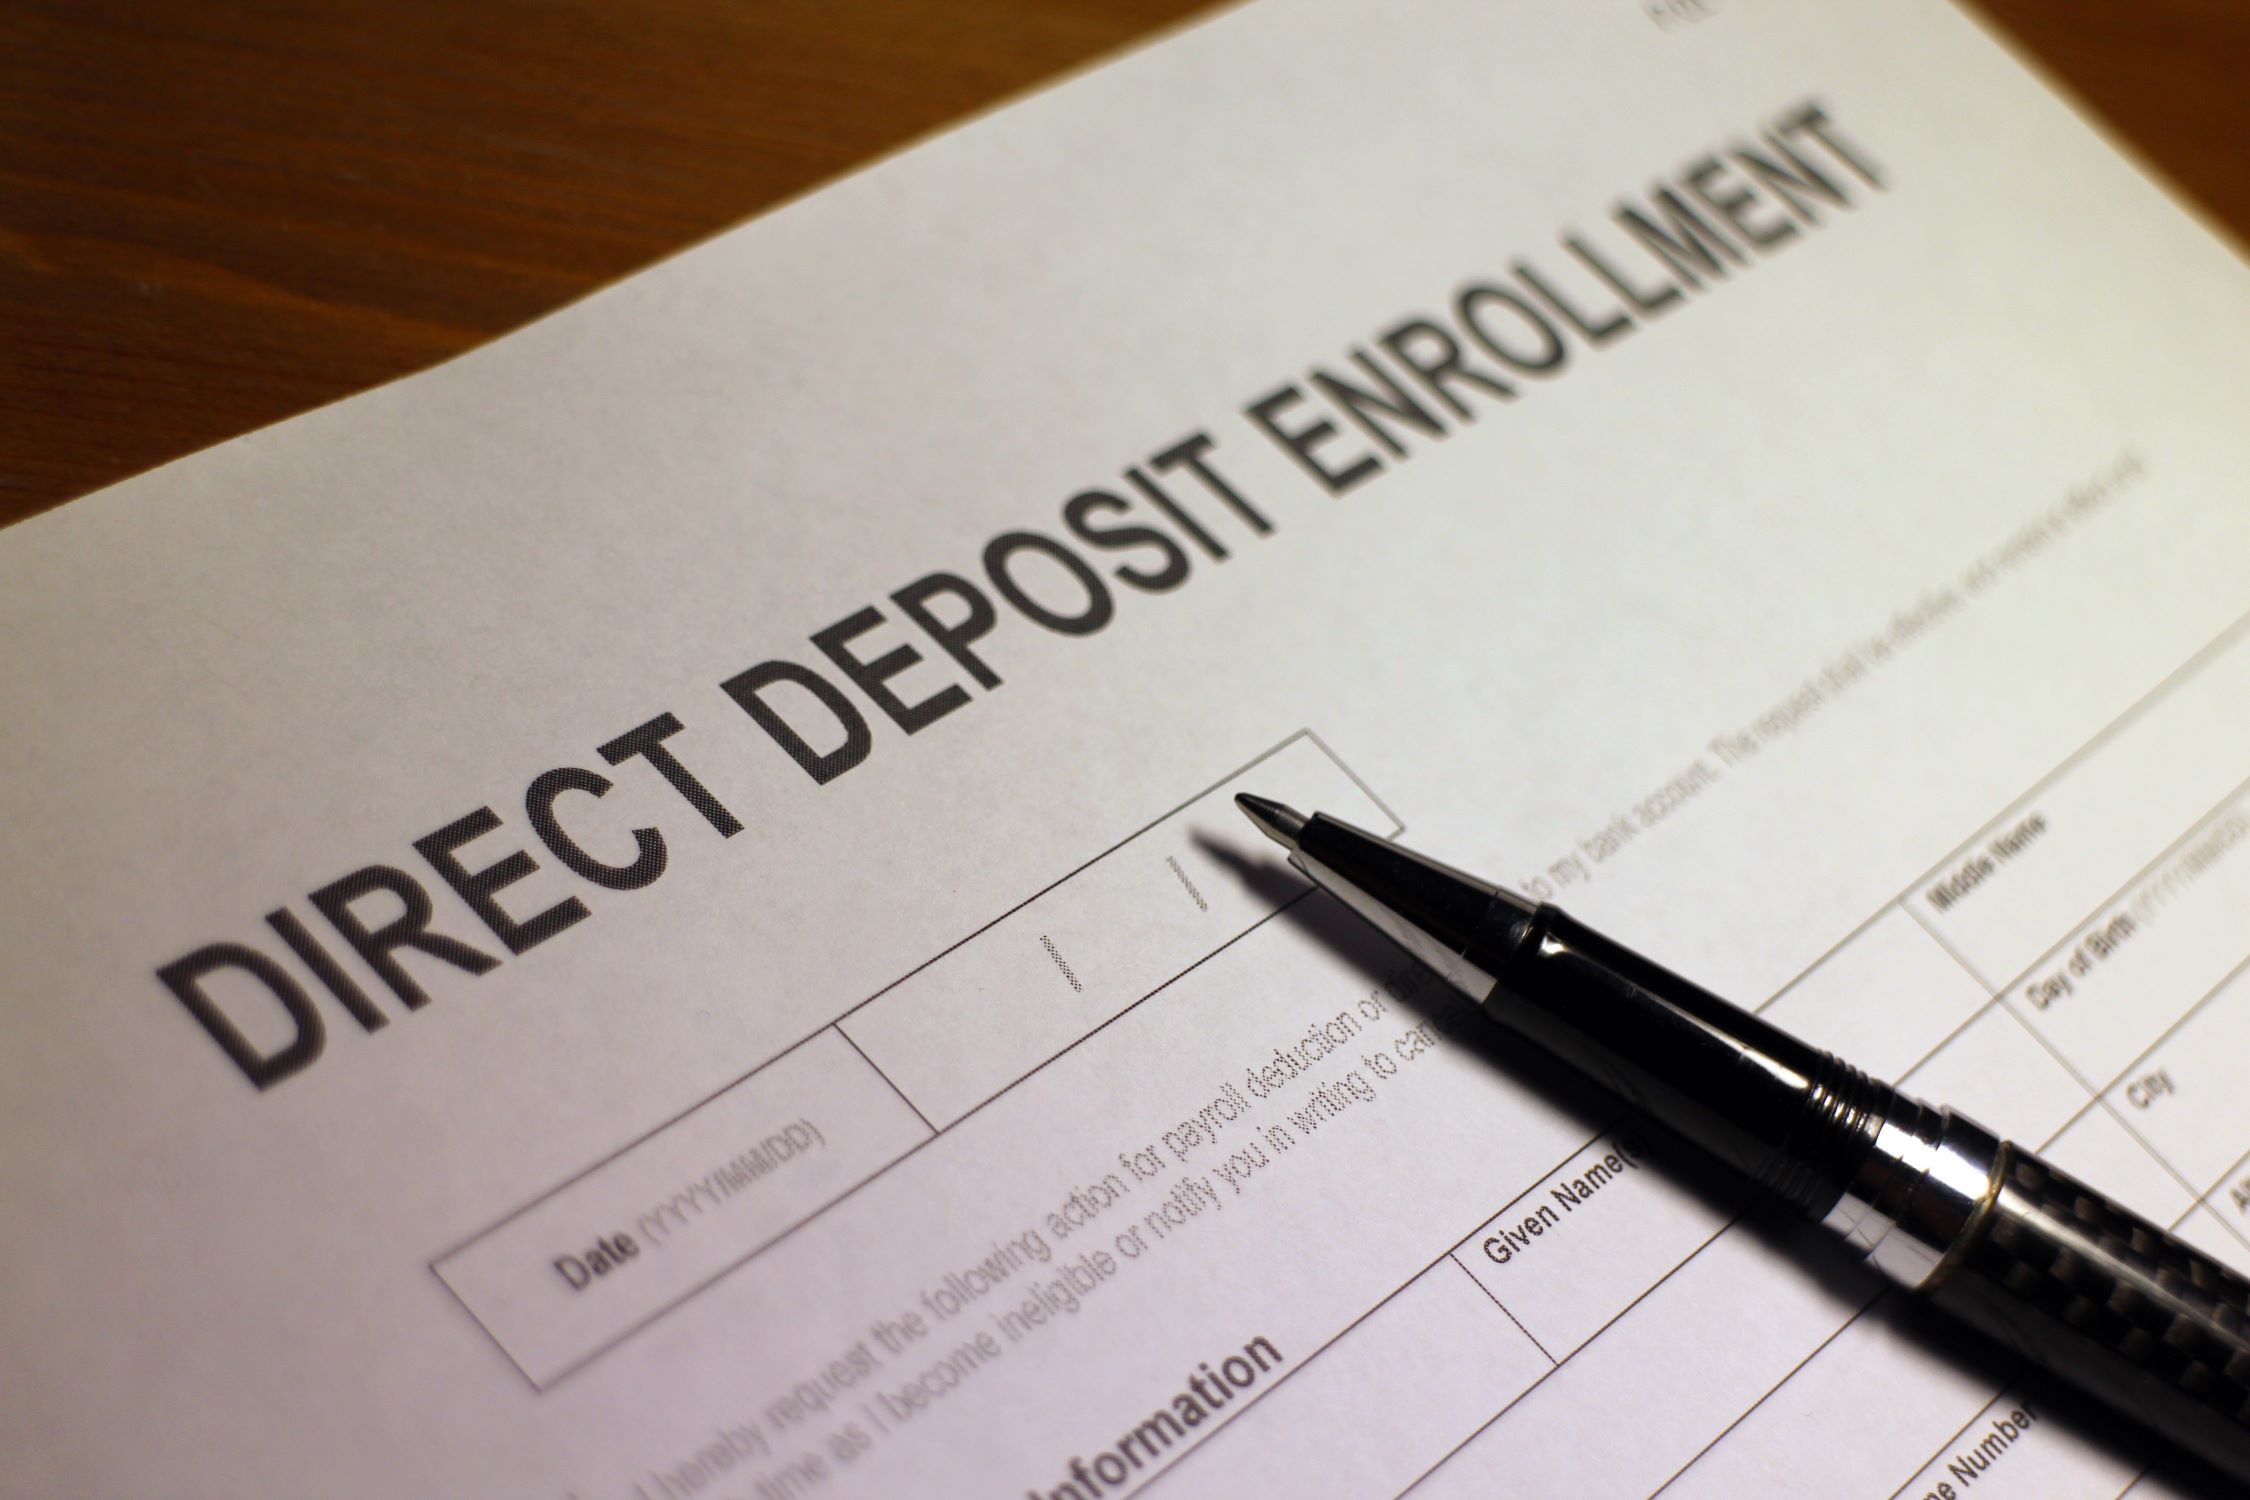
- Discrepancies in Direct Deposit: If there are discrepancies or issues with direct deposits, such as incorrect bank account information or missed payments, cancelling payroll allows you to rectify these issues and ensure that employees are paid correctly.
- Reversal of Payroll Activity: In certain cases, you may need to reverse the entire payroll activity due to data entry errors, system glitches, or other unforeseen circumstances. Cancelling payroll helps you start over and ensure accurate financial records.
Regardless of the reason, it’s crucial to identify the need to cancel payroll promptly. Rectifying payroll errors or making necessary adjustments in a timely manner helps maintain accuracy, compliance, and employee trust.
Now that we understand the various reasons why you might need to cancel payroll in QuickBooks, let’s move on to the step-by-step guide to help you navigate this process seamlessly and efficiently.
Step-by-step guide to cancelling payroll in QuickBooks
Cancelling payroll in QuickBooks involves several steps to ensure accuracy in your financial records. By following this step-by-step guide, you can navigate the process smoothly and effectively. Here’s how to cancel payroll in QuickBooks:
- Review your payroll liabilities: Begin by reviewing your payroll liabilities to ensure that all outstanding amounts are accounted for. This includes unpaid wages, tax withholdings, and any other payroll deductions.
- Verify employee paychecks and tax calculations: Check each employee’s paycheck and verify that the wages, deductions, and tax calculations are accurate. If you notice any discrepancies, make the necessary adjustments.
- Void any outstanding paychecks: If there are any outstanding paychecks that have not been issued, void them to reverse the payment and remove them from the payroll records.
- Remove direct deposit paychecks (if applicable): If you have issued direct deposit paychecks that need to be cancelled, ensure that they are removed from the system to prevent erroneous payments.
- Cancel scheduled direct deposits (if applicable): If there are upcoming direct deposit payments scheduled, cancel them to prevent incorrect funds from being transferred to employees’ bank accounts.
- Delete any saved paychecks: If you have saved any paychecks that have not been issued, delete them from the system to avoid confusion and ensure accurate payroll records.
- Reverse the payroll liabilities: After verifying all paychecks and making the necessary adjustments, reverse the payroll liabilities to accurately reflect the changes in your financial records.
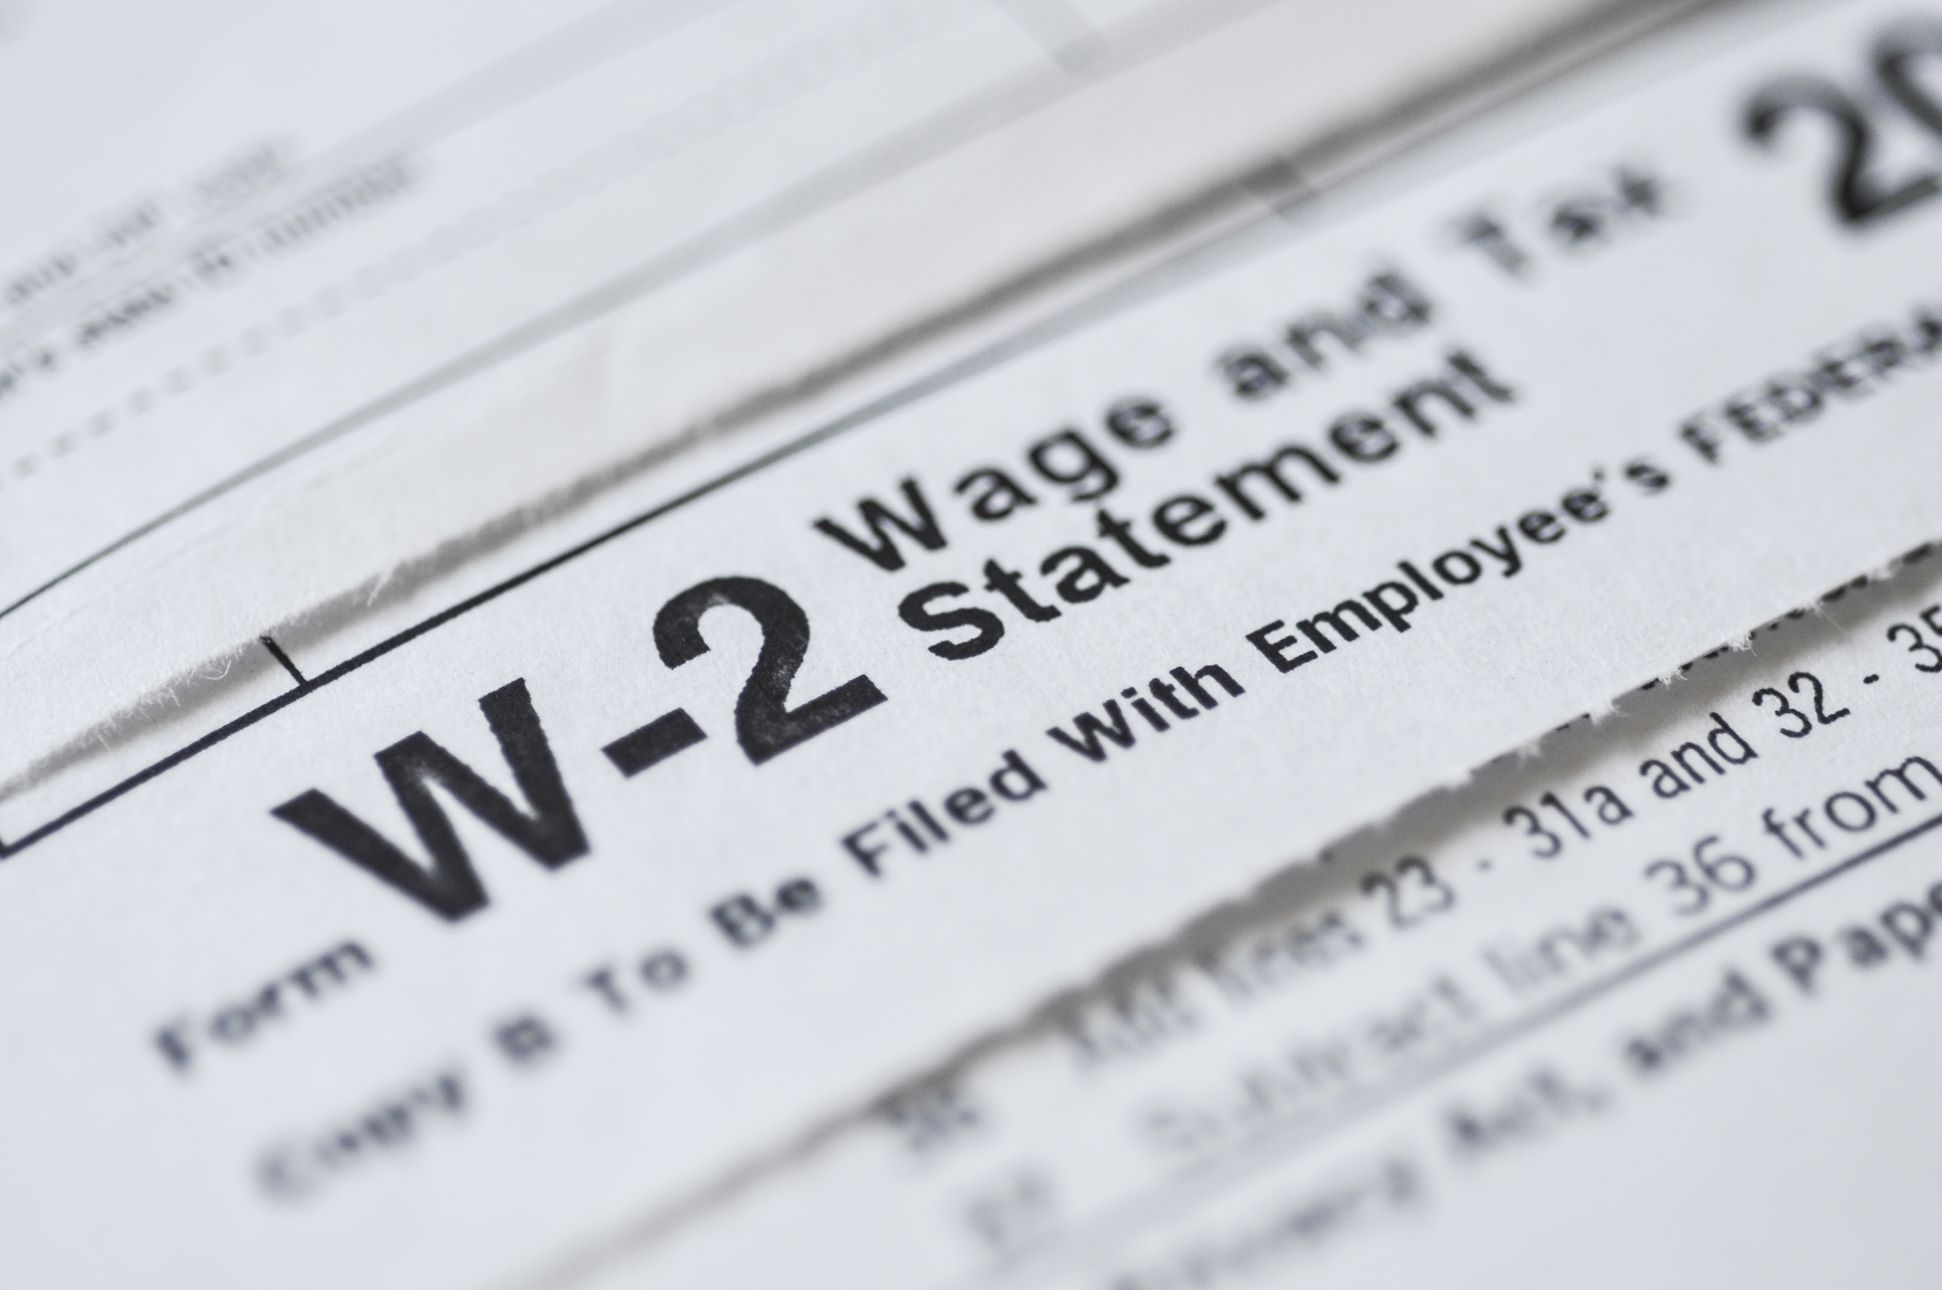
- Update your payroll tax forms: Update your payroll tax forms to reflect the changes in your payroll calculations and ensure accurate reporting to tax authorities.
- Inform your employees about the cancellation: It’s important to communicate with your employees about the cancellation of payroll. Explain the reasons for the cancellation and assure them that the necessary adjustments will be made.
- Save a copy of the cancelled payroll for record keeping: Save a copy of the cancelled payroll for future reference and record keeping. This will help in maintaining accurate financial records and provide a reference point if needed.
By following these step-by-step instructions, you can effectively cancel payroll in QuickBooks and ensure accurate financial records for your business.
Review your payroll liabilities
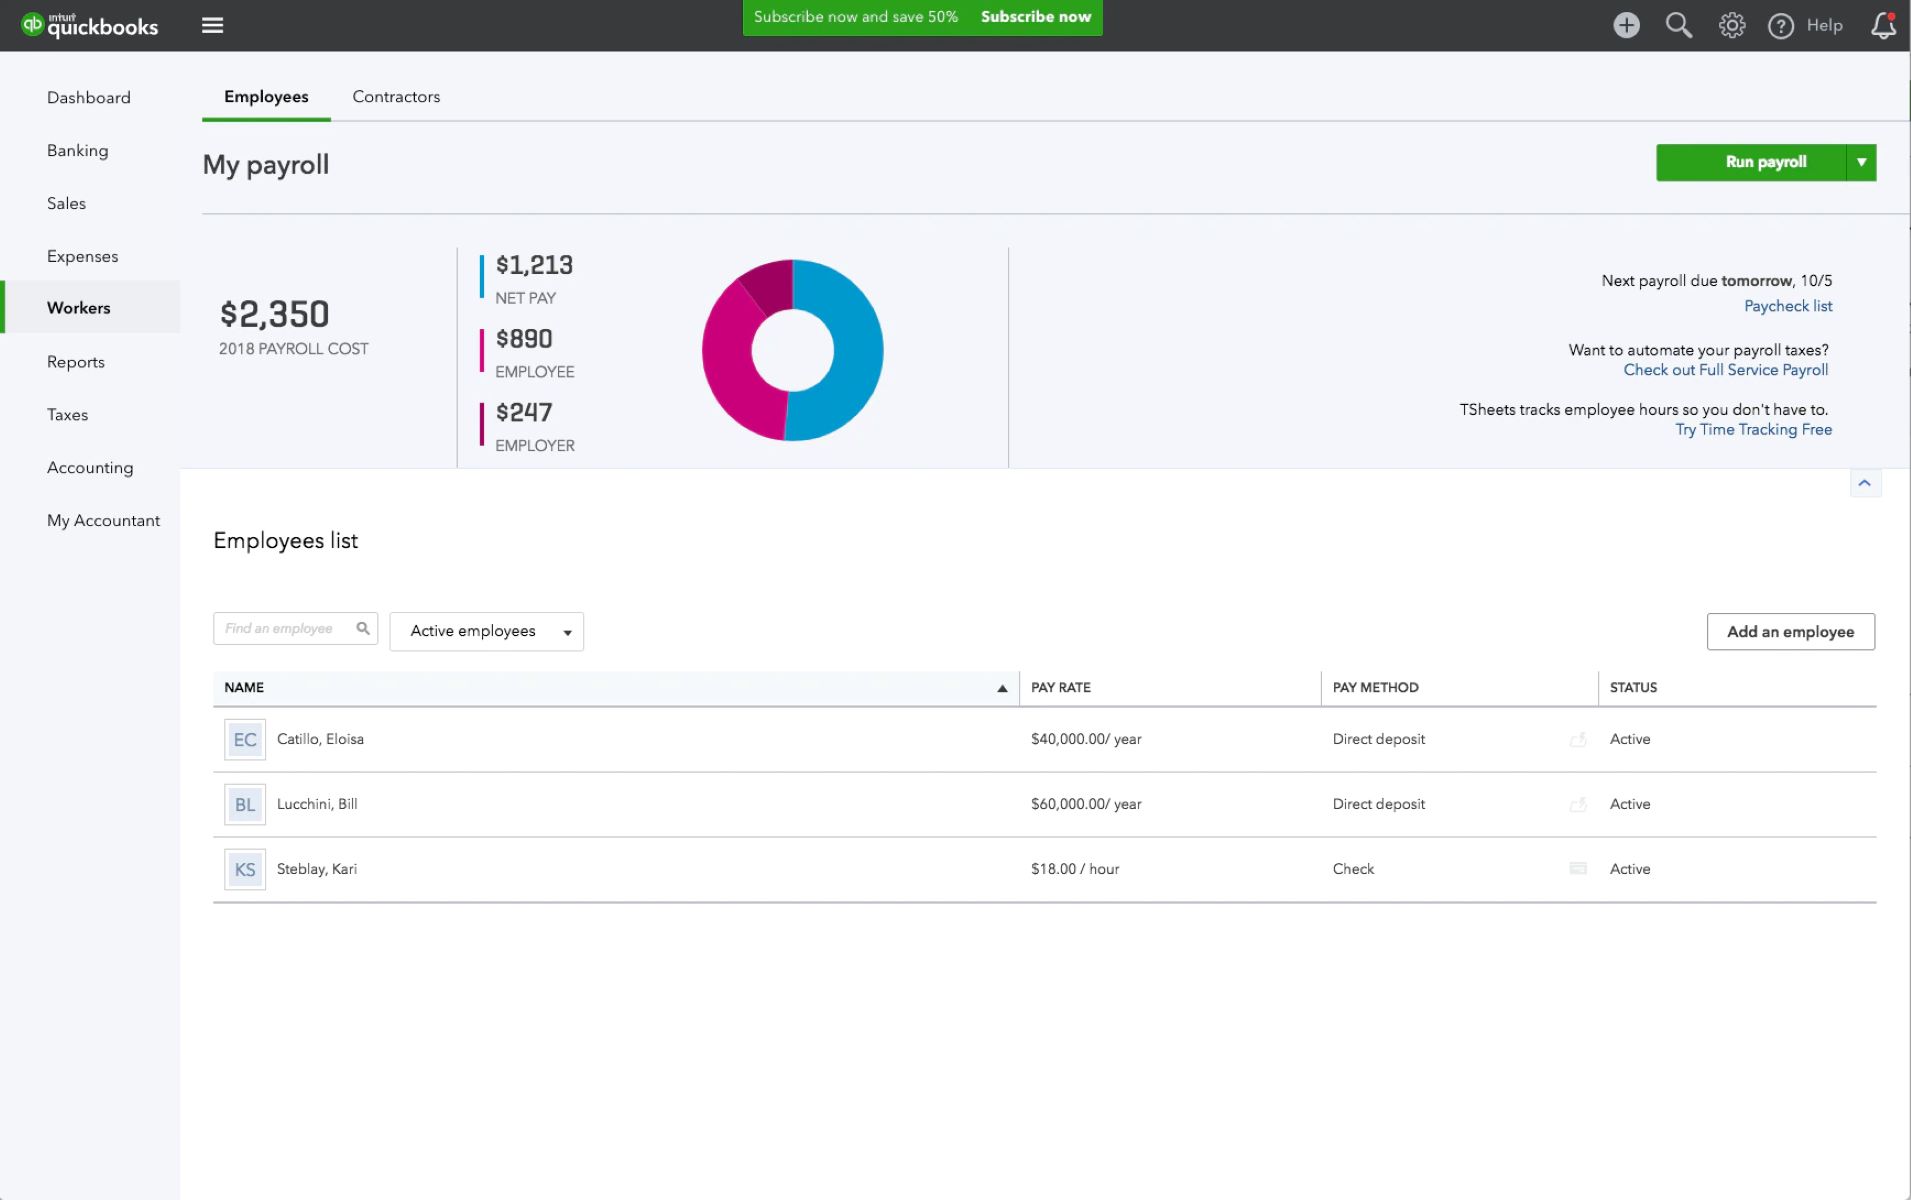
The first step in cancelling payroll in QuickBooks is to review your payroll liabilities. Payroll liabilities include any outstanding amounts owed to employees, tax authorities, or other entities. By reviewing these liabilities, you can ensure that all balances are accurate and accounted for in your financial records.
To review your payroll liabilities in QuickBooks, follow these steps:
- Open QuickBooks and navigate to the Payroll Center.
- Select the Pay Liabilities tab.
- Click on the View/Print Liabilities & Balance Summary link.
- Review the list of liabilities displayed, which may include employee tax withholdings, employer contributions, and other payroll deductions.
- Verify that the balances shown are correct by comparing them with your payroll records.
- If you notice any discrepancies or unpaid amounts, investigate and resolve them before proceeding with the cancellation process.
Reviewing your payroll liabilities is crucial, as it ensures that all outstanding amounts are accurately reflected in your financial records. It also helps identify any errors or omissions that may need to be corrected. Taking the time to review your payroll liabilities provides a solid foundation for the rest of the cancellation process.
Once you have reviewed your payroll liabilities and ensured their accuracy, you can proceed to the next step in cancelling payroll in QuickBooks.
Verify employee paychecks and tax calculations
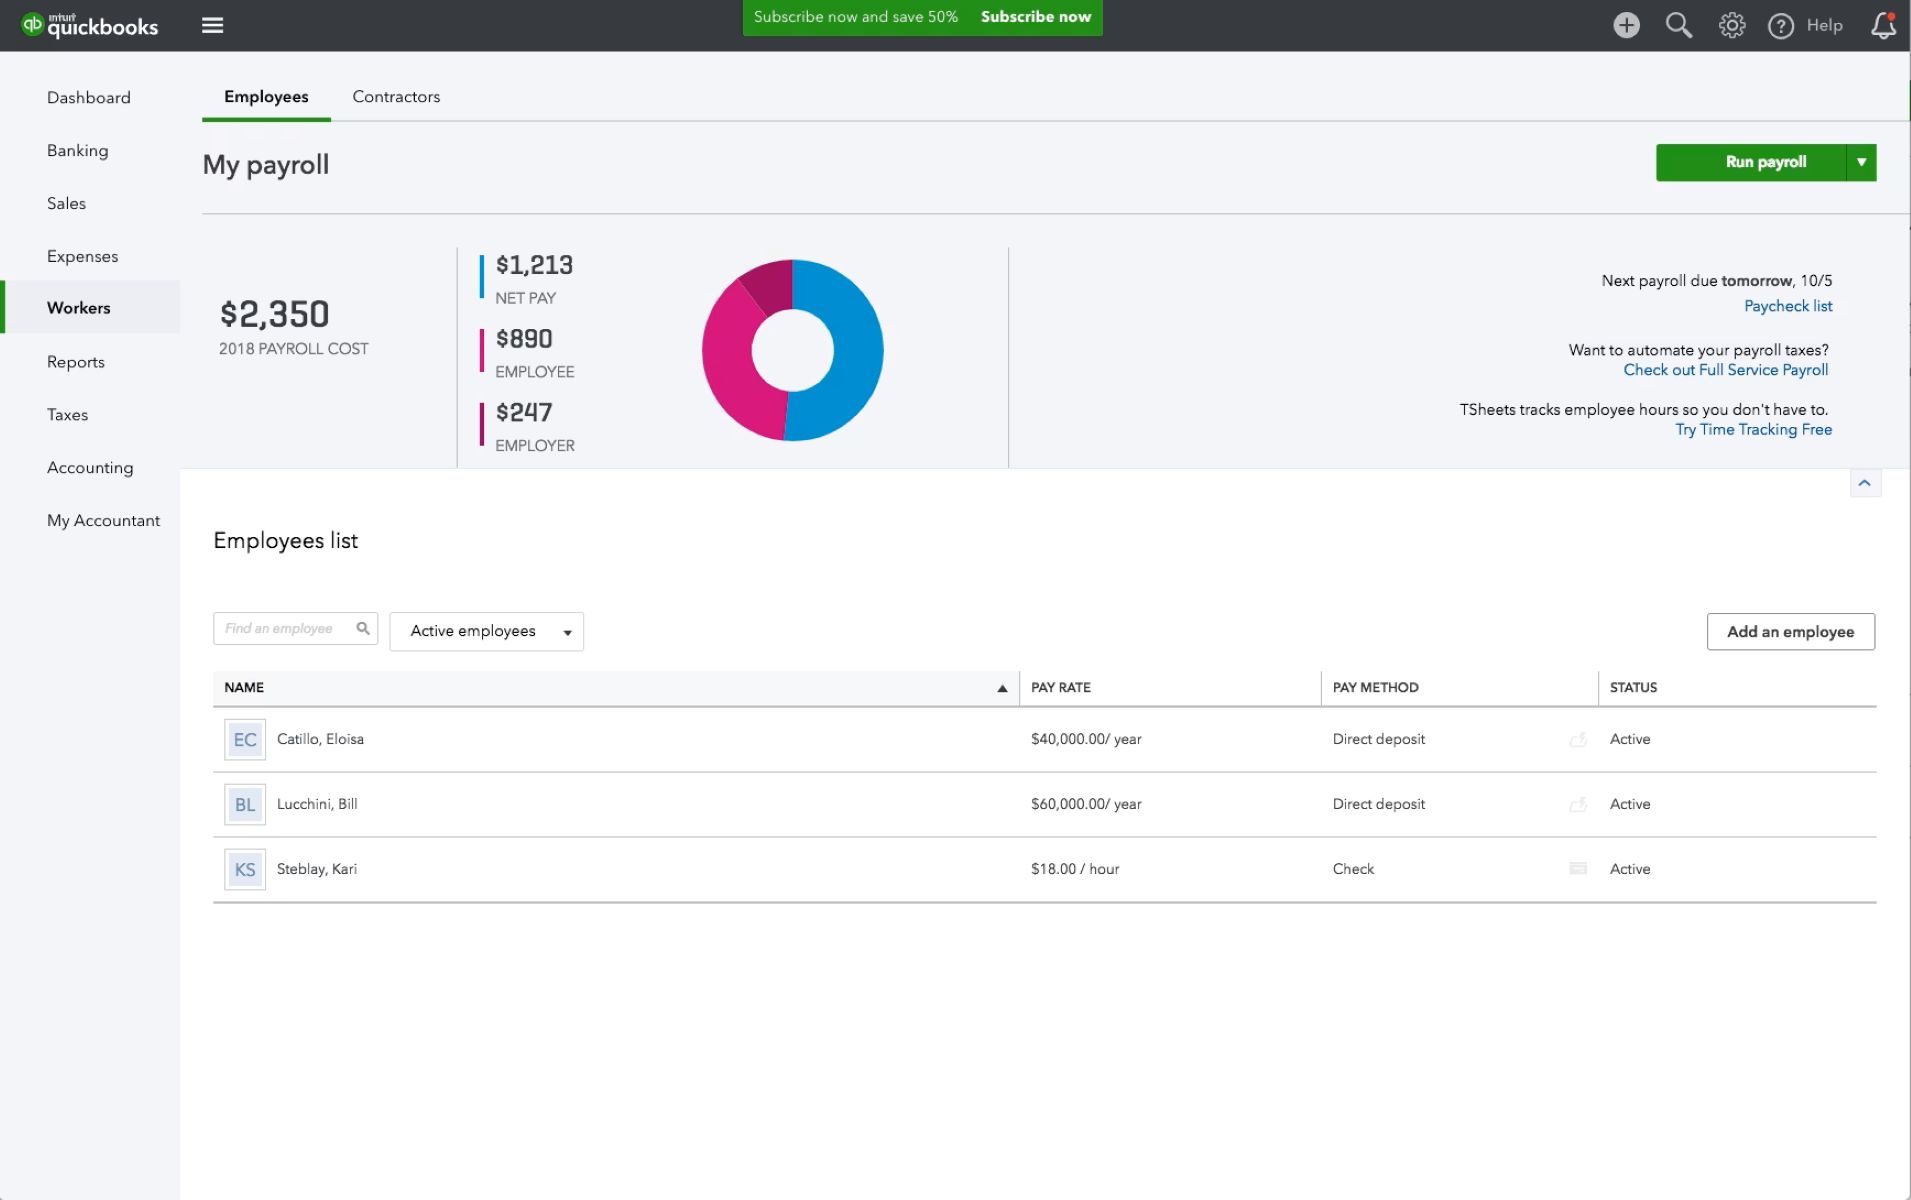
After reviewing your payroll liabilities, the next step in cancelling payroll in QuickBooks is to verify employee paychecks and tax calculations. It’s crucial to ensure that the wages, deductions, and tax withholdings for each employee are accurate before proceeding with the cancellation process.
To verify employee paychecks and tax calculations in QuickBooks, follow these steps:
- Access the Payroll Center in QuickBooks.
- Select the Employees tab.
- Click on the employee whose paycheck you want to verify.
- Review the details of the paycheck, including the wage amounts, deductions, and tax withholdings.
- Compare the information displayed in QuickBooks with the payroll records you have for that employee.
- If you notice any discrepancies, such as incorrect wages or tax calculations, make the necessary adjustments in QuickBooks to ensure accuracy.
- Repeat this process for each employee, verifying their paychecks and tax calculations.
Verifying employee paychecks and tax calculations is essential to avoid any errors or inaccuracies in your payroll. It ensures that employees are paid correctly and that tax withholdings are accurately calculated and recorded.
If you come across any discrepancies during this verification process, take the time to investigate and rectify them before proceeding with the cancellation of payroll in QuickBooks. This will help maintain accurate financial records and ensure that employees are compensated appropriately.
Once you have verified all employee paychecks and tax calculations, you can move on to the next step in cancelling payroll in QuickBooks.
Void any outstanding paychecks
As part of the process to cancel payroll in QuickBooks, it’s important to void any outstanding paychecks that have not been issued. Voiding these paychecks ensures that they are removed from the payroll records and no longer considered as valid payments.
To void outstanding paychecks in QuickBooks, follow these steps:
- Open QuickBooks and navigate to the Employees tab or Pay Employees section.
- Select the employee for whom you want to void the paycheck.
- Locate the paycheck you want to void and click on it to open the details.
- Choose the option to void the paycheck, which may be labeled as “Void” or “Delete.”
- Confirm the void action when prompted by QuickBooks.
- Repeat this process for all outstanding paychecks that need to be voided.
By voiding outstanding paychecks, you ensure that they are no longer considered as valid payments. This prevents any confusion or inaccurate reporting in your financial records, as the voided paychecks will be excluded from calculations and tax forms.
It’s important to note that once a paycheck has been voided, it cannot be edited or reissued. Therefore, ensure that you have verified the accuracy of the paycheck details before voiding it. If adjustments are necessary, it may be better to create a new paycheck with the corrected information.
Voiding outstanding paychecks is a critical step in the process of cancelling payroll in QuickBooks. By completing this step, you remove any unissued payments from your payroll records and maintain accurate financial information for your business.
Remove direct deposit paychecks (if applicable)
If you have issued direct deposit paychecks that need to be cancelled as part of the payroll cancellation process in QuickBooks, it’s important to remove them from the system. This ensures that erroneous payments are not processed and that accurate financial records are maintained.
To remove direct deposit paychecks in QuickBooks, follow these steps:
- Access the Payroll Center in QuickBooks.
- Select the Employees tab or navigate to the Pay Employees section.
- Choose the employee for whom you need to remove the direct deposit paycheck.
- Locate the direct deposit paycheck and click on it to open the details.
- Select the option to delete or remove the direct deposit.
- Confirm the deletion or removal when prompted by QuickBooks.
- Repeat this process for all direct deposit paychecks that need to be removed.
By removing direct deposit paychecks, you ensure that these payments are no longer considered valid and will not be processed by the banking system. This prevents any incorrect funds from being transferred to employees’ bank accounts, avoiding potential complications or confusion.
It’s important to note that removing a direct deposit paycheck does not automatically reverse the associated payroll liabilities or tax withholdings. You will need to separately reverse these liabilities in QuickBooks to ensure accurate financial records.
Removing direct deposit paychecks, if applicable, is an essential step in the process of cancelling payroll in QuickBooks. By completing this step, you prevent any incorrect or unauthorized payments from being processed and maintain accurate financial information.
Cancel scheduled direct deposits (if applicable)
If you have any upcoming direct deposit payments scheduled that need to be cancelled as part of the payroll cancellation process in QuickBooks, it’s crucial to take the necessary steps to prevent incorrect funds from being transferred to employees’ bank accounts. Cancelling scheduled direct deposits ensures that accurate financial records are maintained and that employees are not affected by any undesired payments.
To cancel scheduled direct deposits in QuickBooks, follow these steps:
- Access the Payroll Center in QuickBooks.
- Select the Employees tab or navigate to the Pay Employees section.
- Choose the employee for whom you need to cancel the scheduled direct deposit.
- Locate the upcoming direct deposit and click on it to open the details.
- Select the option to cancel or delete the scheduled direct deposit.
- Confirm the cancellation when prompted by QuickBooks.
- Repeat this process for all scheduled direct deposits that need to be cancelled.
By cancelling scheduled direct deposits, you ensure that funds will not be transferred to employees’ bank accounts as originally planned. This helps avoid any confusion, inconvenience, or potential financial discrepancies that may arise from incorrect payment processing.
It’s important to note that cancelling a scheduled direct deposit does not automatically reverse the associated payroll liabilities or tax withholdings. You will need to separately reverse these liabilities in QuickBooks to ensure accurate financial records.
Cancelling scheduled direct deposits, if applicable, is a crucial step in the process of cancelling payroll in QuickBooks. By completing this step, you prevent any unintended payments from being processed and maintain accurate financial information for your business.
Delete any saved paychecks
As part of the payroll cancellation process in QuickBooks, it’s important to delete any saved paychecks that have not been issued. Deleting these saved paychecks ensures that they are removed from the system and prevents any confusion or inaccuracies in your payroll records.
To delete saved paychecks in QuickBooks, follow these steps:
- Access the Payroll Center in QuickBooks.
- Select the Employees tab or navigate to the Pay Employees section.
- Choose the employee for whom you want to delete the saved paycheck.
- Locate the saved paycheck and click on it to open the details.
- Select the option to delete or remove the saved paycheck.
- Confirm the deletion or removal when prompted by QuickBooks.
- Repeat this process for all saved paychecks that need to be deleted.
By deleting saved paychecks, you ensure that these unissued payments are no longer considered valid and will not be included in your payroll records. This helps maintain accurate financial information and prevents any incorrect calculations or reporting.
Before deleting any saved paychecks, it’s important to review the details and verify that they are indeed unissued and no longer needed. Double-check that all necessary adjustments have been made and that the deletion will not have any unintended consequences on your payroll records.
Deleting any saved paychecks that are no longer needed is an essential step in the process of cancelling payroll in QuickBooks. By completing this step, you maintain the integrity of your payroll records and ensure accurate financial information for your business.
Reverse the payroll liabilities
To ensure accurate financial records during the cancellation of payroll in QuickBooks, it’s important to reverse the payroll liabilities associated with the cancelled paychecks. Reversing the payroll liabilities helps correct the balances and ensures that your financial statements accurately reflect the changes made in the payroll system.
To reverse the payroll liabilities in QuickBooks, follow these steps:
- Access the Payroll Center in QuickBooks.
- Select the Pay Liabilities tab.
- Click on the Adjust Payroll Liabilities option.
- Enter the correct adjustment date and select the liability period you want to adjust.
- Choose the payroll item(s) for which you want to reverse the liabilities.
- Enter the appropriate amounts to reverse the liabilities.
- Review the summary of the adjustment to ensure accuracy.
- Save the adjustment to complete the process of reversing the payroll liabilities.
By reversing the payroll liabilities, you adjust the balances to accurately reflect the cancelled paychecks and any associated changes in tax withholdings and deductions. This ensures that your financial records are up-to-date and that the proper amounts are accounted for in your liabilities.
When reversing payroll liabilities, it’s important to double-check the information entered and ensure that the adjustments are accurate. Any discrepancies or errors in the reversal process can lead to incorrect financial reporting and may necessitate further adjustments.
Reversing the payroll liabilities is a critical step in the payroll cancellation process in QuickBooks. By completing this step, you ensure that your financial records accurately reflect the cancellation of paychecks and associated changes in tax withholdings, deductions, and liabilities.
Update your payroll tax forms
As you cancel payroll in QuickBooks, it’s important to update your payroll tax forms to reflect the changes made in the payroll system. Updating your payroll tax forms ensures accurate reporting to the tax authorities and helps maintain compliance with tax regulations.
To update your payroll tax forms in QuickBooks, follow these steps:
- Access the Payroll Center in QuickBooks.
- Select the Pay Liabilities tab.
- Click on the Create Custom Liability Payments option.
- Choose the liability period you want to update.
- Select the appropriate payroll tax forms that need to be updated.
- Verify that the information on the tax forms is accurate and reflects the changes made in the payroll system.
- If necessary, make any necessary adjustments or corrections to the tax forms.
- Review the summary of the updated tax forms to ensure accuracy.
- Save the updates to complete the process of updating your payroll tax forms.
By updating your payroll tax forms, you ensure that the correct information is reported to the tax authorities. This includes accurate calculations of employee tax withholdings, employer contributions, and any other relevant payroll tax information.
It’s essential to review the updated tax forms carefully and verify that the information reported is accurate. Any discrepancies or errors can lead to incorrect tax filings and potential penalties or complications with the tax authorities.
Updating your payroll tax forms is a crucial step in the payroll cancellation process in QuickBooks. By completing this step, you ensure accurate tax reporting and maintain compliance with tax regulations.
Inform your employees about the cancellation
When cancelling payroll in QuickBooks, it is important to communicate the cancellation to your employees. By informing them about the cancellation, you provide transparency and clarity regarding any changes in their pay and ensure that they understand the reasons and implications of the cancellation process.
To inform your employees about the cancellation, follow these steps:
- Prepare a clear and concise communication explaining the cancellation of payroll in QuickBooks.
- Include the reasons for the cancellation, such as errors in paychecks, changes in employee compensation, or tax calculation adjustments.
- Explain the impact of the cancellation on their pay and any necessary adjustments that will be made to rectify errors or changes.
- Provide reassurance that any necessary corrections or adjustments will be made promptly to ensure accuracy.
- Communicate any changes to payment schedules or methods resulting from the cancellation, such as rescheduled paydates or alternative payment methods.
- Encourage employees to reach out with any questions or concerns they may have regarding the cancellation or their pay.
- Distribute the communication to all employees through an appropriate channel, such as an email, company-wide notice, or in-person meeting.
Effective and transparent communication with your employees is crucial during the payroll cancellation process. It helps maintain trust, minimizes confusion, and ensures that employees are informed and aware of any changes impacting their pay.
Remember to be empathetic and understanding in your communication, as changes to payroll can cause stress or concern for your employees. By providing clear and timely communication, you can alleviate any potential anxiety and foster a positive work environment.
Informing your employees about the cancellation of payroll in QuickBooks is an important step in the process. By completing this step, you demonstrate transparency and maintain open lines of communication with your employees, ensuring a smooth transition during the payroll cancellation process.
Save a copy of the cancelled payroll for record keeping
As you complete the process of cancelling payroll in QuickBooks, it is important to save a copy of the cancelled payroll for record keeping purposes. Retaining a copy of the cancelled payroll helps maintain a comprehensive audit trail, provides documentation of any adjustments made, and ensures you have a reference point for future inquiries or reporting needs.
To save a copy of the cancelled payroll in QuickBooks, follow these steps:
- Access the Payroll Center in QuickBooks.
- Select the Pay Liabilities tab or navigate to the Pay Employees section.
- Choose the desired date range or payroll period for the cancelled payroll.
- Generate a payroll report or summary for the selected date range or period.
- Save the report or summary as a PDF or in a format compatible with your record keeping system.
- Organize saved copies of cancelled payrolls in a designated folder or location for easy retrieval and reference.
Saving a copy of the cancelled payroll ensures that you have a detailed record of the adjustments made, including reversed paychecks, updated liabilities, and any other changes made during the cancellation process. It serves as a valuable resource for accounting purposes, internal auditing, and future reference if needed.
It is important to establish a consistent and organized record-keeping system for all cancelled payrolls. Properly storing and categorizing these records ensures that they are easily accessible and can be retrieved when required for reporting purposes or in the event of an audit.
Saving a copy of the cancelled payroll for record keeping is the final step in the payroll cancellation process in QuickBooks. By completing this step, you maintain accurate and comprehensive records of your payroll adjustments, ensuring compliance and providing a valuable resource for your business’s financial records.
Conclusion
Cancelling payroll in QuickBooks may become necessary for various reasons, such as correcting errors, adjusting employee compensation, or resolving discrepancies in tax calculations. By following the step-by-step guide outlined in this article, you can effectively cancel payroll in QuickBooks and ensure accurate financial records for your business.
Throughout the cancellation process, it is crucial to review your payroll liabilities, verify employee paychecks and tax calculations, void any outstanding paychecks, remove direct deposit paychecks if applicable, cancel scheduled direct deposits if necessary, delete any saved paychecks, reverse the payroll liabilities, update your payroll tax forms, inform your employees about the cancellation, and save a copy of the cancelled payroll for record keeping.
Transparency and effective communication with your employees are key during this process. Clearly explaining the reasons for the cancellation, the impact on employees’ pay, and the steps being taken to rectify any errors or changes help maintain trust and minimize confusion.
Remember to consult with a qualified accountant or financial advisor before making any significant changes to your payroll. It is important to ensure compliance with tax regulations and maintain accuracy in your financial records.
By following this step-by-step guide and understanding the importance of each stage in the payroll cancellation process, you can navigate QuickBooks effectively and maintain accurate financial records for your business.