Introduction
Graphics card memory dedication refers to allocating or dedicating a specific amount of computer memory to be used exclusively by the graphics card. This memory is crucial for handling graphical tasks and rendering high-quality images, videos, and games on your computer.
Choosing the right amount of memory allocation for your graphics card is essential, as it directly affects your system’s performance and the quality of your visual experience. Whether you use your computer for gaming, graphic design, or video editing, dedicating more memory to your graphics card can significantly enhance its capabilities.
In this article, we will explore the concept of graphics card memory dedication, its significance, and how you can allocate more memory to your graphics card. Whether you’re a seasoned tech enthusiast or a beginner, this guide will provide you with valuable insights to take your computer’s graphics performance to the next level.
We will also discuss the steps involved in checking your current memory allocation, assessing your graphics card’s memory requirements, adjusting memory allocation in the BIOS, and even upgrading your graphics card’s memory if necessary. Additionally, we will explore various strategies to achieve a balanced memory allocation for optimal performance.
Lastly, we will address common issues that may arise during the memory dedication process and provide troubleshooting tips to overcome them. By the end of this article, you will have a comprehensive understanding of graphics card memory dedication and the necessary tools to optimize your system’s graphics performance.
So, without further ado, let’s dive into the world of graphics card memory dedication and unlock the full potential of your computer’s visuals!
What is Graphics Card Memory Dedication?
Graphics card memory dedication, also known as VRAM (Video Random Access Memory), is a type of memory specifically used by the graphics card to store and process graphical data. It plays a crucial role in rendering high-quality images, videos, and games on your computer’s display. The memory on a graphics card is separate from the computer’s main RAM and is designed to handle the intensive graphical tasks demanded by modern applications.
When you launch a graphically intensive program or game, the graphics card relies heavily on VRAM to store and access textures, shaders, and other graphical elements. The more memory available to the graphics card, the smoother and faster these processes can occur, resulting in enhanced visual performance and reduced lag.
The memory dedication for a graphics card is typically predetermined by the manufacturer and is fixed in most cases. However, some graphics cards allow users to adjust the memory allocation within certain limits, ensuring optimal performance based on their specific needs.
It’s important to note that graphics card memory dedication should not be confused with system RAM. System RAM is used for general computing tasks, such as running applications and storing temporary data, while the graphics card memory is solely dedicated to handling graphical processes.
Higher-end graphics cards usually come with larger VRAM capacities, allowing them to handle more complex and demanding graphics, such as high-resolution textures and 3D rendering. On the other hand, graphics cards with lower VRAM capacities may struggle with running graphically intensive applications at higher resolutions or with advanced graphical effects enabled.
Understanding graphics card memory dedication is essential because it enables you to determine whether your current memory allocation is sufficient for your specific needs or if you need to allocate or upgrade your graphics card’s memory to achieve better performance and visual quality.
Why Dedicate More Memory to Graphics Card?
Dedicating more memory to your graphics card can bring several benefits to your computer’s overall performance and visual experience. Here are the key reasons why you may consider allocating additional memory to your graphics card:
1. Improved Graphics Performance: By allocating more memory to your graphics card, you provide it with the necessary resources to handle visually demanding tasks. This leads to smoother frame rates, reduced stuttering, and overall improved graphics performance, especially when running graphically intensive applications or playing high-resolution games.
2. Enhanced Visual Quality: More memory allows the graphics card to store larger textures, high-resolution graphics, and complex visual effects. This results in sharper details, better lighting effects, improved anti-aliasing, and overall enhanced visual quality in games, videos, and graphic-intensive applications.
3. Future-Proofing Your System: As technology advances, software and games become more demanding in terms of graphical requirements. By dedicating more memory to your graphics card, you ensure that your system is better prepared to handle future upgrades and newer, more resource-intensive applications.
4. Multitasking and Simultaneous Displays: If you frequently work with multiple displays or engage in multitasking, dedicating more memory to your graphics card can help handle the increased workload. This allows for smoother transitions between applications, improved performance when using multiple monitors, and better overall system responsiveness.
5. Virtual Reality (VR) Support: Virtual reality experiences require significant graphical processing power and memory. By allocating more memory to your graphics card, you can ensure a smoother and more immersive VR experience, reducing the chances of lag or stuttering during gameplay or exploring virtual worlds.
6. Renders and Graphic Design: Graphic designers and 3D artists often work with complex models and high-resolution textures. By dedicating more memory to the graphics card, rendering times can be significantly reduced, saving time and increasing productivity in design and visualization workflows.
Remember that the benefits of dedicating more memory to your graphics card may vary depending on the specific hardware and software you are using. It’s essential to consider your specific needs and the recommended requirements of the applications or games you use to determine the optimal memory allocation for your graphics card.
Checking the Current Memory Allocation
Before you can determine if you need to allocate more memory to your graphics card, you should start by checking the current memory allocation. Here’s how you can do it:
1. GPU Control Panel: Most graphics cards come with control panel software that allows you to tweak various settings, including memory allocation. Open your GPU control panel (such as NVIDIA Control Panel or AMD Radeon Settings) and navigate to the memory or VRAM section. Here, you can usually find information about the current memory allocation and available memory.
2. GPU-Z: GPU-Z is a third-party software that provides detailed information about your graphics card. Download and install GPU-Z, launch the program, and navigate to the “Memory” tab. Here, you can find information about the total memory, memory type, and memory usage of your graphics card.
3. System Information: On Windows, you can use the System Information tool to check your graphics card’s memory allocation. Press the Windows key + R, type “msinfo32”, and press Enter to open the System Information window. In the left sidebar, expand “Components” and click on “Display”. In the right panel, you can find information about your graphics card, including the allocated memory.
4. Task Manager: The Task Manager in Windows provides basic information about your graphics card and its memory usage. Right-click on the taskbar and select “Task Manager” to open it. Go to the “Performance” tab and click on “GPU” on the left sidebar. Here, you can see GPU utilization and GPU memory usage for your graphics card.
By checking the current memory allocation, you can determine if you have sufficient memory for your needs or if you need to allocate more memory to your graphics card for optimal performance. Remember to consider the recommended memory requirements for the applications or games you use as a benchmark for determining if additional memory allocation is necessary.
Assessing Graphics Card Requirements
Assessing the graphics card requirements is an essential step in determining the optimal memory allocation. Here’s how you can assess the requirements for your graphics card:
1. Consult Manufacturer Specifications: Start by referring to the manufacturer’s specifications for your graphics card. Visit the official website of the graphics card manufacturer and search for your specific model. Look for details regarding the recommended memory allocation or any specific memory requirements mentioned by the manufacturer.
2. Consider Application or Game Requirements: Take into account the applications or games you use most frequently. Check their recommended system requirements, which often include information about the ideal memory allocation for your graphics card. This information can usually be found on the developer’s website or within the application’s documentation.
3. Analyze Current System Performance: If you are experiencing lag or performance issues while using graphically demanding applications, it might indicate that your current memory allocation is insufficient. Monitor your system’s performance using tools like Task Manager or third-party applications to analyze the memory usage of your graphics card during intensive tasks. If you see high memory usage or frequent use of virtual memory, it may be a sign that you need to allocate more memory to your graphics card.
4. Consider Future Upgrades: If you plan on upgrading your applications or games, or if you anticipate working with more graphically demanding content in the future, it is wise to consider allocating more memory to your graphics card. This will ensure that your system remains capable of handling future upgrades without compromising performance.
5. Seek Expert Recommendations: If you are unsure about the memory requirements for your graphics card or need personalized advice, consider consulting with experts in the field. Reach out to forums, online communities, or tech support of the graphics card manufacturer to get recommendations specific to your setup and requirements.
By assessing the graphics card requirements, you can determine the ideal memory allocation for optimal performance and visual quality. It’s important to find the right balance between the memory allocated to the graphics card and other system resources to ensure a smooth and efficient computing experience.
Adjusting Memory Allocation in BIOS
Adjusting the memory allocation for your graphics card in the BIOS is only possible if your motherboard and graphics card support this feature. Here’s how you can do it:
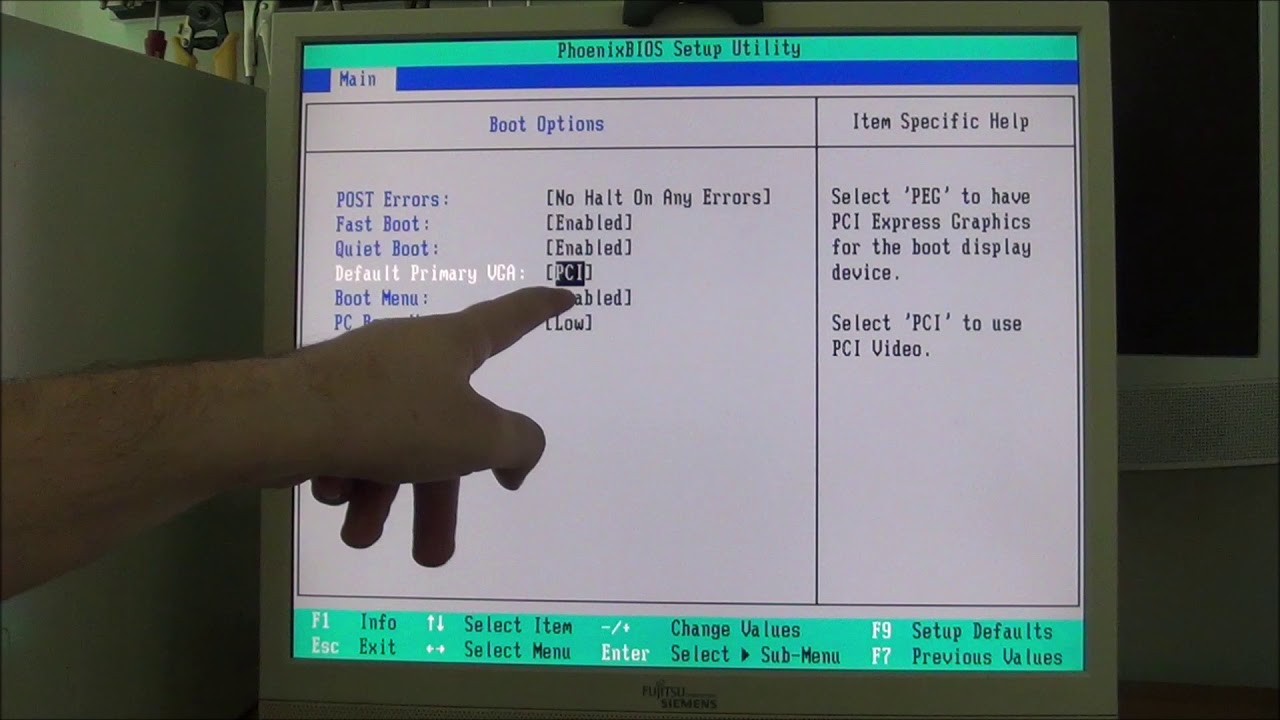
1. Access the BIOS: Restart your computer and enter the BIOS by pressing the designated key during startup. The key to access the BIOS varies depending on the motherboard manufacturer, but it is often the Delete, F2, or F10 key. Look for a message that appears briefly on your screen during startup, indicating the key to access the BIOS.
2. Navigate to the Graphics Card Settings: Once inside the BIOS, navigate to the Graphics or Display section. The exact location of these settings may vary depending on your motherboard manufacturer and BIOS version.
3. Locate the Memory Allocation Setting: Look for the Memory Allocation or Video Memory option within the Graphics or Display section. It might be labeled as “IGP Memory Size”, “Graphics Memory Allocation” or a similar term. This setting determines the amount of memory allocated to the graphics card.
4. Adjust the Memory Allocation: Depending on your BIOS, the memory allocation setting may offer specific options, such as predefined memory values or a slider to adjust the allocation. Select the desired memory allocation value or adjust the slider to increase or decrease the memory allocated to the graphics card.
5. Save and Exit: Once you have made the desired changes, save the settings and exit the BIOS. Confirm the changes and allow your computer to restart.
It’s important to note that not all BIOS versions or graphics cards support adjusting memory allocation. If you do not find any memory allocation settings in your BIOS, it means that this feature is not available for your specific hardware configuration.
Additionally, keep in mind that adjusting memory allocation in the BIOS should be done with caution. Allocating too much memory to the graphics card may reduce the available system memory, potentially impacting the performance of other applications. Ensure that you strike a balance between graphics card memory and system memory for optimal performance.
If your motherboard or graphics card does not provide an option to adjust memory allocation in the BIOS, you may need to consider upgrading your graphics card to one that offers greater memory capacity, or consult with experts or the graphics card manufacturer for alternative solutions.
Upgrading Graphics Card Memory
If you find that your current graphics card’s memory allocation is insufficient for your needs, you may consider upgrading the graphics card memory. Here’s what you need to know:
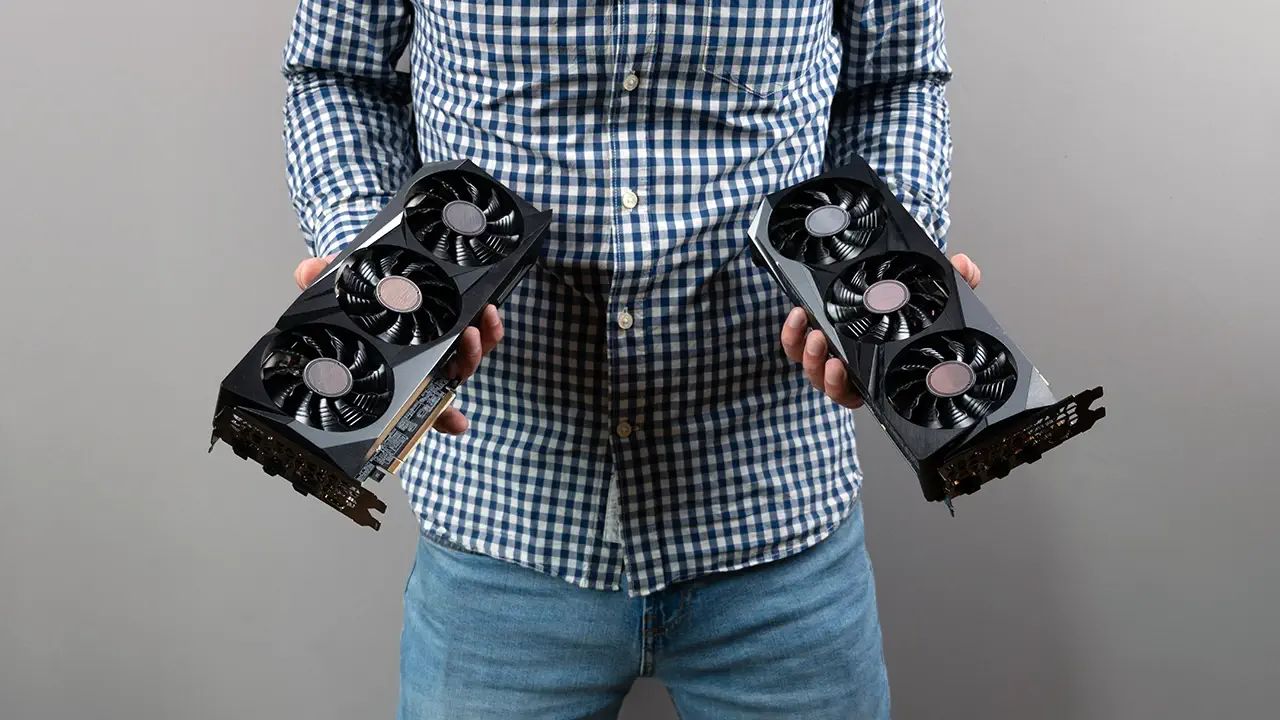
1. Check Compatibility: Before upgrading, ensure that your motherboard and power supply unit (PSU) can support the new graphics card. Check the specifications of your motherboard and PSU to verify compatibility.
2. Research Compatible Graphics Cards: Look for graphics cards that offer larger memory capacities and are compatible with your system. Consider factors such as budget, performance requirements, and compatibility with your existing hardware.
3. Purchase the Graphics Card: Once you have selected a suitable graphics card, make the purchase from a reputable retailer or online store. Ensure that the card’s memory capacity meets your requirements and specifications.
4. Prepare Your System: Before installing the new graphics card, make sure to uninstall any existing graphics card drivers. You can use tools like Display Driver Uninstaller (DDU) to remove the existing drivers completely.
5. Install the New Graphics Card: Carefully install the new graphics card into the appropriate slot on your motherboard, following the manufacturer’s instructions. Make sure to secure it firmly but gently to avoid any damage.
6. Install the Latest Drivers: After installing the new graphics card, download and install the latest drivers from the manufacturer’s website. This ensures optimal performance and compatibility with your system.
7. Configure Memory Allocation: Once the new graphics card is installed, you may need to adjust the memory allocation settings as mentioned in the earlier sections. Ensure that the allocated memory matches the capabilities of the new graphics card.
8. Test and Evaluate: After completion, test the system’s performance with your preferred applications or games. Monitor the memory usage to ensure that the new graphics card is functioning as expected and delivering the desired performance improvements.
Upgrading your graphics card’s memory can significantly enhance its graphical capabilities and improve overall system performance. However, it’s important to note that upgrading the graphics card memory alone may not always result in substantial improvements if other hardware components, such as CPU or RAM, are bottlenecking the system’s performance.
Consider the overall balance of your system and ensure that all hardware components work harmoniously to achieve the best performance possible. If needed, you may need to upgrade other components alongside the graphics card to achieve optimal results.
Balanced Memory Allocation Strategies
When it comes to memory allocation for your graphics card, it’s important to find a balance that maximizes performance while ensuring that other system resources are not neglected. Here are some balanced memory allocation strategies to consider:
1. Consider System RAM: While dedicating more memory to your graphics card can enhance performance, it’s important to ensure that sufficient system RAM is available for other applications and processes. Allocate enough memory to the graphics card while leaving an appropriate amount for the system to function smoothly. This will prevent potential bottlenecks and ensure a balanced overall performance.
2. Monitor Memory Usage: Keep an eye on the memory usage of your graphics card during different tasks, such as gaming, video editing, or graphic-intensive applications. Use tools like GPU-Z or Task Manager to track the VRAM usage. This will help you determine if you need to adjust memory allocation or upgrade the graphics card to handle specific workloads more efficiently.
3. Consult Documentation and Recommendations: Refer to the documentation and recommendations provided by the graphics card manufacturer and software developers regarding memory allocation. They often have guidelines on the ideal memory allocation for optimal performance. Following these recommendations can help you strike a balance between graphical performance and system stability.
4. Test and Benchmark: Perform benchmark tests to evaluate the impact of different memory allocations on the performance of your graphics card. Use benchmarking tools specifically designed for graphics evaluation and analyze results to identify the allocation that provides the best balance of performance and stability for your specific setup and requirements.
5. Adjust for Specific Workloads: Consider adjusting memory allocation based on the specific workloads you commonly engage in. For example, if you are primarily a gamer, allocate more memory to your graphics card to ensure smooth gameplay at high resolutions and advanced graphical effects. If you are a graphic designer, prioritize allocating more memory for complex rendering tasks.
6. Regularly Update Drivers and BIOS: Keeping your graphics card drivers and BIOS up to date can help improve memory management and overall performance. Check for updates from the graphics card manufacturer’s website and install the latest drivers and BIOS revisions when available.
By implementing these balanced memory allocation strategies, you can optimize the performance of your graphics card while ensuring the smooth operation of other crucial system resources. Find the right balance for your specific needs to unleash the full potential of your graphics card without compromising overall system stability and performance.
Troubleshooting Common Issues
While dedicating more memory to your graphics card can enhance performance, you may encounter some common issues that can affect the stability and functionality of your system. Here are troubleshooting tips for addressing these issues:
1. System Instability: If your system experiences crashes or instability after adjusting memory allocation, it may indicate an imbalance between system resources. Try reducing the memory allocation for the graphics card and see if stability improves. Additionally, ensure that all drivers, BIOS, and system software are up to date.
2. Compatibility Issues: It’s essential to confirm that your graphics card is compatible with your motherboard and other hardware components. Incompatibility can lead to various issues, including display problems, system crashes, or failure to boot. Double-check the specifications and requirements of your graphics card to ensure compatibility.
3. Driver Conflicts: Outdated, incompatible, or conflicting graphics card drivers can cause issues with memory allocation and performance. Uninstall the current drivers using Display Driver Uninstaller (DDU) and then download and install the latest drivers from the manufacturer’s website. This can resolve many driver-related issues.
4. Insufficient Power Supply: Upgrading the graphics card memory may require more power. If you experience system instability or crashes after upgrading, check if your power supply unit (PSU) can handle the increased power requirements. Consider upgrading to a higher wattage PSU to ensure sufficient power for your entire system.
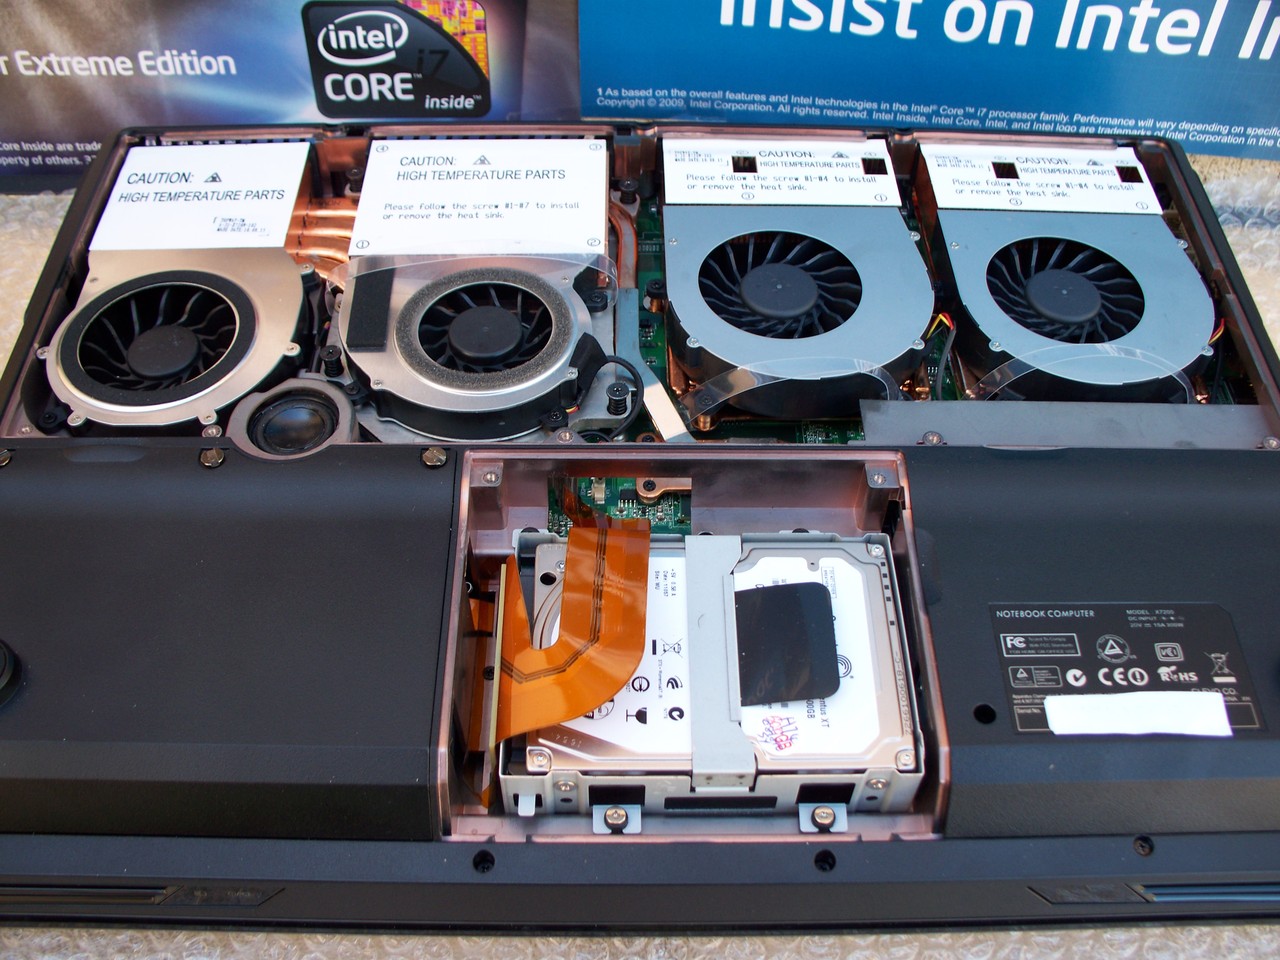
5. Overheating: Inadequate cooling or high temperatures can cause performance issues and potential damage to your graphics card. Ensure that your system is properly cooled by checking the fans, cleaning them if necessary, and ensuring proper airflow in the chassis. Consider using additional cooling solutions, such as better CPU and graphics card coolers, to mitigate overheating problems.
6. Undefined Memory Allocation Settings: Some BIOS versions may lack explicit options for adjusting memory allocation. If you cannot find memory allocation settings in your BIOS, it may not be available for your specific configuration. In this case, you may need to upgrade your graphics card to one that supports memory allocation adjustment.
7. Testing with Different Applications: If you experience issues after adjusting memory allocation, it’s recommended to test your system with various applications or games. Some applications may have specific memory requirements or may not work optimally with certain memory allocation settings. By testing different scenarios, you can identify if the issue is limited to specific applications or a system-wide problem.
If you encounter persisting issues even after troubleshooting, it is advisable to seek further assistance from tech support forums, the manufacturer’s support team, or consult with a qualified professional to diagnose and resolve the problem.
Conclusion
Graphics card memory dedication plays a crucial role in optimizing the performance and visual quality of your computer. Whether you’re a gamer, graphic designer, or content creator, allocating the right amount of memory to your graphics card can significantly enhance your overall computing experience.
In this article, we explored the concept of graphics card memory dedication, its significance, and why you may consider dedicating more memory to your graphics card. We discussed the importance of checking the current memory allocation, assessing graphics card requirements, and strategies for adjusting memory allocation in the BIOS. We also touched on the option of upgrading the graphics card memory to meet your specific needs.
Moreover, we highlighted the importance of finding a balanced memory allocation that takes into account not only the graphics card’s requirements but also other system resources like system RAM. We offered troubleshooting tips to address common issues that may arise during the memory allocation process, such as system instability, compatibility problems, driver conflicts, and power supply limitations.
It’s crucial to remember that the ideal memory allocation will vary depending on your specific hardware configuration, intended usage, and the requirements of the applications or games you use. Regularly monitoring performance, testing different scenarios, and staying updated with the latest drivers and BIOS revisions are essential practices to ensure optimal performance.
Ultimately, by understanding and implementing the strategies outlined in this article, you can enhance the performance and visual quality of your graphics card, resulting in a seamless and enjoyable computing experience. So, take the time to assess your system, make the necessary adjustments, and unlock the full potential of your graphics card!


