Introduction
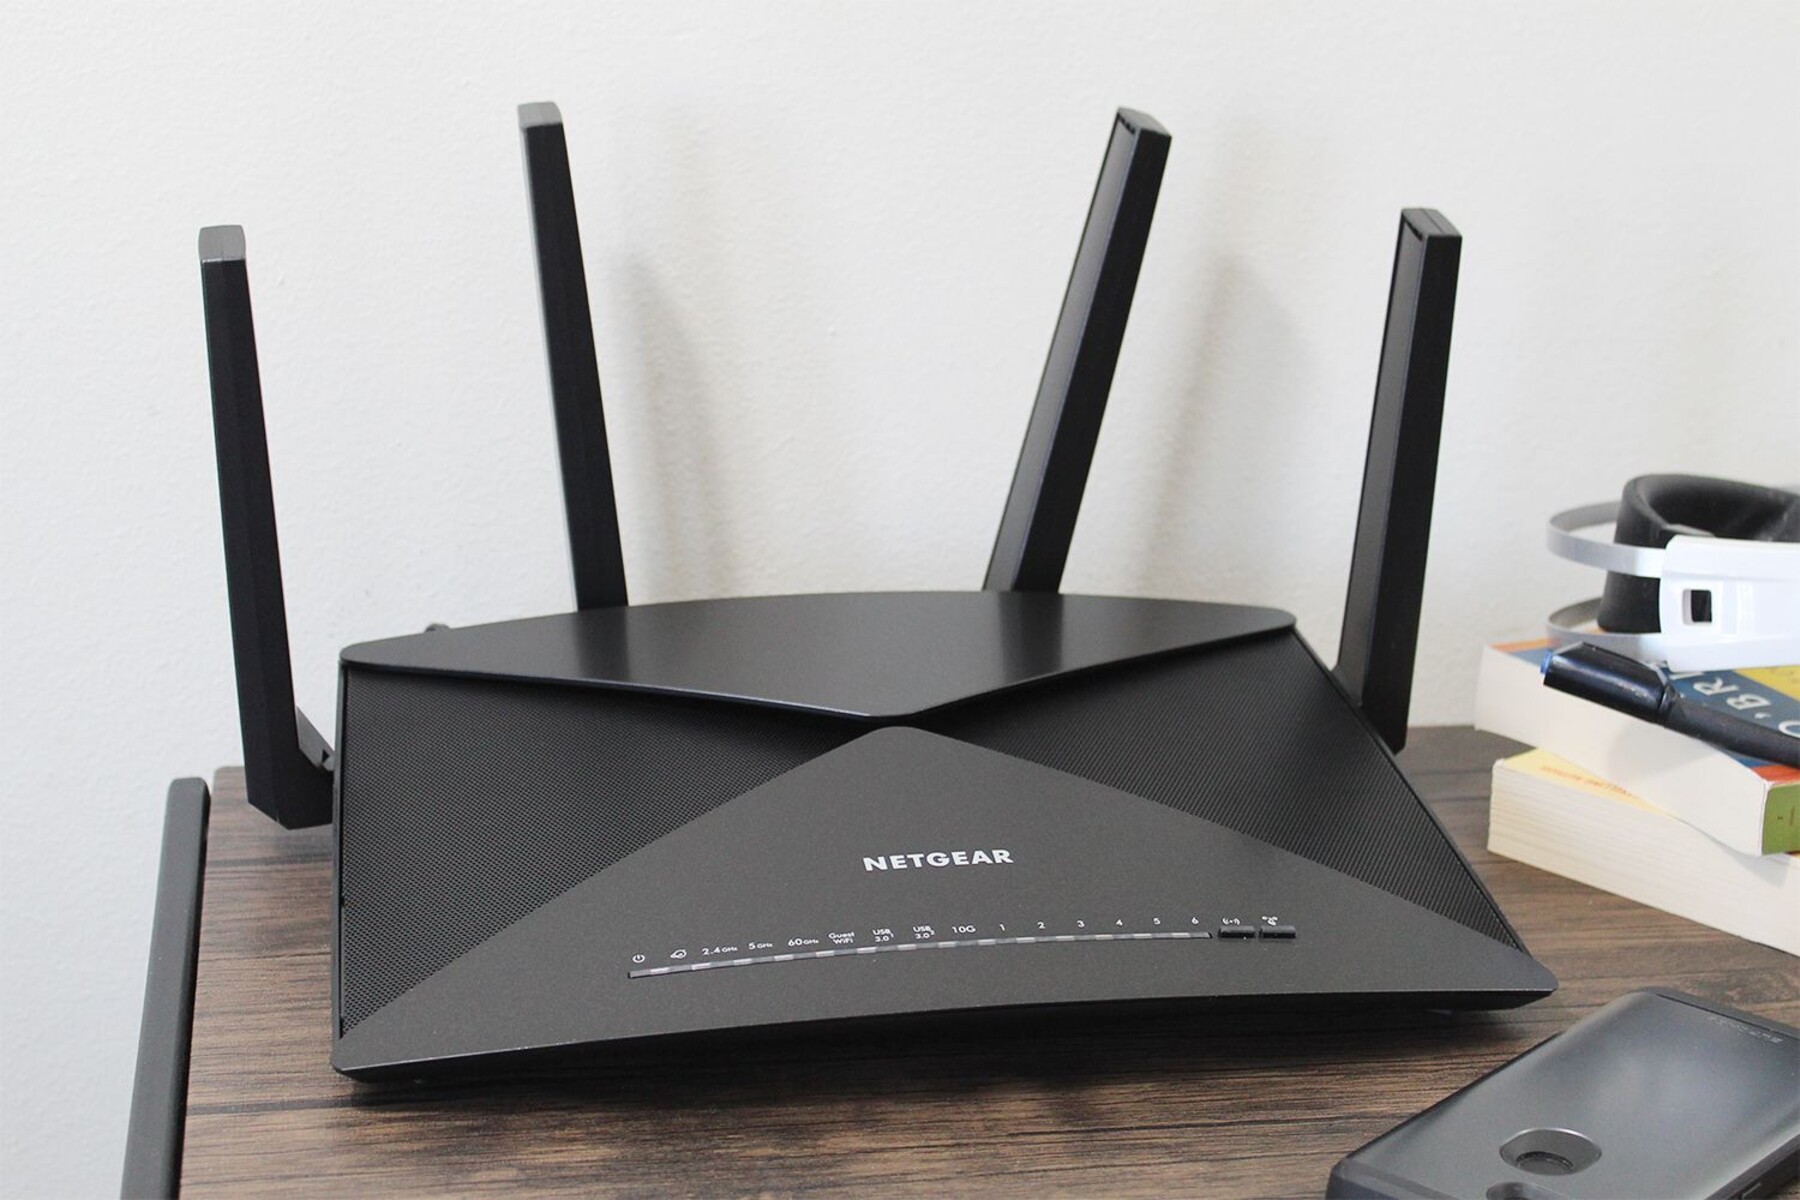
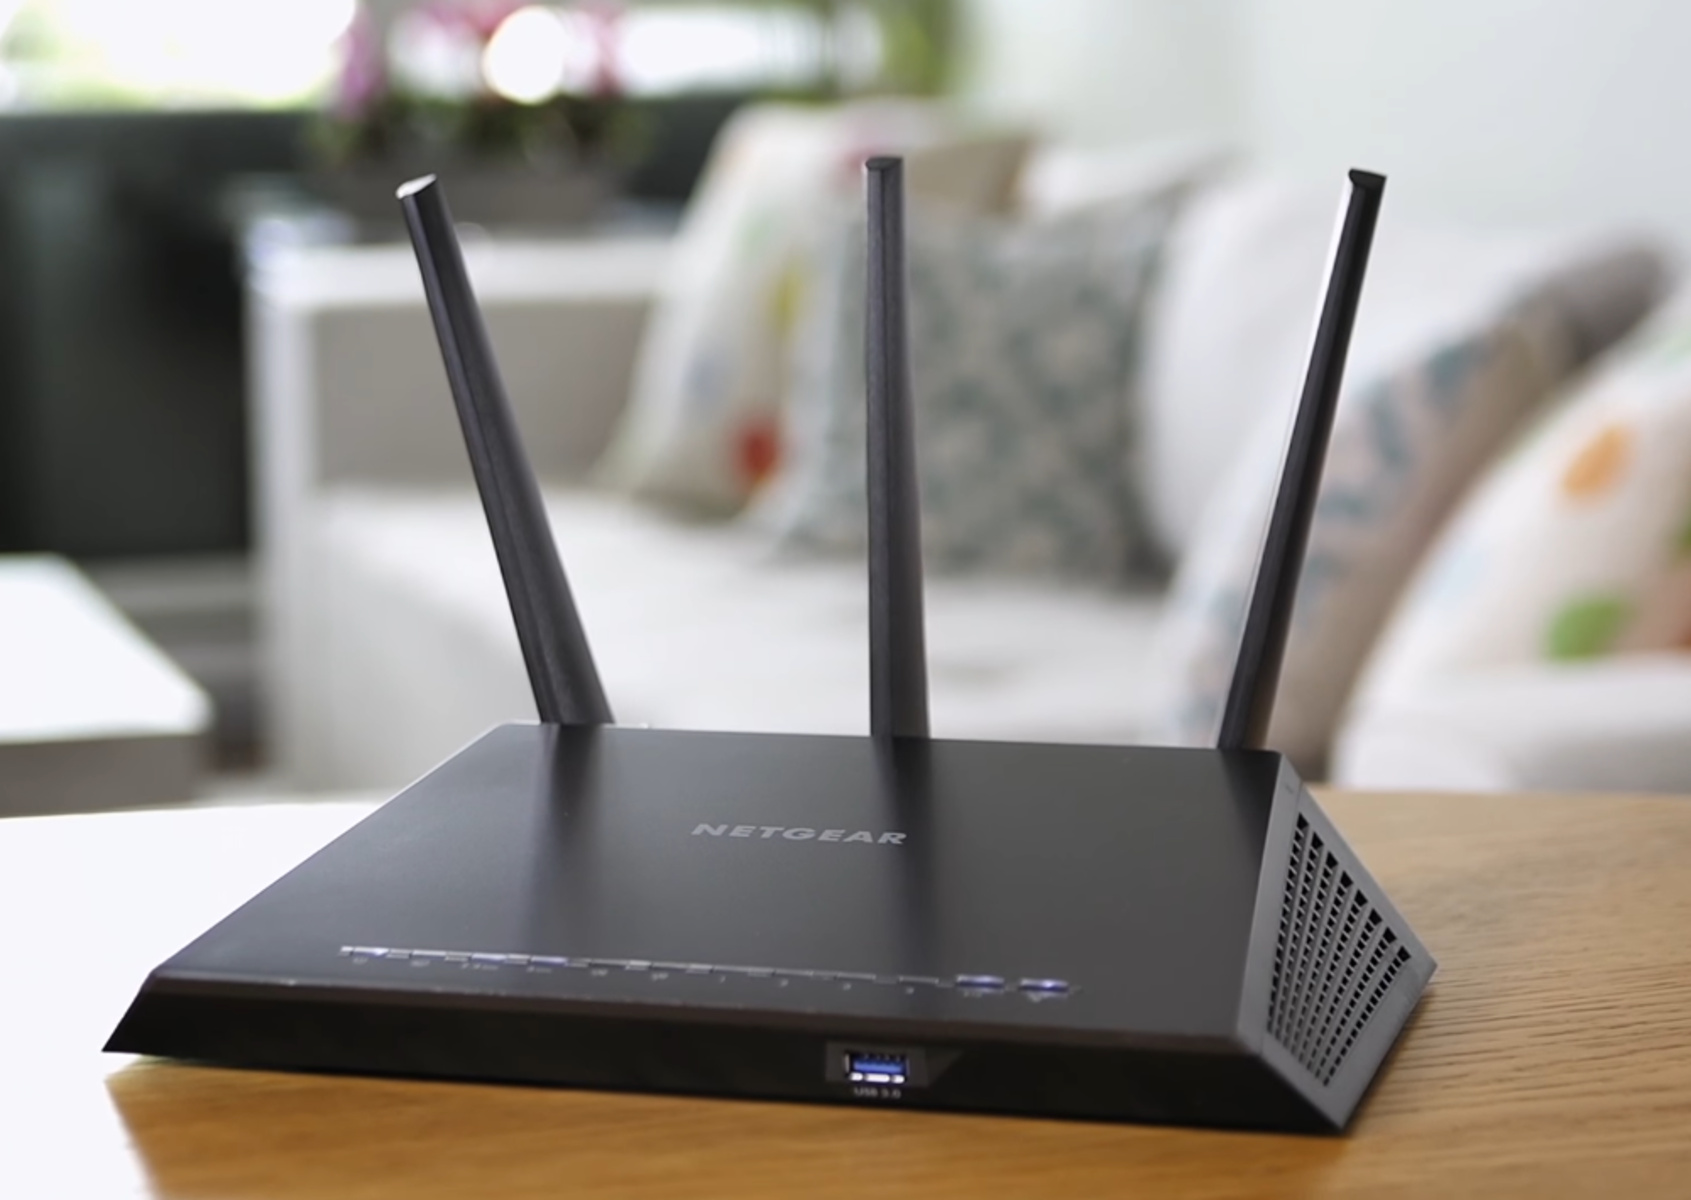
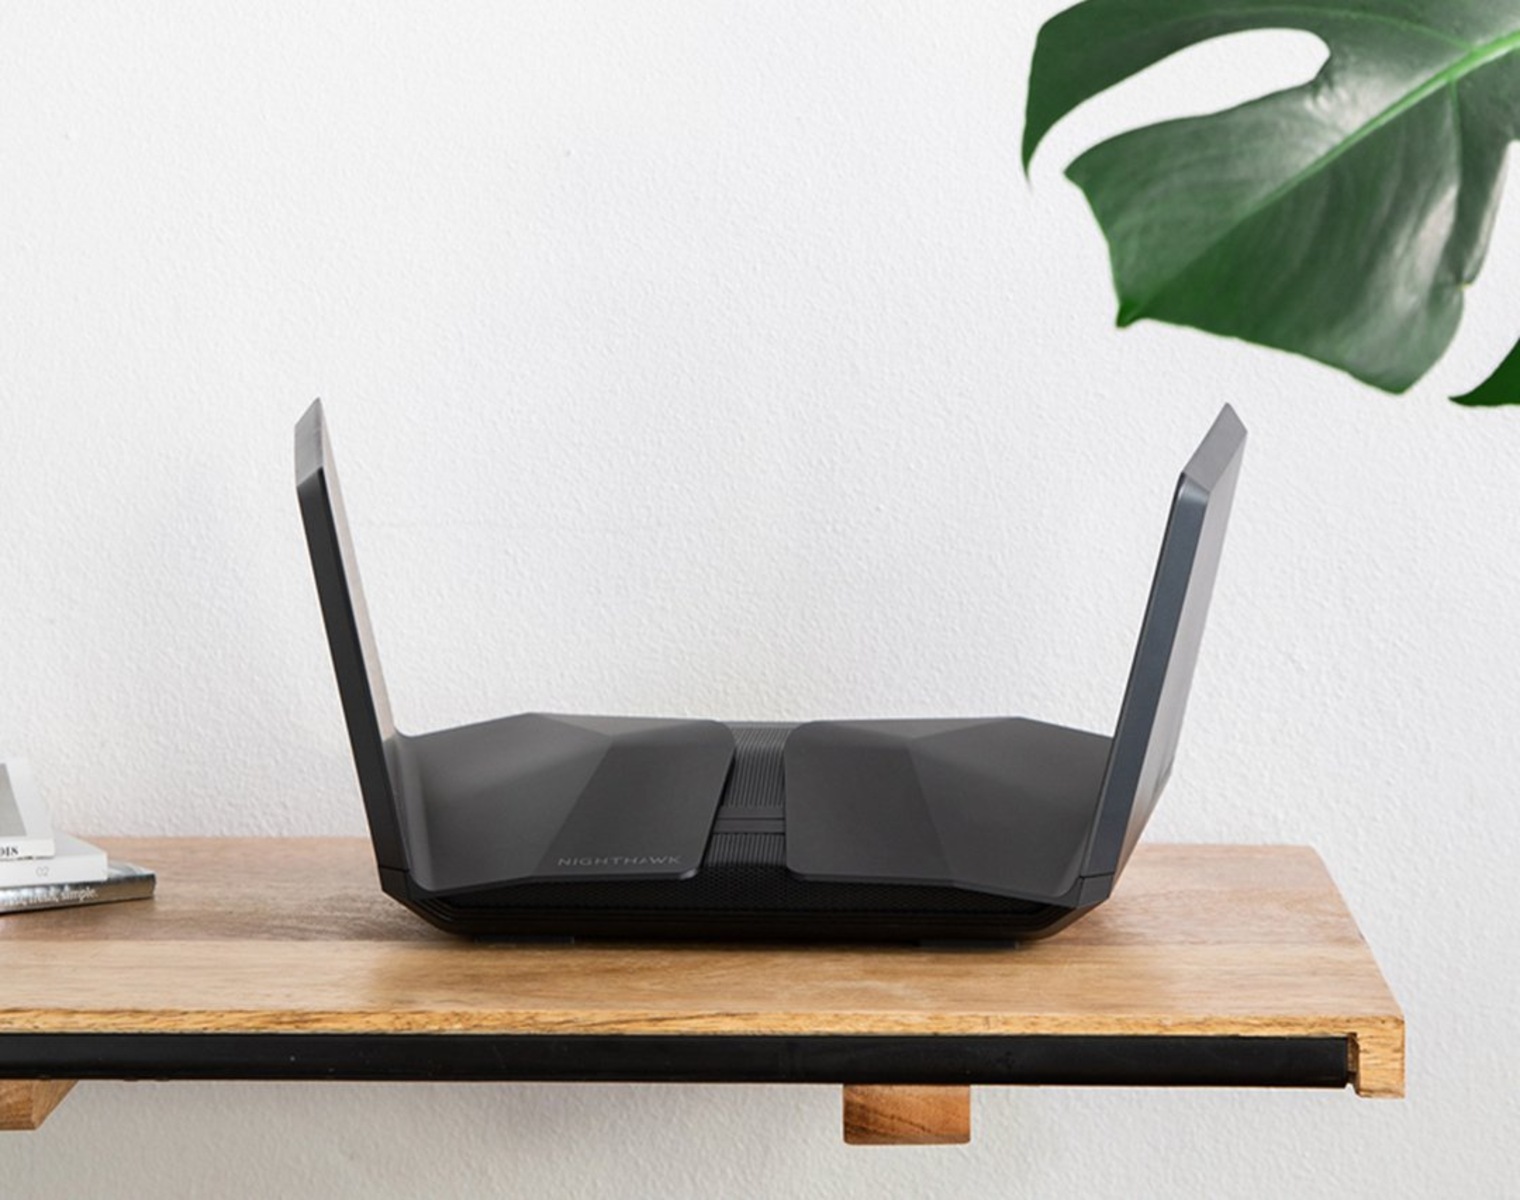
Welcome to the comprehensive guide on how to connect your laptop to a Netgear wireless router. In this digital age, having a reliable and secure internet connection is essential for both work and leisure. Netgear routers are known for their excellent performance and user-friendly interface, making them a popular choice among users.
Connecting your laptop to a Netgear wireless router enables you to access the internet wirelessly, eliminating the need for cumbersome cables and allowing you to work or surf the web from anywhere within the router’s range. Whether you are setting up a new router or need to connect a laptop to an existing Netgear wireless network, this step-by-step guide will walk you through the process.
Before diving into the step-by-step instructions, it’s important to note that the specific steps may vary slightly depending on the model of your Netgear router and the operating system on your laptop. However, the general process remains the same, and this guide will provide you with the foundation to connect your laptop to any Netgear wireless router.
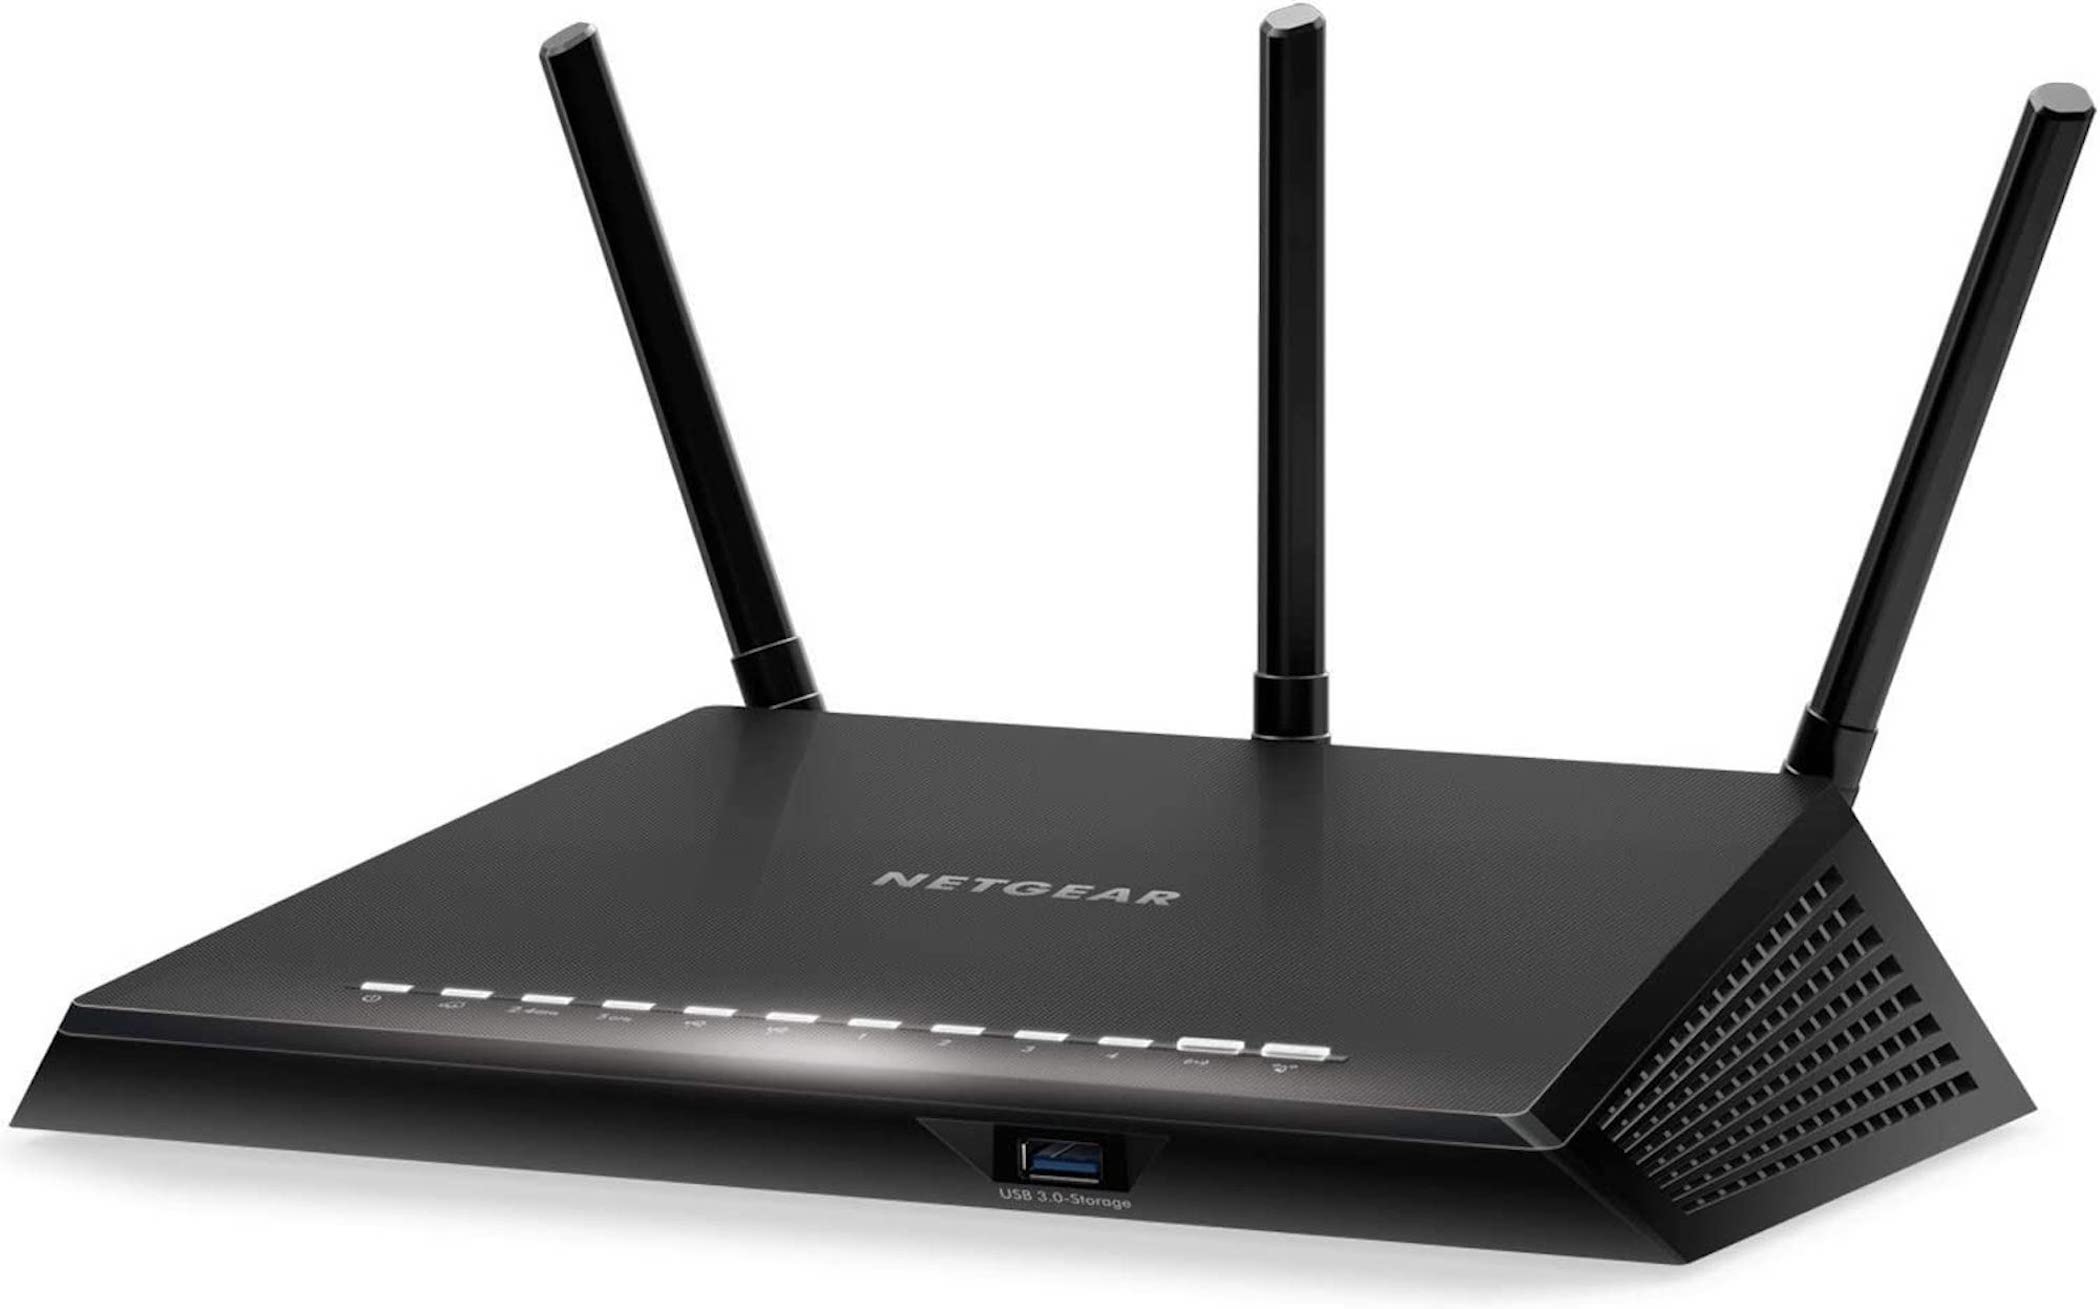
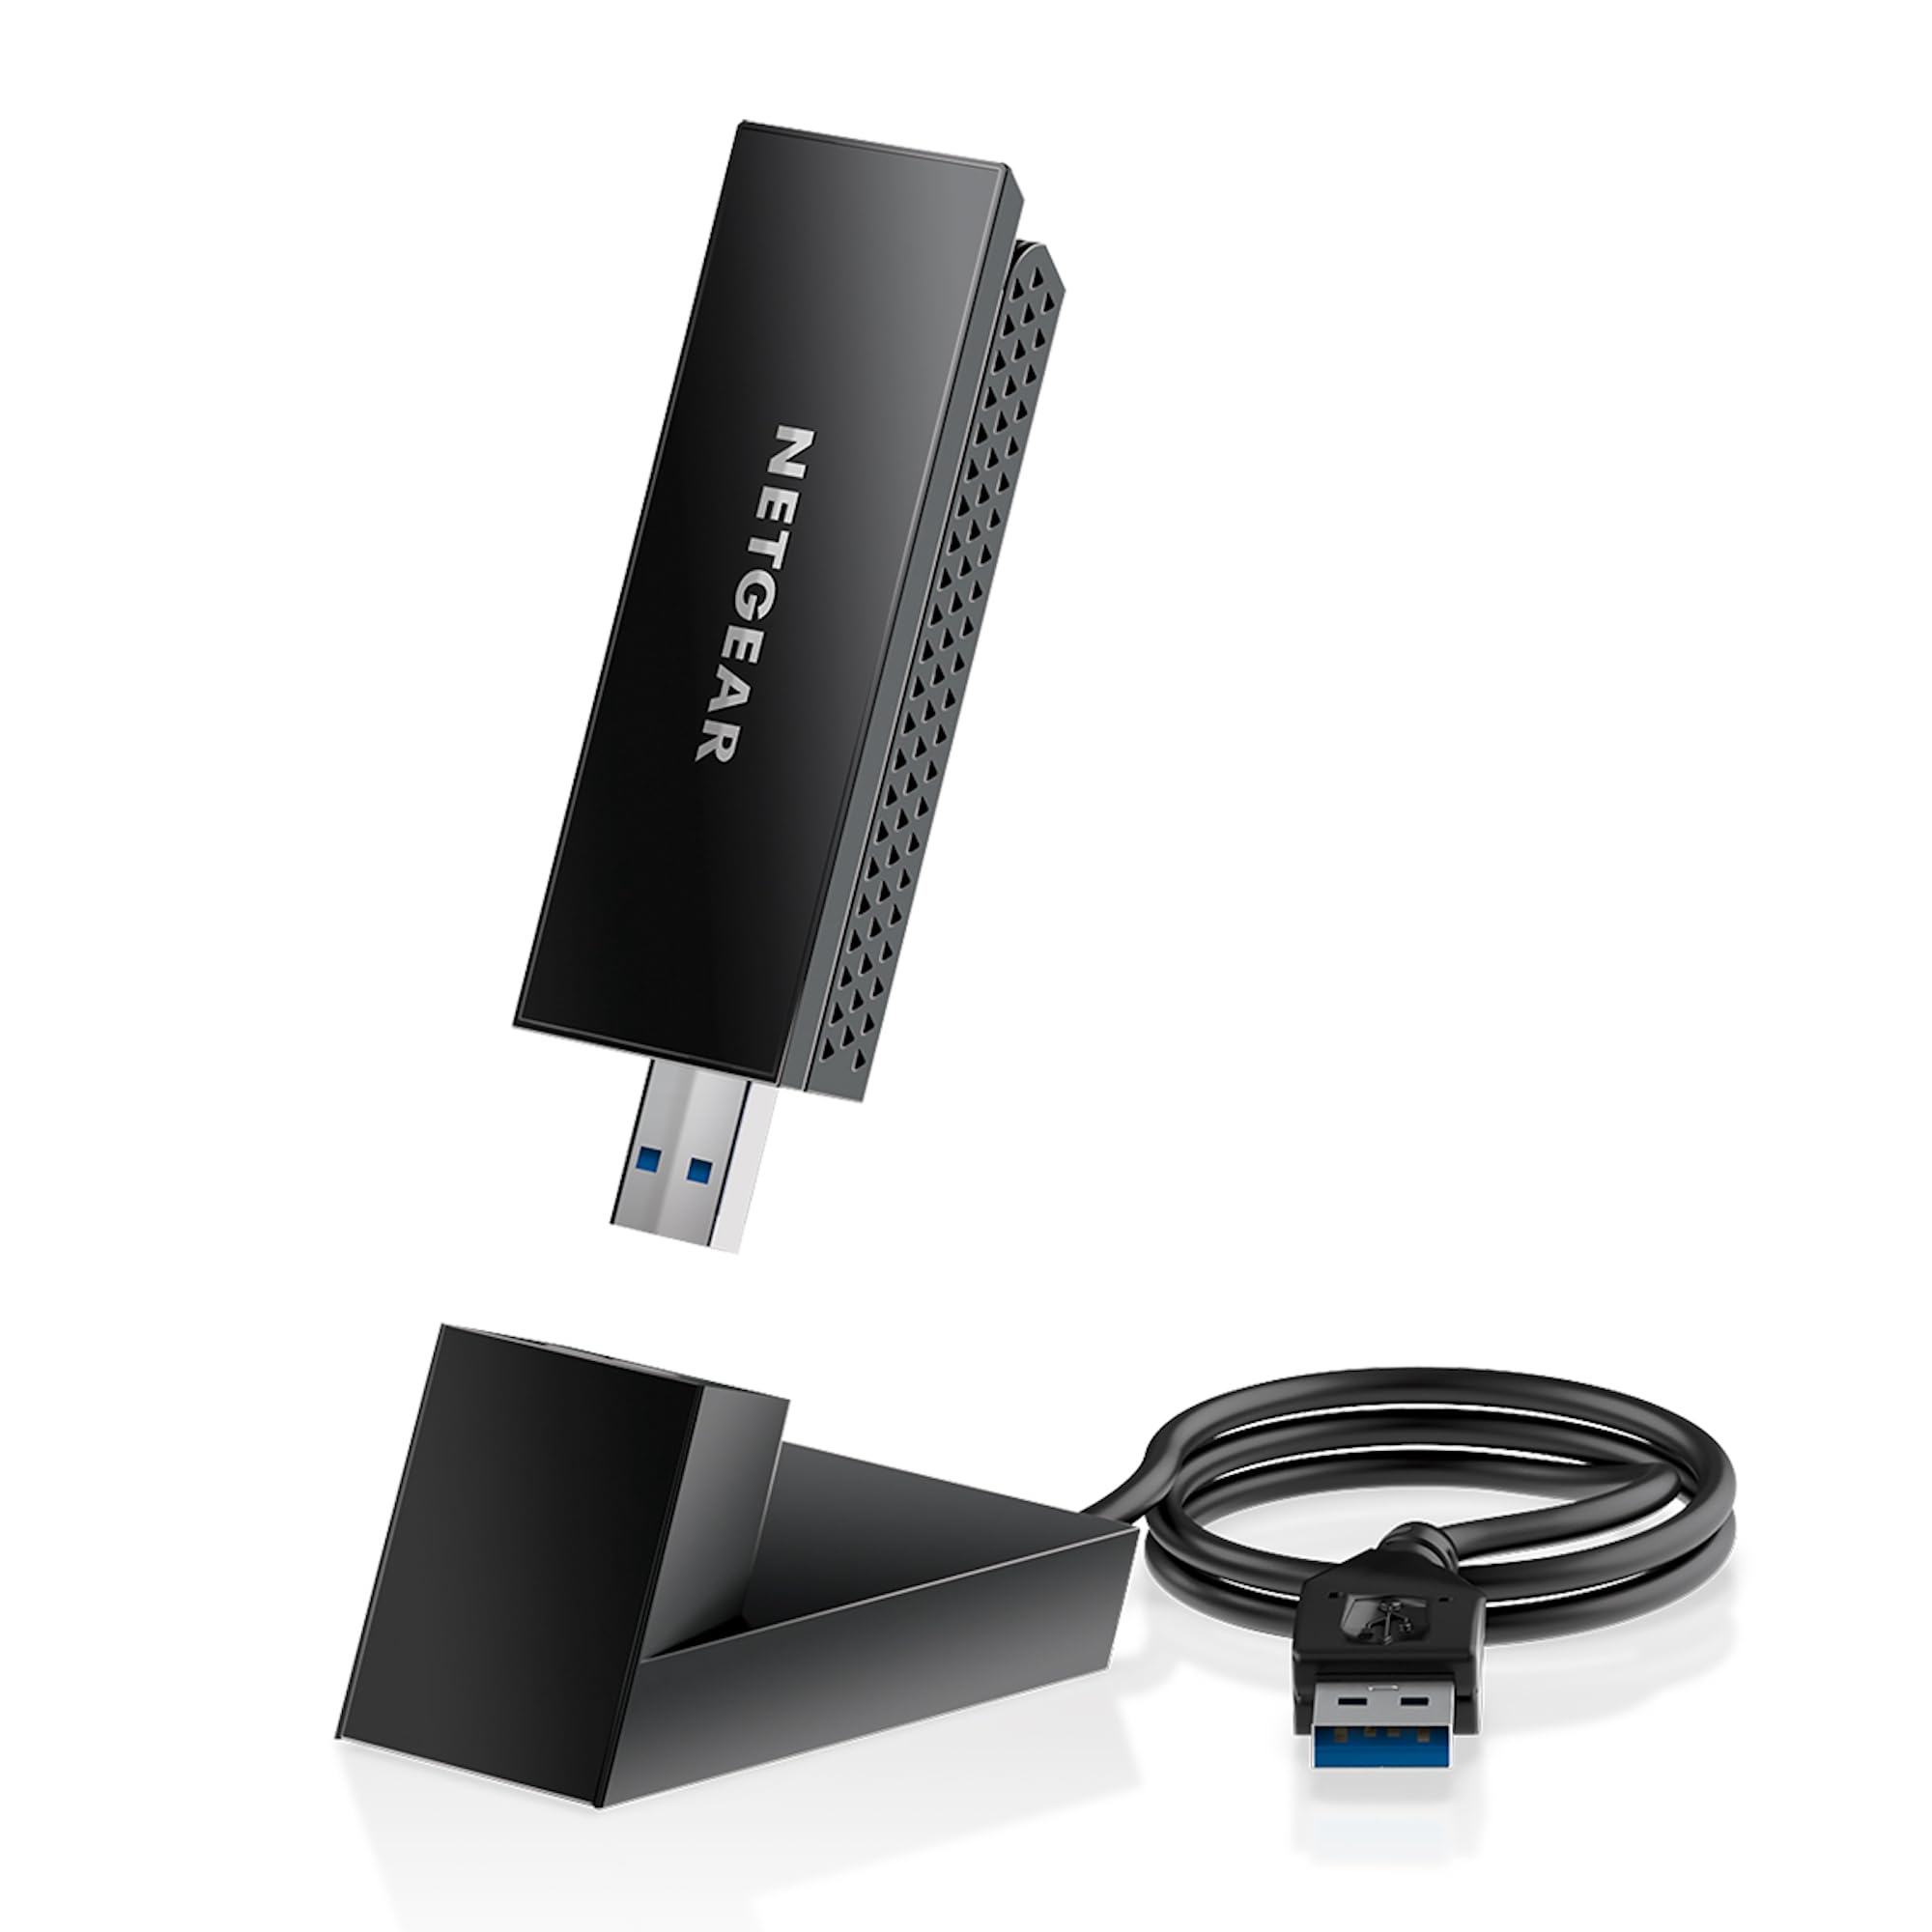
This guide assumes that you already have a Netgear wireless router and a laptop with a wireless network adapter. If you haven’t purchased a Netgear router yet, make sure to choose a model that fits your needs and budget. Additionally, ensure that your laptop’s wireless network adapter is in working condition and that you have the necessary login information for your router’s settings.
Now that we’ve covered the basics, let’s move on to the first step of the process which is gathering the necessary information.
Step 1: Gather necessary information
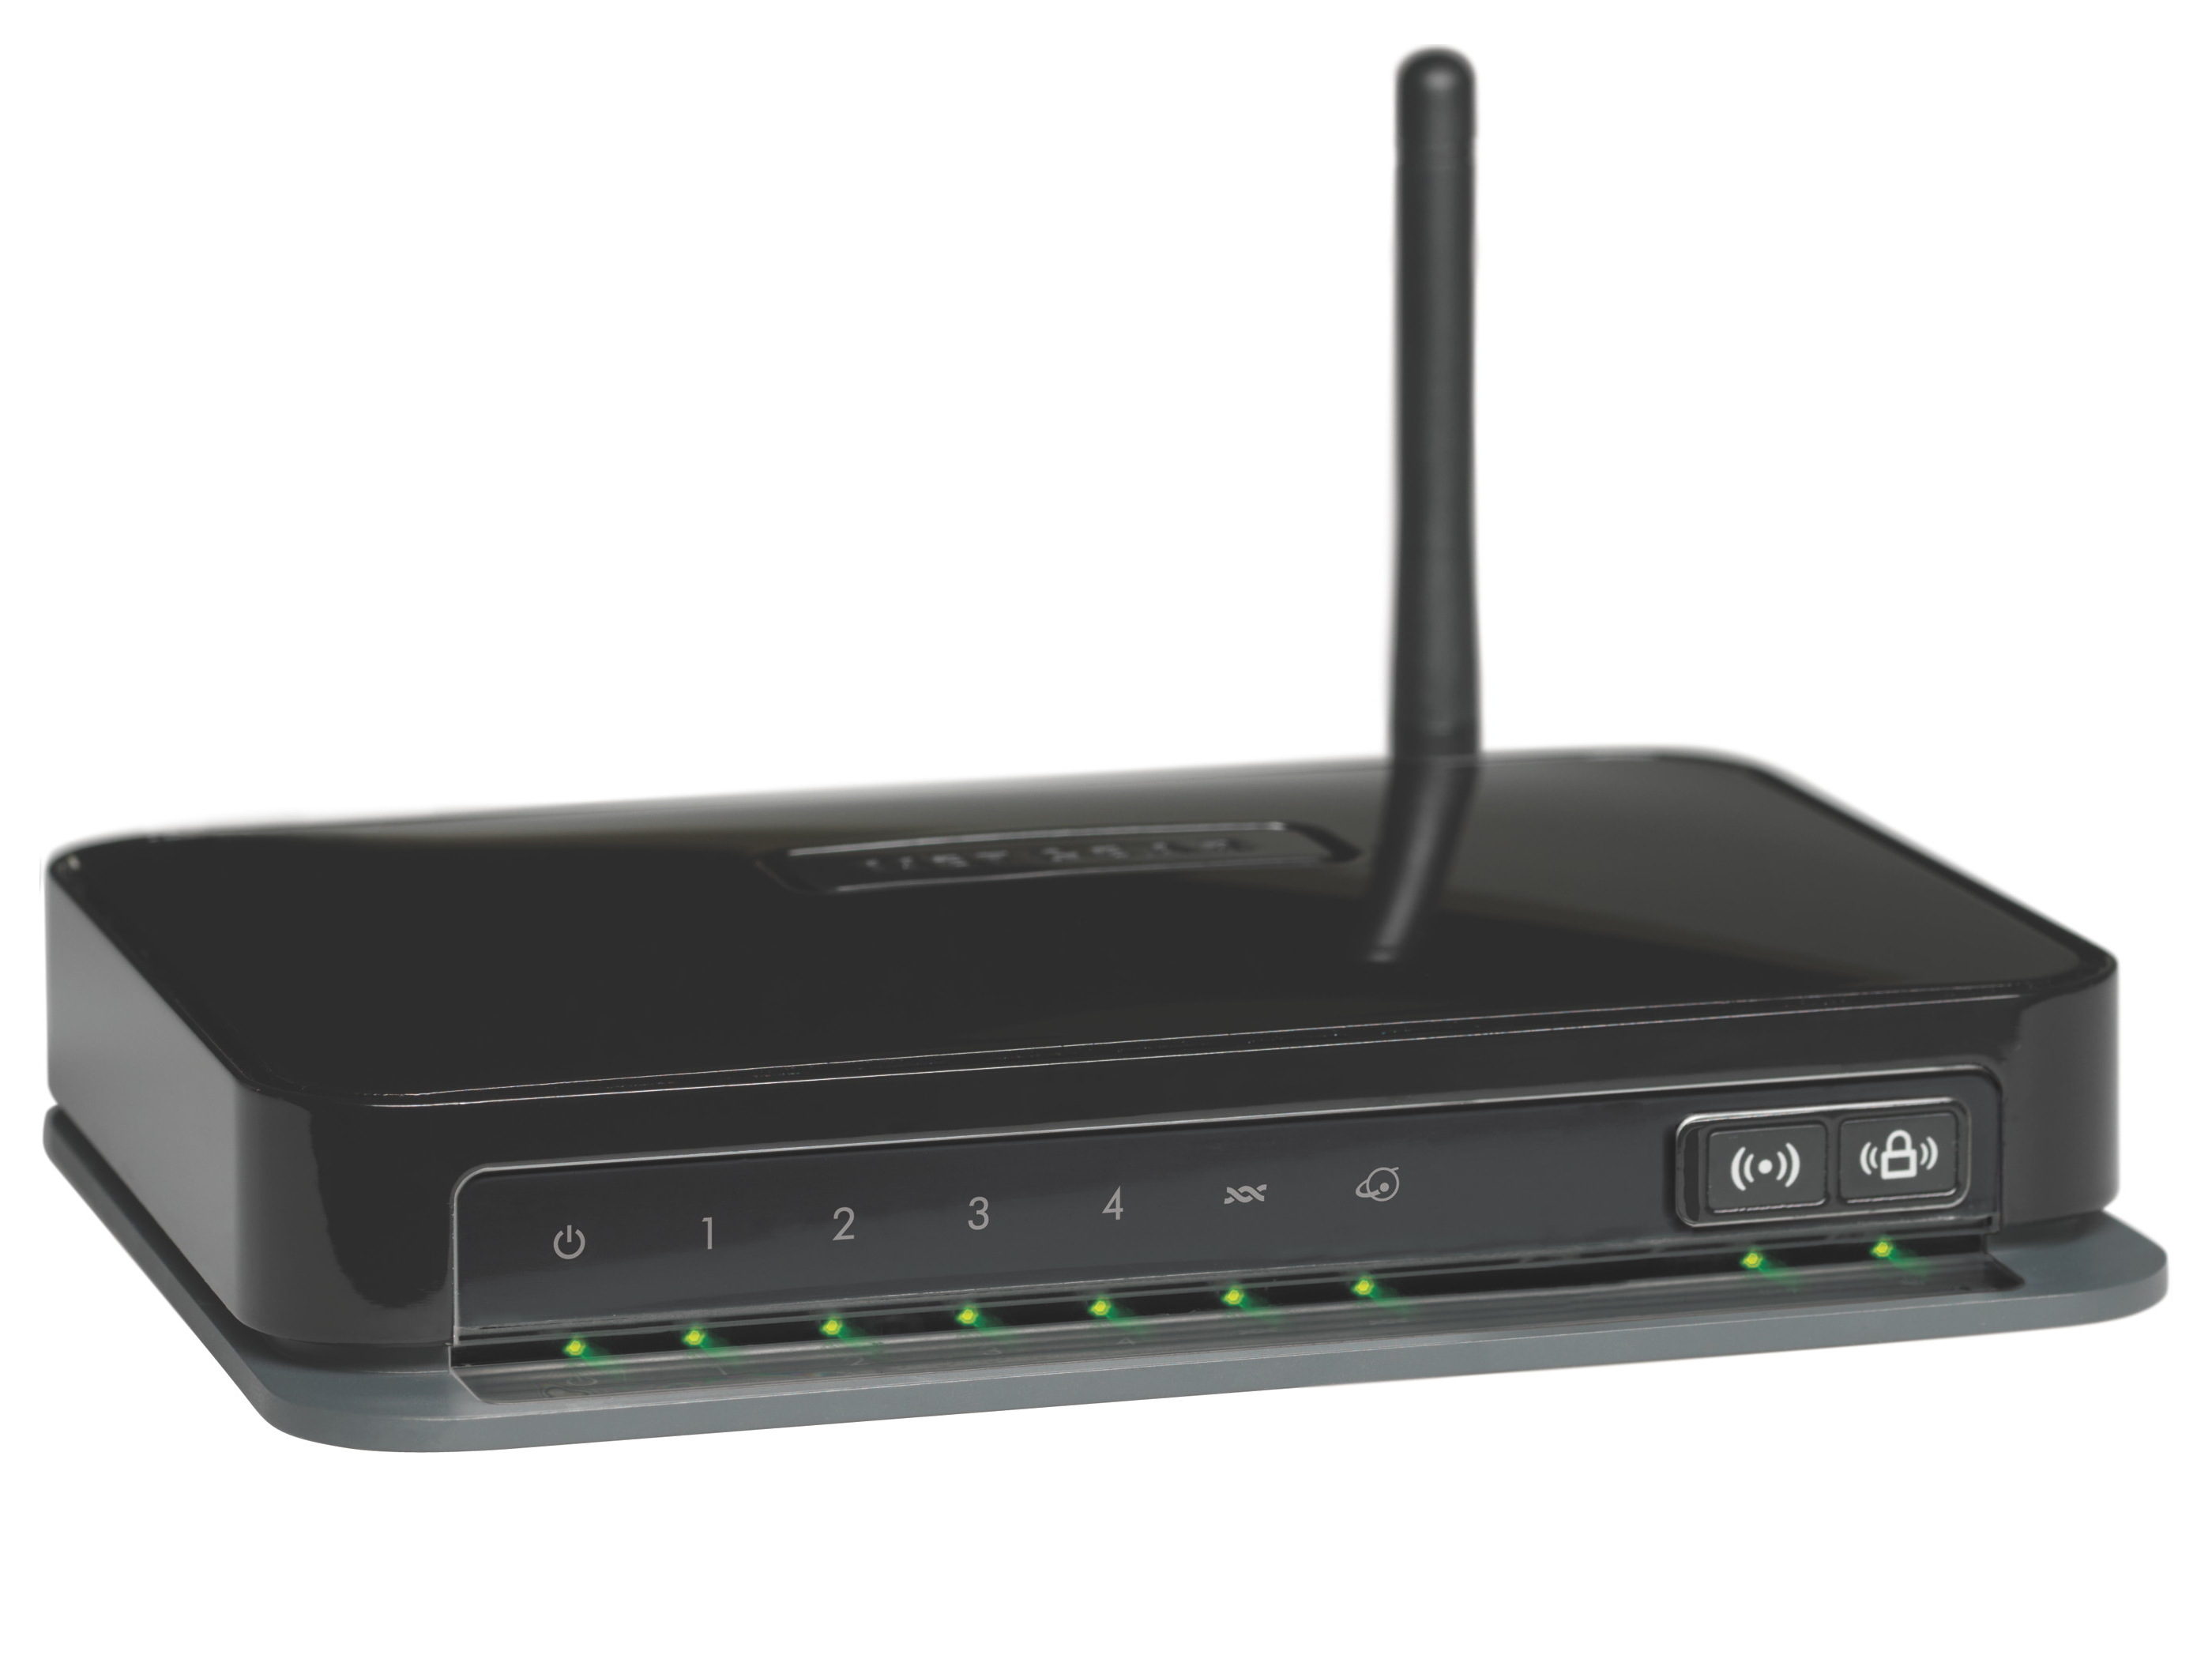
Before you can connect your laptop to a Netgear wireless router, you’ll need to gather some important information. Start by locating the router’s model number and serial number. These details can usually be found on a label on the bottom or back of the router. Write down or make note of these numbers as you’ll need them later.
Next, ensure that your laptop’s wireless network adapter is enabled. Most laptops have a physical switch or a keyboard shortcut to enable or disable the wireless network adapter. Check your laptop’s user manual or search online for specific instructions on how to turn on the wireless adapter.
Another crucial piece of information you’ll need is the default IP address of the router. The default IP address is the web address you’ll use to access the router’s settings. In most cases, the default IP address for Netgear routers is either “192.168.1.1” or “192.168.0.1. However, it’s important to note that this may vary depending on the specific model of your router. Consult the router’s manual or visit Netgear’s official website to find the default IP address for your particular model.
In addition to the IP address, you’ll also need the default username and password for accessing the router’s settings. These credentials are typically found on the same label as the model and serial numbers. However, if you have changed the default credentials in the past and can’t remember them, you may need to perform a factory reset on the router to restore the default settings. Refer to the router’s manual for instructions on how to do this.
Lastly, ensure that your laptop is within range of the Netgear router’s wireless signal. Ideally, you should be in the same room or within a reasonable distance from the router to ensure a stable connection. Thick walls, multiple floors, and other electronic devices can interfere with the wireless signal, so keep that in mind when positioning your laptop.
Once you have gathered all the necessary information, you are ready to proceed to the next step, which is connecting your laptop to the Netgear wireless router.
Step 2: Connect your laptop to the router
Now that you have all the necessary information, it’s time to connect your laptop to the Netgear wireless router. Follow these simple steps to establish the connection:
- Power on your Netgear router and ensure that it is properly connected to the power source and your modem.
- On your laptop, navigate to the network settings. This can usually be done by clicking on the network icon in the taskbar or by going to the Control Panel and accessing the Network and Internet settings.
- In the network settings, you should see a list of available wireless networks. Locate the network name (SSID) of your Netgear router in the list.
- Click on the network name to connect to it. If prompted, enter the wireless network password. The default password can usually be found on the router’s label. If you have changed the password in the past and can’t remember it, you may need to perform a factory reset on the router.
- Wait for your laptop to establish a connection with the router. This may take a few moments. Once connected, you should see a confirmation message or the network icon in the taskbar will show that you are connected to a wireless network.
Congratulations! You have successfully connected your laptop to the Netgear wireless router. You can now enjoy the benefits of wireless internet access and explore the various features and settings of your Netgear router.
If you experience any issues during the connection process, double-check that you have entered the correct network name and password. Also, ensure that your laptop’s wireless network adapter is functioning properly. You can troubleshoot common connection issues by restarting your laptop, power cycling the router, or updating the wireless network adapter drivers.
Now that your laptop is connected to the router, it’s time to move on to the next step, which is accessing the router’s settings to configure the wireless network.
Step 3: Access the router’s settings
After connecting your laptop to the Netgear wireless router, it’s time to access the router’s settings. By accessing the settings, you can configure various aspects of the wireless network, such as security settings, network name (SSID), and password.
To access the router’s settings, follow these steps:
- Open a web browser on your laptop.
- In the address bar, type in the default IP address of the Netgear router. This is typically “192.168.1.1” or “192.168.0.1”.
- Press Enter or hit Go on your keyboard.
- You will be directed to the router’s login page. Enter the default username and password that you gathered earlier. If you have changed the default credentials and cannot remember them, you may need to perform a factory reset on the router.
- After logging in, you will be taken to the router’s settings page. This is where you can make changes to the wireless network settings.
Once you have accessed the router’s settings, take some time to explore the different options available. Here are a few key settings you may want to configure:
- Network Name (SSID): Change the default network name to something unique and easy to remember.
- Wireless Security: Set up a secure password for your wireless network to prevent unauthorized access.
- Channel: If you experience interference or slow connection speeds, you can change the wireless channel to improve performance.
- Guest Network: Some Netgear routers offer the option to set up a guest network, allowing visitors to connect to the internet without accessing your main network.
Remember to save any changes you make to the settings before exiting the page. It’s also a good idea to write down or take note of any changes you make for future reference.
Now that you have accessed the router’s settings and made the necessary configurations, you are ready to move on to the next step: configuring the wireless settings of your Netgear router.
Step 4: Configure the wireless settings
With your laptop connected to the Netgear wireless router and the router’s settings accessed, it’s time to configure the wireless settings. This step involves customizing the network name (SSID), wireless security, and other wireless network parameters to fit your preferences and ensure a secure connection.
Follow these steps to configure the wireless settings of your Netgear router:
- In the router’s settings page, locate the wireless settings section. This may be labeled as “Wireless” or “Wi-Fi Settings”.
- Find the network name (SSID) field and enter a unique name for your wireless network. This name will be visible to other devices when they search for available networks.
- Choose the appropriate wireless security option. It is highly recommended to use WPA2-PSK (AES) as the security mode for maximum security. This option requires a password for connections to the wireless network.
- Enter a strong and secure password in the Wi-Fi password or passphrase field. The password should be a combination of letters, numbers, and special characters to enhance its strength and prevent unauthorized access.
- Save the changes to apply the new wireless settings.
Additionally, you may have other options to customize in the wireless settings. Some common features include:
- Wireless Mode: Select the appropriate wireless mode based on the devices you plan to connect. For compatibility with older devices, choose a mixed mode.
- Channel Width: Adjust the channel width to optimize the wireless signal based on your network environment. A wider channel width can provide higher transfer speeds but may be prone to interference.
- Wireless Access Control: This feature allows you to specify which devices are allowed to connect to your wireless network by filtering MAC addresses.
- Wi-Fi Protected Setup (WPS): If supported, WPS allows you to connect devices to the network securely by pressing the WPS button on the router.
Once you have configured the wireless settings to your preference, remember to save the changes. Your Netgear wireless router will then apply the new settings and restart the wireless network.
Congratulations! You have successfully configured the wireless settings of your Netgear router. Your wireless network is now secure and ready to connect other devices.
In the next step, we will cover how to connect other devices to your Netgear wireless network.
Step 5: Connect other devices to the wireless network
Now that you have set up and configured your Netgear wireless network, it’s time to connect other devices, such as smartphones, tablets, or smart home devices, to the network. These devices will be able to access the internet and communicate with other devices on the network wirelessly.
Follow these steps to connect other devices to your Netgear wireless network:
- On the device you want to connect, navigate to the Wi-Fi settings or network connections.
- Look for the list of available networks and select your Netgear wireless network from the list. The network name (SSID) that you set up in the previous step should be visible.
- If prompted, enter the Wi-Fi password that you set during the configuration process. This password ensures that only authorized devices can connect to your network.
- Wait for the device to establish a connection with the network. This may take a few moments.
- Once connected, you will see an indication that the device is connected to your Netgear wireless network, such as a Wi-Fi icon, signal strength bars, or a checkmark.
Repeat these steps for each device you want to connect to your Netgear wireless network. Remember, the number of devices that can connect to your network depends on the capabilities and specifications of your Netgear router.
It’s important to note that if you have multiple Wi-Fi bands or networks set up on your Netgear router, you may need to select the appropriate network during the connection process. For example, if you have a dual-band router, you may have a 2.4GHz network and a 5GHz network. Choose the appropriate network based on your device’s compatibility and your network requirements.
Once all the devices are connected to your Netgear wireless network, you can enjoy seamless internet access and communication between devices. You can easily switch between devices or move around your home or office without losing connectivity.
It’s a good idea to periodically check and manage the connected devices on your network to ensure that there are no unauthorized devices using your network. Most Netgear routers have a connected devices list or device manager section in the router’s settings where you can view and manage the devices connected to your network.
With all the devices connected, you have successfully completed the process of connecting other devices to your Netgear wireless network.
Congratulations! You have successfully connected your laptop to a Netgear wireless router and configured the network settings. Your wireless network is now up and running, allowing you to enjoy high-speed internet access and connect multiple devices wirelessly.
If you encounter any issues during the setup process or experience connectivity problems, consult the Netgear support resources or reach out to their customer support for assistance.
Conclusion
Connecting your laptop to a Netgear wireless router opens up a world of convenience and flexibility, allowing you to enjoy wireless internet access from anywhere within the router’s range. By following the step-by-step guide provided in this article, you have successfully learned how to connect your laptop to a Netgear wireless router and configure the wireless network settings.
Throughout the process, you gathered the necessary information such as the router’s model and serial numbers, accessed the router’s settings, and configured the wireless network parameters to suit your preferences. Additionally, you learned how to connect other devices to your Netgear wireless network, enabling seamless connectivity for smartphones, tablets, and other devices.
Remember to keep your network secure by using a strong Wi-Fi password, regularly updating the router’s firmware, and monitoring the devices connected to your network. These precautions will help safeguard your network and prevent unauthorized access.
If you encounter any difficulties during the setup process or experience any connectivity issues, consult the Netgear support resources or reach out to their customer support for further assistance. They have a wealth of knowledge and expertise to help you overcome any challenges you may face.
Enjoy the freedom and convenience of a wireless network connection with your Netgear router, and make the most out of your internet browsing, work, and entertainment experiences. Stay connected and explore all the possibilities that the digital world has to offer!