Introduction
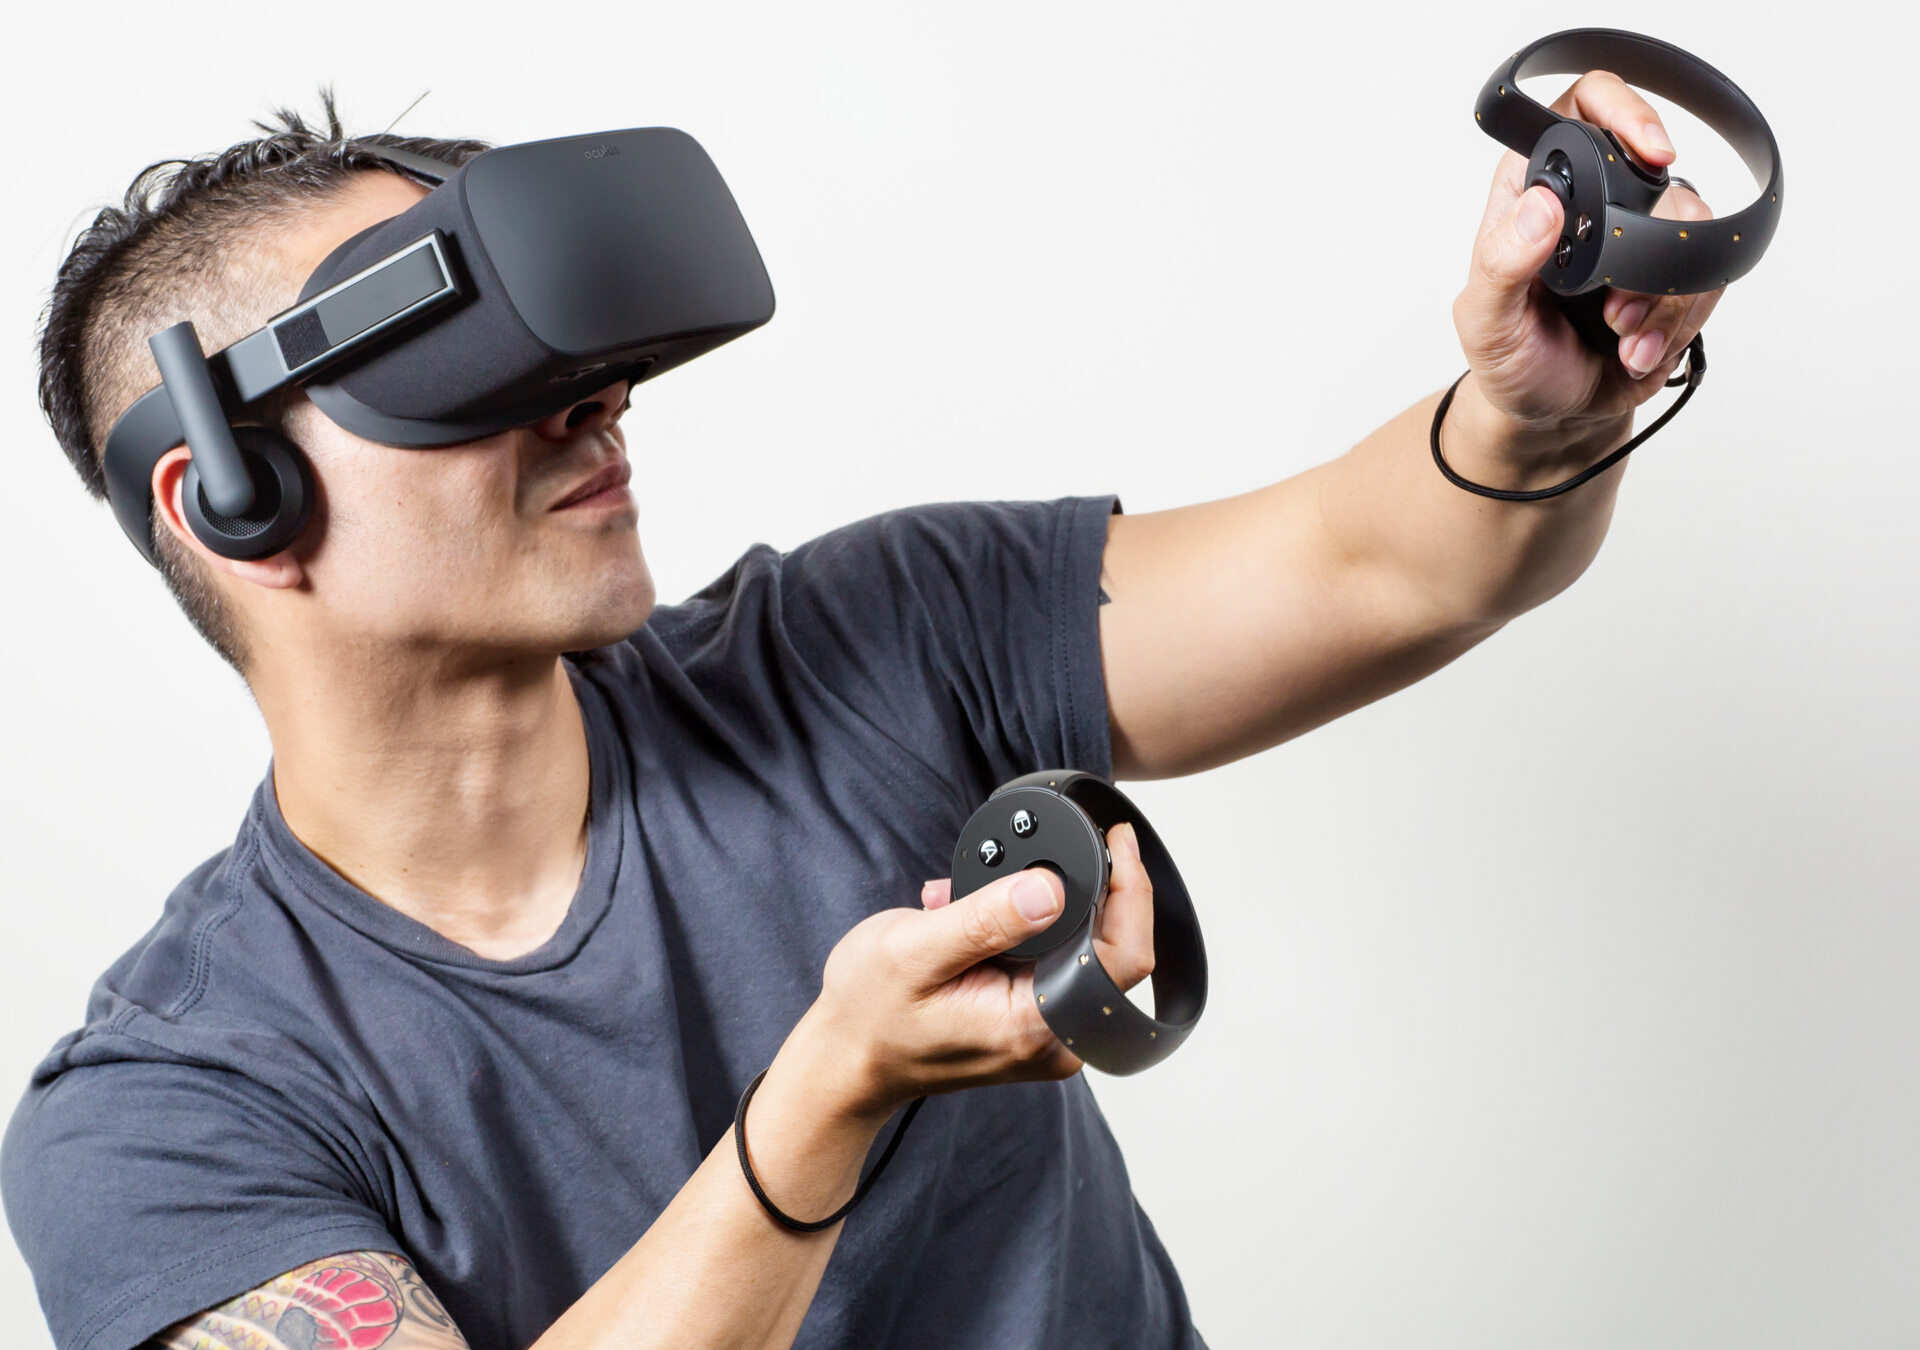
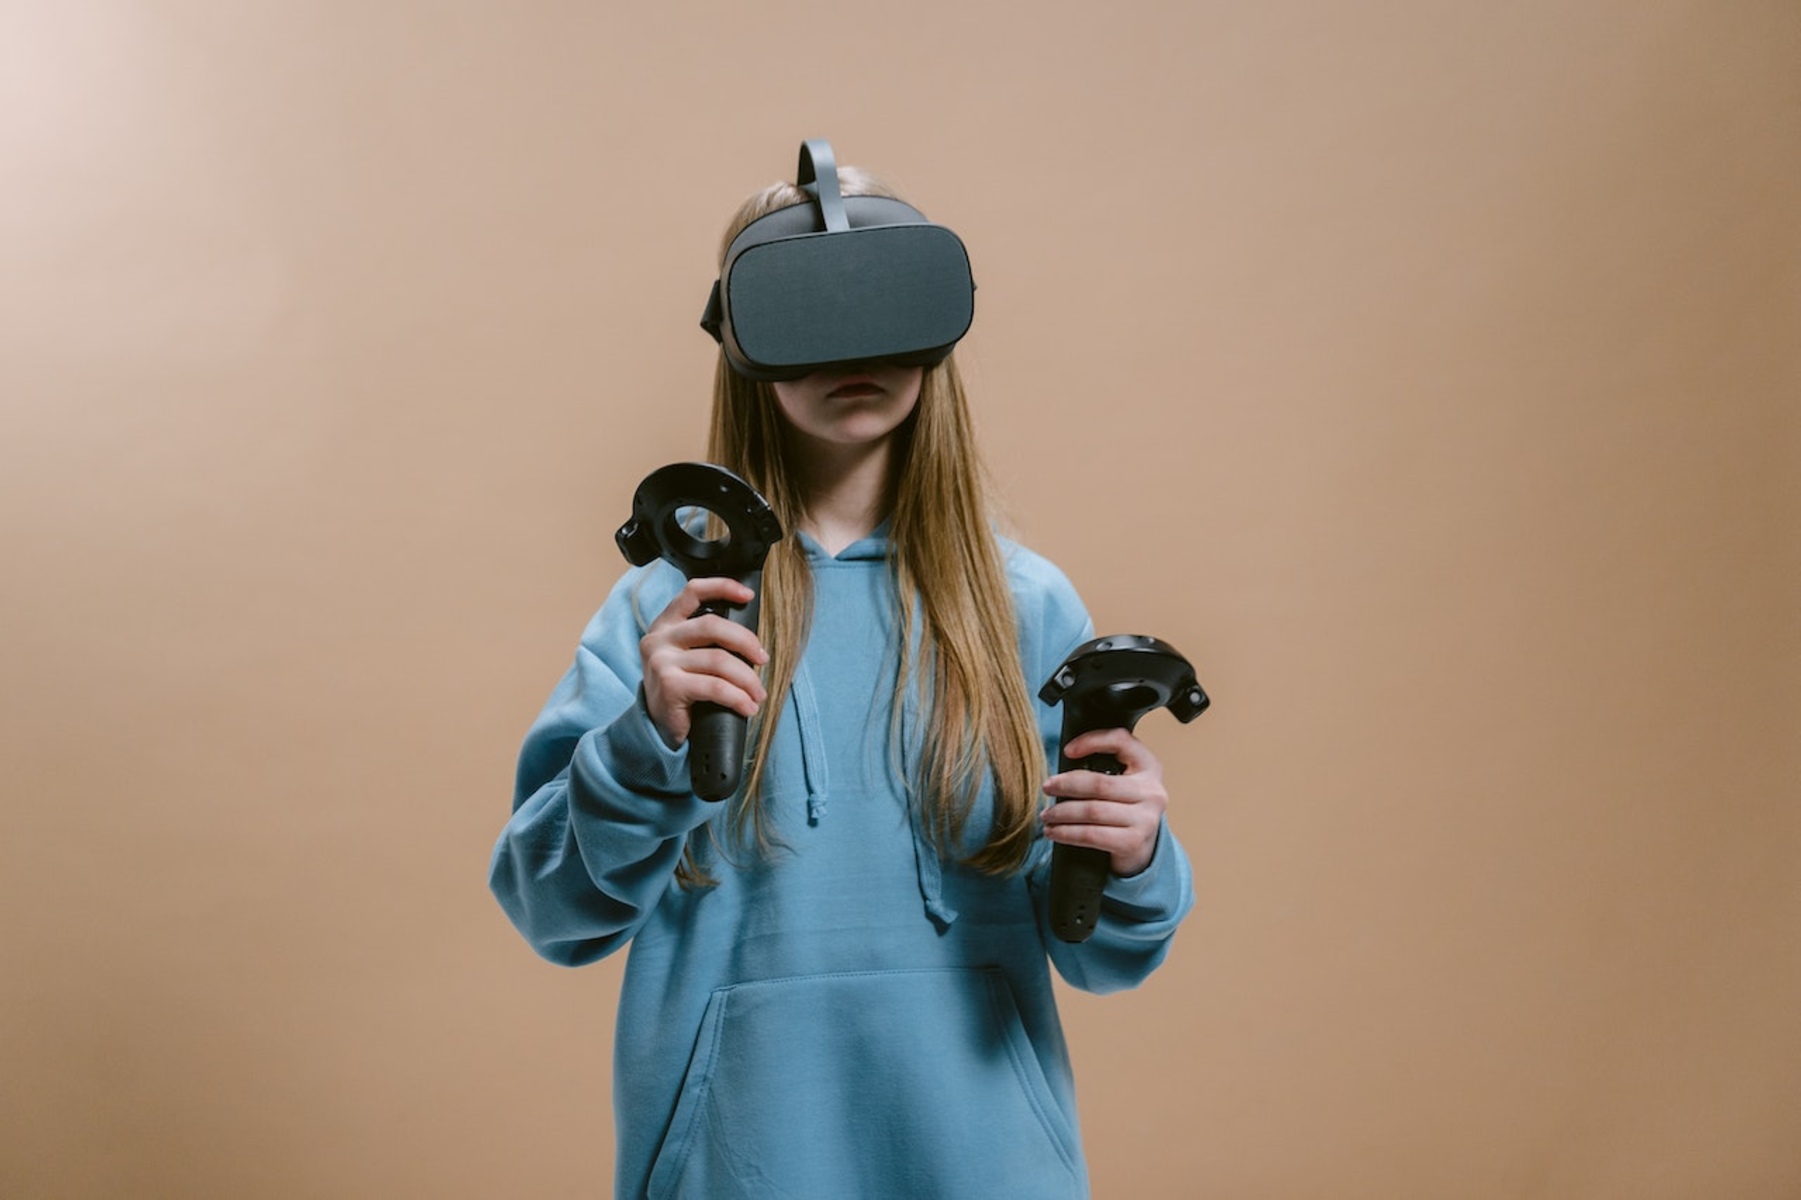
Welcome to the fascinating world of virtual reality! With the advancement of technology, VR headsets have become increasingly popular, immersing users in incredible virtual experiences. To enhance your VR journey, connecting a VR controller to your headset is essential. Whether you’re a gaming enthusiast or seeking an immersive experience in various applications, this guide will walk you through the process of connecting a VR controller to your VR headset.
By connecting a VR controller, you gain the ability to interact with the virtual environment, control movements, and manipulate objects within the virtual space. This adds a whole new level of interactivity and realism to your virtual reality experience.
In this guide, we will provide you with a step-by-step process to connect your VR controller to your VR headset. Additionally, we will share some troubleshooting tips to help you overcome any potential issues along the way.
Before we jump into the steps, let’s quickly go over the equipment you will need to successfully connect your VR controller to your VR headset.
What You Will Need
Before you begin the process of connecting your VR controller to your VR headset, make sure you have the following equipment:
- A compatible VR headset: Ensure that your VR headset supports external controllers. Different headsets have different compatibility requirements, so refer to the manufacturer’s instructions or website for specific details.
- A compatible VR controller: Check if your VR headset comes with a specific controller or if it is compatible with a range of controllers. Some headsets may require proprietary controllers, while others may work with third-party controllers.
- A USB cable: Depending on the type of VR controller and headset you have, you may need a USB cable for initial setup and pairing. Make sure you have a cable that is compatible with both your controller and headset.
- A computer or gaming console (optional): Some VR headsets may require a computer or gaming console to connect and configure the VR controller. Check the requirements of your specific VR system to verify if this is necessary.
- A stable internet connection (optional): If you plan on downloading updates or accessing online features for your VR controller or headset, having a stable internet connection is recommended.
Having these components ready will ensure a smooth and hassle-free process as you connect your VR controller to your VR headset.
Steps to Connect VR Controller to VR Headset
Now that you have all the necessary equipment, follow these steps to connect your VR controller to your VR headset:
- Charge your VR controller: Before you begin the setup process, it’s crucial to ensure that your VR controller is fully charged. Most controllers have a built-in rechargeable battery that can be charged using a USB cable connected to a power source.
- Power on your VR headset: Turn on your VR headset and put it on. Ensure that it is properly powered and functioning before proceeding to the next step.
- Put your VR controller in pairing mode: Check the specific instructions for your VR controller to understand how to put it in pairing mode. Usually, this involves holding down specific buttons or switches until the controller’s LED indicator starts flashing or enters a search mode.
- Enable Bluetooth or wireless connectivity: Access the settings on your VR headset and navigate to the Bluetooth or wireless section. Make sure the Bluetooth or wireless connectivity option is enabled or turned on.
- Pair the VR controller with the VR headset: On your VR headset, initiate the pairing process. This typically involves selecting the “Pair Controller” option or exploring the device’s options to search for and connect the controller. Follow the on-screen instructions to complete the pairing process.
- Calibrate the VR controller: Once the pairing process is complete, some VR systems may prompt you to calibrate the controller. Follow the calibration instructions provided on the screen to ensure accurate tracking and functionality of the controller.
- Test the functionality: After successfully connecting and calibrating the VR controller, test its functionality by navigating through the VR menus or playing a compatible VR game. Verify that the controller’s buttons, triggers, and joysticks are responsive and working as expected.
Congratulations! You have now successfully connected your VR controller to your VR headset. Enjoy exploring the immersive virtual reality experience!
Troubleshooting Tips
While connecting a VR controller to a VR headset is generally a straightforward process, you may encounter some challenges along the way. Here are some troubleshooting tips to help you overcome common issues:
- Check compatibility: Ensure that your VR controller is compatible with your VR headset. Different controllers may have specific compatibility requirements, so double-check the manufacturer’s instructions or website to verify compatibility.
- Reset the VR controller: If your VR controller is not responding or not connecting, try resetting it. Look for a small reset button or hole on the controller and use a paperclip or a small object to press and hold it for a few seconds. This will reset the controller and may resolve connection issues.
- Restart the VR headset: If your VR controller is not pairing or connecting, try restarting your VR headset. Power it off completely, wait for a few seconds, and power it back on. This can help reset any temporary software issues that may be causing the problem.
- Update firmware and software: Make sure that both your VR controller and VR headset have the latest firmware and software updates installed. Check the manufacturer’s website for any available updates, and follow the instructions provided to update the firmware or software.
- Check Bluetooth or wireless signal strength: If your VR controller is experiencing intermittent connection issues, ensure that you have a reliable Bluetooth or wireless signal. Avoid obstacles or interference between the controller and headset, and try moving closer to the VR headset to improve signal strength.
- Replace or recharge batteries: If your VR controller is not functioning or has limited battery life, consider replacing the batteries or recharging the built-in battery, depending on the type of controller you have. Low battery power can impact the controller’s functionality.
- Refer to manufacturer support: If you have followed these troubleshooting tips and are still unable to connect your VR controller to your VR headset, consult the manufacturer’s support resources. They can provide specific guidance for your particular controller and headset combination.
By following these troubleshooting tips, you can overcome most common issues and ensure a smooth and enjoyable VR controller connection experience.
Conclusion
Connecting a VR controller to your VR headset opens up a world of possibilities in the virtual reality realm. The process may vary slightly depending on your specific VR system, but overall, it is a simple and rewarding experience.
In this guide, we outlined the steps to connect your VR controller to your VR headset and provided troubleshooting tips to help you overcome any potential issues. Remember to ensure compatibility between your controller and headset, charge the controller before starting, and follow the pairing instructions provided by the manufacturer.
By successfully connecting your VR controller, you can fully immerse yourself in a wide range of virtual reality experiences, from gaming adventures to creative applications. Enjoy the freedom and interactivity that a VR controller brings to your virtual reality journey!
If you encounter any difficulties during the process, do not hesitate to consult the manufacturer’s documentation or reach out to their customer support team for assistance. They will be able to provide you with specific guidance tailored to your VR system.
Now, put on your VR headset, grab your VR controller, and get ready to step into an immersive virtual reality world like never before!


