Introduction
Connecting to Wi-Fi on a tablet opens up a world of possibilities, allowing you to browse the internet, stream videos, download apps, and stay connected effortlessly. Whether you are using an iPad, an Android tablet, or any other type of tablet device, connecting to Wi-Fi is an essential step to unlock its full potential.
In this guide, we will walk you through the necessary steps to connect to Wi-Fi on your tablet. Even if you are new to using a tablet or feel slightly overwhelmed by technology, fear not – the process is straightforward and doesn’t require advanced technical know-how. By following our step-by-step instructions, you’ll be browsing the internet on your tablet in no time.
It’s important to note that the exact steps may vary slightly depending on the brand and model of your tablet, as well as the operating system it uses. However, the underlying principles remain the same. We will provide general instructions that are applicable to most tablets, but if you encounter any specific differences, consult your device’s user manual or the manufacturer’s website for more detailed guidance.
Before we dive into the steps, there are a few things you will need. First, ensure that you are in an area with Wi-Fi coverage – this could be your home, office, a café, or any other place with a Wi-Fi network available. Additionally, you will need the Wi-Fi network name (also known as the SSID) and the corresponding password, if applicable. These details are usually provided by the network administrator or can be found on the back of your router.
Now that you have the necessary prerequisites, let’s proceed to the next section to learn how to access the Wi-Fi settings on your tablet.
Step 1: Accessing Wi-Fi Settings
To connect to a Wi-Fi network on your tablet, you first need to access the Wi-Fi settings. The steps to do this may vary slightly depending on your tablet’s operating system, but we’ll provide general instructions that should work for most devices.
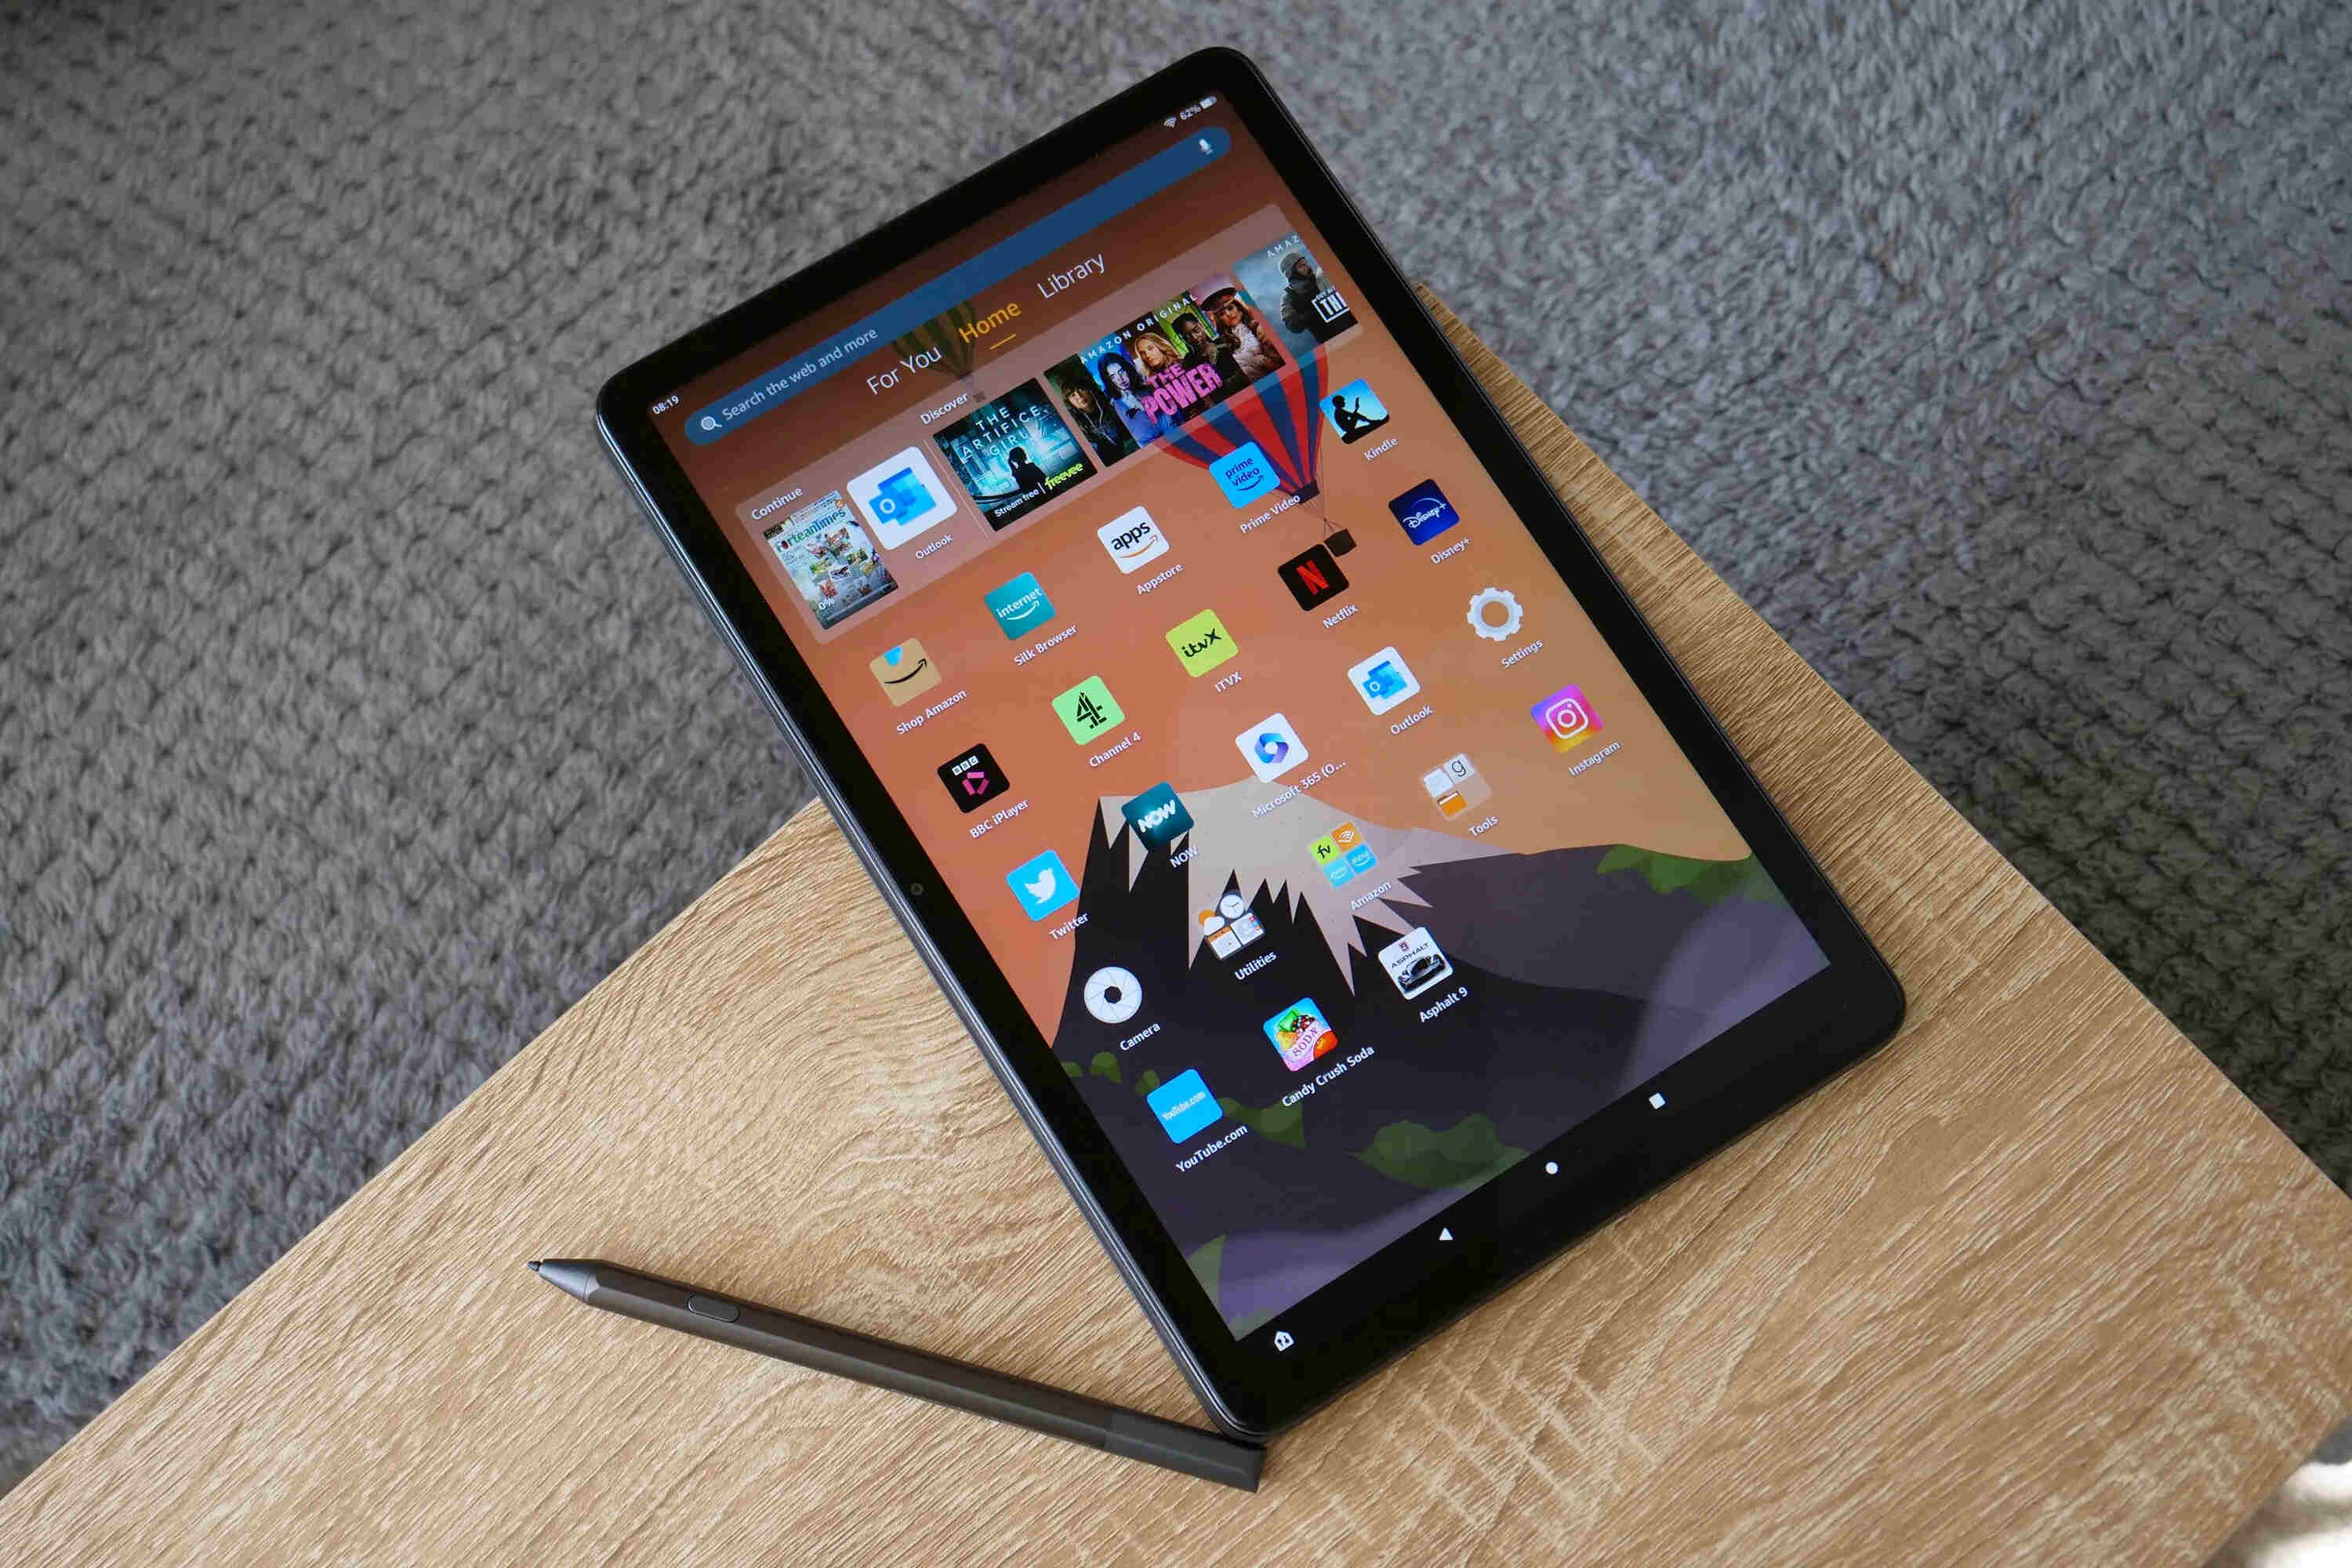
1. Start by unlocking your tablet and navigating to the home screen. Depending on your tablet, you may need to swipe up, down, left, or right to access the home screen.
2. Look for the settings icon, which is typically represented by a gear or wrench-shaped symbol. Tap on the settings icon to open the device settings menu.
3. Within the settings menu, scroll down and locate the “Wi-Fi” option. It’s usually listed under the “Network” or “Connections” section. Tap on “Wi-Fi” to access the Wi-Fi settings screen.
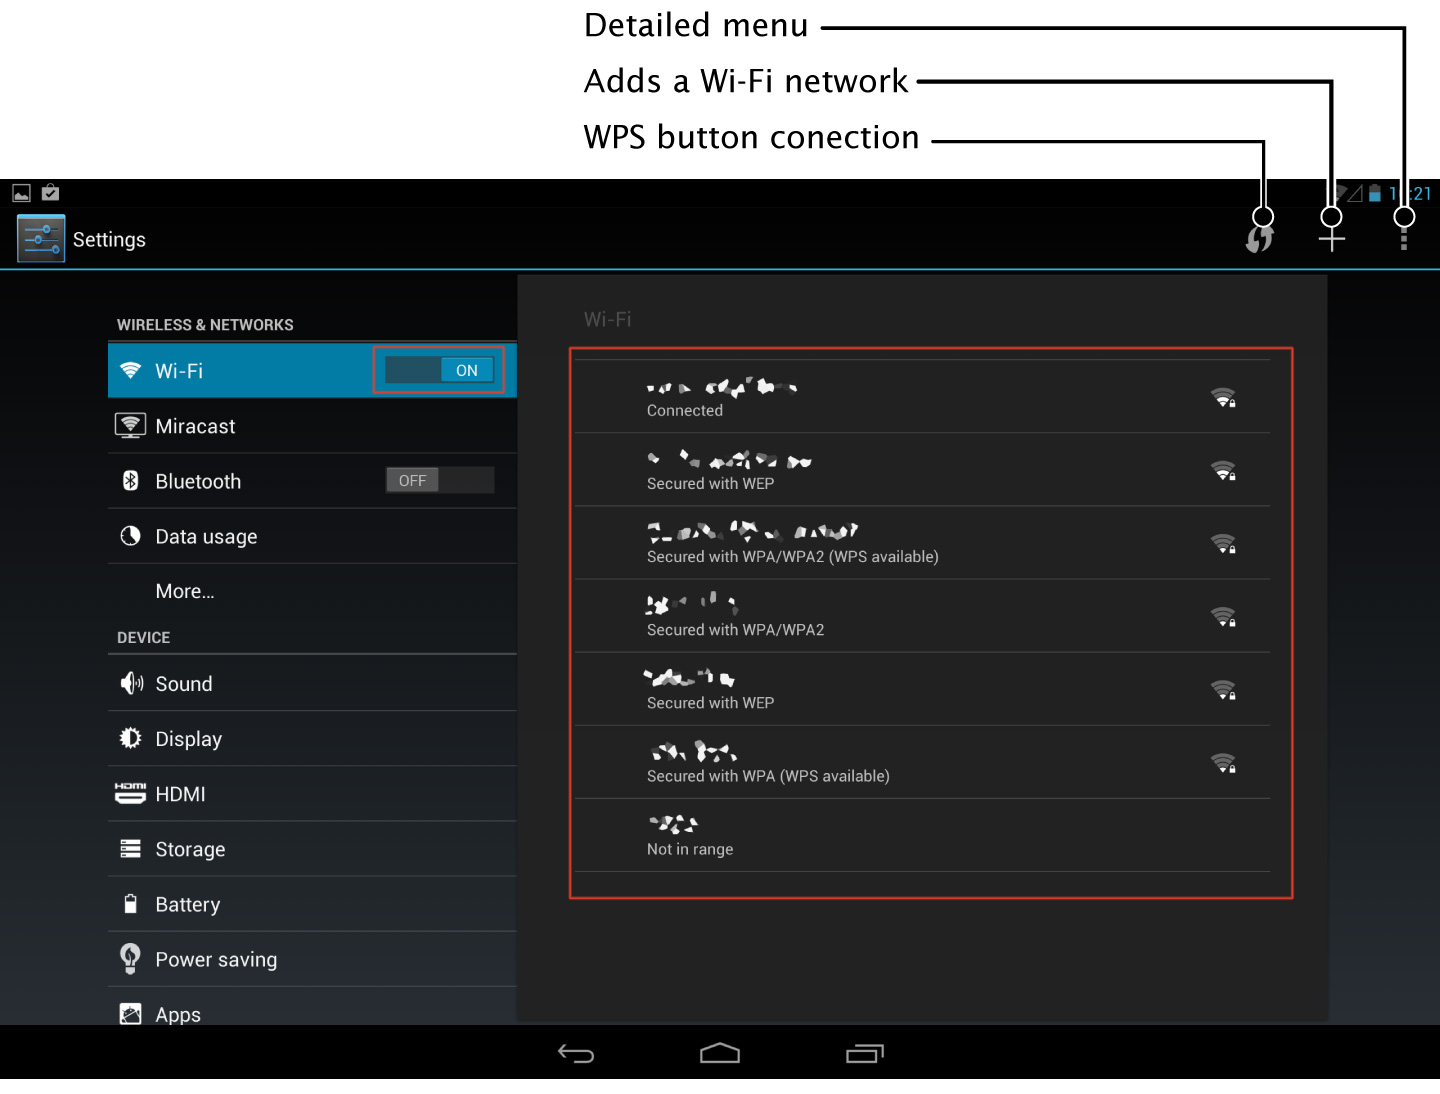
4. On the Wi-Fi settings screen, you will see a list of available Wi-Fi networks in your vicinity. The list may take a moment to load while your tablet scans for networks. Once the list is populated, you will see the names of the networks, also known as SSIDs (Service Set Identifiers).
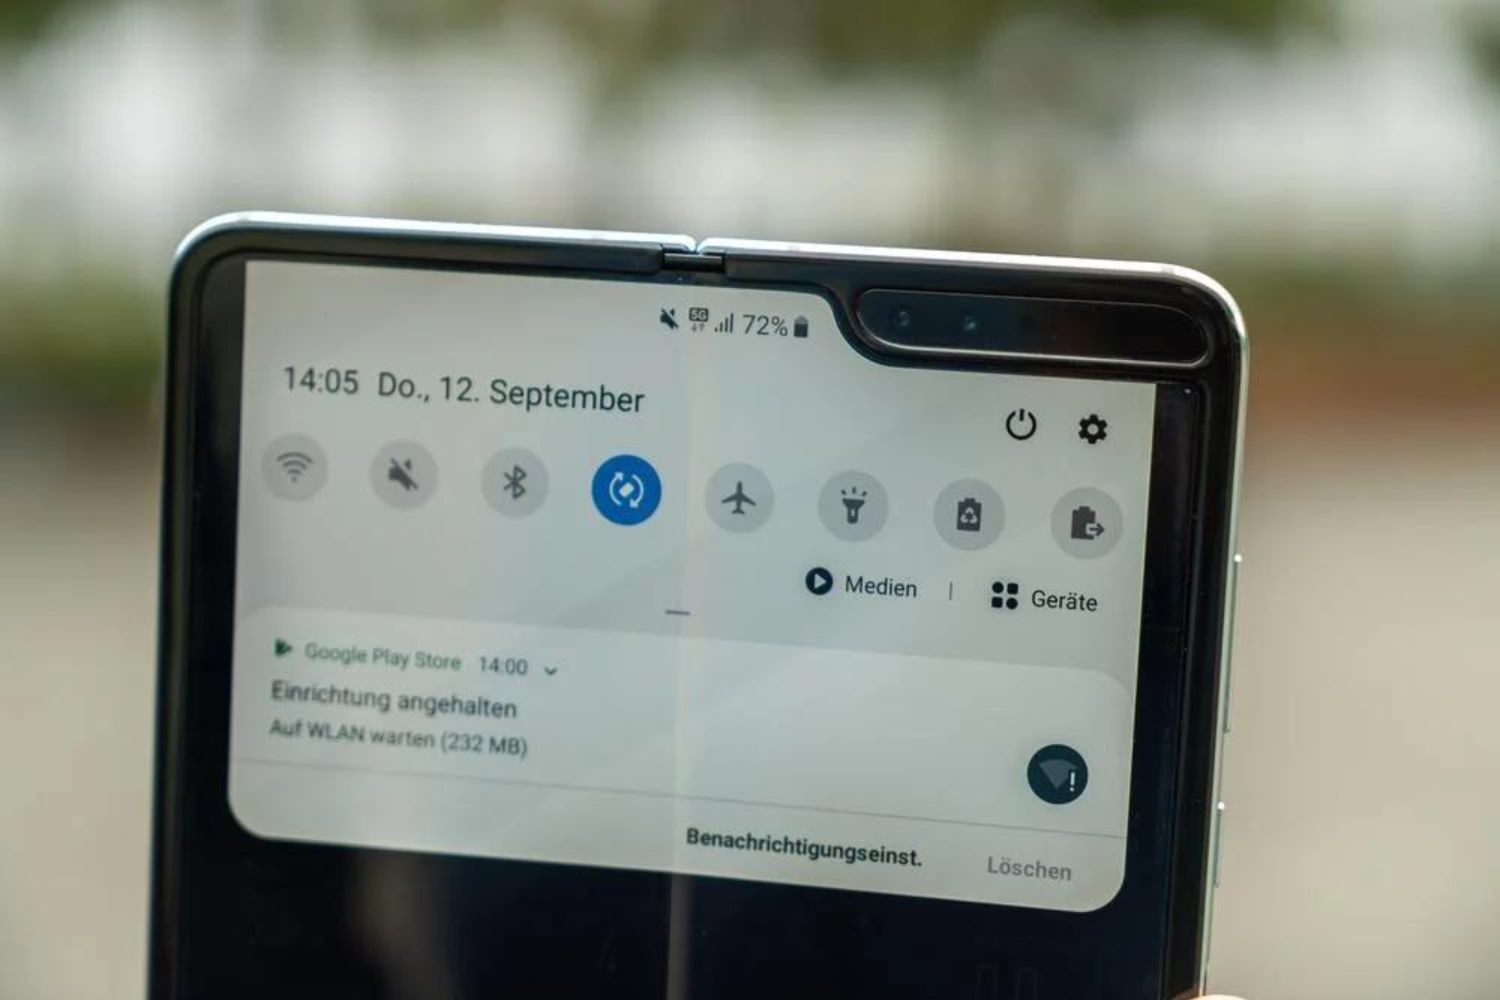
5. If you don’t see any networks listed, ensure that you are in an area with Wi-Fi coverage and check that your Wi-Fi is turned on. You can usually toggle Wi-Fi on or off by tapping on a switch or sliding a button.
6. Once the list of available networks appears, tap on the desired network that you want to connect to. If the network is password-protected, a password input prompt will appear.
7. If the network doesn’t require a password, your tablet will attempt to connect automatically. If it does require a password, proceed to the next step to enter the password and complete the connection process.
Now that you have successfully accessed the Wi-Fi settings on your tablet, we can move on to the next step: scanning for available networks.
Step 2: Scanning for Available Networks
Once you have accessed the Wi-Fi settings on your tablet, the next step is to scan for available networks. This will allow you to see the list of Wi-Fi networks in your vicinity and choose the one you want to connect to. Here’s how to do it:
1. On the Wi-Fi settings screen, you will see a list of available networks. This list may take a few seconds to populate as your tablet scans for networks. The networks will be displayed as names, also known as SSIDs (Service Set Identifiers).
2. Take a moment to review the list of available networks. Pay attention to the network names and look for any familiar ones that you want to connect to. If you don’t see the network you want to connect to, ensure that you are in an area with Wi-Fi coverage and that your Wi-Fi is turned on.
3. If you see the network you want to connect to, tap on its name in the list. Your tablet will attempt to connect to the selected network.
4. If the network is open and doesn’t require a password, your tablet will connect automatically. In this case, you can skip to the next step. However, if the network is password-protected, you will be prompted to enter the network password.
5. To enter the password, tap on the password input field that appears on the screen. The keyboard will pop up, allowing you to type in the password. Be careful to enter the password correctly, as it is case-sensitive.
6. Once you have entered the password, tap on the “Connect” or “Join” button. Your tablet will then attempt to connect to the network using the provided password.
7. If the password is correct and the network is within range, your tablet will establish a connection to the Wi-Fi network. You may see a confirmation message indicating that you are now connected to the network.
Congratulations! You have successfully scanned for available Wi-Fi networks and connected to the one of your choice. In the next step, we will cover how to enter the password and set up security settings for the network connection.
Step 3: Connecting to a Wi-Fi Network
Now that you have accessed the Wi-Fi settings and scanned for available networks on your tablet, it’s time to connect to a specific Wi-Fi network. Whether you are connecting to a home network, a public hotspot, or a friend’s Wi-Fi, the process is straightforward. Here’s how to connect to a Wi-Fi network on your tablet:
1. On the Wi-Fi settings screen, you will see a list of available networks. Locate the network you want to connect to and tap on its name in the list.
2. If the network is open and doesn’t require a password, your tablet will connect automatically. You will see a confirmation message indicating that you are now connected to the network.
3. If the network is password-protected, you will be prompted to enter the network password. Tap on the password input field and use the on-screen keyboard to type in the password. Be careful to enter the password correctly, as it is case-sensitive.
4. Once you have entered the password, tap on the “Connect” or “Join” button. Your tablet will then attempt to connect to the Wi-Fi network using the provided password.
5. If the password is correct and the network is within range, your tablet will establish a connection to the Wi-Fi network. You may see a confirmation message indicating that you are now connected to the network.
6. After successfully connecting to the network, your tablet will remember the Wi-Fi network and automatically connect to it whenever it is in range, as long as the network is not set to hide its SSID.
Note: Some networks may require additional steps for authentication or may have specific security settings. In such cases, refer to the network administrator or the provided instructions to ensure you can connect successfully.
By following these steps, you can easily connect to a Wi-Fi network on your tablet. Once connected, you can enjoy all the benefits of being online, including browsing the internet, streaming videos, downloading apps, and more. In the next step, we will cover how to enter the password and set up security settings for the network connection.
Step 4: Entering Password and Security Settings
When connecting to a Wi-Fi network on your tablet, you may encounter networks that require additional security measures or settings. In this step, we will cover how to enter the password for a password-protected network and explore some common security settings you may come across. Here’s how to enter the password and configure security settings on your tablet:
1. If you are connecting to a password-protected network, you will be prompted to enter the network password. Tap on the password input field, and use the on-screen keyboard to carefully type in the password. Remember that passwords are case-sensitive, so ensure you enter it correctly.
2. After entering the password, tap on the “Connect” or “Join” button to proceed. Your tablet will then attempt to connect to the network using the provided password.
3. If the password is correct and the network is within range, your tablet will establish a connection to the Wi-Fi network. You will see a confirmation message indicating a successful connection.
In addition to entering the password, you may come across security settings that need to be configured on certain networks. Here are some common security settings you may encounter and how to handle them:
- WEP/WPA/WPA2 Key: Some networks may require specific security key settings, such as WEP, WPA, or WPA2. If prompted to enter a key, consult the network administrator or refer to the instructions provided to obtain the appropriate key and enter it in the designated field.
- MAC Address Filtering: Certain networks may utilize MAC address filtering as an extra layer of security. If your tablet’s MAC address has not been added to the network’s allowed devices list, you will be unable to connect. To resolve this, provide the network administrator with your tablet’s MAC address and request that it be added to the allowed devices list.
- Proxy Settings: In some cases, you may need to configure proxy settings for the network. If prompted for proxy settings, consult the network administrator or refer to any provided instructions to correctly configure them.
It’s worth noting that these security settings are not standard for all Wi-Fi networks, and you may encounter other types of security measures depending on the network’s setup. Always follow the instructions provided by the network administrator or refer to the documentation for specific network requirements.
By entering the password and configuring any necessary security settings on your tablet, you can connect to password-protected networks and ensure a secure and protected connection. In the next step, we will explore troubleshooting tips and solutions for common Wi-Fi connection issues.
Step 5: Troubleshooting Wi-Fi Connection Issues
Despite following the previous steps, you may still encounter Wi-Fi connection issues on your tablet. In this step, we will explore some common troubleshooting techniques to help you resolve these issues and establish a stable Wi-Fi connection. Here’s how to troubleshoot Wi-Fi connection issues on your tablet:
1. Restart your tablet: Sometimes, a simple restart can fix temporary software glitches that may be affecting your Wi-Fi connection. Turn off your tablet, wait for a few seconds, and then turn it back on. This may help refresh the device’s settings and establish a new connection.
2. Restart your router: If multiple devices are unable to connect to the Wi-Fi network, the issue may lie with your router. Restart your router by unplugging it from the power source, waiting for about 30 seconds, and then plugging it back in. Allow the router to restart fully, and then attempt to connect to the Wi-Fi network again.
3. Move closer to the router: Weak Wi-Fi signals can result in a poor connection or frequent disconnection. If you are experiencing connection issues, try moving closer to the router to improve the signal strength. Alternatively, if you are using a public Wi-Fi, make sure you are within the specified range of the hotspot to maintain a stable connection.
4. Forget and reconnect to the network: Sometimes, your tablet may have trouble connecting to a specific network due to saved network settings or conflicting configurations. In your Wi-Fi settings, find the network causing issues, tap on it, and select “Forget” or “Forget Network.” Then, manually reconnect to the network by selecting it from the available networks list and entering the password again.
5. Check for firmware updates: Outdated firmware on your tablet or router can cause compatibility issues and affect Wi-Fi connectivity. Check for any available firmware updates for both your tablet and router. If updates are available, download and install them following the manufacturer’s instructions.
6. Verify router settings: Ensure that your router settings are correctly configured and compatible with your tablet. Check the router’s user manual or manufacturer’s website for guidance on the appropriate settings. Common settings to check include the network mode (such as 2.4GHz or 5GHz), channel settings, and security protocols.
7. Contact your internet service provider (ISP): If you have tried the above steps and continue to experience Wi-Fi connection issues, it may be worth reaching out to your ISP for assistance. They can help troubleshoot any connectivity problems specific to your network setup and provide further guidance.
By following these troubleshooting steps, you can address common Wi-Fi connection issues and improve the stability and reliability of your tablet’s Wi-Fi connection. Remember that the exact steps may vary slightly depending on your tablet’s model and operating system, so consult your device’s user manual or the manufacturer’s website for specific instructions if needed.
Conclusion
Connecting to Wi-Fi on your tablet opens up a world of endless possibilities and keeps you connected wherever you go. By following the simple steps outlined in this guide, you can effortlessly connect to Wi-Fi networks and enjoy the benefits of being online.
We started by accessing the Wi-Fi settings on your tablet and scanning for available networks. Then, we walked you through the process of connecting to a Wi-Fi network, including entering passwords and configuring security settings. We also provided troubleshooting tips to help you overcome common Wi-Fi connection issues.
Remember to ensure that you are in an area with Wi-Fi coverage and have the necessary network name (SSID) and password if applicable. Keep in mind that the specific steps may vary slightly depending on your tablet’s operating system and model. Consult your device’s user manual or the manufacturer’s website for more detailed instructions if needed.
Now that you know how to connect to Wi-Fi on your tablet, you can explore the online world, browse the web, stream videos, communicate with friends and family, and take advantage of various online services. Stay connected and make the most out of your tablet’s capabilities.
I hope this guide has been helpful to you. If you have any further questions or need additional assistance, don’t hesitate to reach out to the tablet manufacturer’s customer support or your internet service provider. Happy surfing!


