Introduction
Welcome to our guide on how to connect your Fire Tablet to Wi-Fi. Having a stable internet connection on your tablet is essential for a wide range of functions, such as streaming movies, browsing the web, downloading apps, and accessing your favorite online content. Whether you’ve just purchased your Fire Tablet or are experiencing difficulties connecting to Wi-Fi, this comprehensive tutorial will walk you through the process step by step.
Before we delve into the specifics of the connection process, it’s important to highlight the benefits of connecting your Fire Tablet to Wi-Fi. First and foremost, Wi-Fi provides faster and more reliable internet access compared to mobile data. This not only allows you to download large files and stream content seamlessly but also helps conserve your cellular data for outdoor use. Additionally, connecting to Wi-Fi unlocks various features and services exclusive to your tablet, such as automatic system updates, cloud storage access, and smart home integration.
Whether you’re at home, at work, or in a public space, connecting your Fire Tablet to a Wi-Fi network is a straightforward process. In this guide, we will provide easy-to-follow instructions on accessing your tablet’s Wi-Fi settings, scanning for available networks, selecting the desired network, and entering the Wi-Fi password. Additionally, we will offer troubleshooting tips to help you overcome any connection issues you may encounter along the way.
By the end of this tutorial, you will have your Fire Tablet connected to Wi-Fi, opening up a vast array of possibilities and enhancing your overall tablet experience. Without further ado, let’s jump right into it and get your tablet connected to Wi-Fi!
Step 1: Turn on your Fire Tablet
The first step in connecting your Fire Tablet to Wi-Fi is to ensure that it is turned on. If your tablet is not already powered on, press the power button located on the top or side of the device. Once turned on, you will be greeted with the lock screen or the home screen, depending on your tablet’s settings.
If you have set up a lock screen password or PIN, you will need to unlock your tablet before proceeding to the next steps. Simply swipe or enter your password to access the home screen.
It’s essential to keep your tablet updated with the latest software version provided by Amazon. Regular software updates not only bring new features but also improve system performance and security. To check for updates, swipe down from the top of the screen to open the notification panel, then tap “Settings” (the gear icon). Scroll down and select “Device Options” or “Device,” depending on your tablet model. Finally, tap “System Updates” to check for available updates and follow the instructions to install them if necessary. A stable internet connection is required to download and install software updates. Therefore, connecting to Wi-Fi is a vital step in keeping your Fire Tablet up to date.
With your Fire Tablet turned on and updated with the latest software, you are ready to move on to the next step and access the Wi-Fi settings.
Step 2: Access the Wi-Fi settings
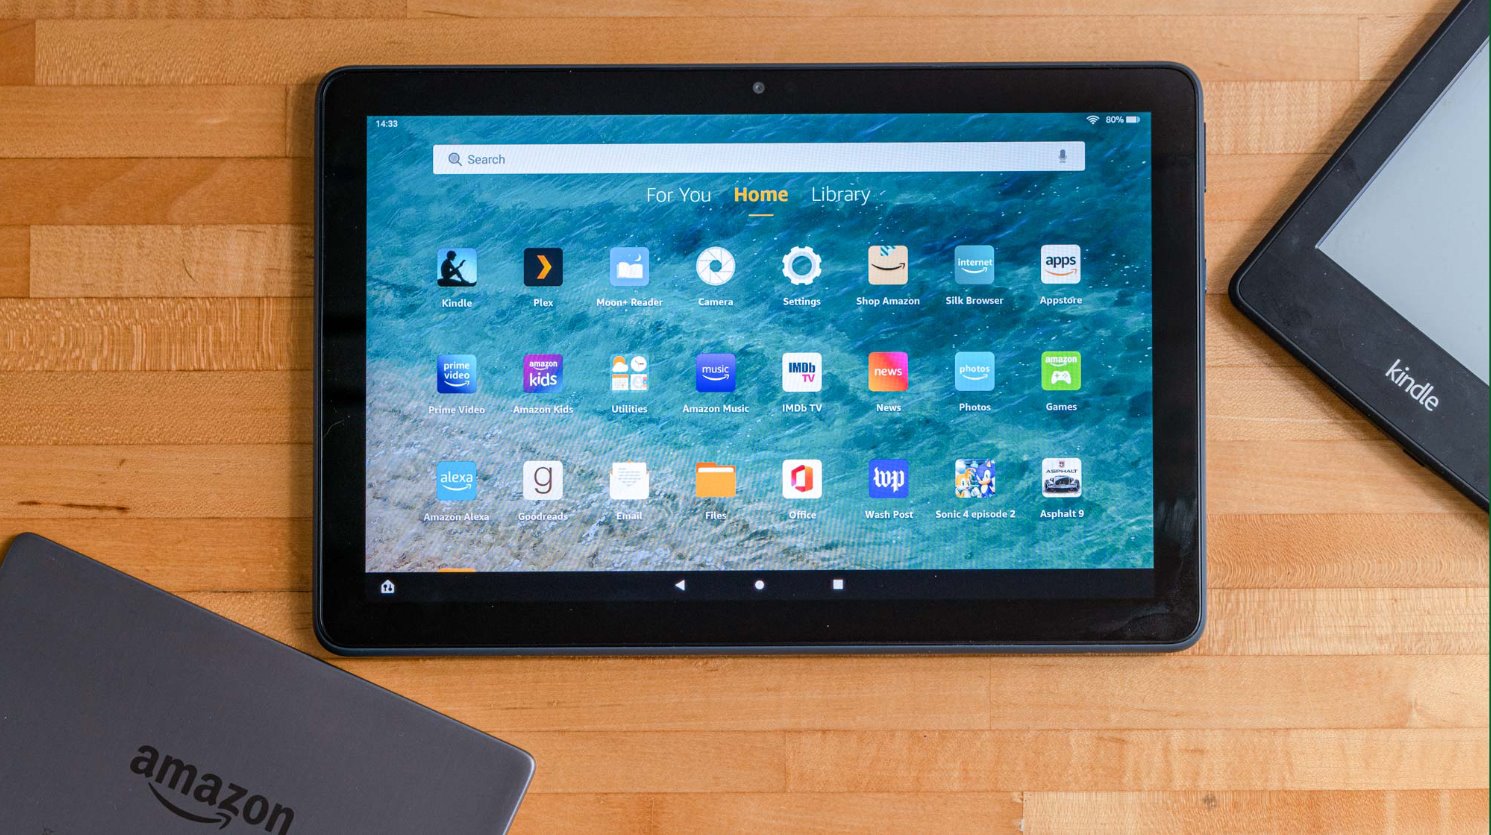
After turning on your Fire Tablet, the next step is to access the Wi-Fi settings. To do this, swipe down from the top of the screen to open the notification panel. In the top-right corner, you’ll see an icon that looks like a gear. Tap on this icon to open the “Settings” menu.
On the “Settings” menu, you’ll find various options related to your Fire Tablet. Look for the option that says “Wi-Fi” and tap on it to access the Wi-Fi settings. You should now see a list of available Wi-Fi networks.
If you don’t see the “Wi-Fi” option in the “Settings” menu, ensure that you are not in Airplane Mode. Airplane Mode disables all wireless connections on your tablet, including Wi-Fi. To check if Airplane Mode is enabled, swipe down from the top of the screen to open the notification panel, and tap on the Airplane Mode icon to turn it off if necessary.
If you still don’t see the “Wi-Fi” option, it’s possible that your tablet’s Wi-Fi feature is disabled. To enable it, go back to the “Settings” menu and tap on “Device Options” or “Device” (depending on your tablet model). Look for the option that says “Wi-Fi” and tap on it to enable Wi-Fi.
Once you have accessed the Wi-Fi settings and confirmed that Wi-Fi is enabled, you’re ready to proceed to the next step and scan for available Wi-Fi networks.
Step 3: Scan for available Wi-Fi networks
Now that you have accessed the Wi-Fi settings on your Fire Tablet, it’s time to scan for available Wi-Fi networks. On the Wi-Fi settings screen, your tablet will automatically begin scanning for nearby networks.
Wait for a few seconds until the scan is complete. During the scanning process, you will see a list of available Wi-Fi networks displayed on the screen. The networks will be listed by their names, also known as SSIDs (Service Set Identifiers).
The list of available Wi-Fi networks will vary depending on your location. You may see networks from your home, workplace, or public places such as cafes or libraries. The Wi-Fi network names will typically be familiar or labeled with the name of the establishment.
If you don’t see any networks or the list is empty, it’s possible that you are out of range from any available networks. Move closer to a Wi-Fi router or access point and try again. If you still don’t see any networks, check if the Wi-Fi feature is enabled on your tablet and if Airplane Mode is turned off.
Once the scan is complete and you see a list of available Wi-Fi networks, you’re ready to move on to the next step and select the desired network to connect to.
Step 4: Select the desired Wi-Fi network
After scanning for available Wi-Fi networks on your Fire Tablet, it’s time to select the desired network you want to connect to. From the list of available networks, look for the name of the network you want to join.
Keep in mind that some networks may be password-protected, while others may be open and require no password. Networks with a lock icon next to their names are secured networks that require a password for access.
To select the desired Wi-Fi network, tap on its name in the list. Your tablet will attempt to connect to the network, and a status message will indicate the connection progress. If you’re connecting to a secure network, you will need to enter the Wi-Fi password in the next step.
If you don’t see the network you want to connect to in the list, it’s possible that the network is out of range. Ensure you’re within range of the network and try scanning for Wi-Fi networks again. Additionally, make sure that the network is functioning correctly and broadcasting its SSID.
If you’re connecting to a public Wi-Fi network, such as one in a café or library, you may need to accept the terms and conditions of use before connecting. This is usually done by opening a web browser and accepting the network’s terms on a captive portal page.
By selecting the desired Wi-Fi network, you have taken a crucial step towards connecting your Fire Tablet to the internet. In the next step, we will guide you through entering the Wi-Fi password, if required, to establish the connection.
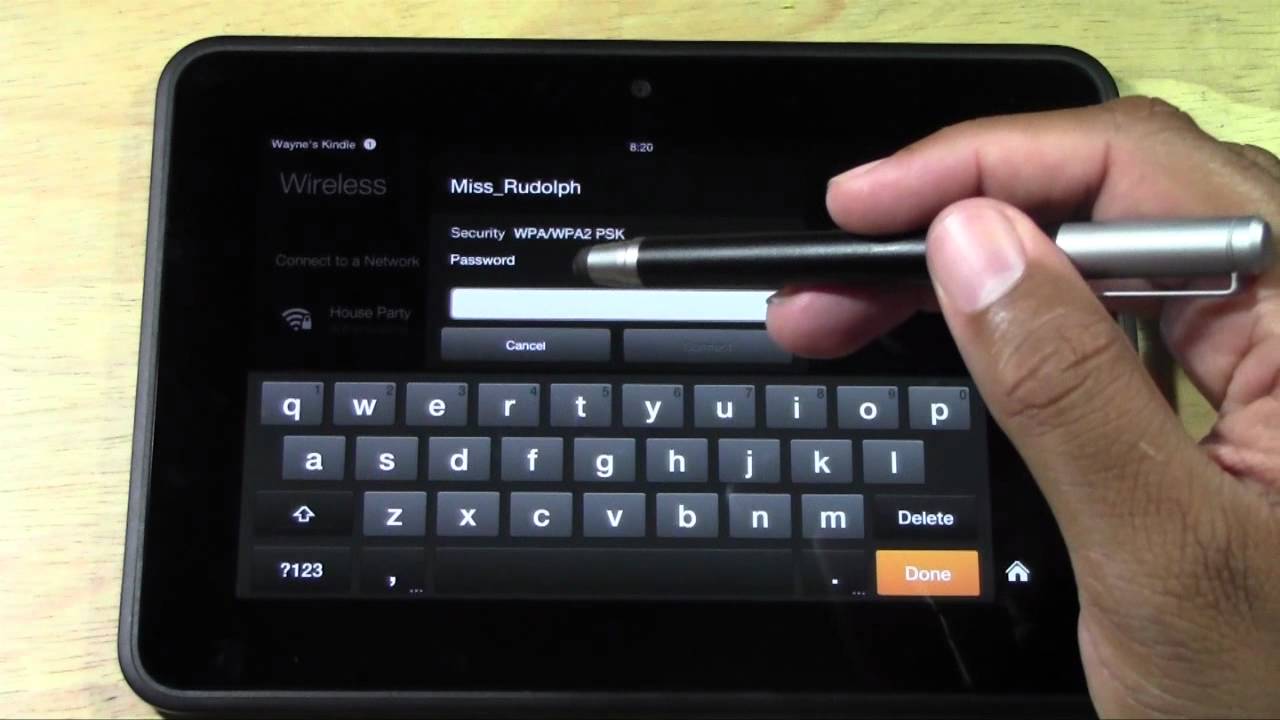
Step 5: Enter the Wi-Fi password
If you’re connecting to a secured Wi-Fi network, you will need to enter the Wi-Fi password to establish the connection. This step ensures that only authorized users can access the network.
After selecting the desired Wi-Fi network from the previous step, your Fire Tablet will prompt you to enter the Wi-Fi password. The password is case-sensitive, so make sure to type it accurately. If you’re not sure about the password, check with the network owner or refer to any documentation or instructions provided.
When entering the password, take note of any special characters, numbers, or uppercase letters. Switch between the lowercase and uppercase letter keyboard by tapping the up arrow or the shift key on the on-screen keyboard. If you make a mistake while typing the password, use the backspace key to delete characters.
Once you have entered the Wi-Fi password correctly, tap on the “Connect” button or press enter to proceed. Your Fire Tablet will attempt to connect to the network using the provided password. It may take a few moments to establish the connection, so be patient.
If the password you entered is incorrect, your tablet will display an error message. In this case, double-check the password and try again. If you’re still unable to connect, verify that the Wi-Fi password you have is correct by connecting another device or contacting the network administrator.
After successfully entering the Wi-Fi password, your Fire Tablet will establish a connection to the network. In the next step, we will guide you through the final steps to complete the Wi-Fi connection process.
Step 6: Connect to the Wi-Fi network
After entering the Wi-Fi password on your Fire Tablet, it will attempt to connect to the network using the provided credentials. If the password is correct, your tablet will establish a connection and display a “Connected” or “Obtaining IP Address” message.
Once connected, you can verify the Wi-Fi connection by checking the Wi-Fi icon in the status bar at the top of the screen. The icon should no longer have a “Not Connected” or “No Internet Connection” label. Instead, it will display the signal strength of the connected network.
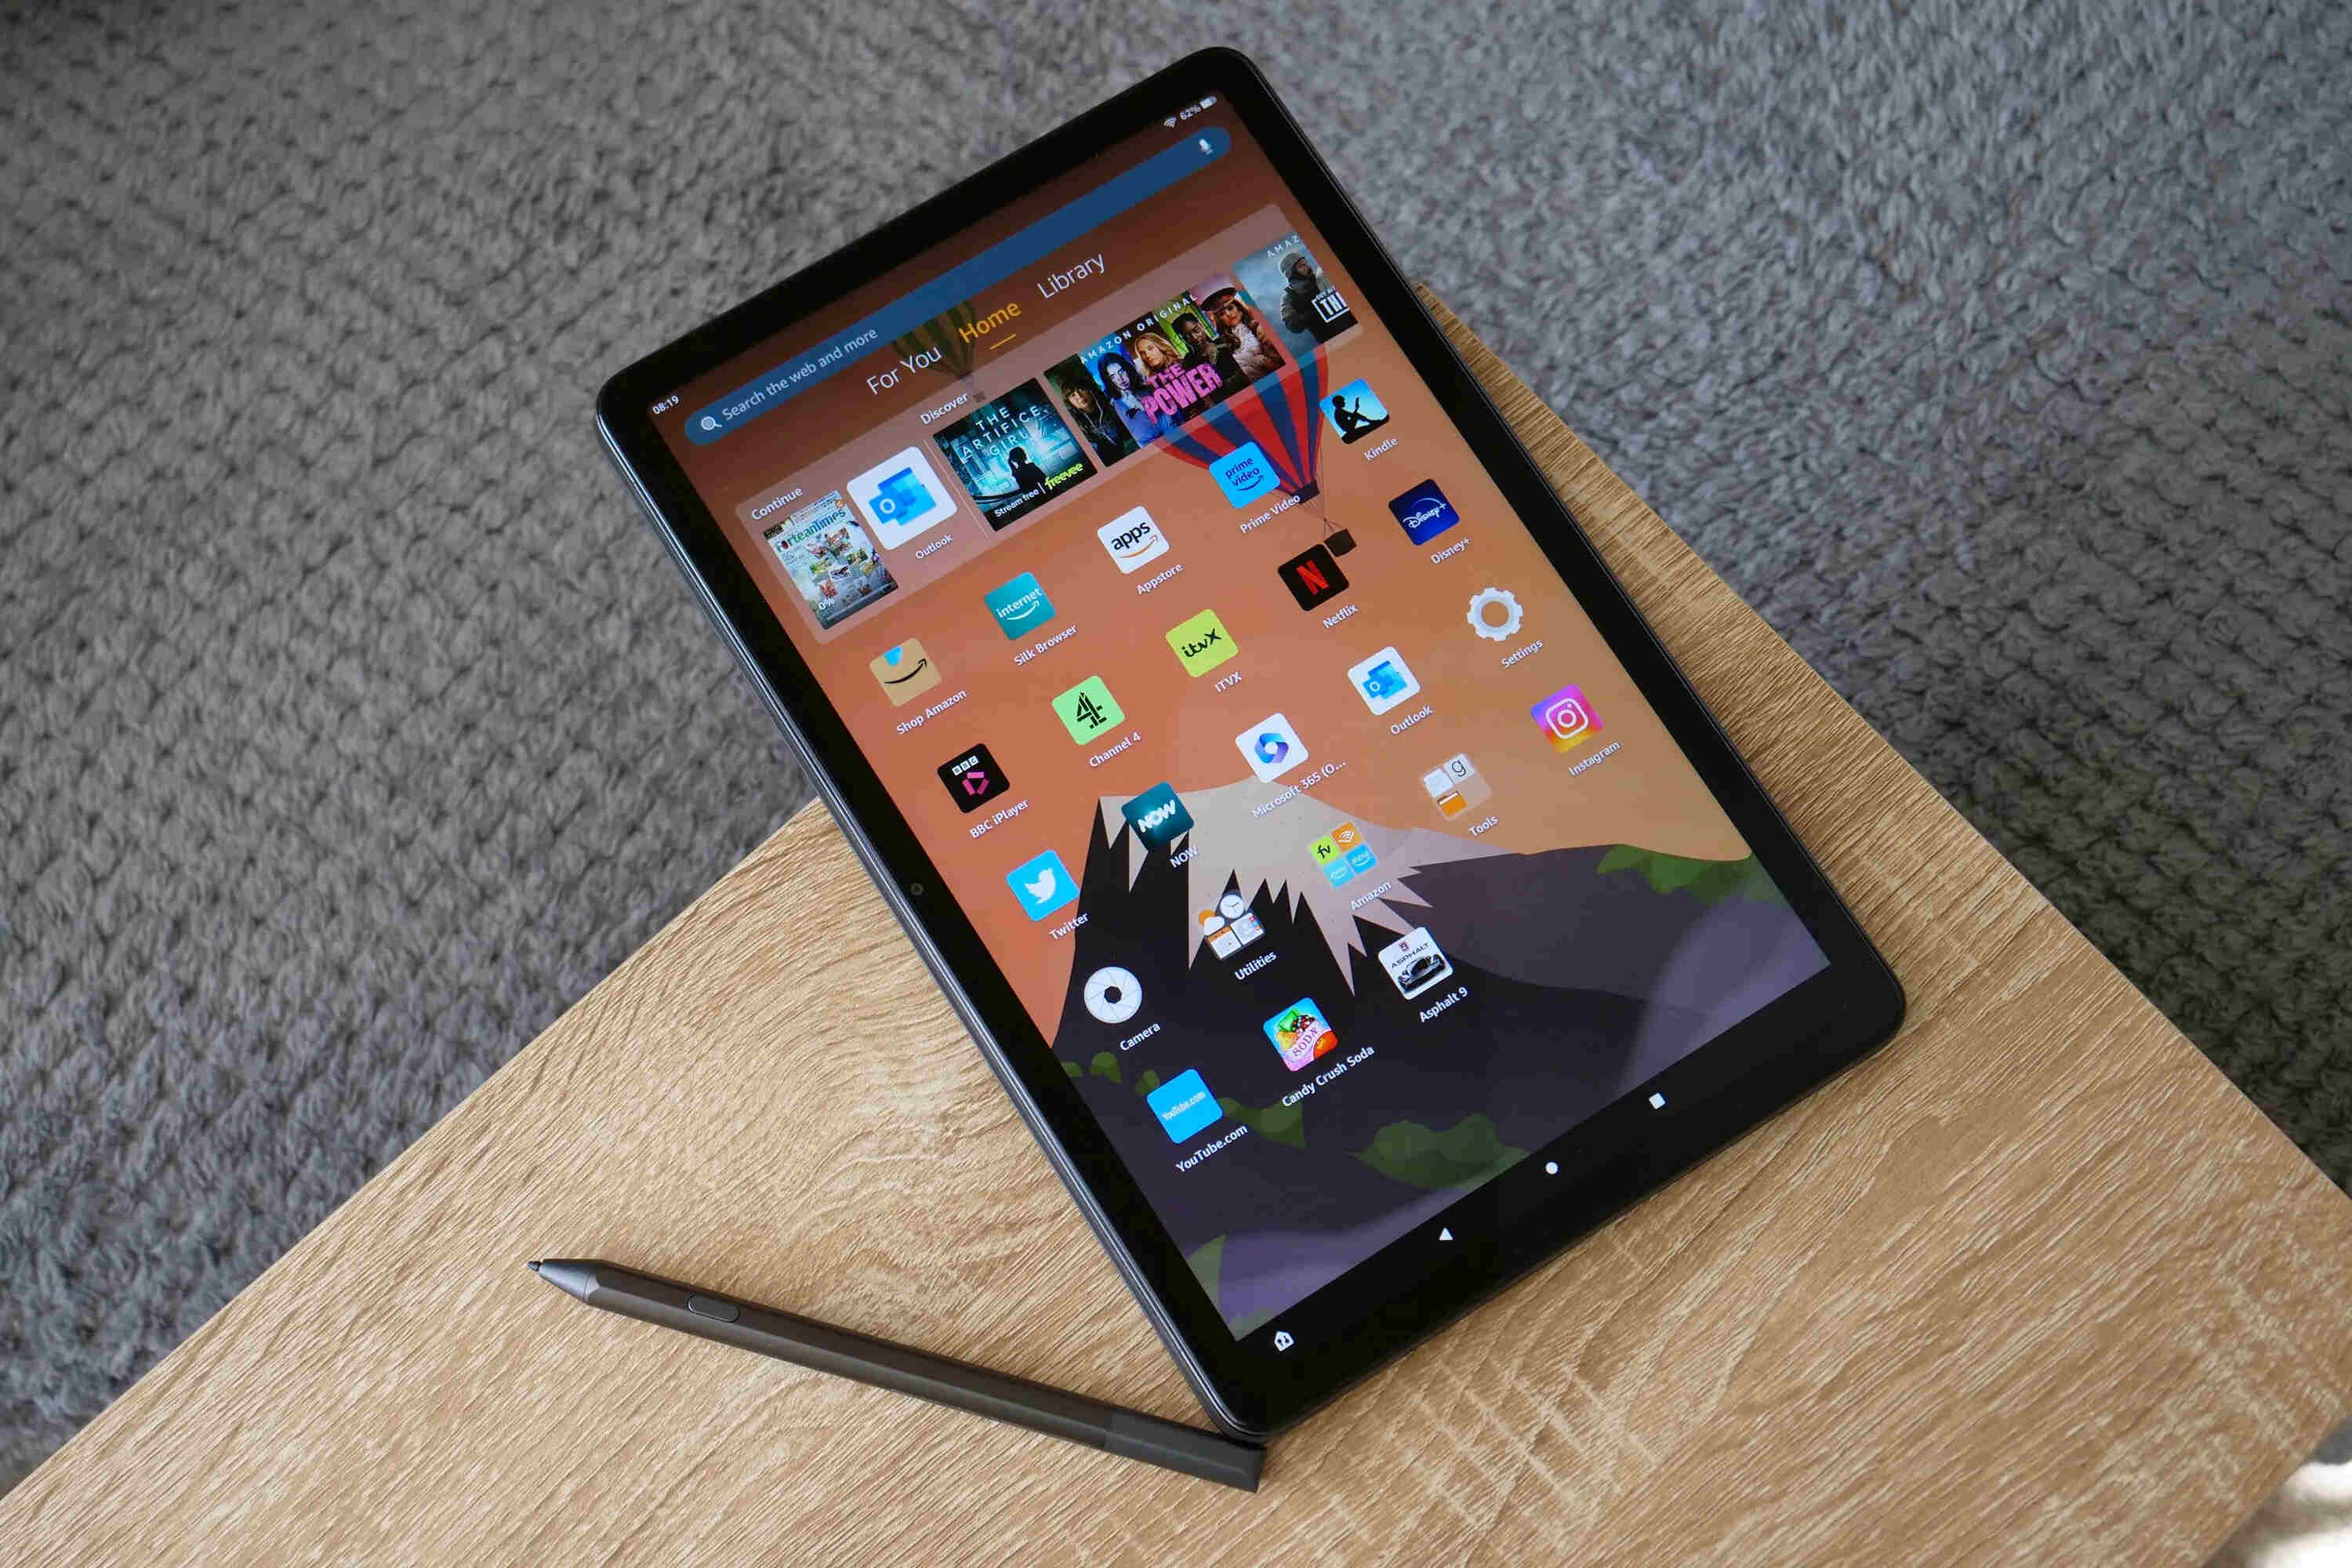
Now that your Fire Tablet is connected to the Wi-Fi network, you can start enjoying the benefits of a reliable internet connection. You can browse the web, download apps and games, stream your favorite movies and TV shows, and more.
If you’re unsure whether your tablet is connected to the network or experiencing any connection issues, try opening a web browser or refreshing an app that requires an internet connection. If the web pages load successfully or the app responds, it means your tablet is connected to the Wi-Fi network.
If you’re still experiencing issues with the Wi-Fi connection, try restarting your tablet or rebooting the Wi-Fi router. Sometimes, a simple restart can resolve connectivity problems. Additionally, make sure the Wi-Fi network you’re connecting to is stable and functioning correctly.
With your Fire Tablet successfully connected to the Wi-Fi network, you’re all set to enjoy the online world at your fingertips. Whether you want to stream music, play games, read e-books, or stay connected on social media, your tablet is ready to fulfill all your digital needs. Enjoy exploring and discovering the endless possibilities that a stable Wi-Fi connection offers!
Step 7: Troubleshooting connection issues
While connecting your Fire Tablet to Wi-Fi is usually a straightforward process, you may encounter some connection issues along the way. Here are a few troubleshooting tips to help you resolve common Wi-Fi connection issues:
1. Restart your Fire Tablet: Sometimes, a simple restart can fix temporary glitches that may be causing the connection problem. Hold down the power button until a menu appears, then select “Restart” or “Reboot” to restart your tablet.
2. Restart your Wi-Fi router: Turn off your Wi-Fi router, wait for a few seconds, and then turn it back on. This can help refresh the connection between your tablet and the router.
3. Forget and reconnect to the network: If you’re experiencing connection issues with a specific network, go to the Wi-Fi settings on your tablet, tap and hold on the network name, and select “Forget.” Then, scan for available networks again and reconnect to the network by entering the password.
4. Check Wi-Fi signal strength: Ensure that you’re within range of the Wi-Fi router. If you’re too far away from the router, the signal strength may be weak, which can affect the connection quality. Move closer to the router or consider using a Wi-Fi extender to improve coverage.
5. Check for device software updates: Make sure your Fire Tablet has the latest software updates installed. Outdated software can sometimes cause compatibility issues with Wi-Fi networks. Check for updates in the “Settings” menu under “Device Options” or “Device,” then “System Updates.”
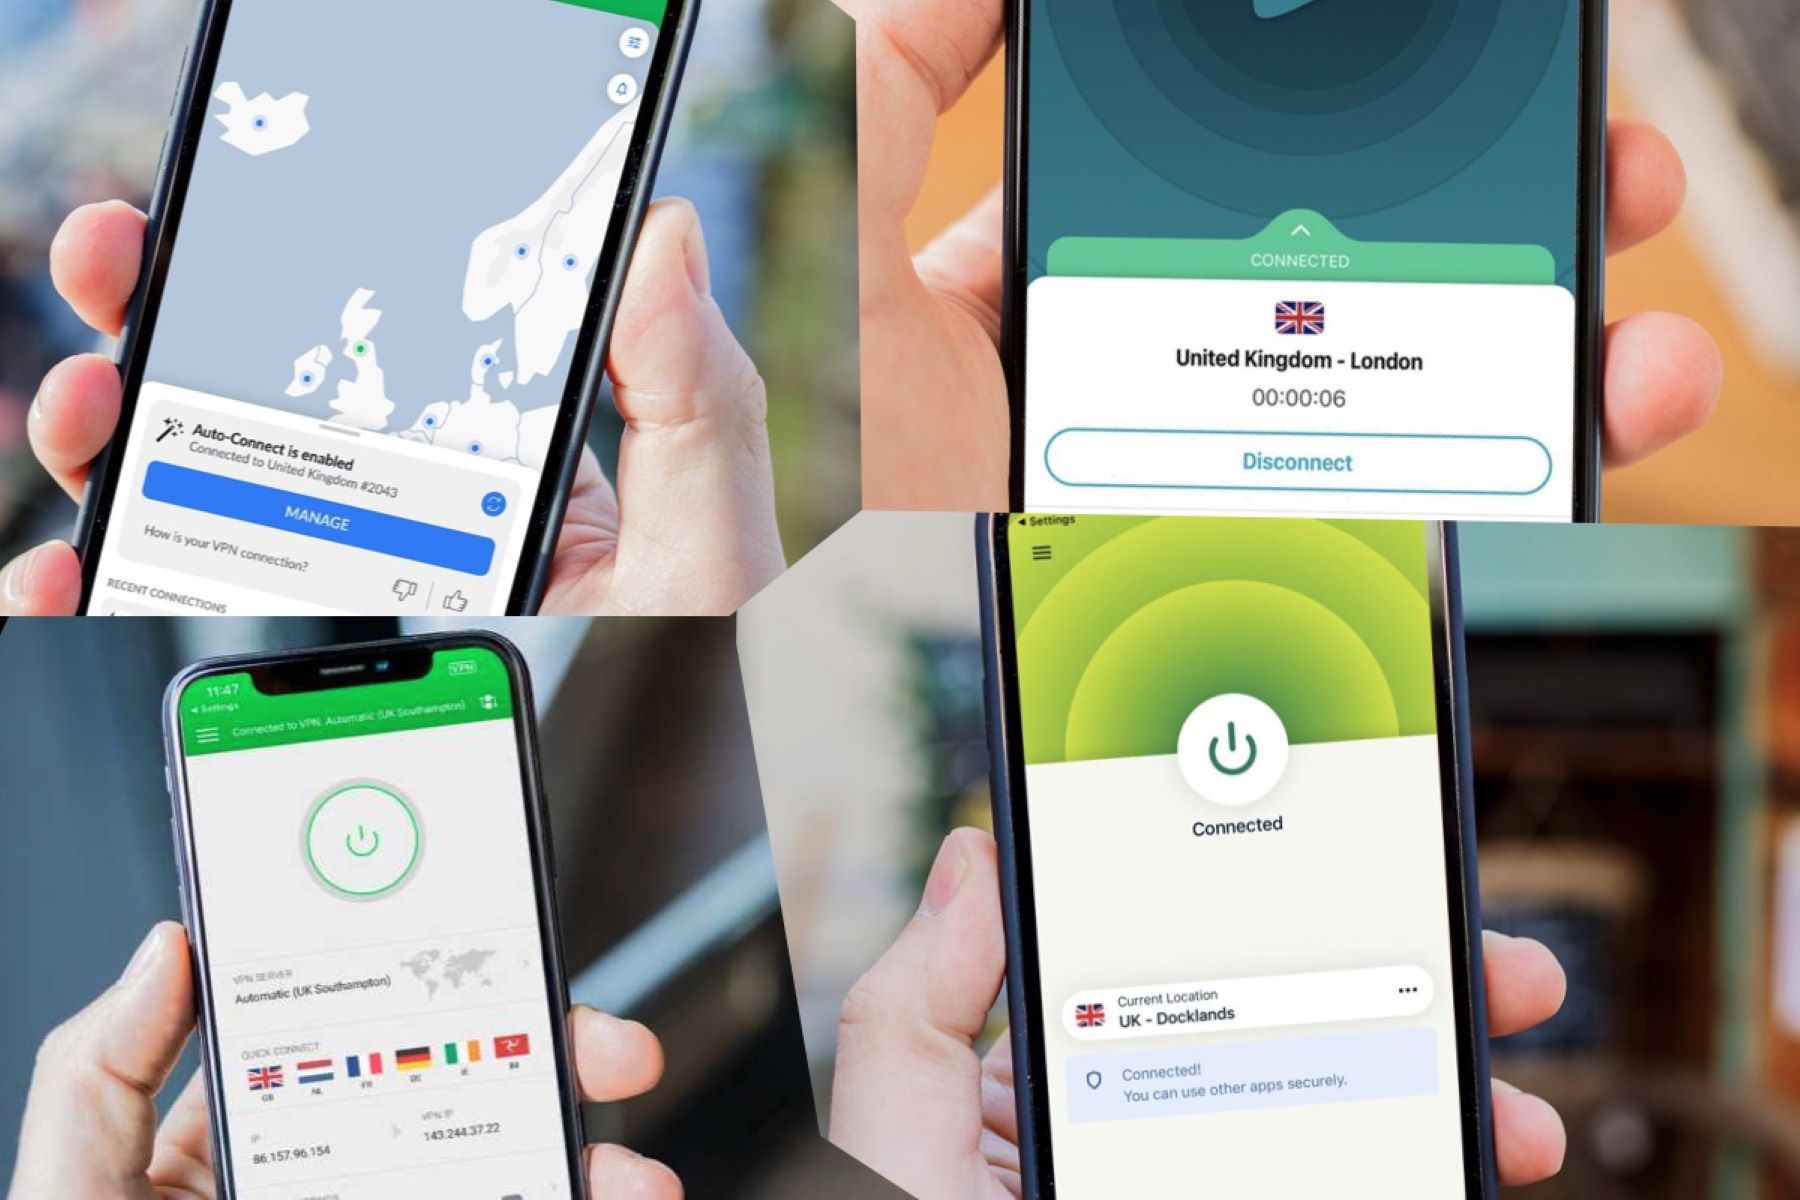
6. Disable VPN or proxy settings: If you have VPN (Virtual Private Network) or proxy settings enabled on your tablet, try disabling them and connecting to the Wi-Fi network again. VPNs and proxies can sometimes interfere with Wi-Fi connections.
7. Reset network settings: As a last resort, you can reset the network settings on your tablet. This will remove all saved Wi-Fi networks, Bluetooth connections, and VPN configurations. To reset network settings, go to the “Settings” menu, tap on “Network & Internet,” and select “Reset Wi-Fi, Mobile & Bluetooth.”
If none of these troubleshooting steps resolve the issue, you may need to seek further assistance from your internet service provider or contact Amazon customer support for specific Fire Tablet troubleshooting.
By following these troubleshooting tips, you can overcome common Wi-Fi connection issues and ensure a stable and reliable internet connection on your Fire Tablet.
Conclusion
Congratulations! You have successfully learned how to connect your Fire Tablet to Wi-Fi. By following the simple steps outlined in this guide, you can now enjoy a stable and reliable internet connection on your tablet.
Wi-Fi connectivity opens up a world of possibilities, allowing you to browse the web, stream movies and music, download apps, and stay connected with friends and family. Whether you’re at home, in the office, or on the go, having your Fire Tablet connected to Wi-Fi ensures that you’re always connected to the digital world.
Remember, if you encounter any connectivity issues along the way, don’t panic. Troubleshooting tips such as restarting your tablet and router, checking Wi-Fi signal strength, and updating your device’s software can often resolve common problems.
By staying up to date with software updates and maintaining a good understanding of Wi-Fi networks in your surroundings, you can ensure a seamless and uninterrupted online experience on your Fire Tablet.
We hope this guide has been helpful in assisting you with connecting your Fire Tablet to Wi-Fi. Now, go ahead and explore the endless possibilities that the internet has to offer with your newly connected tablet!