Introduction
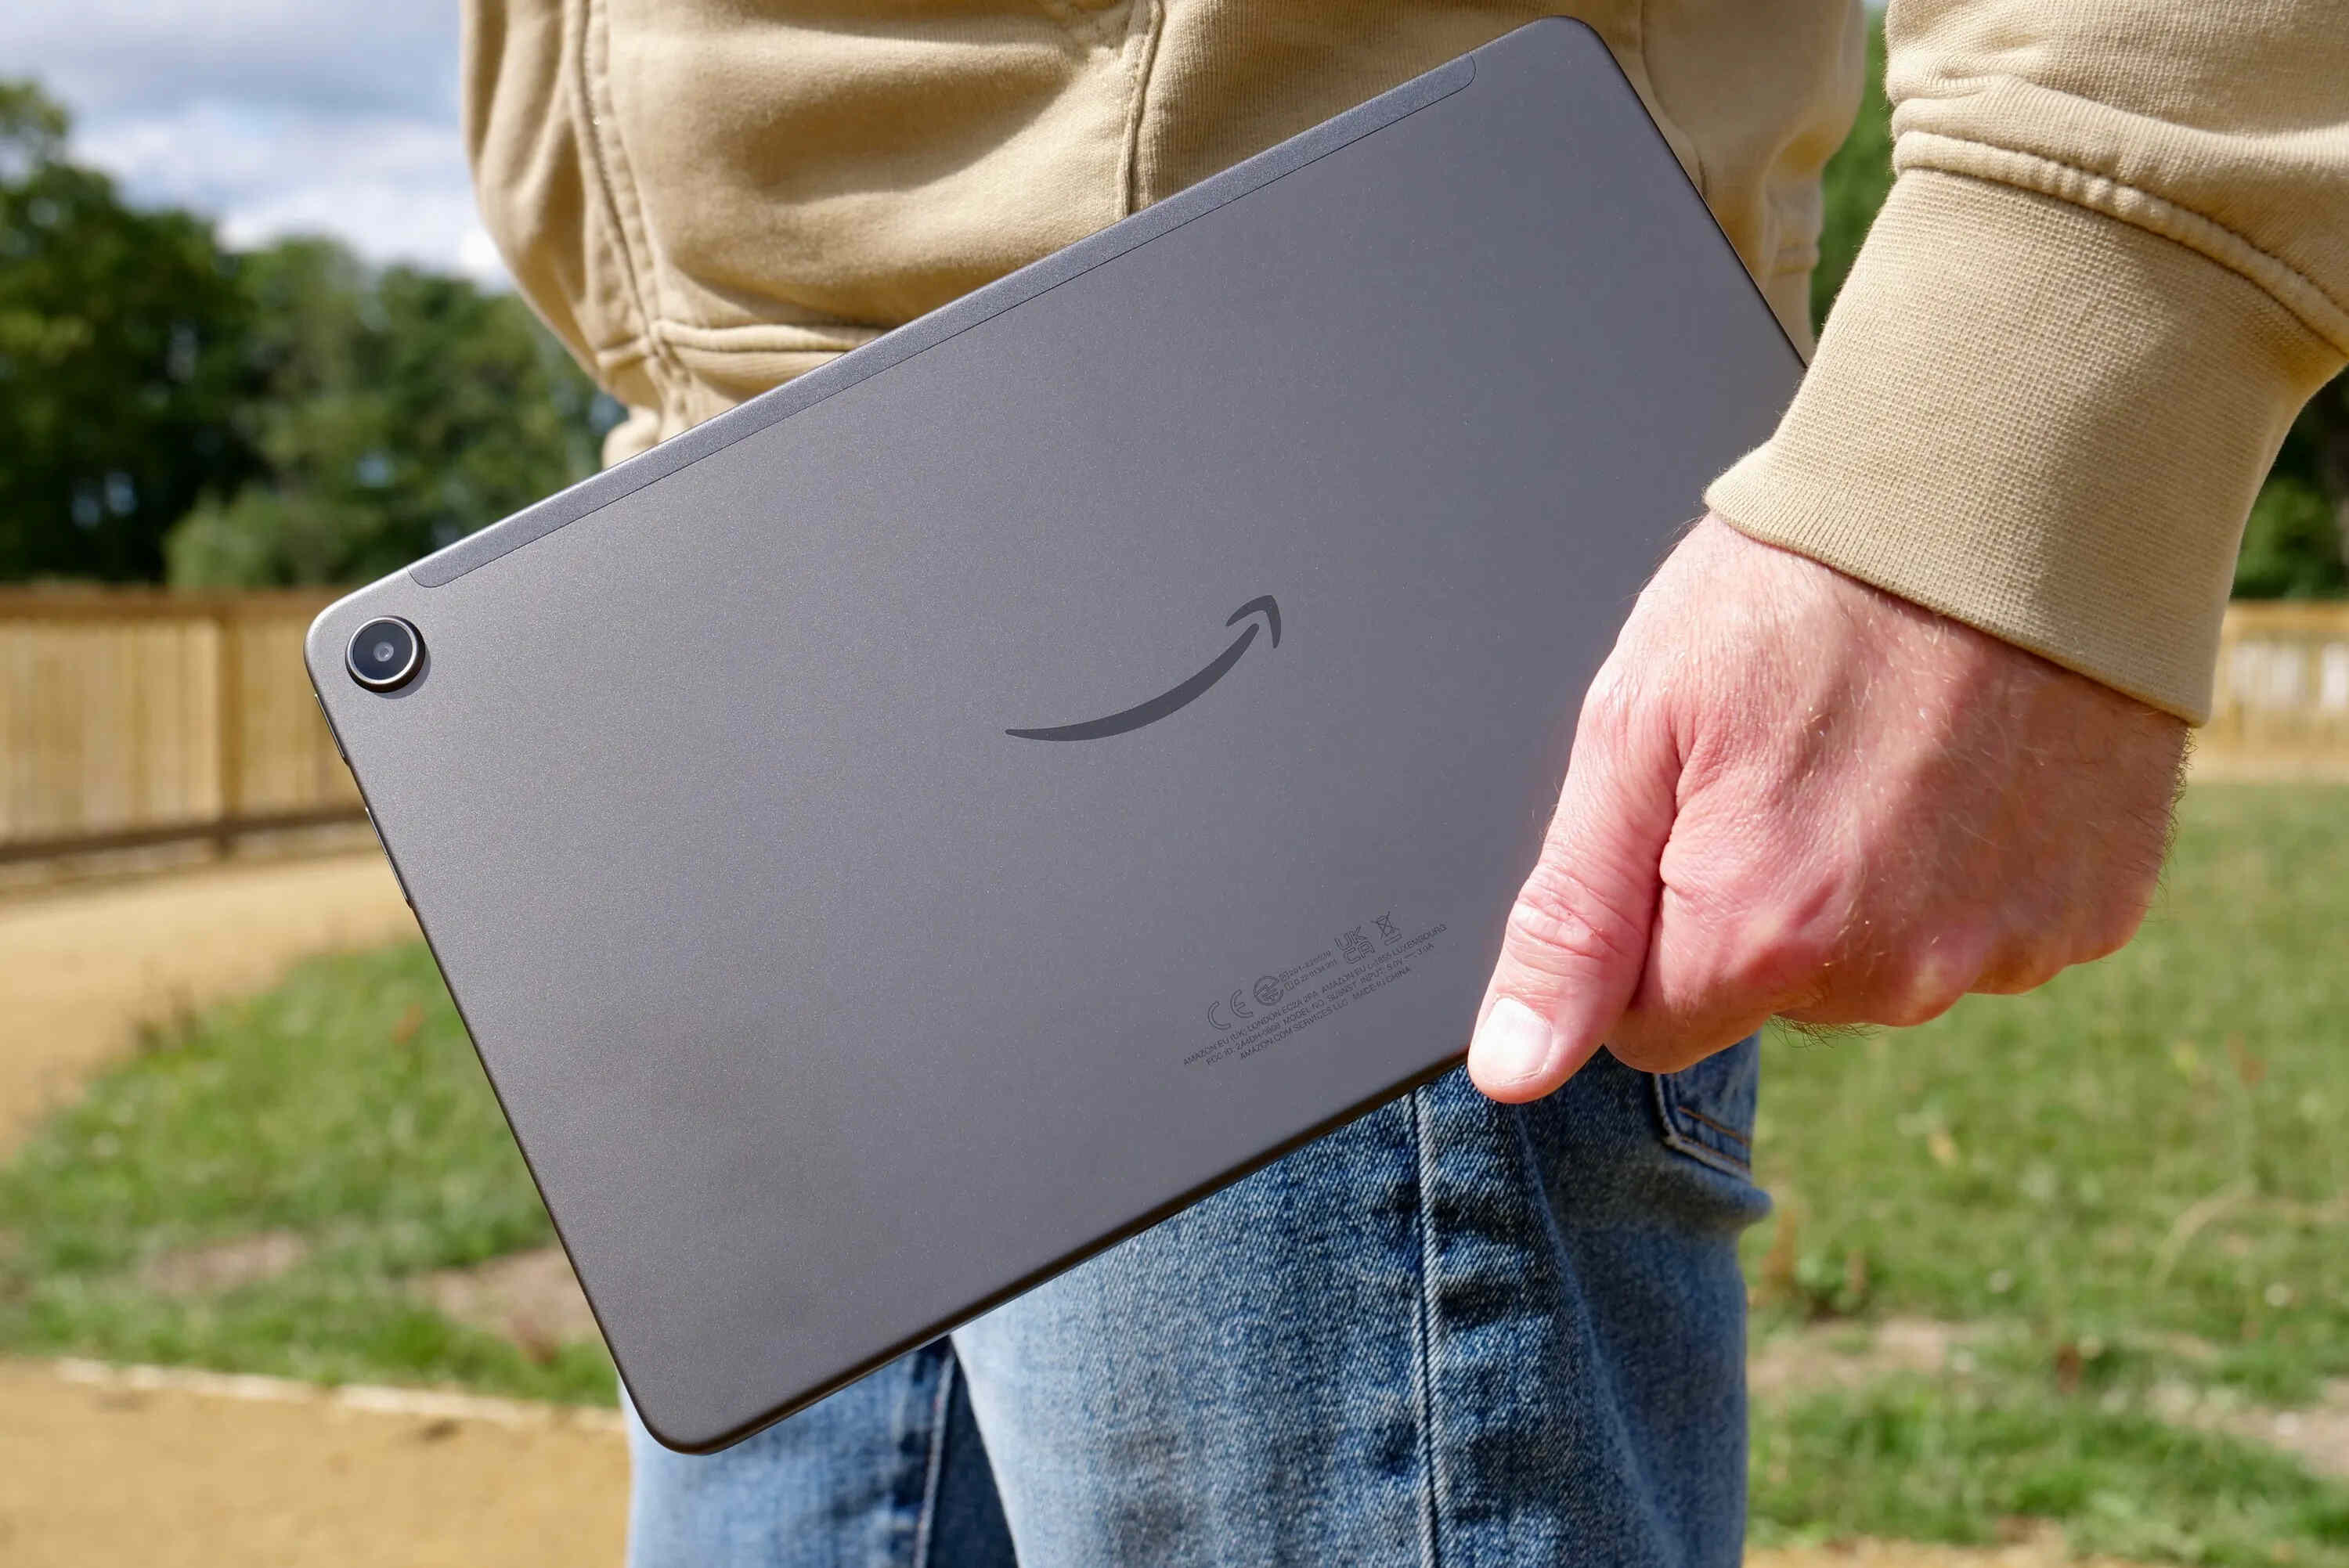
Connecting your Fire Tablet to a hotspot allows you to access the internet on the go, without relying on a Wi-Fi network. Whether you’re traveling, at a café, or in a location where Wi-Fi is unavailable, setting up a hotspot connection on your Fire Tablet can be a lifesaver.
A hotspot is essentially a mobile Wi-Fi network that you can create using your smartphone or another device. By enabling the hotspot feature and connecting your Fire Tablet to it, you can enjoy internet connectivity and access all your favorite apps, websites, and online content.
In this guide, we will walk you through the step-by-step process of connecting your Fire Tablet to a hotspot. Whether you’re using an Android or an iOS device as your hotspot, the process is relatively simple and can be completed in just a few minutes.
Before we begin, make sure you have the necessary credentials to access the hotspot, such as the network name (SSID) and password. These details are usually provided by the device that is serving as the hotspot.
So, grab your Fire Tablet and let’s get started on setting up a hotspot connection!
Step 1: Enable Hotspot on your device
The first step in connecting your Fire Tablet to a hotspot is to enable the hotspot feature on your device that will be serving as the hotspot. This could be your smartphone, tablet, or any other device that supports the hotspot functionality.
The process of enabling the hotspot feature may vary slightly depending on the device you are using. However, the general steps remain the same. Here’s how you can enable the hotspot functionality:
- Open the settings on your device. This can usually be done by swiping down from the top of the screen and tapping on the “Settings” icon.
- In the settings menu, locate and tap on the “Network & Internet” or “Wireless & Networks” option.
- Look for the “Hotspot & Tethering” or “Personal Hotspot” section and tap on it.
- Within the hotspot settings, you should see an option to enable the hotspot. Toggle the switch or checkbox to turn it on.
- Once the hotspot is enabled, you can usually customize the hotspot settings, such as the network name (SSID) and password. Choose a suitable network name and set a secure password.
- Save the hotspot settings and exit the settings menu.
With the hotspot feature enabled on your device, it is now ready to serve as a mobile Wi-Fi network for your Fire Tablet to connect to.
Keep in mind that enabling the hotspot feature on your device may consume battery power and use your cellular data, depending on your data plan. Therefore, it’s a good idea to monitor your data usage and make sure you have sufficient battery life before enabling the hotspot.
Step 2: Turn on Wi-Fi on your Fire Tablet
Now that you have enabled the hotspot on your device, the next step is to turn on the Wi-Fi on your Fire Tablet. This will allow your tablet to search for and connect to available Wi-Fi networks, including the hotspot you have just enabled.
Follow these simple steps to turn on Wi-Fi on your Fire Tablet:
- Swipe down from the top of the screen to open the Quick Settings panel.
- Tap on the “Wi-Fi” icon, which resembles a signal icon with curved lines.
- In the Wi-Fi settings menu, toggle the switch to turn on Wi-Fi.
- Wait for your Fire Tablet to scan for available Wi-Fi networks. This may take a few seconds.
- Once the scan is complete, you will see a list of available Wi-Fi networks. Look for the name of your hotspot network in the list.
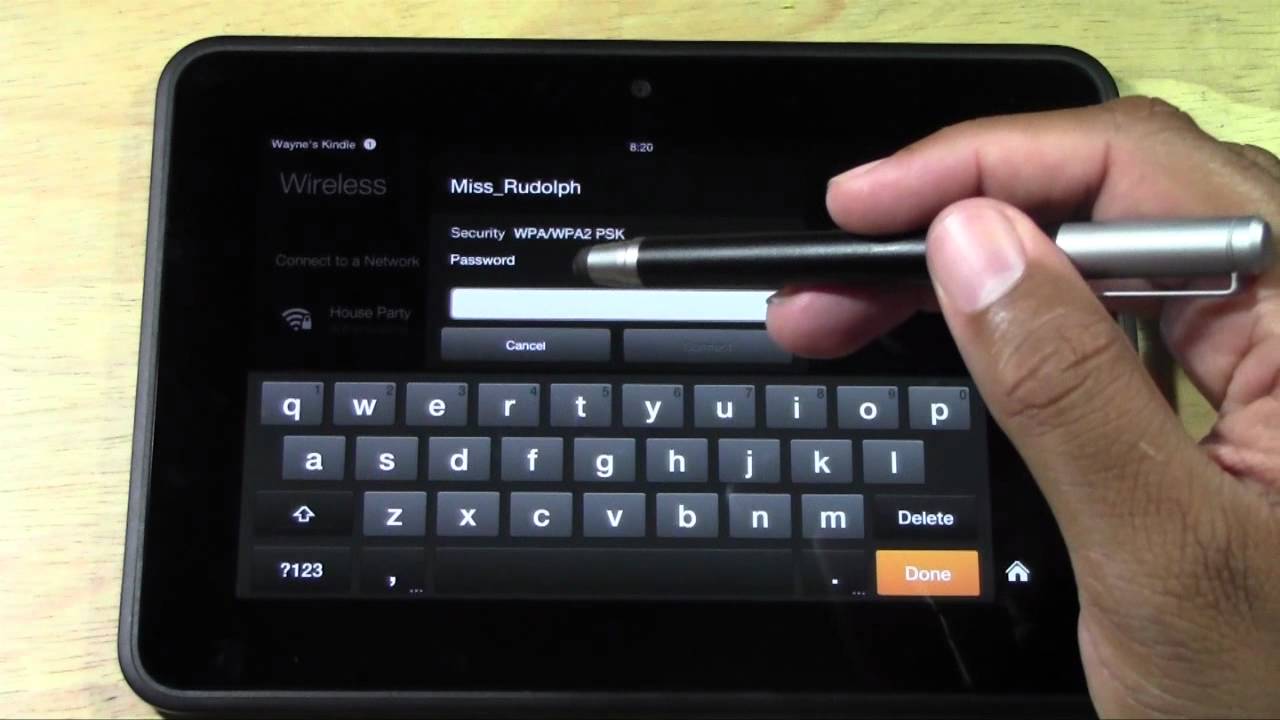
- Tap on the name of your hotspot network to connect to it.
- If prompted, enter the password for the hotspot network. This is the password you set when enabling the hotspot on your device.
- Wait for your tablet to establish a connection with the hotspot. Once connected, you will see a Wi-Fi icon with bars indicating the signal strength.
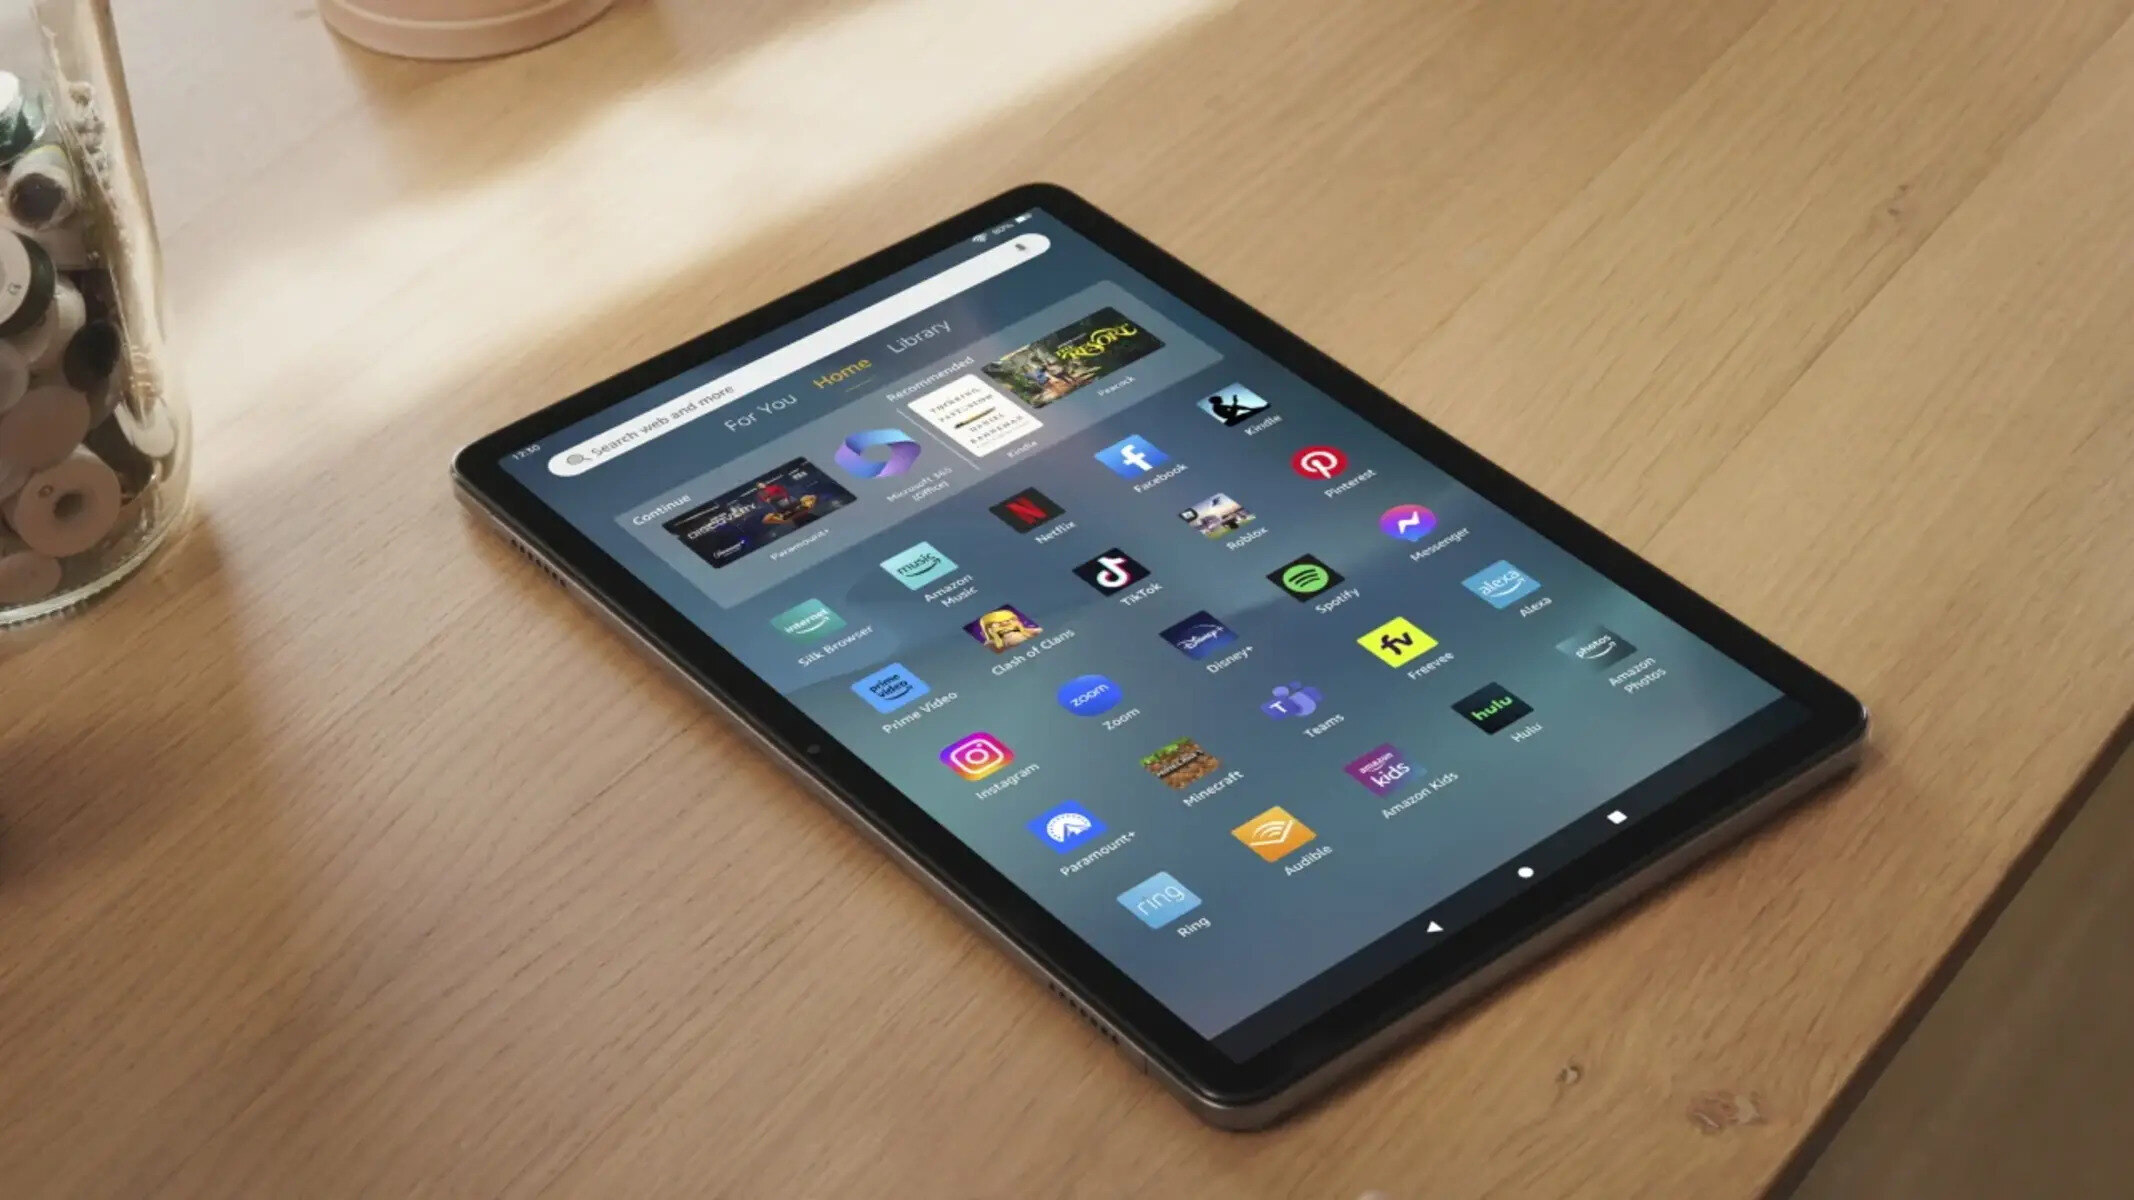
Congratulations! You have successfully turned on Wi-Fi on your Fire Tablet and connected it to the hotspot. Now you can enjoy seamless internet connectivity and access all your favorite online content.
It’s important to note that your Fire Tablet will remember the hotspot network you have connected to, so you won’t need to repeat these steps every time you want to connect to the same hotspot in the future. However, if you are in a different location or using a different hotspot, you may need to repeat this step to connect to a different network.
Step 3: Connect to the Hotspot
Now that you have turned on Wi-Fi on your Fire Tablet, it’s time to connect it to the hotspot you have enabled on your device. Connecting to a hotspot is a straightforward process, and you’ll be able to enjoy internet access on your Fire Tablet in no time.
Follow these steps to connect your Fire Tablet to the hotspot:
- Open the Settings menu on your Fire Tablet by swiping down from the top of the screen and tapping on the “Settings” icon.
- In the Settings menu, select the “Wi-Fi” option.
- Your Fire Tablet will scan for available Wi-Fi networks. Locate and tap on the name of your hotspot network in the list of available networks.
- If prompted, enter the password for the hotspot network. This is the password you set when enabling the hotspot on your device.
- Wait for your Fire Tablet to establish a connection with the hotspot. Once connected, you will see a Wi-Fi icon with bars indicating the signal strength.
That’s it! You have successfully connected your Fire Tablet to the hotspot. Now you can start using the internet and enjoy all the online activities, such as browsing the web, streaming videos, or accessing your favorite apps.
If you encounter any issues while connecting to the hotspot, make sure you have entered the correct password and that the hotspot is within range of your Fire Tablet. You can also try restarting both your Fire Tablet and the device serving as the hotspot to resolve any connection problems.
Remember, once you are connected to the hotspot, your Fire Tablet will operate on the mobile data network of the device serving as the hotspot. Keep this in mind if you have limited data or are roaming in a different country, as it may incur additional charges.
Now that you’re connected to the hotspot, you can make the most out of your Fire Tablet’s internet connectivity while on the go.
Step 4: Troubleshooting Tips
While connecting your Fire Tablet to a hotspot is usually a smooth process, you may encounter some issues along the way. Don’t worry – we’ve got you covered with some troubleshooting tips to help you resolve common connection problems.
Here are a few troubleshooting tips to consider:
- Check the hotspot settings: Ensure that the hotspot is enabled on the device and that the correct network name (SSID) and password are entered.
- Move closer to the hotspot: If you are experiencing weak or inconsistent signal strength, try moving closer to the device serving as the hotspot to establish a stronger connection.
- Restart your Fire Tablet: Sometimes, a simple restart can fix connectivity issues. Restart your Fire Tablet by holding down the power button and selecting the “Restart” option.
- Restart the hotspot device: Restarting the device serving as the hotspot can also help in resolving connection problems. Turn off the hotspot feature, wait for a few seconds, and then turn it back on.
- Forget and reconnect to the hotspot network: If you are still unable to connect, try forgetting the hotspot network on your Fire Tablet and then reconnecting from scratch. To do this, go to the Wi-Fi settings, find the hotspot network, tap on it, and select the “Forget” option. Then, follow the steps outlined in Step 3 to reconnect.
- Check for software updates: Ensure that both your Fire Tablet and the device serving as the hotspot have the latest software updates installed. Outdated software can sometimes cause connectivity issues.
If none of these troubleshooting tips resolve the problem, it may be worth contacting the manufacturer or service provider for further assistance.
Remember, each device and hotspot configuration may have unique troubleshooting solutions. The above tips are general suggestions to help you get started.
By following these troubleshooting tips, you can overcome common connectivity issues and enjoy a seamless connection between your Fire Tablet and the hotspot.
Conclusion
Connecting your Fire Tablet to a hotspot opens up a world of possibilities, allowing you to stay connected to the internet even when Wi-Fi networks are unavailable. By following the steps outlined in this guide, you can easily enable the hotspot on your device, turn on Wi-Fi on your Fire Tablet, and establish a connection between them.
Remember, enabling the hotspot on your device and connecting to it with your Fire Tablet gives you the flexibility to access the internet on the go. Whether you’re traveling, studying at a café, or simply in a location without Wi-Fi, connecting to a hotspot ensures you stay connected and can enjoy all the features and apps your Fire Tablet has to offer.
Throughout this guide, we have provided step-by-step instructions to assist you in setting up the hotspot connection and troubleshooting any issues that may arise. However, if you encounter any persistent difficulties, it’s always a good idea to consult the manufacturer or service provider for further assistance.
Now that you know how to connect your Fire Tablet to a hotspot, you can take advantage of this feature to browse the web, stream videos, access your favorite apps, and stay connected wherever you go. Enjoy the convenience of mobile internet access and make the most out of your Fire Tablet’s capabilities!