Introduction
Connecting your Fire Tablet to a hotspot opens up a world of possibilities, allowing you to stay connected and enjoy your favorite content on the go. Whether you're traveling, at a café, or in a location without Wi-Fi, setting up a hotspot connection on your Fire Tablet can provide the convenience of a reliable internet connection. In this comprehensive guide, we will walk you through the user-friendly instructions for accessing hotspot settings on your Fire Tablet, establishing a connection, and troubleshooting common issues that may arise.
By following these steps, you can seamlessly link your Fire Tablet to a hotspot, ensuring that you can access emails, stream videos, browse the web, and enjoy other online activities without limitations. With the increasing reliance on mobile devices for both work and leisure, knowing how to connect your Fire Tablet to a hotspot is an essential skill that can enhance your digital experience.
So, let's delve into the details and empower you with the knowledge to effortlessly connect your Fire Tablet to a hotspot, allowing you to stay connected and productive wherever you go.
Step 1: Accessing the Hotspot Settings on Your Fire Tablet
To begin the process of connecting your Fire Tablet to a hotspot, you'll first need to access the hotspot settings on your device. Follow these user-friendly instructions to navigate to the hotspot settings with ease:
-
Unlock Your Fire Tablet: Start by unlocking your Fire Tablet using your PIN, pattern, or fingerprint, depending on your security preferences.
-
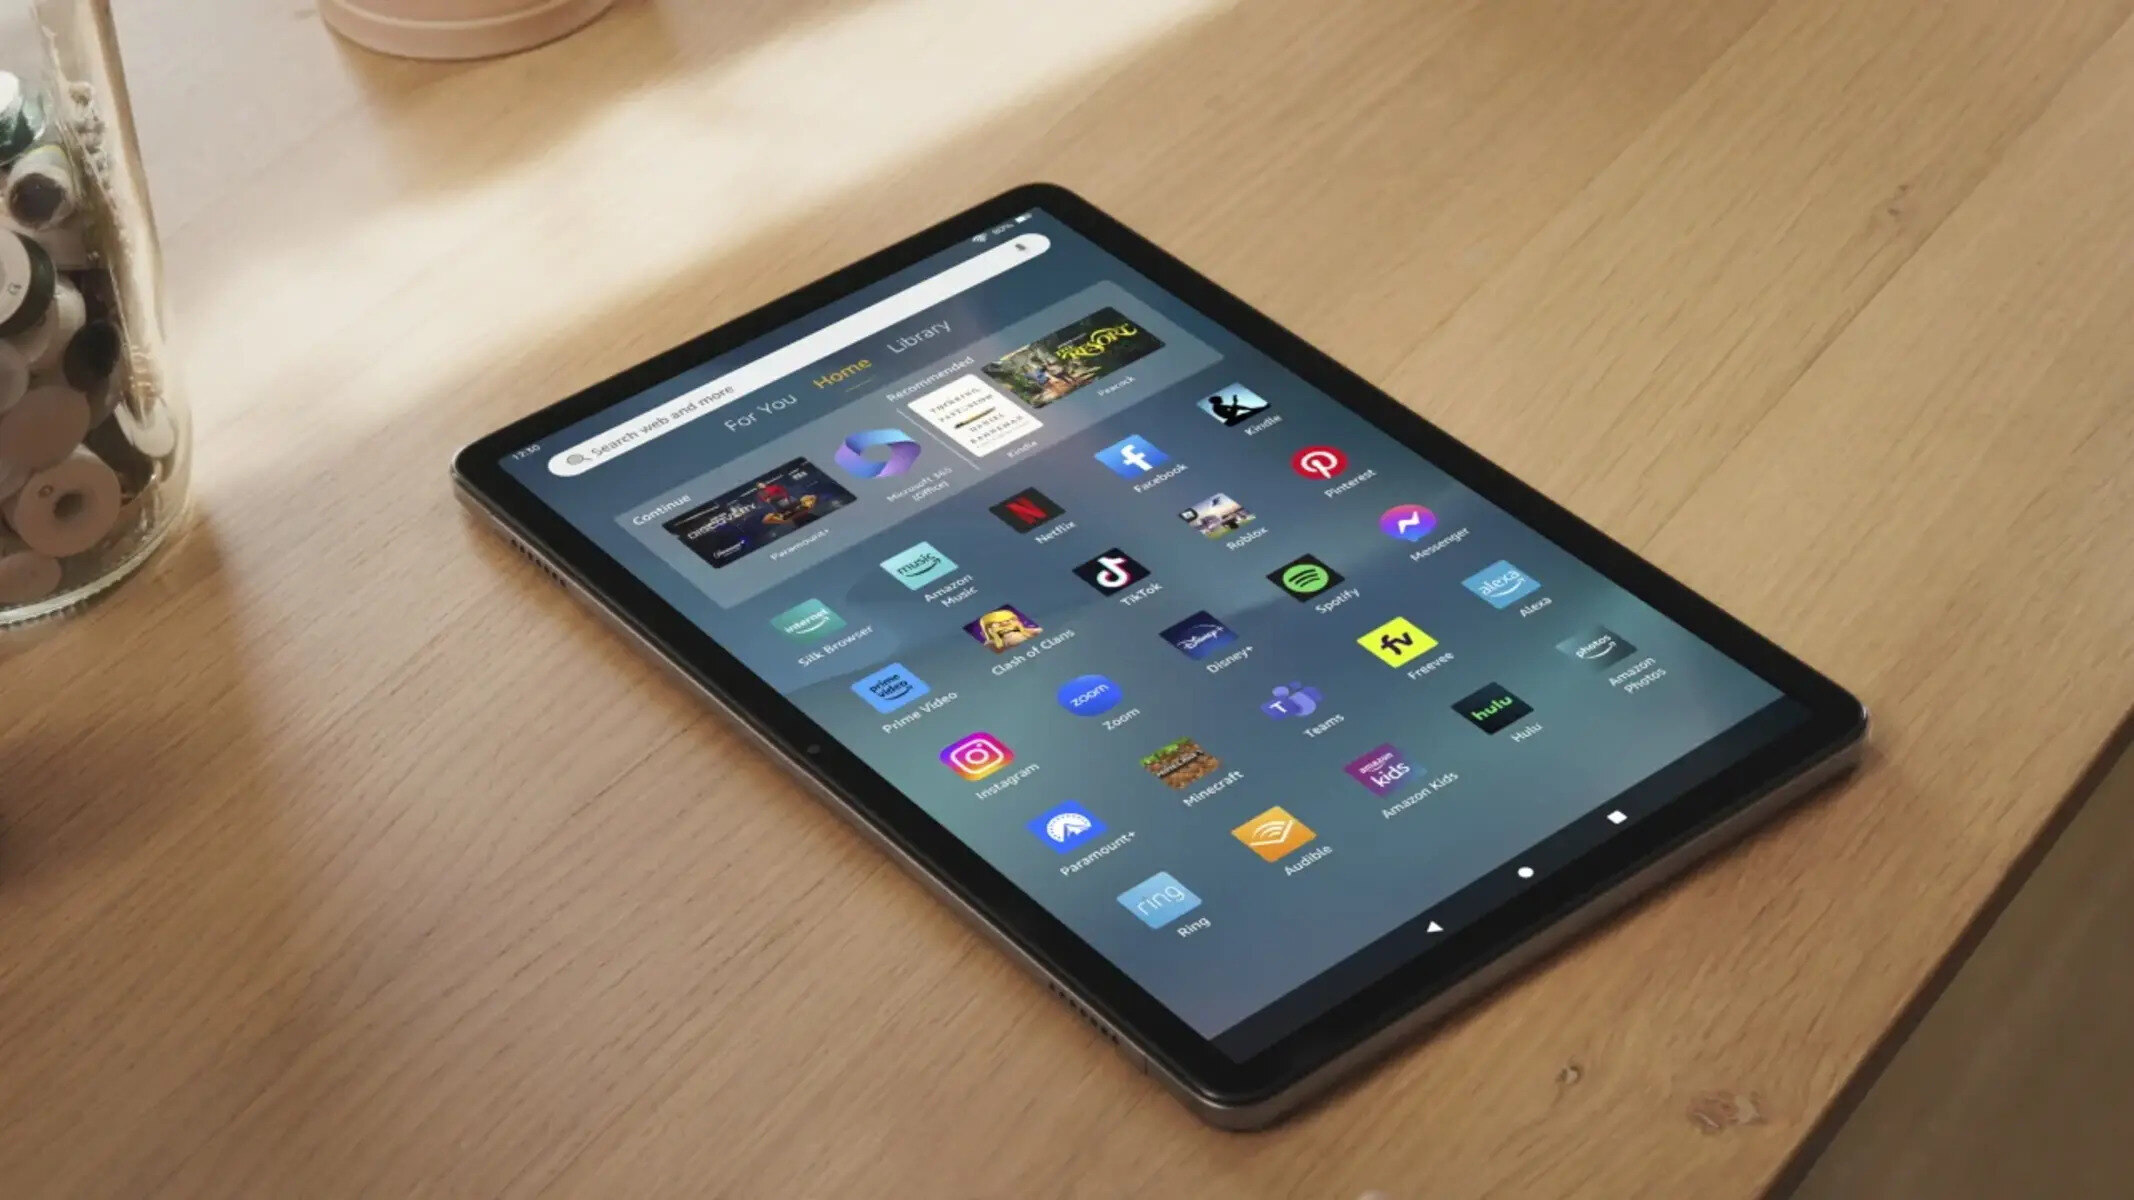
Navigate to the Home Screen: Once your device is unlocked, you will find yourself on the Home Screen. If not, press the home button to return to this main interface.
-
Access the Settings Menu: Locate the "Settings" icon on the Home Screen, typically represented by a gear or cogwheel symbol. Tap on this icon to access the device settings.
-
Locate the Network & Internet Settings: Within the Settings menu, scroll or swipe to find the "Network & Internet" option. This section houses all the network-related settings, including Wi-Fi, Bluetooth, and hotspot configurations.
-
Select the Hotspot Option: Within the Network & Internet settings, look for the "Hotspot" or "Tethering & Portable Hotspot" option. Tap on this selection to access the hotspot settings.
-
Enable the Hotspot: Once you have accessed the hotspot settings, you will have the option to enable the hotspot feature on your Fire Tablet. Toggle the switch to turn on the hotspot functionality.
By following these straightforward steps, you can easily access the hotspot settings on your Fire Tablet, laying the groundwork for establishing a connection to a hotspot. With the hotspot feature enabled, you are now ready to proceed to the next step and connect your Fire Tablet to a hotspot, allowing you to enjoy seamless internet connectivity on the go.
Step 2: Connecting to the Hotspot
Once you have accessed the hotspot settings on your Fire Tablet, the next step is to establish a connection to the hotspot. Follow these user-friendly instructions to seamlessly link your Fire Tablet to a hotspot:
-
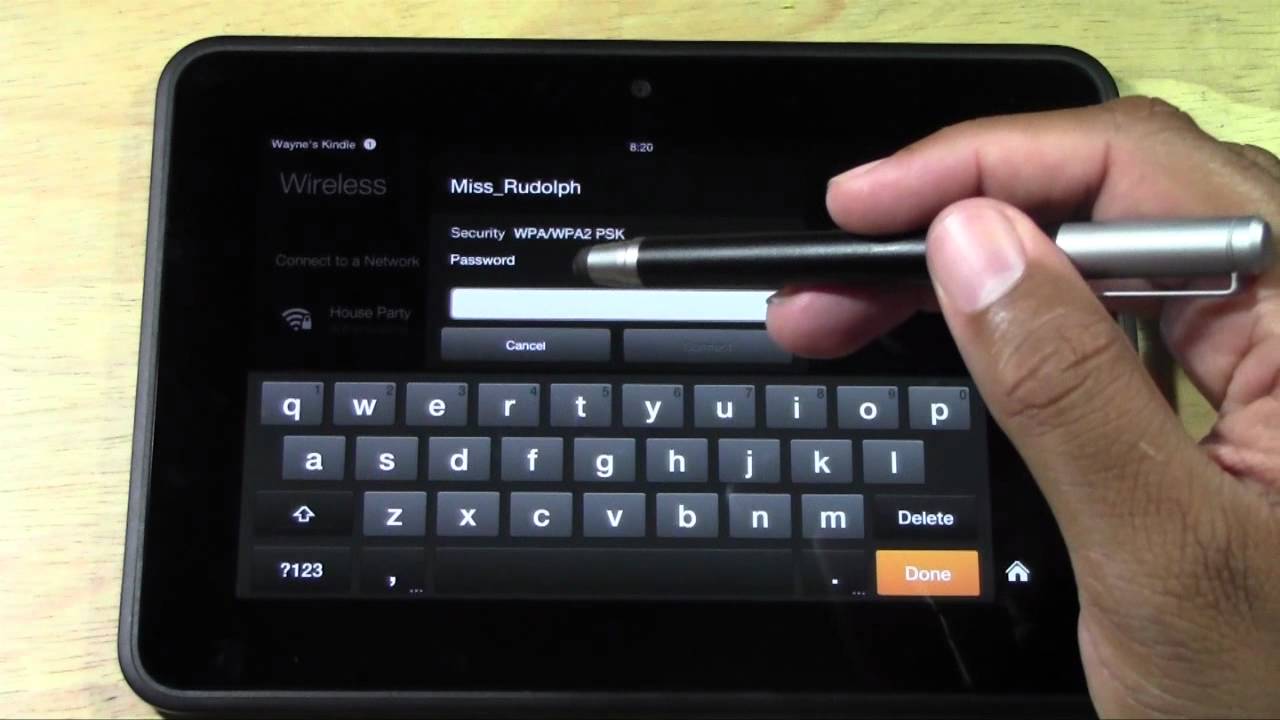
Scan for Available Networks: After enabling the hotspot feature on your Fire Tablet, navigate to the Wi-Fi settings. Here, you will find a list of available networks, including the hotspot you intend to connect to. Tap on the network name to initiate the connection process.
-
Enter the Hotspot Password: If the selected hotspot is secured with a password, you will be prompted to enter the password to authenticate the connection. Carefully input the password to ensure a successful connection. It's important to note that passwords are case-sensitive, so accuracy is key.
-
Establishing the Connection: Once the correct password has been entered, your Fire Tablet will begin the process of establishing a connection to the hotspot. This may take a few moments, and you may see a loading icon or a status message indicating that the device is connecting to the network.
-
Connection Confirmation: Upon successful connection, your Fire Tablet will display a confirmation message or an icon in the status bar, indicating that you are now connected to the hotspot. At this point, you can proceed to enjoy uninterrupted internet access on your device.
-
Testing the Connection: To ensure that the connection is stable and functional, open a web browser or launch an app that requires internet access. Verify that you can load web pages and access online content without any issues, confirming that the hotspot connection is working as intended.
By following these straightforward instructions, you can effortlessly connect your Fire Tablet to a hotspot, allowing you to stay connected and productive while on the move. Whether you're at a café, traveling, or in an area with limited Wi-Fi access, having the ability to establish a hotspot connection on your Fire Tablet empowers you to enjoy a seamless internet experience wherever you go.
Step 3: Troubleshooting Common Issues
While connecting your Fire Tablet to a hotspot is generally straightforward, there are instances where you may encounter common issues that can disrupt the connection. Understanding how to troubleshoot these issues can help you quickly resolve any connectivity problems and ensure a seamless hotspot experience. Here are some user-friendly troubleshooting steps to address common hotspot connection issues on your Fire Tablet:
1. Signal Interference
Issue: Weak or fluctuating hotspot signal.
Troubleshooting Steps:
- Reposition Your Fire Tablet: Move your Fire Tablet closer to the hotspot source to improve signal strength.
- Reduce Interference: Keep your device away from other electronic devices or objects that may cause signal interference, such as microwave ovens or cordless phones.
2. Incorrect Password Entry
Issue: Inability to connect due to entering the wrong hotspot password.
Troubleshooting Steps:
- Double-Check the Password: Ensure that you have entered the correct case-sensitive password for the hotspot.
- Verify Password with Hotspot Owner: If the password continues to be rejected, verify the accuracy of the password with the owner of the hotspot.
3. Hotspot Overload
Issue: Inability to connect due to the hotspot reaching its device limit.
Troubleshooting Steps:
- Limit Connected Devices: If possible, request the hotspot owner to limit the number of connected devices to free up space for your Fire Tablet.
- Explore Alternative Hotspots: Consider connecting to a different available hotspot with fewer connected devices.
4. Hotspot Configuration Issues
Issue: Difficulty connecting due to hotspot configuration conflicts.
Troubleshooting Steps:
- Restart the Hotspot: Ask the hotspot owner to restart the hotspot device, which can resolve configuration issues.
- Reset Network Settings: On your Fire Tablet, reset the network settings and attempt to reconnect to the hotspot.
5. Software Updates
Issue: Connectivity problems arising from outdated software on your Fire Tablet.
Troubleshooting Steps:
- Check for Updates: Ensure that your Fire Tablet's operating system and network-related software are up to date by checking for available updates in the device settings.
- Install Updates: If updates are available, install them to potentially resolve compatibility issues.
By familiarizing yourself with these troubleshooting steps, you can effectively address common hotspot connection issues on your Fire Tablet, ensuring that you can swiftly resolve any challenges that may arise. These user-friendly troubleshooting measures empower you to maintain a reliable hotspot connection, allowing you to stay connected and productive wherever you go.
Conclusion
In conclusion, mastering the process of connecting your Fire Tablet to a hotspot opens up a world of convenience and connectivity, allowing you to stay seamlessly linked to the digital world regardless of your location. By following the user-friendly instructions outlined in this guide, you can confidently navigate the hotspot settings on your Fire Tablet, establish a reliable connection, and troubleshoot common issues that may arise.
The ability to access hotspot settings on your Fire Tablet empowers you to take control of your internet connectivity, enabling you to stay productive, entertained, and informed while on the move. Whether you're traveling, working remotely, or simply seeking a reliable internet connection outside of traditional Wi-Fi networks, the knowledge and skills acquired from this guide position you to effortlessly connect your Fire Tablet to a hotspot with ease.
Furthermore, the step-by-step instructions presented here are designed to cater to users of all levels, ensuring that the process of setting up a hotspot connection remains user-friendly and accessible. By seamlessly integrating your Fire Tablet with a hotspot, you can enjoy the freedom to browse the web, stream content, communicate, and engage in a wide range of online activities without being tethered to a fixed Wi-Fi network.
Moreover, the troubleshooting steps provided offer valuable insights into addressing common hotspot connectivity issues, empowering you to swiftly resolve any obstacles that may hinder your ability to connect to a hotspot. This comprehensive approach not only facilitates the initial setup process but also equips you with the knowledge to maintain a stable and reliable hotspot connection over time.
In essence, the seamless integration of your Fire Tablet with a hotspot epitomizes the modern digital experience, where connectivity knows no bounds. By following the instructions and insights shared in this guide, you can confidently embrace the flexibility and convenience offered by hotspot connectivity, ensuring that your Fire Tablet remains a versatile and indispensable companion in your daily endeavors.