Introduction
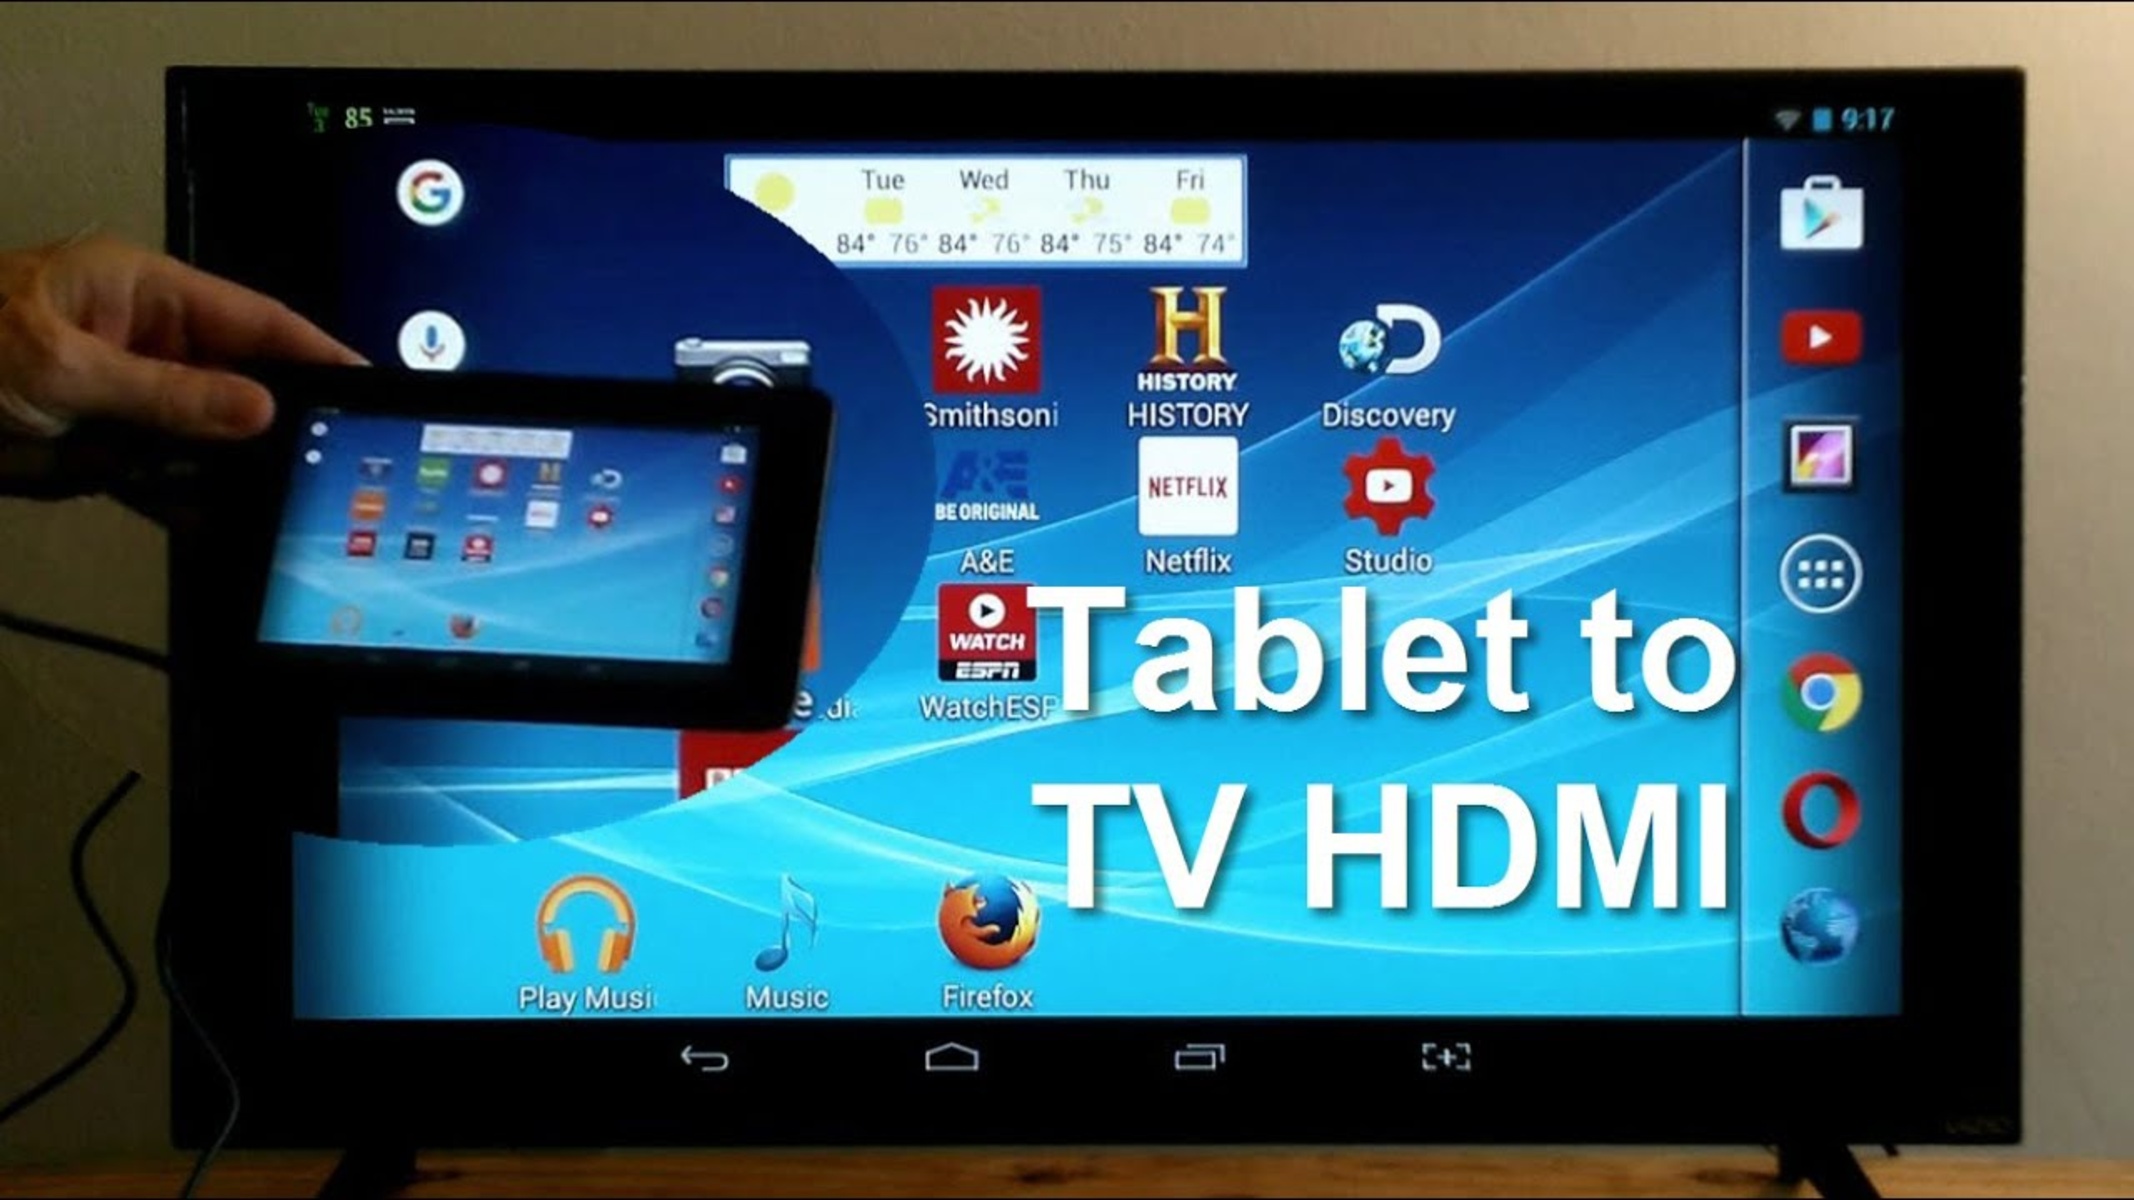
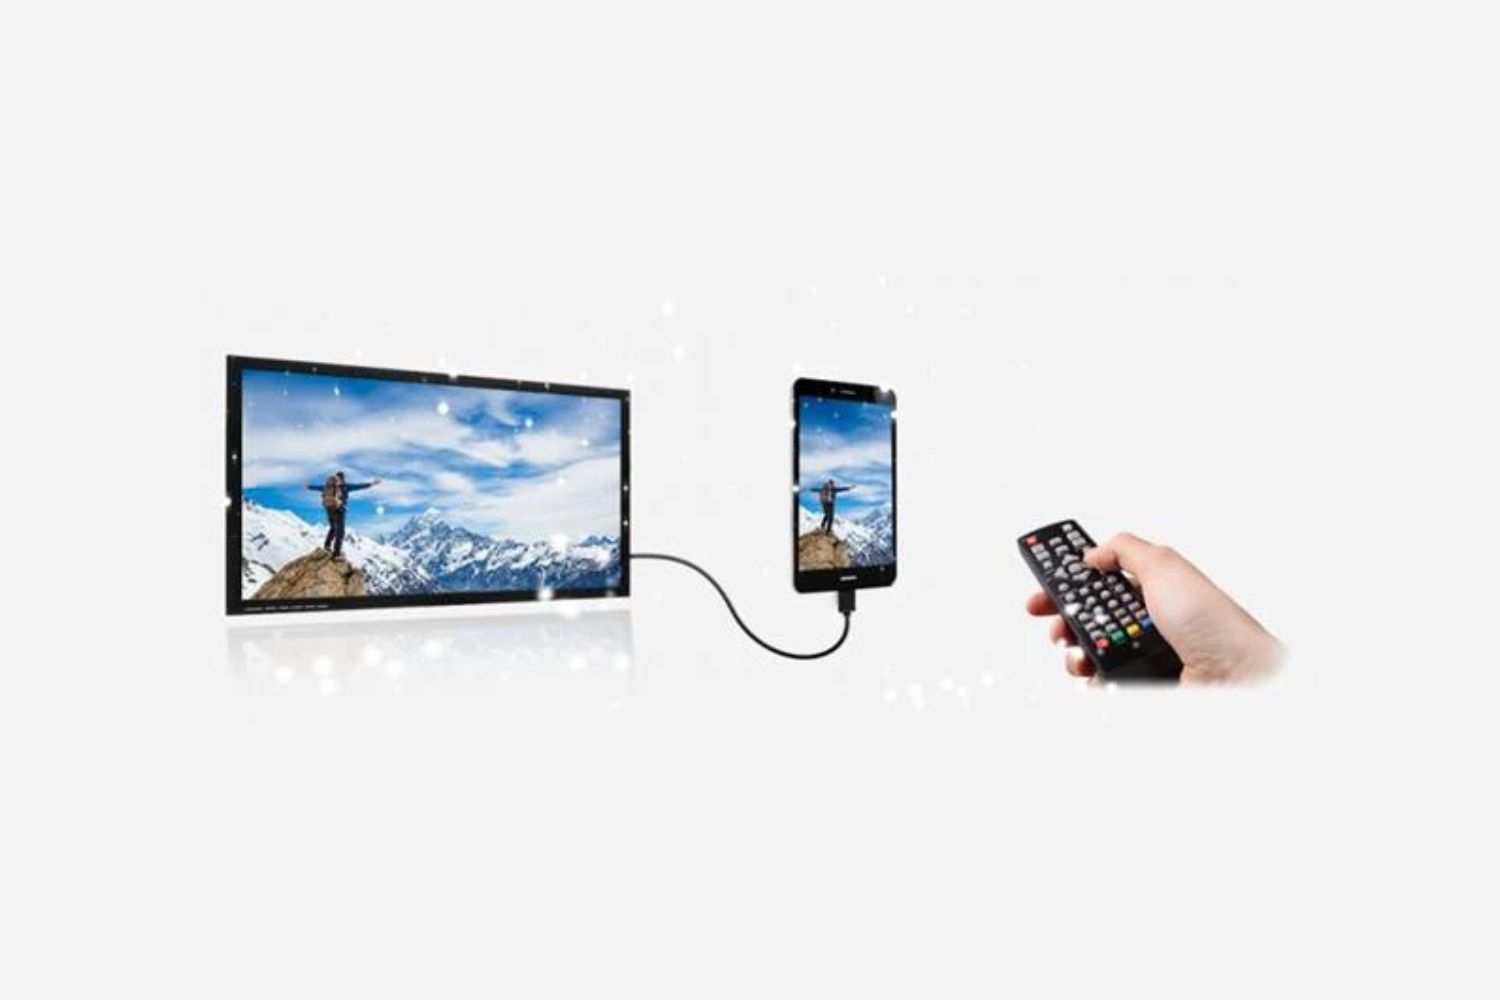
Connecting your tablet to your TV with an HDMI cable is a great way to enjoy your favorite movies, TV shows, videos, and games on a larger screen. Whether you want to have a movie night with friends or share a presentation with colleagues, the HDMI connection allows you to easily mirror your tablet’s display on the TV.
In this article, we will walk you through the step-by-step process of connecting your tablet to your TV using an HDMI cable. We’ll guide you from checking your tablet and TV compatibility to adjusting the display settings, ensuring a seamless connection and an outstanding viewing experience.
If you’ve ever wondered how to connect your tablet to your TV using HDMI, look no further. By following the simple steps outlined here, you’ll be able to enjoy your tablet’s content on the big screen in no time.
Before getting started, make sure you have an HDMI cable and that both your tablet and TV have HDMI ports. Additionally, check if your tablet supports HDMI output, as not all tablets have this capability. If your tablet doesn’t support HDMI, there may be alternative methods to connect it to your TV, such as using a wireless display adapter or casting via a streaming device.
Now, let’s dive into the steps to connect your tablet to your TV and unlock a world of entertainment possibilities!
Step 1: Check your Tablet
Before connecting your tablet to your TV, it’s important to ensure that your tablet meets the necessary requirements for HDMI connectivity. Here are a few things to check:
- HDMI Output: Confirm whether your tablet has an HDMI output port. Most modern tablets are equipped with a Micro HDMI or USB-C port, which can be used to connect to your TV.
- Compatibility: Verify that your tablet supports HDMI video output. Some older tablets or budget models may lack this functionality. Refer to your tablet’s user manual or manufacturer’s website to determine if HDMI output is supported.
- Resolution Support: Consider the resolution capabilities of your tablet. Higher-resolution tablets will provide a crisper and more detailed display on your TV. Ensure that your tablet’s resolution aligns with the capabilities of your TV for optimal playback quality.
- HDMI Adapter: If your tablet doesn’t have a built-in HDMI port, you may need to purchase an HDMI adapter. These adapters allow you to connect your tablet’s proprietary port (such as a Lightning port on an iPad) to the HDMI cable.
Once you’ve verified that your tablet meets these requirements, you’re ready to move on to the next step of connecting it to your TV. Make sure to gather all the necessary components, including an HDMI cable and any required adapters, before proceeding.
By ensuring that your tablet is compatible with HDMI output and taking into account resolution capabilities, you can ensure a smooth and enjoyable experience when connecting your tablet to your TV.
Step 2: Check your TV
Before connecting your tablet to your TV, it’s important to check your TV for the necessary HDMI ports and compatibility. Here are the key points to consider:
- HDMI Ports: Examine your TV to locate the HDMI ports. Most modern TVs have multiple HDMI ports, usually located on the back or side. These ports are labeled as HDMI 1, HDMI 2, etc. Make sure you have an available HDMI port to connect your tablet.
- HDMI Version: Determine the HDMI version supported by your TV. The most recent HDMI version is HDMI 2.1, which offers enhanced features like higher resolutions and refresh rates. However, even older HDMI versions like HDMI 1.4 or 2.0 should work fine for most tablets. Check your TV’s specifications or manual to identify the HDMI version.
- Resolution Support: Verify the maximum resolution your TV supports. This information is typically mentioned in the TV specifications. It’s essential to ensure that your TV can handle the resolution output from your tablet for optimal picture quality.
- ARC Support: Check if your TV has an HDMI ARC (Audio Return Channel) port. This feature allows audio signals to be transmitted from the TV to an external audio device, such as a soundbar, using the same HDMI cable. If you plan to connect your tablet’s audio to your TV and use the TV’s speakers or external audio setup, having an HDMI ARC port can simplify the setup.
By reviewing these aspects of your TV, you can ensure that it is compatible with your tablet’s HDMI output. Understanding the available HDMI ports, the supported HDMI version, resolution capabilities, and ARC support will help you make the necessary connections and adjustments for a successful tablet-to-TV connection.
Once you have confirmed that your TV meets these requirements, you can proceed to the next step of gathering the HDMI cable and preparing for the connection process. With the right TV setup, you’ll soon be able to enjoy your tablet’s content on the big screen!
Step 3: Get an HDMI Cable
Before you can connect your tablet to your TV, you’ll need to obtain an HDMI cable. This cable will serve as the link between your tablet and the TV. Here’s what you need to know:
- HDMI Cable Types: There are different types of HDMI cables available in the market, including Standard HDMI, Mini HDMI, and Micro HDMI. The type you need will depend on the HDMI port on your tablet. Check the specifications or user manual of your tablet to determine which type of HDMI cable is compatible.
- Cable Length: Consider the distance between your tablet and TV when selecting the HDMI cable length. It’s better to choose a cable that has a length slightly longer than you think you’ll need to allow for flexibility in positioning. However, avoid excessive cable lengths, as they may result in signal degradation.
- HDMI Cable Quality: It’s recommended to opt for a high-quality HDMI cable to ensure a reliable connection and optimal performance. Cables that are labeled as “High-Speed HDMI” or “Premium High-Speed HDMI” are usually the best choice, as they support higher resolutions and provide better signal transmission.
- Additional Features: Some HDMI cables offer additional features like Ethernet connectivity or audio return channel (ARC) support. Determine if any of these features are necessary for your specific setup and choose a cable that accommodates your needs.
When purchasing an HDMI cable, be cautious of overpriced cables with claims of better performance. In most cases, a reasonably priced, reputable brand HDMI cable will suffice for connecting your tablet to your TV.
Once you’ve acquired the HDMI cable, you’re almost ready to make the connection. In the next steps, we’ll guide you through the process of connecting the HDMI cable to your tablet and TV, ensuring a seamless connection and a fantastic viewing experience.
Step 4: Connect the HDMI Cable to Your Tablet
Now that you have your HDMI cable, it’s time to connect it to your tablet. Follow these simple steps to establish the connection:
- Step 1: Locate the HDMI port on your tablet. Depending on the type of tablet you have, it may have a Micro HDMI or USB-C port. Refer to your tablet’s user manual or manufacturer’s website to identify the specific port.
- Step 2: Take one end of the HDMI cable and securely insert it into the appropriate HDMI port on your tablet.
- Step 3: Make sure the cable is inserted fully into the port. You should feel a slight click or resistance when it is properly connected.
- Step 4: Once the cable is securely connected to your tablet, locate the other end of the HDMI cable.
- Step 5: You will connect this end of the cable to your TV in the next step, so keep the cable length in mind as you position your tablet near the TV.
By following these steps, you will have successfully connected one end of the HDMI cable to your tablet. Ensure that the cable is securely plugged in to establish a stable connection for your tablet’s display.
Now that you have your tablet connected, it’s time to move on to the next step of connecting the HDMI cable to your TV. Keep in mind that every tablet model may have slightly different port locations, so consult your tablet’s documentation if you have trouble locating the HDMI port.
Step 5: Connect the HDMI Cable to Your TV
With one end of the HDMI cable securely connected to your tablet, it’s time to connect the other end to your TV. Follow these steps to complete the connection:
- Step 1: Position your TV to access its HDMI ports. Locate the HDMI port that you wish to use for the connection. Remember the port number for later use.
- Step 2: Take the other end of the HDMI cable, ensuring it is the correct type for your TV’s HDMI port (Standard HDMI, Mini HDMI, or Micro HDMI).
- Step 3: Carefully insert the HDMI cable into the HDMI port on your TV, making sure it is aligned correctly with the port.
- Step 4: Give the cable a gentle push to fully insert it into the port. It should fit securely without any gaps or looseness.
- Step 5: Take note of the HDMI port number that you connected the cable to. This will be used to select the appropriate input source on your TV.
Once you’ve connected the HDMI cable to your TV, you have established the physical connection required to transmit the audio and video signals from your tablet to the TV. Make sure the cable is securely plugged in to avoid any disruptions or loose connections.
With the HDMI cable successfully connected to both your tablet and TV, you are now ready to proceed to the next step of selecting the HDMI input on your TV, allowing you to view your tablet’s content on the big screen.
Step 6: Select the HDMI Input on Your TV
Now that you have connected the HDMI cable to both your tablet and TV, it’s time to select the correct HDMI input on your TV. This step ensures that the TV displays the content from your tablet. Follow these steps to select the HDMI input:
- Step 1: Using your TV remote control, locate the input/source button or menu.
- Step 2: Press the input/source button to access the list of available input sources.
- Step 3: Navigate through the list to find the HDMI input port that you connected the cable to. The HDMI ports are commonly labeled as HDMI 1, HDMI 2, etc.
- Step 4: Once you’ve found the correct HDMI input, select it by pressing the corresponding button on your remote control.
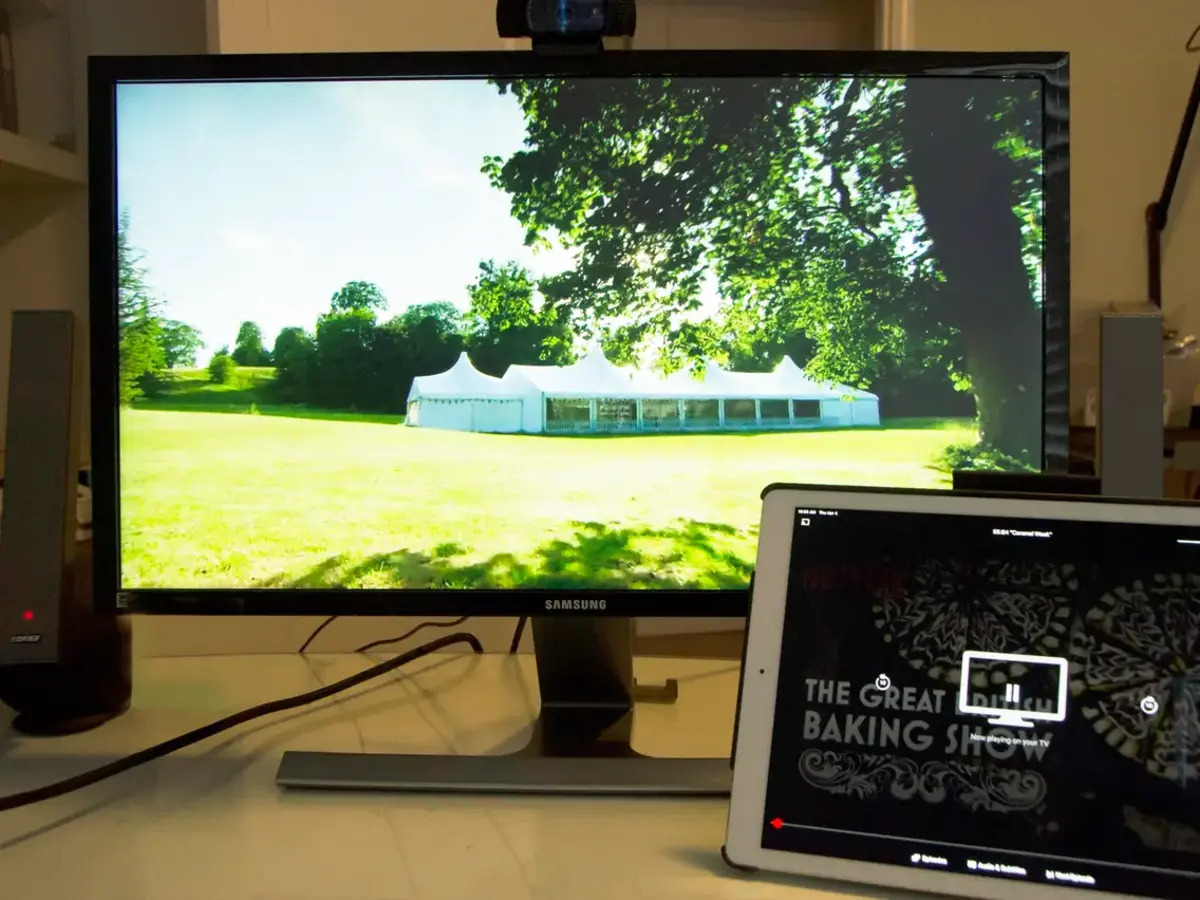
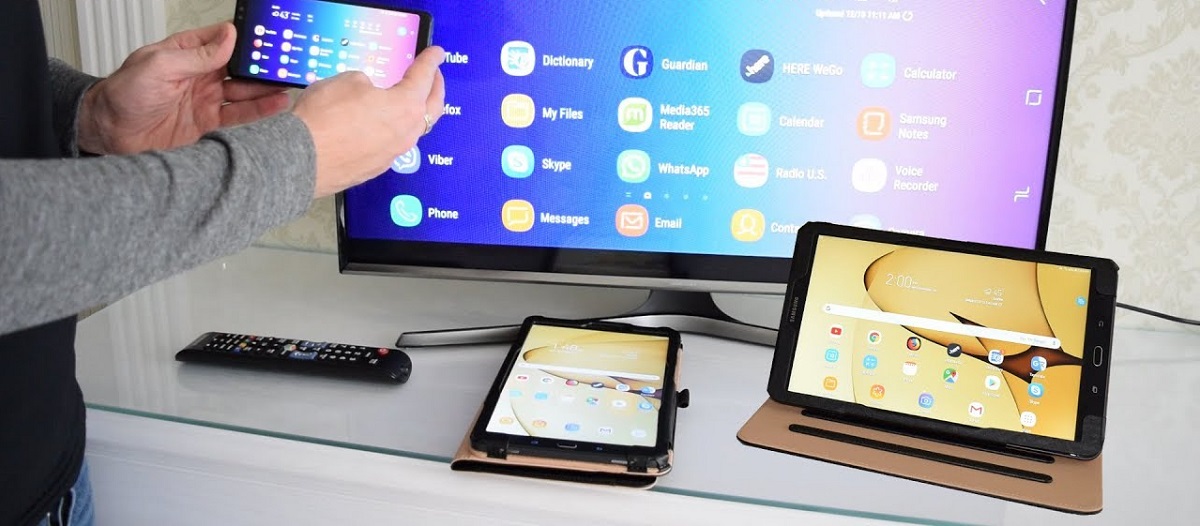
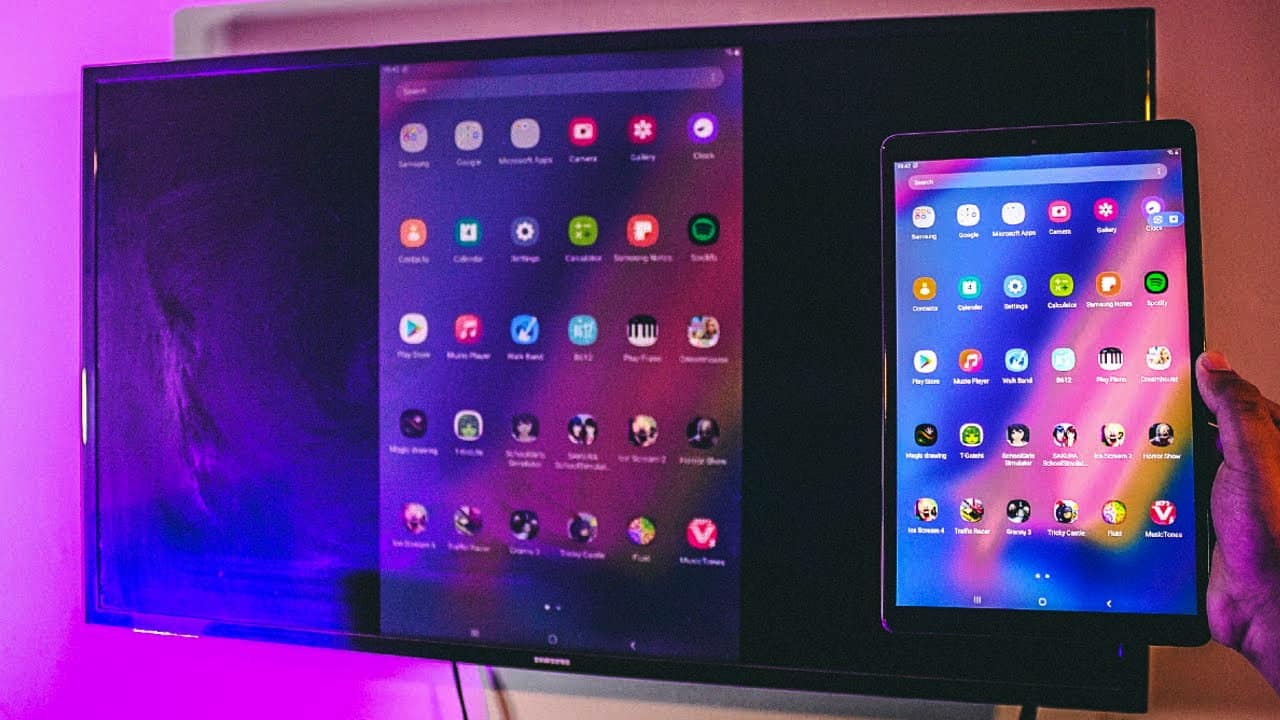
After selecting the correct HDMI input, your TV should now display the content from your tablet. If everything is properly connected, you will see your tablet’s screen mirrored on the TV, allowing you to enjoy your favorite movies, videos, or any other content on a larger screen.
If you don’t see the tablet’s display on the TV, double-check the cable connections and ensure that both the tablet and TV are turned on. Also, make sure you’ve selected the correct HDMI input. If the issue persists, refer to your tablet and TV manuals for troubleshooting tips or try using a different HDMI cable or HDMI port on your TV.
Now that you have selected the HDMI input on your TV, you’re just a few steps away from enjoying your tablet’s content on the big screen. Adjusting the display settings on your tablet is the next step to ensure the best viewing experience.
Step 7: Adjust the Display Settings on Your Tablet
After connecting your tablet to your TV through the HDMI cable, it’s important to adjust the display settings on your tablet to optimize the viewing experience. Follow these steps to make the necessary adjustments:
- Step 1: Unlock your tablet and navigate to the Settings menu.
- Step 2: Look for the Display or Screen menu option and tap on it.
- Step 3: Within the Display or Screen menu, locate the Screen Resolution or HDMI Output option.
- Step 4: Tap on Screen Resolution or HDMI Output to access the available resolution options.
- Step 5: Select the resolution that is supported by both your tablet and TV. Choose the highest resolution available for the best picture quality, if supported.
- Step 6: Adjust the screen orientation if needed. Some tablets offer options to rotate the screen to match the TV’s orientation.
- Step 7: Customize other display settings such as brightness, contrast, and color settings to your preference. Experiment with these settings to achieve the desired visual experience.
By adjusting the display settings on your tablet, you can ensure that the content being mirrored on your TV appears vibrant, crisp, and properly scaled. It’s important to select the optimal resolution supported by both your tablet and TV for the best possible picture quality.
Remember that adjusting the display settings on your tablet may vary depending on the brand and model. If you’re unsure about specific steps, refer to the tablet’s user manual or visit the manufacturer’s website for detailed instructions.
Once you have adjusted the display settings to your liking, you’re all set to enjoy your tablet’s content on the bigger screen. Sit back, relax, and immerse yourself in your favorite movies, videos, and apps with an enhanced viewing experience.
Step 8: Enjoy Your Tablet Content on the Big Screen
Congratulations! You’ve successfully connected your tablet to your TV and made all the necessary adjustments. Now, it’s time to sit back, relax, and enjoy your tablet’s content on the big screen. Here are some tips to enhance your viewing experience:
- Streaming Services: Explore popular streaming platforms like Netflix, Hulu, Amazon Prime Video, or Disney+ to access a wide range of movies, TV shows, and original content.
- Gaming: Connect a game controller to your tablet and play your favorite mobile games on the larger TV screen. Enjoy an immersive gaming experience with enhanced visuals and sound.
- Presentations and Slideshows: Seamlessly share presentations, slideshows, or business content from your tablet onto the TV screen. This is especially useful for meetings, discussions, or educational purposes.
- Video Calls: If your tablet supports video calling apps, make use of the larger TV screen for group video calls or virtual gatherings. Engage in high-quality video chats with friends, family, or colleagues.
- Media Playback: Play videos, photos, or music stored on your tablet and enjoy them with enhanced visuals and audio. Relive your favorite memories or create a personalized home theater experience.
Remember to adjust the volume levels on both your tablet and TV to achieve the desired audio experience. You can utilize the TV’s speakers or connect external audio devices like soundbars for a more immersive sound quality.
Be sure to disconnect the HDMI cable when you’re finished using your tablet with the TV. This will prevent any accidental tugs or damage to the cable or ports.
Now that you’re all set, grab some popcorn, gather your loved ones, and embrace the larger-than-life experience of enjoying your tablet’s content on the big screen. Sit back, relax, and immerse yourself in a world of entertainment!
Conclusion
Connecting your tablet to your TV with an HDMI cable opens up a whole new world of entertainment and productivity possibilities. By following the simple steps outlined in this guide, you can easily enjoy your tablet’s content on the big screen.
We started by ensuring your tablet meets the necessary requirements for HDMI connectivity and checked the compatibility of your TV. Then, we explored the importance of obtaining the right HDMI cable and discussed the different types available. We walked through the process of connecting the HDMI cable to both your tablet and TV, ensuring a secure and stable connection.
Next, we covered the crucial step of selecting the correct HDMI input on your TV, allowing you to see your tablet’s display on the larger screen. We also highlighted the importance of adjusting the display settings on your tablet to optimize the viewing experience.
Finally, we concluded by emphasizing the enjoyment and versatility that awaits you once your tablet is connected to your TV. Whether it’s streaming movies and TV shows, playing games, sharing presentations, or engaging in video calls, the possibilities are endless.
Remember to disconnect the HDMI cable when not in use and to take care of your tablet and TV ports to ensure longevity and uninterrupted usage.
Now that you have mastered the art of connecting your tablet to your TV via HDMI, it’s time to sit back, relax, and immerse yourself in a world of entertainment and productivity on the big screen. Enjoy!


