Introduction
Welcome to this helpful guide on how to connect your tablet to your TV. Whether you want to enjoy your favorite shows and movies on a bigger screen or share photos and videos with friends and family, connecting your tablet to your TV is a great way to enhance your viewing experience. It allows you to enjoy multimedia content on a larger display and take advantage of the audio capabilities of your TV.
While there are various methods to connect a tablet to a TV, such as using wireless streaming devices or casting devices, this guide will focus on a simple and direct method using a cable connection. This method offers reliable and consistent connectivity without requiring additional devices. It is a fantastic option if you prefer a straightforward and hassle-free setup.
In the following sections, we will provide step-by-step instructions on choosing the right cable for your tablet and TV, connecting them together, and setting up the TV display to ensure optimal viewing. We will also address common troubleshooting issues you may encounter along the way.
So, if you’re ready to transform your tablet into a multimedia powerhouse and enjoy your favorite content on a big screen, let’s get started!
Choosing the Right Cable
Before you can connect your tablet to your TV, you will need to determine the appropriate cable to use. The type of cable you need will depend on the ports available on both your tablet and TV. Here are some common types of cables you can choose from:
- HDMI Cable: HDMI (High-Definition Multimedia Interface) cables are widely used for connecting devices with high-definition audio and video capabilities. Most modern tablets and TVs have HDMI ports, making it a popular and convenient choice. HDMI cables support high-resolution video and audio, ensuring a seamless viewing experience.
- VGA Cable: VGA (Video Graphics Array) cables are commonly used for connecting older devices, including some tablets and TVs. VGA cables transmit analog video signals and require a separate audio cable for audio transmission. While VGA may not offer the same high-definition quality as HDMI, it can still provide a decent viewing experience.
- DisplayPort Cable: DisplayPort cables are similar to HDMI cables in terms of video and audio transmission. They offer high-quality digital video and audio output and are commonly used in laptops, desktops, and some tablets. If your tablet and TV have DisplayPort ports, using a DisplayPort cable is a good option.
- DVI Cable: DVI (Digital Visual Interface) cables are another option, although they only transmit video signals and not audio. Some tablets and TVs feature DVI ports, especially older models. If your tablet has a DVI port and your TV has a corresponding DVI input, you can use a DVI cable to establish a video connection.
- Component Cable: Component cables offer analog video and audio transmission and are typically used in older TVs and tablets. They provide decent video quality but may not support high-definition resolutions. Component cables usually have red, green, and blue connectors for video, and red and white connectors for audio.
Once you have identified the appropriate cable type for your devices, it is important to ensure that the cable lengths are sufficient for your setup. Measure the distance between your tablet and TV, taking into account any obstructions or furniture that may affect cable routing. It is advisable to choose cables that are slightly longer than necessary to allow flexibility in positioning your devices.
Remember to check the availability of the respective ports on your tablet and TV before purchasing the cable. It’s also worth considering the quality of the cable. While you don’t necessarily need to splurge on expensive cables, investing in a reliable and durable cable can prevent signal loss and ensure a stable connection.
Now that you have a better understanding of the different cable options available, let’s move on to the next section, where we will guide you through the process of connecting your tablet to your TV.
Connecting the Tablet to the TV
Now that you have chosen the right cable for your tablet and TV, it’s time to connect them together. Follow these step-by-step instructions to establish a connection:
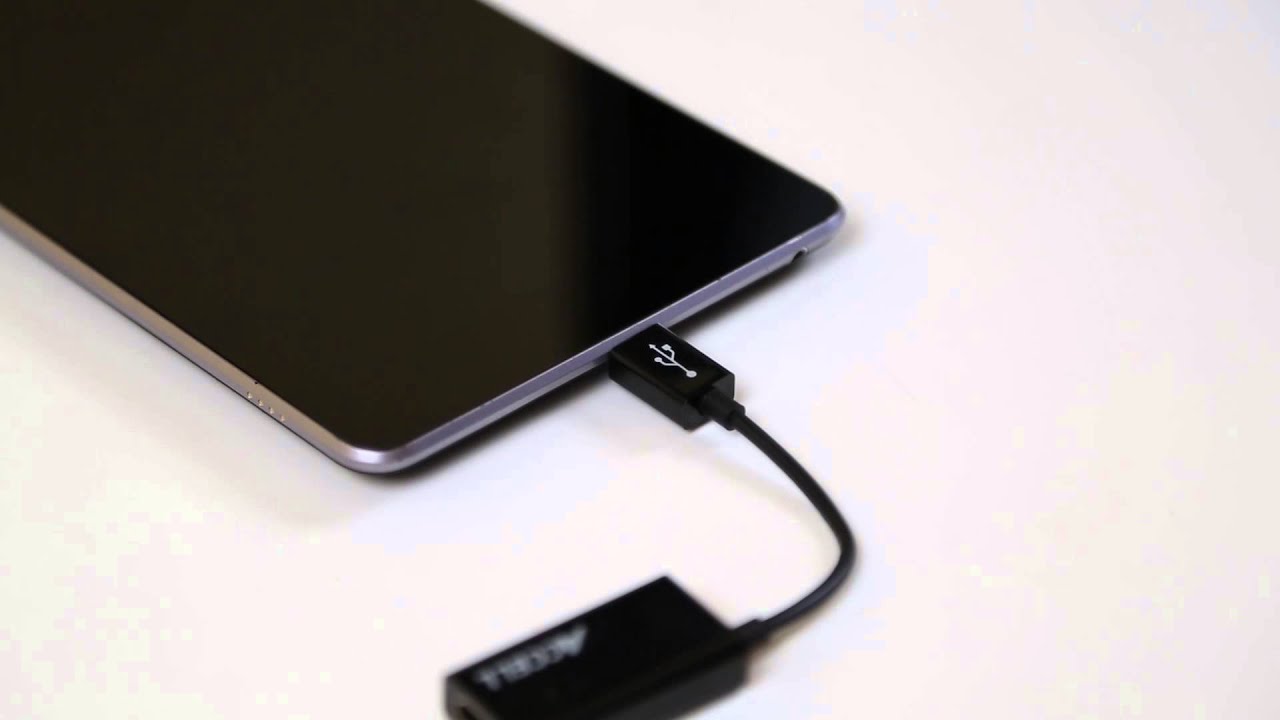
- Identify the HDMI (or other appropriate) port on your tablet and the corresponding port on your TV. These ports are usually labeled, making it easy to identify them.
- Insert one end of the cable into the HDMI (or other appropriate) port on your tablet. Ensure a secure connection by gently pushing the cable into the port until it clicks in place.
- Insert the other end of the cable into the HDMI (or other appropriate) port on your TV. Again, make sure the connection is secure.
- If you are using a cable with separate audio connections, such as VGA or component cables, connect the audio cable to the designated audio input or headphone jack on your tablet and the corresponding audio input on your TV.
- Next, turn on your tablet and TV. Use the TV remote or the input/source button on your TV to select the appropriate input/source that corresponds to the HDMI (or other appropriate) input where your tablet is connected.
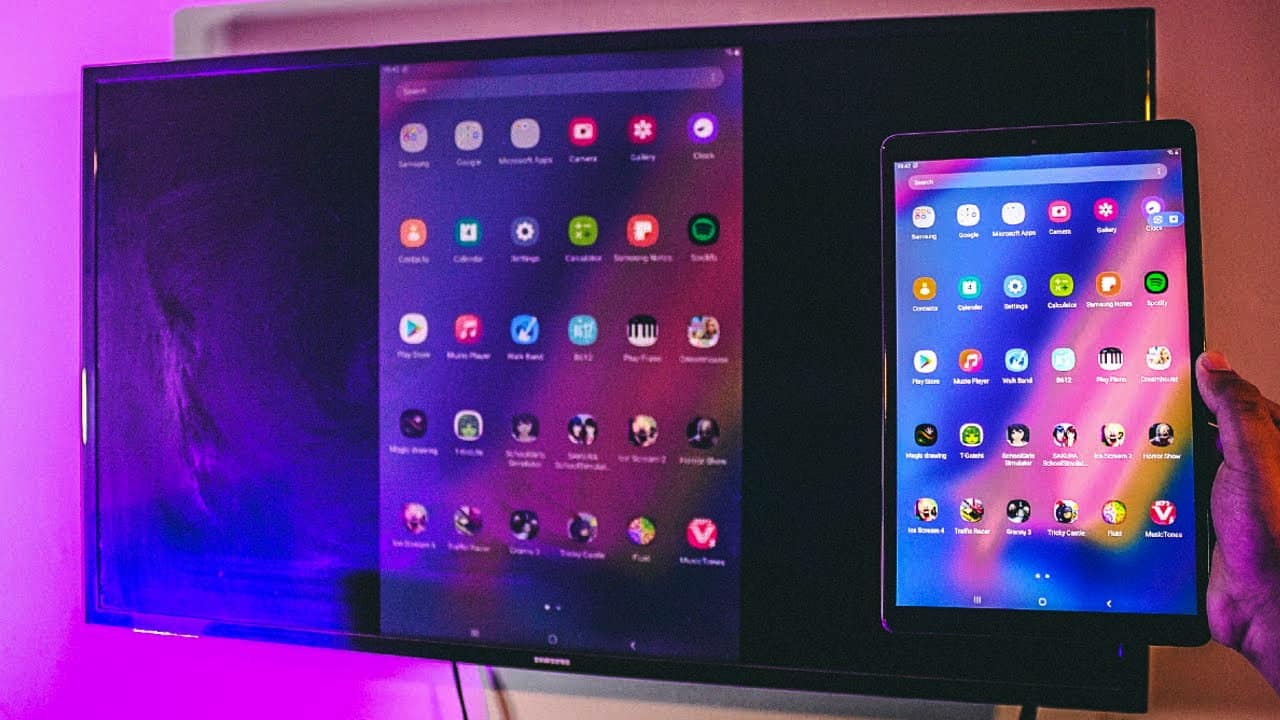
- Your tablet’s screen should now be mirrored on your TV. If not, you may need to adjust some settings on your tablet. Refer to the tablet’s user manual for specific instructions on how to enable screen mirroring or external display options.
That’s it! You have successfully connected your tablet to your TV. You can now enjoy your favorite videos, photos, and apps on a larger screen with enhanced audio capabilities. Sit back, relax, and experience the joy of immersive multimedia entertainment.
Now that you have established the physical connection between your tablet and TV, let’s move on to the next section, where we will discuss how to optimize the TV display settings for best viewing experience.
Setting Up the TV Display
Once you have connected your tablet to your TV, it’s important to ensure that the TV display settings are optimized for the best viewing experience. Follow these steps to adjust the display settings on your TV:
- Access the TV settings menu using your TV remote. The exact steps may vary depending on your TV model, so refer to the TV’s user manual if needed.
- Navigate to the picture settings or display settings section. Here, you can adjust various parameters to optimize the picture quality.
- Start by adjusting the brightness and contrast settings. Aim for a balance where the picture is bright enough to be visible, but not too bright that it causes eye strain.
- Next, adjust the color settings. You can increase or decrease the color saturation to achieve a more vibrant or natural-looking display, depending on your personal preference.
- Consider enabling any picture enhancement features that your TV may offer, such as sharpness enhancement or motion smoothing. These features can enhance the visual clarity and smoothness of the displayed content.
- Experiment with the aspect ratio settings to ensure that the content fits the TV screen properly. Most modern TVs have an option to automatically adjust the aspect ratio based on the input source. However, you can manually select an aspect ratio if needed.
- Lastly, adjust the audio settings on your TV, such as volume, equalizer settings, or audio modes, to optimize the audio output based on your preferences.
It’s important to note that the specific display settings and options may differ based on your TV’s manufacturer and model. Take some time to explore the settings menu and familiarize yourself with the available options. You may also find additional picture calibration guides and tools online specific to your TV model, which can help you achieve even better display quality.
With the TV display settings optimized, you can now enjoy your tablet content on a big screen with exceptional picture and sound quality. But what if you encounter any issues or have trouble getting the desired display settings? Don’t worry; we’ll address some common troubleshooting tips in the next section.
Adjusting Screen Orientation
When connecting your tablet to your TV, you may encounter situations where the screen orientation on the TV does not match the desired display position. Don’t worry, as the screen orientation can be easily adjusted to ensure a perfect viewing experience. Here’s how you can adjust the screen orientation:
- Access the settings menu on your tablet.
- Look for the display or screen settings option. The location of this option may vary depending on the tablet model and operating system.
- Within the display settings, you should find an option to adjust the screen orientation. Typically, the available options include landscape (horizontal) and portrait (vertical) modes.
- Select the desired screen orientation that matches the orientation you prefer on your TV.
- Once you have adjusted the screen orientation on your tablet, you should notice that the screen on the TV adjusts accordingly. If not, try disconnecting and reconnecting the cable to establish a proper connection.
- If you are using a tablet running on Android, there may be additional options to customize the screen orientation. For example, you can enable auto-rotate feature, which automatically adjusts the screen orientation based on the tablet’s physical positioning.
- Make sure to adjust the physical positioning of your tablet as well, so that the accelerometer or gyroscope in the device can detect the correct orientation.
By adjusting the screen orientation on your tablet, you can enjoy content on your TV exactly as desired. Whether you prefer a landscape display for watching movies or a portrait display for showcasing photos, the screen orientation settings give you the flexibility to adapt to your needs.
If you encounter any difficulties in adjusting the screen orientation, refer to the tablet’s user manual or visit the manufacturer’s support website for specific instructions on how to adjust the display settings on your particular device.
Now that you have adjusted the screen orientation to your liking, you are ready to enjoy your tablet content on your TV as it was meant to be seen. But what if you encounter any issues or have difficulties during the connection process? Don’t worry – the next section will provide you with some troubleshooting tips to help you through common problems.
Troubleshooting Tips
While connecting your tablet to your TV is usually a straightforward process, you may occasionally encounter some issues. Here are some troubleshooting tips to help you resolve common problems:
- Ensure that both your tablet and TV are powered on and in working condition. Check for any loose connections or damaged cables that could be affecting the signal transmission.
- If you are using an HDMI cable, make sure that both the tablet and TV support HDMI connectivity. Some older devices may only have VGA, DVI, or component connections. In such cases, consider using the appropriate cable or an adaptor.
- Try using a different HDMI (or other appropriate) input on your TV. Sometimes, certain inputs may not be functioning properly, and switching to a different input can solve the issue.
- Check the TV’s input/source settings to ensure that the correct input is selected for the tablet connection. It’s common to overlook this step and struggle with a blank screen or no signal.
- If the screen resolution on your TV appears distorted or doesn’t match the desired display quality, adjust the display settings on your tablet. Experiment with different resolutions to find the one that works best with your TV.
- Restart your tablet and TV if you are experiencing any connection or display-related issues. Sometimes, a simple reboot can resolve compatibility or software-related problems.
- If you are using an audio cable for separate audio transmission, ensure that the cable is securely plugged into the correct audio input/output ports on both the tablet and TV. Try using a different audio cable to determine if the issue lies with the cable.
- If you’re still experiencing problems, consider updating the system software or firmware on both your tablet and TV. Manufacturers often release updates that address compatibility and connectivity issues.
- Refer to the user manuals or visit the manufacturer’s support websites for your tablet and TV for further troubleshooting steps and specific solutions related to your devices.
By following these troubleshooting tips, you should be able to overcome most common issues that arise during the process of connecting your tablet to your TV. Remember to have patience and be willing to try different solutions until you find the one that works best for your specific setup.
Now that you are armed with troubleshooting knowledge, you can confidently resolve any connectivity issues that may come your way. In the next section, we will conclude this guide and summarize what we have covered throughout the article.
Conclusion
Connecting your tablet to your TV can greatly enhance your viewing experience, allowing you to enjoy your favorite content on a bigger screen with better audio capabilities. By following the steps in this guide, you should be able to successfully connect your tablet to your TV using the appropriate cable and adjust the display and audio settings for optimal viewing.
We began by discussing the importance of choosing the right cable for your tablet and TV, considering factors such as port compatibility and cable length. Then, we provided step-by-step instructions on how to connect your tablet to your TV, ensuring a secure and stable connection.
Once the connection was established, we guided you through the process of setting up the TV display to achieve the best picture and audio quality. Adjusting brightness, contrast, color saturation, and exploring additional picture enhancement features can significantly enhance the viewing experience.
We also covered how to adjust the screen orientation on your tablet to match your preferred display position on the TV, ensuring that you can enjoy your content exactly as desired.
Additionally, we provided troubleshooting tips to help you overcome common issues that may arise during the connection process. By following these troubleshooting steps, you can resolve connectivity, display, and audio-related problems.
Now that you have completed this guide, you are well-equipped to connect your tablet to your TV and enjoy a wider range of multimedia content. Remember to refer to the user manuals or manufacturer’s support websites for specific instructions and solutions related to your tablet and TV models.
So, what are you waiting for? Grab your tablet, choose the right cable, connect it to your TV, and embark on a sensational audiovisual journey. Sit back, relax, and immerse yourself in the world of entertainment on the big screen!