Introduction
Are you looking to enhance your entertainment experience by connecting your tablet to the TV? Whether you want to watch movies, play games, or share photos with friends and family, hooking up your tablet to the TV can provide a larger screen and better audio for a more immersive viewing experience.
In this guide, we will walk you through the steps to connect your tablet to the TV. Whether you own an Android tablet, iPad, or Windows tablet, we have you covered. With the right cable or adapter, you can easily mirror or extend your tablet’s display onto the TV, allowing you to enjoy your favorite content on a bigger screen.
Before we dive into the steps, it’s important to note that the specific method will depend on the tablet and TV models you have. Different tablets and TVs have different ports and capabilities, so it’s essential to determine the compatibility and available connections before proceeding.
Connecting your tablet to the TV not only allows you to enjoy a larger display, but it can also be useful for presentations or demonstrations. You can showcase slideshows, applications, or videos directly from your tablet, eliminating the need for separate projectors or screens.
So, if you’re ready to take your tablet experience to the next level and enjoy your favorite content on the big screen, let’s get started with the step-by-step guide to connecting your tablet to the TV.
Step 1: Determine the port types on your tablet and TV
Before you can connect your tablet to the TV, it’s important to determine the port types on both your tablet and TV. Different tablets and TVs have different port configurations, so identifying the available ports will help you choose the right cable or adapter for the connection.
On your tablet, look for the port that allows for video output. Common ports found on tablets include HDMI, micro-HDMI, Mini DisplayPort, and USB-C. Refer to your tablet’s user manual or visit the manufacturer’s website to find specific information about port types and locations.
Next, examine your TV to identify the available input ports. The most common port for connecting a tablet to the TV is HDMI. Look for the HDMI ports on your TV, typically located on the back or side panel. It’s worth noting that some newer TVs may also have USB-C or DisplayPort inputs.
If your tablet and TV have different port types, don’t worry. There are various cables and adapters available in the market that can help bridge the connection between different port types. We’ll cover that in the next steps.
Once you have determined the port types on both your tablet and TV, you’re ready to move on to the next step: choosing the appropriate cable or adapter for the connection.
Step 2: Choose the appropriate cable or adapter
After identifying the port types on your tablet and TV, it’s time to choose the right cable or adapter to connect them. The cable or adapter you need will depend on the port types available on your devices.
If both your tablet and TV have HDMI ports, the simplest and most common method is to use an HDMI cable. Look for a standard HDMI cable in the appropriate length to connect your devices. HDMI cables support transmission of both audio and video signals, ensuring high-quality playback on the TV.
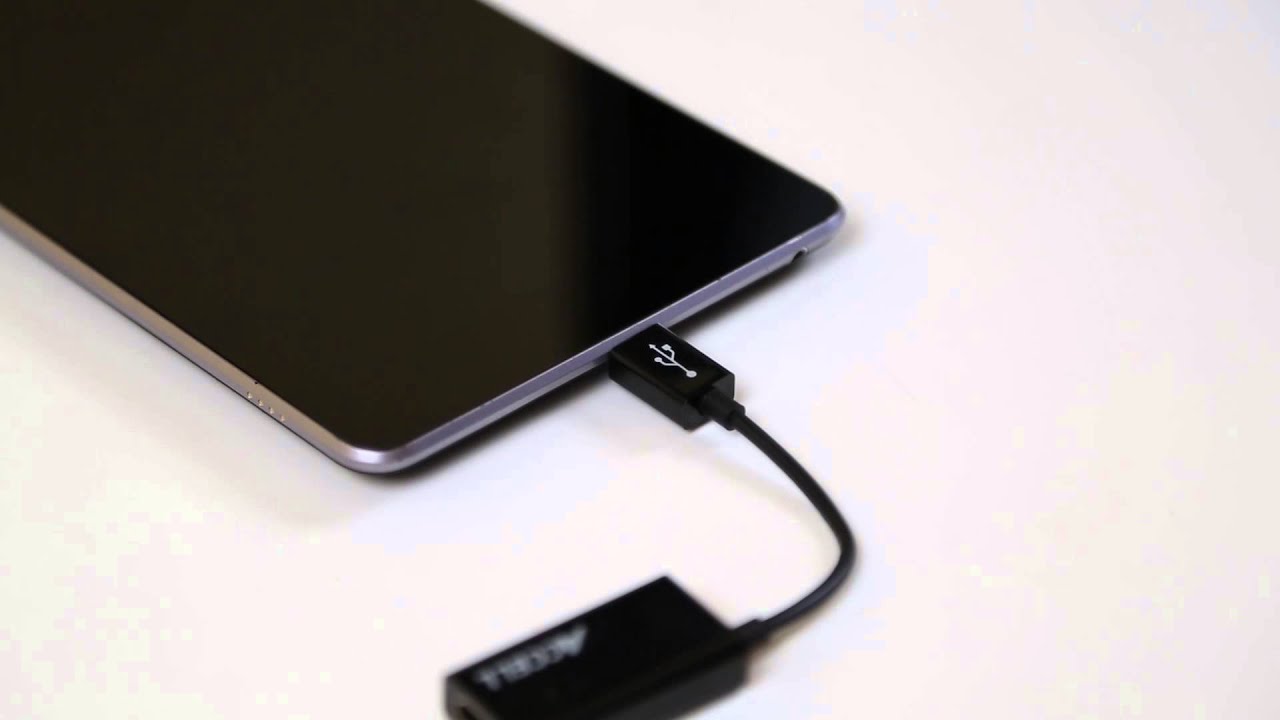
However, if your tablet has a different port, such as micro-HDMI, Mini DisplayPort, or USB-C, you’ll need an appropriate adapter to convert the signal to HDMI. Adapters are widely available for these port types and can be easily found online or at electronics stores.
For tablets with USB-C ports, it’s essential to ensure that the USB-C port supports video output. Not all USB-C ports are designed for video transmission, so refer to your tablet’s specifications or consult the manufacturer to confirm its capability.
If your TV has different input options like DisplayPort or USB-C, you can also find adapters to convert the signal from HDMI to these port types. This allows you to connect your tablet to the TV even if they have different port configurations.
When choosing a cable or adapter, consider factors like length, cable quality, and compatibility with your tablet and TV models. Opt for reputable brands and read customer reviews to ensure a reliable and seamless connection.
Once you have chosen the appropriate cable or adapter, you’re ready to move on to the next step: connecting the cable/adapter to your tablet and TV.
Step 3: Connect the cable/adapter to your tablet and TV
Now that you have the appropriate cable or adapter, it’s time to connect it to your tablet and TV. Follow these steps to establish a stable and secure connection:
- Start by turning off both your tablet and TV.
- Locate the appropriate ports on your tablet and TV. If you’re using an adapter, connect the cable to the adapter first.
- Insert one end of the cable into the corresponding port on your tablet. Make sure to align the cable connector correctly to avoid any damage.
- Insert the other end of the cable into the corresponding port on your TV. Again, ensure proper alignment to prevent any issues.
- If you’re using an adapter, connect the adapter to the appropriate port on your TV.
- Once the cable/adapter is securely connected, power on both your tablet and TV.
- Your TV should automatically detect the tablet’s signal. If not, use the TV remote to switch to the correct input source. Consult your TV’s user manual if you’re unsure how to access the input settings.
- If you’re using an Android tablet, you may need to adjust some settings on your device to enable video output. Go to the Settings menu and look for the Display or HDMI Output options. Follow the on-screen instructions to enable screen mirroring or extend the display to the TV.
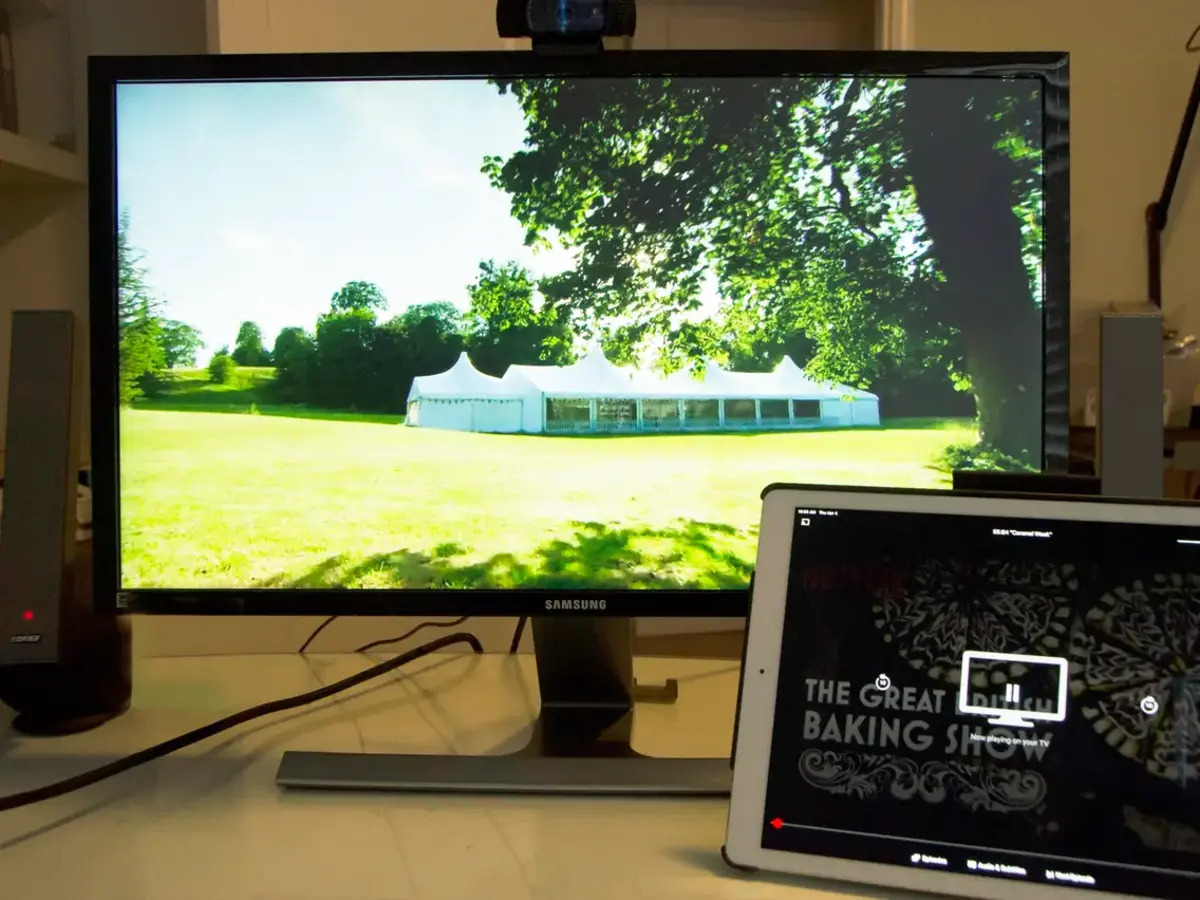
- For iOS users, you can swipe up from the bottom of the screen to access the Control Center. Tap on the Screen Mirroring option and select your TV from the available devices. Your tablet’s display will then be mirrored on the TV.
Once the cable/adapter is properly connected and the settings are adjusted, you should now be able to see your tablet’s display on the TV. Enjoy your favorite movies, games, or presentations on the big screen!
Remember to adjust the volume settings on your TV or tablet for the desired audio output. You may also need to adjust the display settings on your tablet, such as resolution or aspect ratio, to optimize the viewing experience.
With the cable/adapter properly connected and the settings adjusted, you’re now all set to enjoy your tablet content on the TV. In the next step, we’ll explore how to set the TV input source to the correct HDMI port, if applicable.
Step 4: Set the TV input source to the correct HDMI port (if applicable)
Once you have successfully connected your tablet to the TV, you may need to set the TV input source to the correct HDMI port to ensure that the tablet’s display is shown on the TV screen. This step is only necessary if your TV has multiple HDMI ports.
Follow these steps to set the TV input source correctly:
- Using the TV remote, locate and press the “Input” or “Source” button. This button is usually found near the power or menu buttons.
- A menu or list of input sources will appear on the TV screen. Use the remote’s navigational buttons to highlight and select the HDMI input that corresponds to the port where your tablet is connected.
- After selecting the correct HDMI input, press the “Enter” or “OK” button on the remote to confirm.
- Your TV should now display the content from your tablet. If you still see a blank screen, double-check the cable connections and ensure that your tablet is powered on and properly connected.
It’s worth noting that some newer TVs may automatically detect and switch to the active HDMI input when a device is connected. In this case, you may not need to manually change the input source.
If you’re unsure which HDMI input to select, you can try each HDMI port one by one until you see the tablet’s display on the TV. Remember to wait a few seconds after changing the input to allow the TV to recognize the tablet’s signal.
Once the TV input source is set correctly, you can control your tablet’s display directly from the device itself. Any actions, such as swiping, tapping, or typing, performed on the tablet will be mirrored on the TV screen in real-time.
Now that you have set the TV input source correctly, you’re all ready to enjoy your tablet’s content on the big screen. In the next step, we will discuss how to adjust the tablet display settings, if necessary.
Step 5: Adjust the tablet display settings (if necessary)
After connecting your tablet to the TV and setting the input source, you may need to adjust the display settings on your tablet to ensure optimal viewing on the big screen. While most tablets will automatically adjust the display settings when connected to an external display, it’s always a good idea to check and make any necessary adjustments if needed.
Here are some common display settings you may need to adjust on your tablet:
- Resolution: Depending on your tablet and TV’s capabilities, you may have different resolution options. Higher resolutions can provide sharper images, but they may also require more processing power from your tablet. Experiment with different resolutions to find the one that balances both visual quality and performance.
- Orientation: If the orientation of the tablet’s display on the TV is not aligned correctly, you can adjust it in the display settings. Most tablets allow you to switch between landscape and portrait orientations or set it to auto-rotate based on the device’s position.
- Aspect Ratio: Adjusting the aspect ratio can help ensure that the content is displayed correctly on the TV screen. Common aspect ratios include 16:9 (widescreen) and 4:3 (standard). Select the appropriate aspect ratio based on your TV’s display capabilities.
- Screen Mirroring: If you prefer to mirror the tablet’s display on the TV, check the screen mirroring settings on your device. Ensure that the mirroring option is enabled and properly connected to the TV. You may also have the option to extend the display, allowing you to have different content on the tablet and TV simultaneously.
Accessing the display settings may vary depending on the tablet’s operating system (e.g., Android, iOS, or Windows). In most cases, you can find the display settings under the “Settings” or “Display” menu. Consult your tablet’s user manual or refer to the manufacturer’s website for specific instructions on adjusting the display settings.
Once you have adjusted the display settings to your preference, you’re all set to enjoy your tablet’s content on the big screen with optimal visual quality. Now, sit back, relax, and enjoy the enhanced viewing experience on your TV!
In the final step, we will summarize the key points and conclude the guide on how to connect your tablet to the TV.
Step 6: Enjoy your tablet content on the big screen
Congratulations! You have successfully connected your tablet to the TV and adjusted the necessary settings. Now, it’s time to sit back, relax, and enjoy your tablet’s content on the bigger and better screen of your TV.
Whether you want to watch movies, stream videos, play games, or showcase presentations, connecting your tablet to the TV allows you to take your entertainment and productivity to a whole new level. With the larger display and enhanced audio, you’ll have a more immersive experience that brings your content to life.
Now, you can enjoy your favorite shows, movies, and videos on a larger screen, allowing you to indulge in the details and vibrant visuals. Gaming enthusiasts can play their favorite mobile games on a bigger display, providing a more immersive and enjoyable gaming experience. You can also share memorable moments with friends and family by browsing through photos or slideshows directly on the TV.
With the tablet connected to the TV, you can also take advantage of the TV’s sound system, providing richer and more immersive audio. Whether it’s listening to music or watching movies, the enhanced audio quality will further enhance your entertainment experience.
Remember that you may need to control your tablet’s display and content using the tablet itself while viewing on the TV. Actions like swiping, tapping, or typing on the tablet will be reflected on the TV screen in real-time.
With the cables, adapters, and settings properly configured, you now have the freedom to enjoy your tablet’s content on the big screen whenever you desire. Take full advantage of this connection to unlock new possibilities for entertainment, productivity, and sharing moments with your loved ones.
Now that you have completed all the steps and are ready to enjoy your tablet’s content on the TV, we hope this guide has been helpful in guiding you through the process. Sit back, relax, and delight in the amazing experience of viewing your tablet on the big screen!
Conclusion
Connecting your tablet to the TV can greatly enhance your entertainment experience by providing a larger screen and better audio. Whether you want to watch movies, play games, or share photos with friends and family, following the steps outlined in this guide will help you easily connect your tablet to the TV and enjoy your favorite content on a bigger and more immersive display.
Remember to determine the port types on your tablet and TV, choose the appropriate cable or adapter, and connect them securely. Set the TV input source to the correct HDMI port and adjust the tablet’s display settings if necessary. Once everything is properly configured, you can sit back and enjoy your tablet’s content on the big screen with enhanced visuals and audio.
Keep in mind that the specific methods and steps may vary depending on the tablet and TV models you have, so it’s always a good idea to refer to the user manuals or consult with the manufacturer for more detailed instructions.
Whether you’re using an Android tablet, iPad, or Windows tablet, connecting it to the TV opens up a world of possibilities for entertainment, productivity, and sharing moments with others. Take full advantage of this connection to enjoy your favorite movies, games, videos, and more on a larger screen.
We hope this guide has been helpful in guiding you through the process of connecting your tablet to the TV. Now, go ahead and enjoy the immersive experience of your tablet’s content on the big screen! Happy viewing!