Introduction
With the advancements in technology, tablets have become a popular device for entertainment and productivity. They offer the convenience of a portable device with a larger screen compared to smartphones. However, there are times when you may want to enjoy the content on your tablet on a bigger screen. This is where the ability to project your tablet to a TV comes in handy.
Projecting your tablet to a TV allows you to share videos, photos, presentations, and even play games on a larger display. Whether you want to enjoy a movie with friends and family, showcase your vacation photos, or give a professional presentation, projecting your tablet to a TV can make the experience more immersive and engaging.
Not only does projecting your tablet to a TV enhance your viewing experience, but it also offers the advantage of being able to access and control your tablet’s content from a distance. This can be especially useful in situations where you want to navigate through apps, websites, or multimedia files without being limited by the size of your tablet’s screen.
There are various methods available to project your tablet to a TV, depending on the type of tablet and TV you have. In this article, we will explore the different types of tablets and TVs that can be projected, as well as the various methods to accomplish this. Whether you have an Android, iOS, or Windows tablet, and whether your TV is a smart TV or a traditional one, there are options available to suit your needs.
Benefits of Projecting Tablet to TV
There are several benefits to projecting your tablet to a TV. Let’s explore some of the key advantages:
- Enhanced Viewing Experience: One of the primary benefits of projecting your tablet to a TV is the improved viewing experience. The larger screen size of the TV allows you to fully immerse yourself in the content and enjoy videos, movies, and photos with greater detail and clarity.
- Convenience: Projecting your tablet to a TV offers convenience, as you can easily share content with a larger audience without having them huddle around a small tablet screen. This is particularly useful for group gatherings, parties, or business presentations.
- Improved Productivity: If you use your tablet for work or educational purposes, projecting it onto a TV can significantly enhance productivity. You can display documents, spreadsheets, presentations, or even video conferencing apps onto the TV screen, allowing for better collaboration and interaction.
- Gaming Experience: Gamers can benefit from projecting their tablet to a TV as well. By connecting the tablet to a TV, you can transform your gaming experience into a more immersive one, with a larger screen and better sound quality. This is especially enjoyable for multiplayer games or those with stunning graphics.
- Easy Content Sharing: Projecting your tablet to a TV simplifies the process of sharing content with others. Whether it’s sharing vacation photos, videos, or browsing the web together, projecting onto a TV allows everyone to see and engage with the content more easily.
- Wireless Connectivity: Many projection methods offer the convenience of wireless connectivity. This eliminates the need for physical cable connections and allows you to control the projected content from a distance, enhancing the overall user experience.
Overall, projecting your tablet to a TV opens up a world of possibilities in terms of entertainment, productivity, and convenience. By leveraging these benefits, you can make the most out of your tablet and enjoy content on a larger, more immersive screen.
Types of Tablets and TVs that can be Projected
When it comes to projecting your tablet to a TV, the compatibility between your tablet and TV plays a vital role. Let’s explore the types of tablets and TVs that can be projected:
Tablets:
1. Android Tablets: Most modern Android tablets come equipped with the necessary hardware and software capabilities to be projected onto a TV. Whether you have a Samsung, Google, or any other Android tablet, you should be able to project it to a TV using various methods.
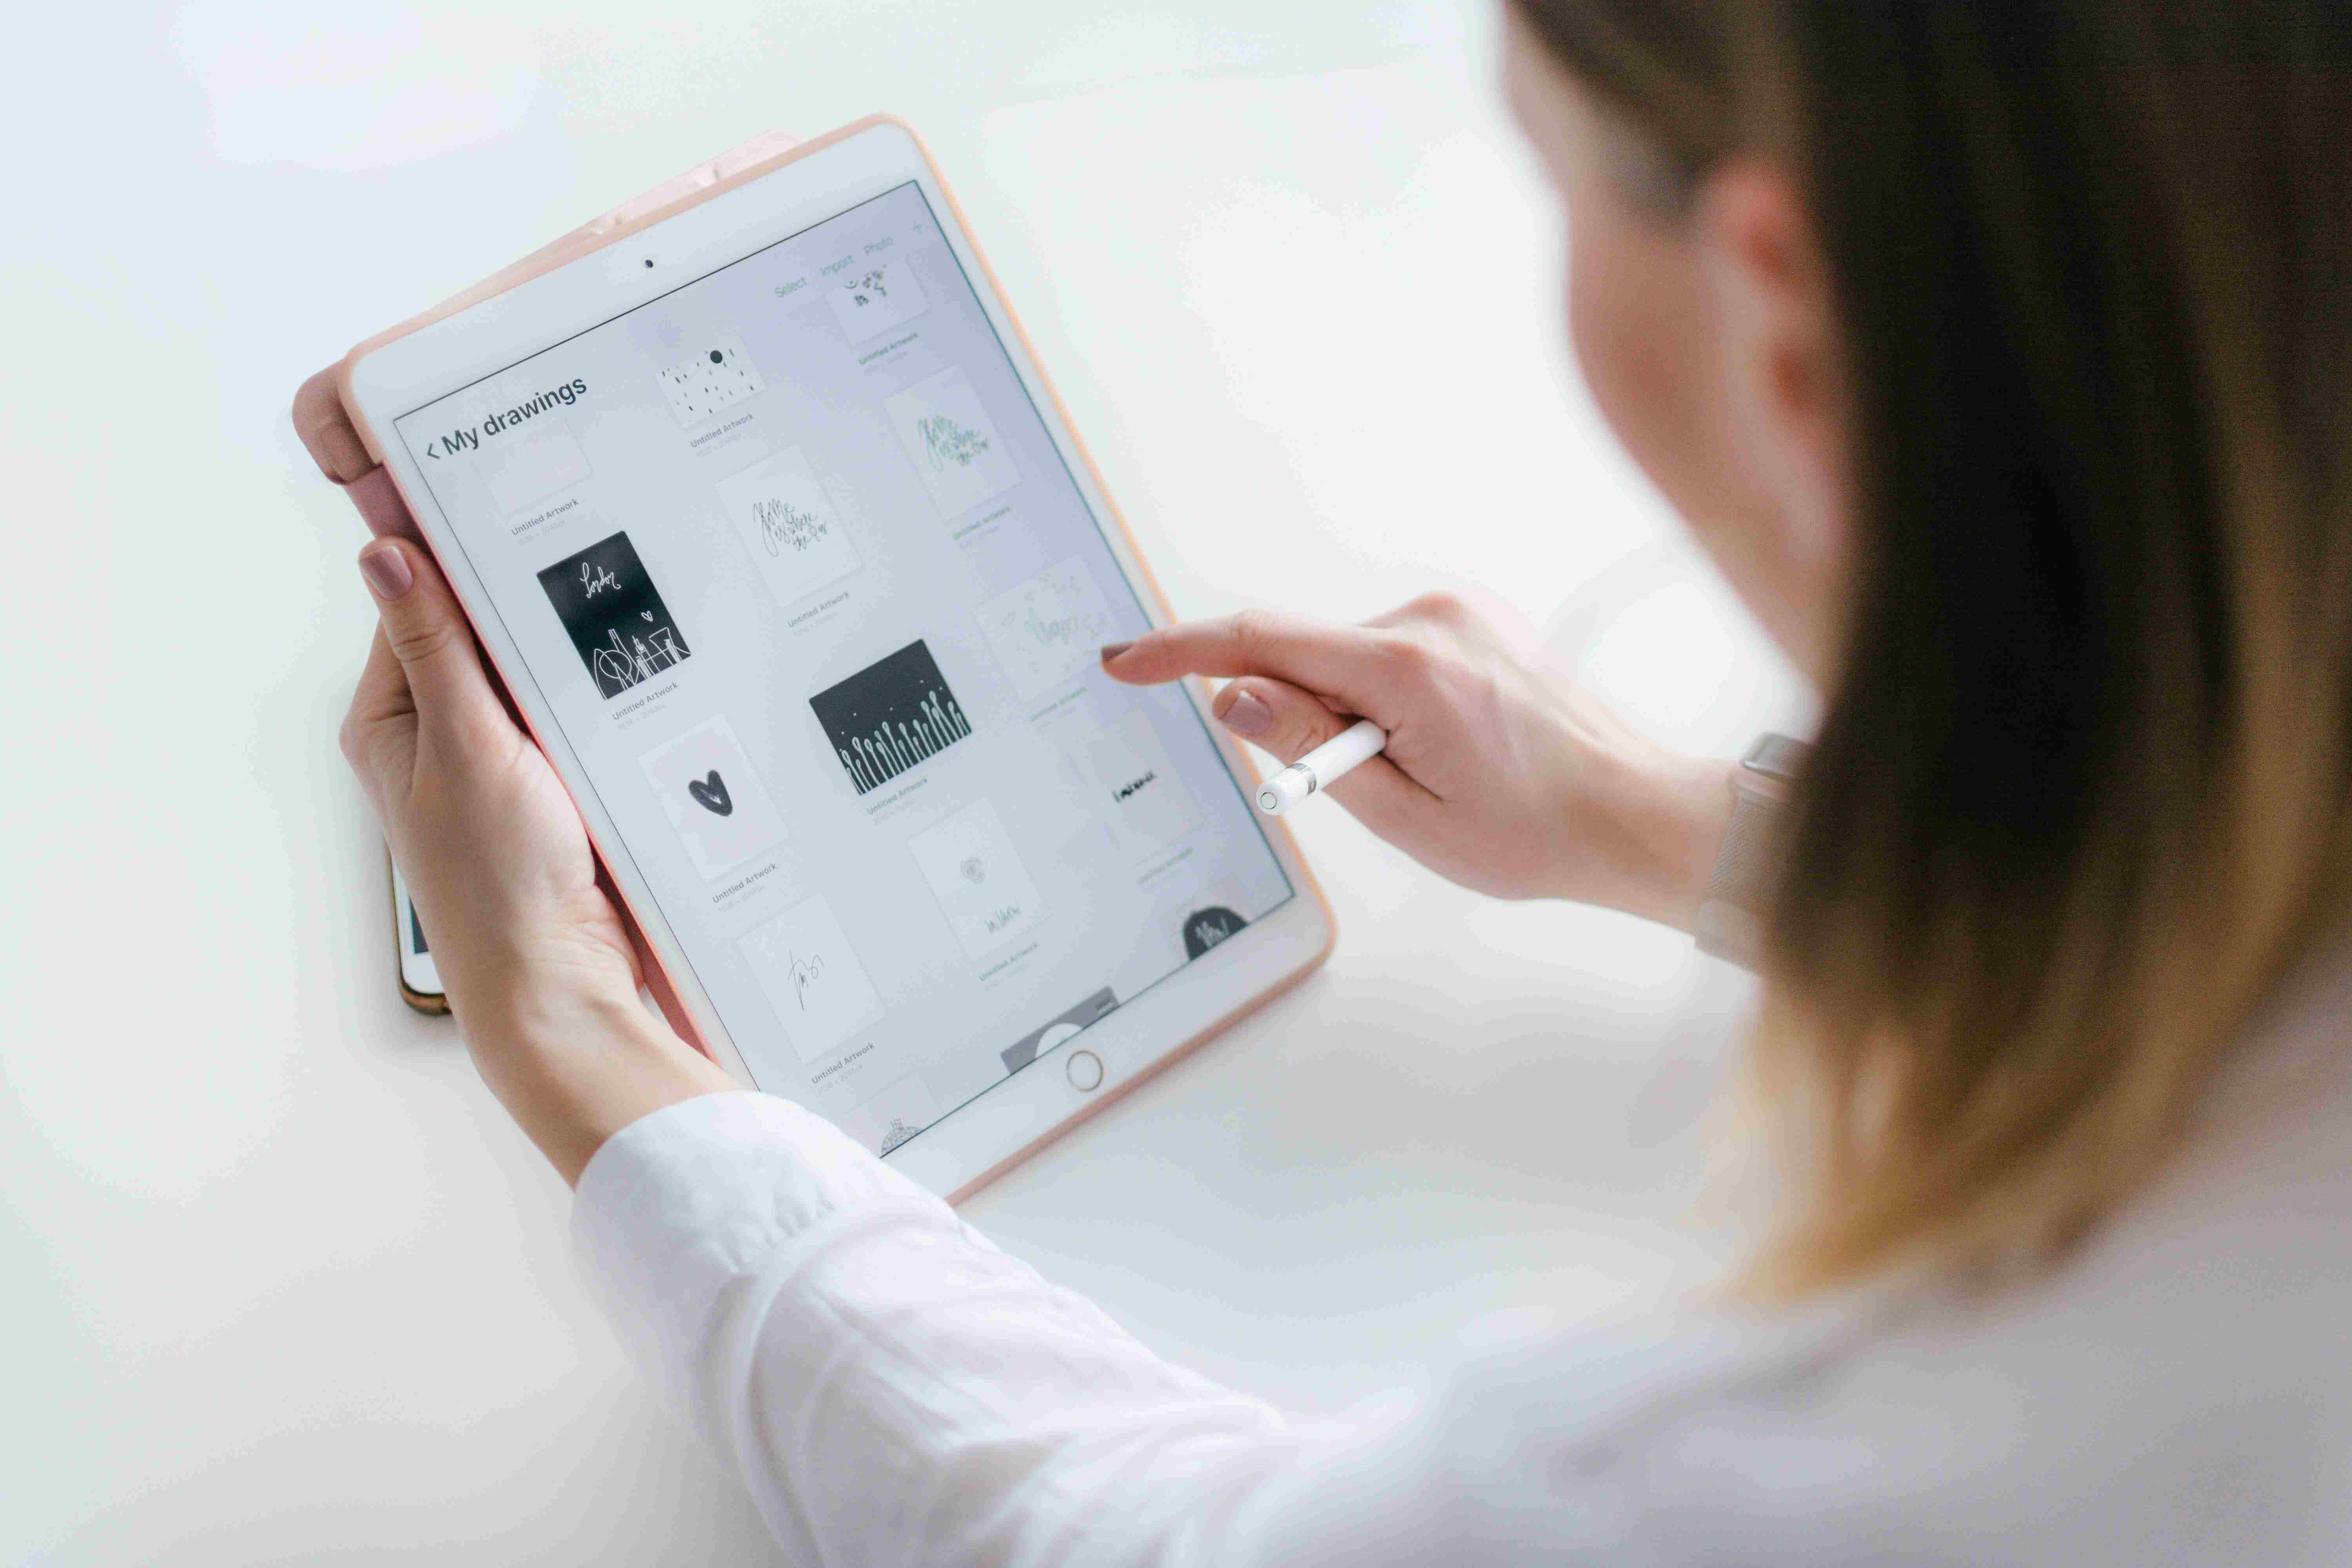
2. iOS Tablets: iOS tablets, such as the iPad range, offer their own method of projecting the screen to a compatible TV. This is typically done using Apple’s proprietary technology, such as AirPlay, which allows seamless wireless streaming between iOS devices and Apple TVs.
3. Windows Tablets: Windows tablets also offer the ability to project the screen to a TV. Depending on the specific model and operating system version, you may have different options available, including wired or wireless projection methods.
Smart TVs:
1. Android TVs: Android TVs have built-in compatibility with Android devices, including tablets. This means you can directly project your Android tablet to an Android TV without the need for additional hardware or software.
2. Apple TVs: If you have an iOS tablet, particularly an iPad, you can project it to an Apple TV using AirPlay. This allows for seamless streaming of content from your iOS tablet to the Apple TV with just a few taps.
3. Miracast-enabled TVs: Miracast is a wireless display technology that allows you to project the screen of Miracast-enabled devices, including tablets, onto a compatible TV. This means you can project from Android, Windows, and some newer versions of macOS devices to Miracast-supported TVs.
Traditional TVs:
If you have a traditional TV without built-in smart features, there are still options available to project your tablet to the TV. These options usually involve the use of additional hardware, such as HDMI cables, Chromecast, or wireless display adapters.
It’s worth noting that not all tablets and TVs have the same projection capabilities. Before attempting to project your tablet to a TV, it’s important to check the compatibility and available methods for your specific devices.
Next, we will explore the different methods you can use to project your tablet to a TV, regardless of the specific tablet and TV combination.
Different Methods to Project Tablet to TV
There are several methods available to project your tablet to a TV, offering flexibility and options for different types of devices. Let’s explore some of the different methods:
1. Using an HDMI cable: One of the most straightforward methods is to connect your tablet to the TV using an HDMI cable. This method works well for tablets with an HDMI port and TVs with an available HDMI input. Simply connect one end of the HDMI cable to your tablet and the other end to the HDMI input on the TV, and you should be able to mirror or extend your tablet’s display on the TV.
2. Using Chromecast: Chromecast is a device that plugs into your TV’s HDMI port and allows you to stream content from your tablet, smartphone, or computer to the TV. To project your tablet to the TV using Chromecast, make sure both devices are connected to the same Wi-Fi network and use the Cast feature on your tablet to send the content wirelessly to the TV.
3. Using Apple TV: If you have an iOS tablet, such as an iPad, you can leverage Apple TV to project your tablet’s screen to the TV. With Apple TV and AirPlay, you can wirelessly stream the content from your iOS tablet to the TV, offering seamless connectivity and control.
4. Using a Miracast-enabled device: Miracast is a wireless display technology that allows you to project the screen of compatible devices, including tablets, to a Miracast-enabled TV. To use this method, both your tablet and TV need to support Miracast. Simply enable the Miracast feature on your tablet and connect it to the TV to mirror or extend your tablet’s screen.
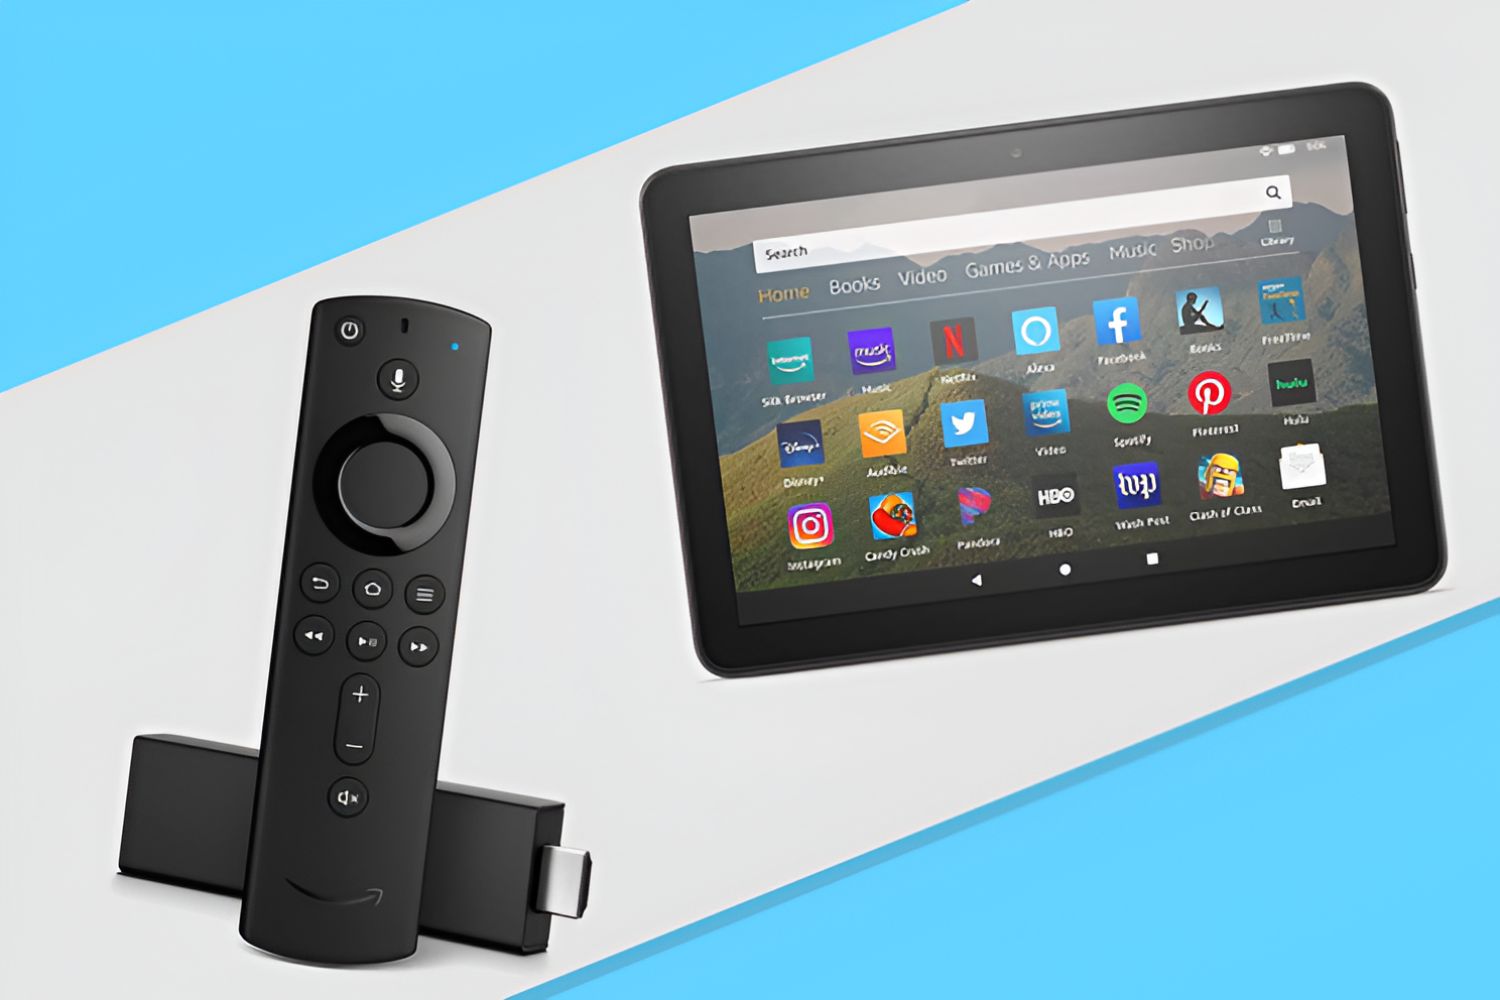
5. Using a wireless display adapter: Wireless display adapters, such as the Microsoft Wireless Display Adapter or the Roku Streaming Stick, can be connected to the HDMI port of your TV. These adapters allow you to wirelessly project your tablet’s screen to the TV. Simply connect the adapter to your TV and follow the instructions to connect your tablet to the adapter using Wi-Fi or Miracast.
Each method has its own advantages and limitations, depending on the compatibility of your tablet and TV. It’s important to consider the available ports, connectivity options, and features of your devices to choose the most suitable method for projecting your tablet to a TV.
Now that we’ve explored the different methods available, let’s delve into each method and provide a step-by-step guide on how to project your tablet to a TV using each method.
Method 1: Using an HDMI Cable
Using an HDMI cable is one of the simplest and most reliable methods to project your tablet onto a TV. This method requires an HDMI port on both your tablet and TV. Here’s a step-by-step guide on how to use an HDMI cable to project your tablet to a TV:
- Make sure your tablet and TV are turned off.
- Identify the HDMI port on your tablet and the corresponding HDMI input on your TV.
- Connect one end of the HDMI cable to the HDMI port on your tablet.
- Connect the other end of the HDMI cable to the HDMI input on your TV.
- Turn on your TV and set it to the HDMI input where you connected the cable.
- Turn on your tablet.
- Your tablet’s screen should now be mirrored or extended on your TV. If not, go to your tablet’s display settings and select the appropriate option to enable screen mirroring or extend the display.
Once the connection is established, you can navigate through your tablet’s interface and use apps, watch videos, or play games, all on the larger screen of your TV. The HDMI cable allows for high-quality audio and video transmission, providing a seamless experience.
Keep in mind that some tablets may require additional settings or adjustments to enable screen mirroring or extend the display. Refer to your tablet’s user manual or online support resources for specific instructions related to your tablet model.
Using an HDMI cable is a reliable method for projecting your tablet to a TV, as it delivers a stable and high-quality connection. However, this method requires both devices to be physically connected, limiting the distance between your tablet and TV. If you prefer a wireless connection or have devices that don’t have HDMI ports, you may consider exploring other projection methods.
Now that we’ve covered using an HDMI cable, let’s move on to the next method: using Chromecast to project your tablet to a TV.
Method 2: Using Chromecast
Chromecast is a versatile device that allows you to wirelessly stream content from your tablet, smartphone, or computer to your TV. This method is particularly useful if you prefer a wireless connection or if your tablet doesn’t have an HDMI port. Here’s how to project your tablet to a TV using Chromecast:
- Ensure that your Chromecast device is connected to the HDMI port on your TV and powered on.
- Make sure your tablet and Chromecast are connected to the same Wi-Fi network.
- Download and install the Google Home app on your tablet if you haven’t already. This app will help you set up and manage your Chromecast device.
- Launch the Google Home app and follow the on-screen instructions to set up your Chromecast.
- Once the setup is complete, open the app or content you wish to display on your TV on your tablet.
- Look for the Cast icon (a square with curved lines in the bottom left or right corner) in the app or content playback controls.
- Tap the Cast icon and select your Chromecast device from the list of available devices.
- Your tablet’s screen should now be mirrored or streaming on your TV through Chromecast.
With Chromecast, you can stream a wide range of content, including videos, music, photos, and even certain apps directly from your tablet to the TV. While streaming, you can still use your tablet as a remote control to control playback, volume, and other settings.
It’s important to note that the availability of the Cast icon may vary depending on the app or content you are using. Additionally, some apps may have native Chromecast support, making it even more convenient to stream content to the TV.
Chromecast is compatible with both Android and iOS tablets, allowing for seamless wireless projection. However, the specific steps and features may vary slightly depending on the version of the Google Home app and the Chromecast device you are using. Refer to the device’s user manual or online support resources for more detailed instructions specific to your device.
Now that we’ve covered using Chromecast, let’s move on to the next method: using Apple TV to project your tablet to a TV.
Method 3: Using Apple TV
If you own an iOS tablet, such as an iPad, you can leverage Apple TV to project your tablet’s screen to your TV. Apple TV offers seamless integration with iOS devices, allowing for wireless streaming and mirroring. Here’s how you can project your tablet to a TV using Apple TV:
- Make sure your Apple TV and iPad are connected to the same Wi-Fi network.
- On your iPad, swipe down from the top-right corner to access the Control Center. Alternatively, if you have an older iPad model, swipe up from the bottom of the screen.
- In the Control Center, tap the “Screen Mirroring” or “AirPlay” icon.
- A list of available devices will appear. Select your Apple TV from the list.
- If prompted, enter the AirPlay passcode displayed on your TV screen.
- Your iPad’s screen will now be mirrored on your TV via Apple TV.
Once the connection is established, you can navigate through your iPad’s interface and use apps, play videos, browse the web, or even give presentations, all on the larger screen of your TV. The audio and video quality is typically excellent, providing a seamless and enjoyable viewing experience.
In addition to screen mirroring, some apps and media players, such as YouTube and Netflix, have built-in support for AirPlay. This allows you to stream content directly from these apps to your TV without mirroring the entire iPad screen.
It’s worth noting that Apple TV and AirPlay are specifically designed for iOS devices, ensuring a high level of compatibility and performance. However, to successfully use this method, you need to have an Apple TV device and an iPad running a compatible version of iOS.
Keep in mind that the steps and features may vary slightly depending on the version of iOS and Apple TV you are using. If you encounter any issues or need further assistance, refer to the user manual or online support resources provided by Apple.
Now that we’ve covered using Apple TV, let’s move on to the next method: using a Miracast-enabled device to project your tablet to a TV.
Method 4: Using a Miracast-enabled Device
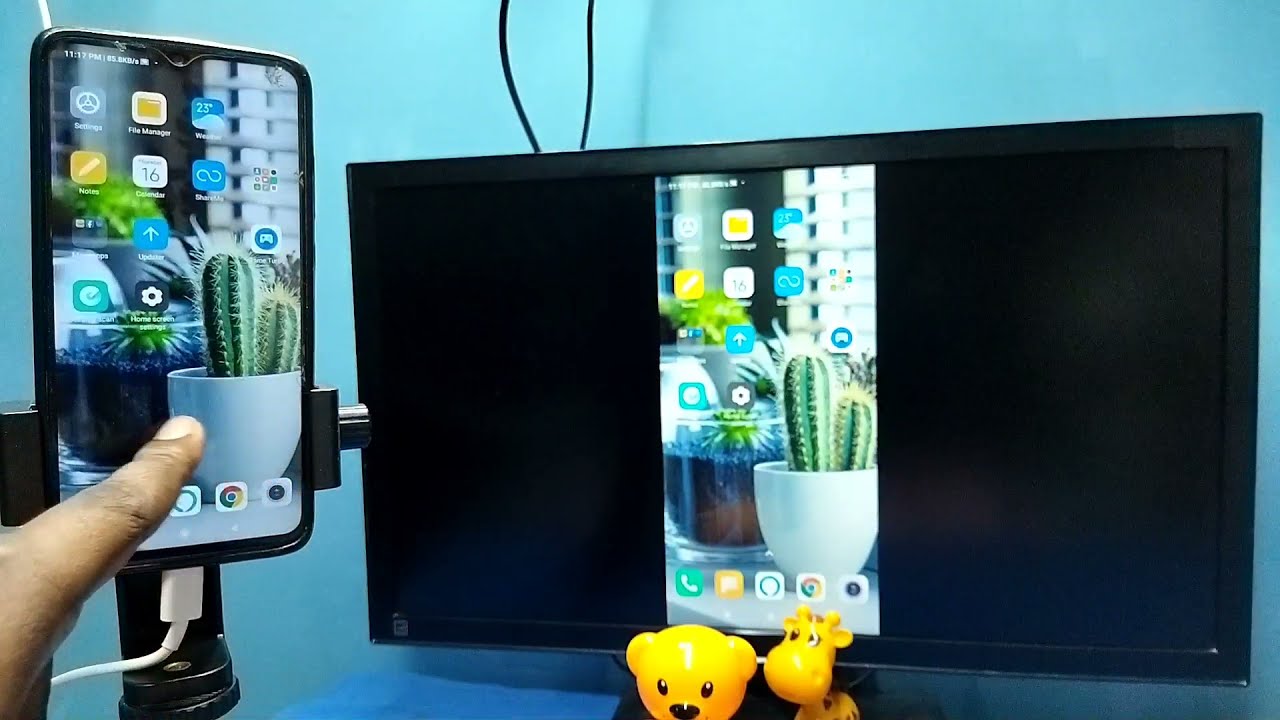
With Miracast, a wireless display technology, you can easily project your tablet’s screen to a Miracast-enabled TV or display device. Miracast allows for seamless screen mirroring or extending your tablet’s display wirelessly. Here’s how you can use a Miracast-enabled device to project your tablet to a TV:
- Ensure that your TV or display device supports Miracast. Look for the Miracast logo or check the device’s specifications to confirm compatibility.
- On your tablet, go to the Settings menu and locate the Display or Screen Mirroring option.
- In the Display settings, look for the option to enable Wireless Display, Cast Screen, or a similar feature.
- Enable the Wireless Display or Cast Screen feature on your tablet.
- Select your Miracast-enabled TV or display device from the list of available devices.
- Your tablet’s screen will now be mirrored or extended to the TV or display device through Miracast.
Once the connection is established, you can use your tablet as a remote control to navigate through apps, stream videos, play games, or present content on the larger screen of your TV. Miracast offers a high-quality wireless display experience, allowing for smooth and responsive streaming.
It’s important to note that the Miracast feature may have different names or locations in the settings menu depending on the tablet’s manufacturer and the version of the operating system. If you can’t find the Miracast option, refer to your tablet’s user manual or online support resources for specific instructions.
Keep in mind that both your tablet and the TV or display device need to support Miracast for this method to work. Miracast is commonly supported by Android devices and Windows tablets, but its compatibility with iOS devices may vary. Additionally, there may be some performance variations depending on the specific devices you are using.
Now that we’ve covered using a Miracast-enabled device, let’s move on to the final method: using a wireless display adapter.
Method 5: Using a Wireless Display Adapter
If your tablet or TV doesn’t have built-in support for screen mirroring or wireless projection, you can still project your tablet to a TV using a wireless display adapter. These adapters, such as the Microsoft Wireless Display Adapter or the Roku Streaming Stick, can be connected to the HDMI port of your TV, allowing for wireless projection. Here’s how you can use a wireless display adapter to project your tablet to a TV:
- Connect the wireless display adapter to the HDMI port on your TV.
- Ensure that the wireless display adapter and your tablet are connected to the same Wi-Fi network.
- Turn on your TV and set it to the HDMI input where you connected the wireless display adapter.
- On your tablet, go to the Settings menu and locate the Display or Wireless Display option.
- In the Display settings, look for the option to enable Wireless Display or a similar feature.
- Select your wireless display adapter from the list of available devices.
- Your tablet’s screen will now be wirelessly projected to the TV through the wireless display adapter.
Once the connection is established, you can enjoy your tablet’s content on the larger screen of your TV. You can browse the internet, watch videos, play games, or even use productivity apps for presentations, all with the convenience of wireless projection.
Wireless display adapters offer a reliable and user-friendly solution for those who want to project their tablet to a TV without built-in screen mirroring capabilities. These adapters typically support a variety of devices, including Android tablets, iOS devices, and Windows tablets. However, make sure to check the compatibility of the wireless display adapter with your specific tablet model before proceeding.
It’s important to note that the specific steps and features of wireless display adapters may vary depending on the brand and model. Refer to the user manual or online support resources provided by the manufacturer of your wireless display adapter for more detailed instructions.
Now that we’ve covered using a wireless display adapter, let’s move on to the step-by-step guide for each method to project your tablet to a TV.
Step-by-Step Guide to Project Tablet to TV Using Each Method
Now, let’s go through a step-by-step guide for each method to project your tablet to a TV.
Method 1: Using an HDMI cable:
- Make sure your tablet and TV are turned off.
- Identify the HDMI port on your tablet and the corresponding HDMI input on your TV.
- Connect one end of the HDMI cable to the HDMI port on your tablet.
- Connect the other end of the HDMI cable to the HDMI input on your TV.
- Turn on your TV and set it to the HDMI input where you connected the cable.
- Turn on your tablet.
- Your tablet’s screen should now be mirrored or extended on your TV.
Method 2: Using Chromecast:
- Ensure that your Chromecast device is connected to the HDMI port on your TV and powered on.
- Make sure your tablet and Chromecast are connected to the same Wi-Fi network.
- Download and install the Google Home app on your tablet if you haven’t already.
- Launch the Google Home app and follow the setup instructions for your Chromecast.
- Once the setup is complete, open the app or content you want to display on your TV on your tablet.
- Tap the Cast icon in the app or content playback controls.
- Select your Chromecast device from the list of available devices.
- Your tablet’s screen should now be mirrored or streaming on your TV through Chromecast.
Method 3: Using Apple TV:
- Ensure that your Apple TV and iPad are connected to the same Wi-Fi network.
- On your iPad, open the Control Center by swiping down from the top-right corner.
- Tap the “Screen Mirroring” or “AirPlay” icon in the Control Center.
- Select your Apple TV from the list of available devices.
- If prompted, enter the AirPlay passcode displayed on your TV screen.
- Your iPad’s screen will now be mirrored on your TV via Apple TV.
Method 4: Using a Miracast-enabled device:
- Make sure your TV or display device supports Miracast.
- On your tablet, go to the Settings menu and locate the Display or Screen Mirroring option.
- Enable the Wireless Display or Cast Screen feature on your tablet.
- Select your Miracast-enabled TV or display device from the available devices.
- Your tablet’s screen will now be mirrored or extended to the TV through Miracast.
Method 5: Using a wireless display adapter:
- Connect the wireless display adapter to the HDMI port on your TV.
- Ensure that the wireless display adapter and your tablet are connected to the same Wi-Fi network.
- Turn on your TV and set it to the HDMI input where you connected the adapter.
- On your tablet, go to the Settings menu and locate the Display or Wireless Display option.
- Select your wireless display adapter from the list of available devices.
- Your tablet’s screen will now be wirelessly projected to the TV through the display adapter.
These step-by-step guides should help you effortlessly project your tablet to a TV using various methods. Remember to check the compatibility of your tablet and TV, and refer to the specific instructions provided by the manufacturers of your devices for accurate and up-to-date information.
Now that you have learned the different methods and step-by-step guides, you can choose the method that suits your devices and preferences to enjoy a bigger and more immersive viewing experience!
Troubleshooting Common Issues When Projecting Tablet to TV
While projecting your tablet to a TV offers a convenient way to enjoy content on a larger screen, you may encounter some common issues along the way. Here are some troubleshooting tips for common issues that may arise when projecting your tablet to a TV:
1. No display on the TV:
- Ensure that you have properly connected the cables or devices according to the chosen projection method.
- Check if the TV is set to the correct input source for the connected cable or device.
- Restart both your tablet and the TV.
2. Poor video or audio quality:
- Make sure you are using high-quality cables for wired connections.
- If using a wireless method, ensure that both your tablet and TV are within a reasonable range of the Wi-Fi signal.
- Check for any network issues or interference that may affect the streaming quality.
3. Sound plays from the tablet instead of the TV:
- Confirm that the audio output settings on your tablet are correctly set to the TV or the connected device.
- Ensure the TV’s volume is turned up and not muted.
4. Lag or delay in video playback:
- Check for any network congestion or interference that may affect the data transmission between your tablet and TV.
- Close any unnecessary apps or background processes on your tablet to optimize its performance.
5. Incompatibility between devices:
- Ensure that your tablet and TV meet the compatibility requirements for the chosen projection method.
- Check for any software updates for your tablet or TV that may address compatibility issues.
- Consult the user manuals or support resources for your devices to verify compatibility and troubleshoot any specific issues.
6. Tablet or TV freezes or becomes unresponsive:
- Restart both your tablet and the TV to refresh their systems.
- Verify that both devices have adequate power supply or are properly charged.
- Consider updating the software/firmware of your tablet or TV to the latest version, as this can often resolve performance issues.
These troubleshooting tips should help you resolve common issues you may encounter when projecting your tablet to a TV. If the problem persists or if you experience any other specific issues, consult the user manuals or support resources for your tablet, TV, or the particular projection method you are using for further assistance.
By troubleshooting and addressing these common issues, you can enhance your projection experience and enjoy seamless content sharing on the bigger screen of your TV.
Conclusion
Projecting your tablet to a TV opens up a world of possibilities for entertainment, productivity, and convenience. By utilizing the various methods available, you can enjoy a larger and more immersive viewing experience, share content with others, and enhance productivity through wireless projection.
In this article, we explored the benefits of projecting your tablet to a TV, including enhanced viewing experience, convenience, improved productivity, gaming capabilities, and easy content sharing. We discussed the types of tablets and TVs that can be projected, ranging from Android and iOS tablets to smart TVs and traditional TVs.
We then examined the different methods you can utilize to project your tablet to a TV. These methods included using an HDMI cable for a direct connection, leveraging Chromecast for wireless streaming, utilizing Apple TV for seamless integration with iOS devices, employing Miracast-enabled devices for wireless mirroring, and utilizing wireless display adapters for devices without built-in screen mirroring capabilities.
We provided step-by-step guides for each method to help you successfully project your tablet to a TV. Additionally, we offered troubleshooting tips for common issues you may encounter during the projection process, such as display issues, audio problems, compatibility concerns, lag or delay in playback, and device freeze or unresponsiveness.
Remember to check the compatibility of your tablet and TV, and refer to the specific instructions provided by the manufacturers of your devices to ensure a smooth and seamless projection experience.
Whether you’re enjoying a movie night with friends, sharing vacation photos with family, or delivering a presentation in a professional setting, projecting your tablet to a TV can truly elevate your digital experience and provide a more immersive and captivating way to enjoy and share content.
So, pick the method that suits your devices and preferences, follow the step-by-step guides, troubleshoot any issues, and unlock the full potential of your tablet by projecting it to a TV. Start enjoying a bigger and more engaging viewing experience today!