Introduction
Welcome to this guide on how to connect the power switch to the motherboard. The power switch is a crucial component that allows you to turn your computer on and off easily. While connecting the power switch to the motherboard may seem like a daunting task, it is actually quite simple when you know the proper steps to follow.
Whether you are building a new computer or replacing a faulty power switch, this guide will provide you with the necessary information to successfully connect the power switch to your motherboard. By following these steps, you can ensure that your computer powers on smoothly and functions properly.
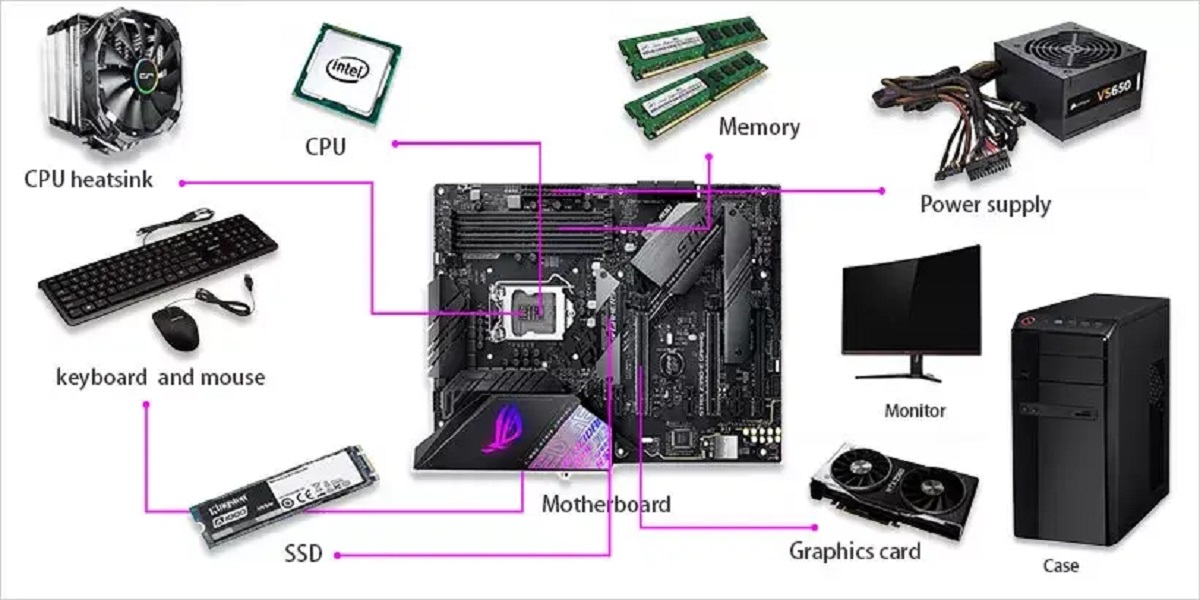
Before we dive into the process of connecting the power switch, it is important to ensure that you have the necessary tools and equipment. This will make the process easier and more efficient. You will need a screwdriver, your computer’s motherboard manual (if available), and a well-lit workspace.
Now, let’s move on to the step-by-step process of connecting the power switch to the motherboard.
Step 1: Gather the necessary tools and equipment
Before you begin connecting the power switch to the motherboard, it’s essential to gather all the necessary tools and equipment. Having everything ready beforehand will streamline the process and prevent delays. Here are the tools you’ll need:
- Screwdriver: You’ll need a screwdriver to remove the side panel of your computer case. The type of screwdriver required may vary depending on the case.
- Motherboard manual: If you have your computer’s motherboard manual, it can be a helpful resource for locating the power switch header and understanding the specific connector requirements. If you don’t have the manual, you can usually find it on the manufacturer’s website.
- Well-lit workspace: It’s important to have a well-lit and clean workspace where you can comfortably work on your computer. This will help prevent any accidental damage and make it easier to see the connectors and cables.
Once you have gathered these tools and ensured a suitable workspace, you’re ready to move on to the next step: identifying the power switch header on the motherboard.
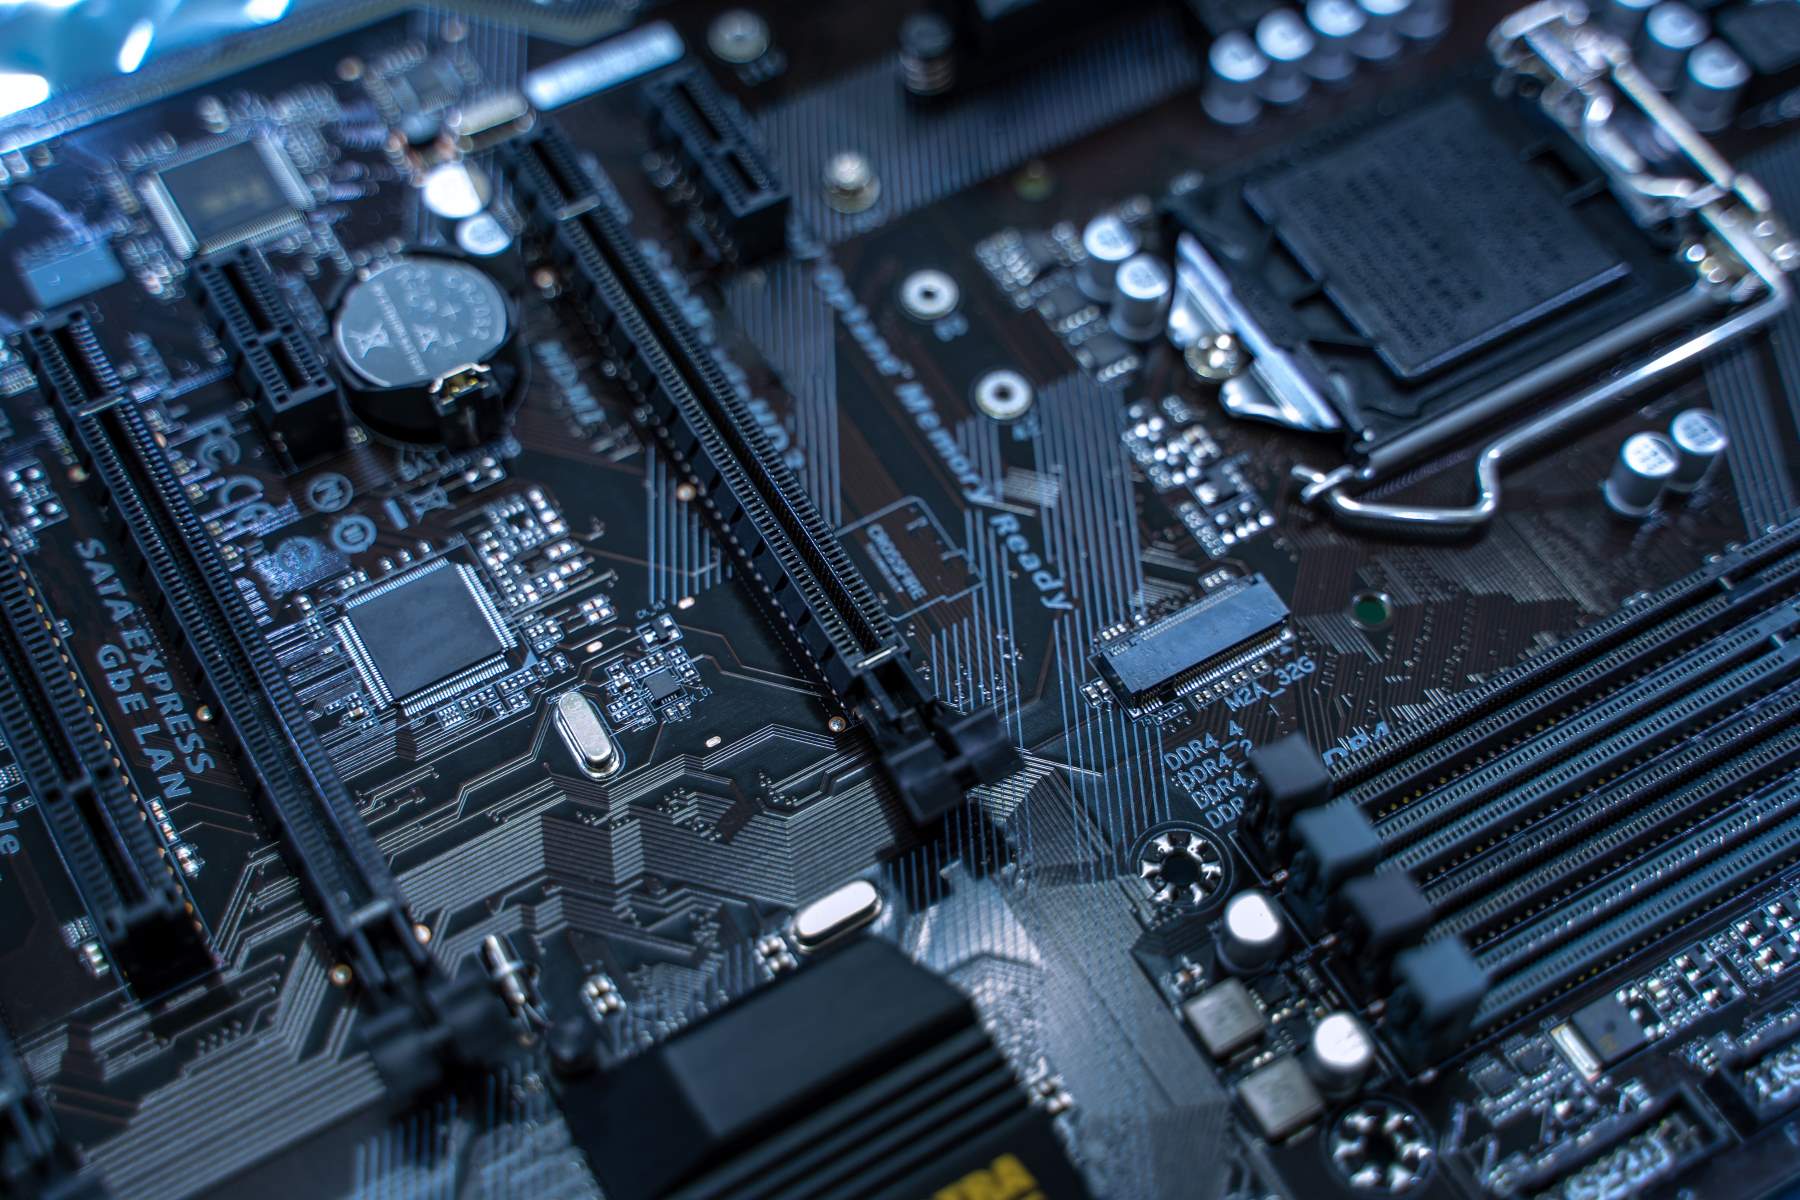
Step 2: Identify the power switch header on the motherboard
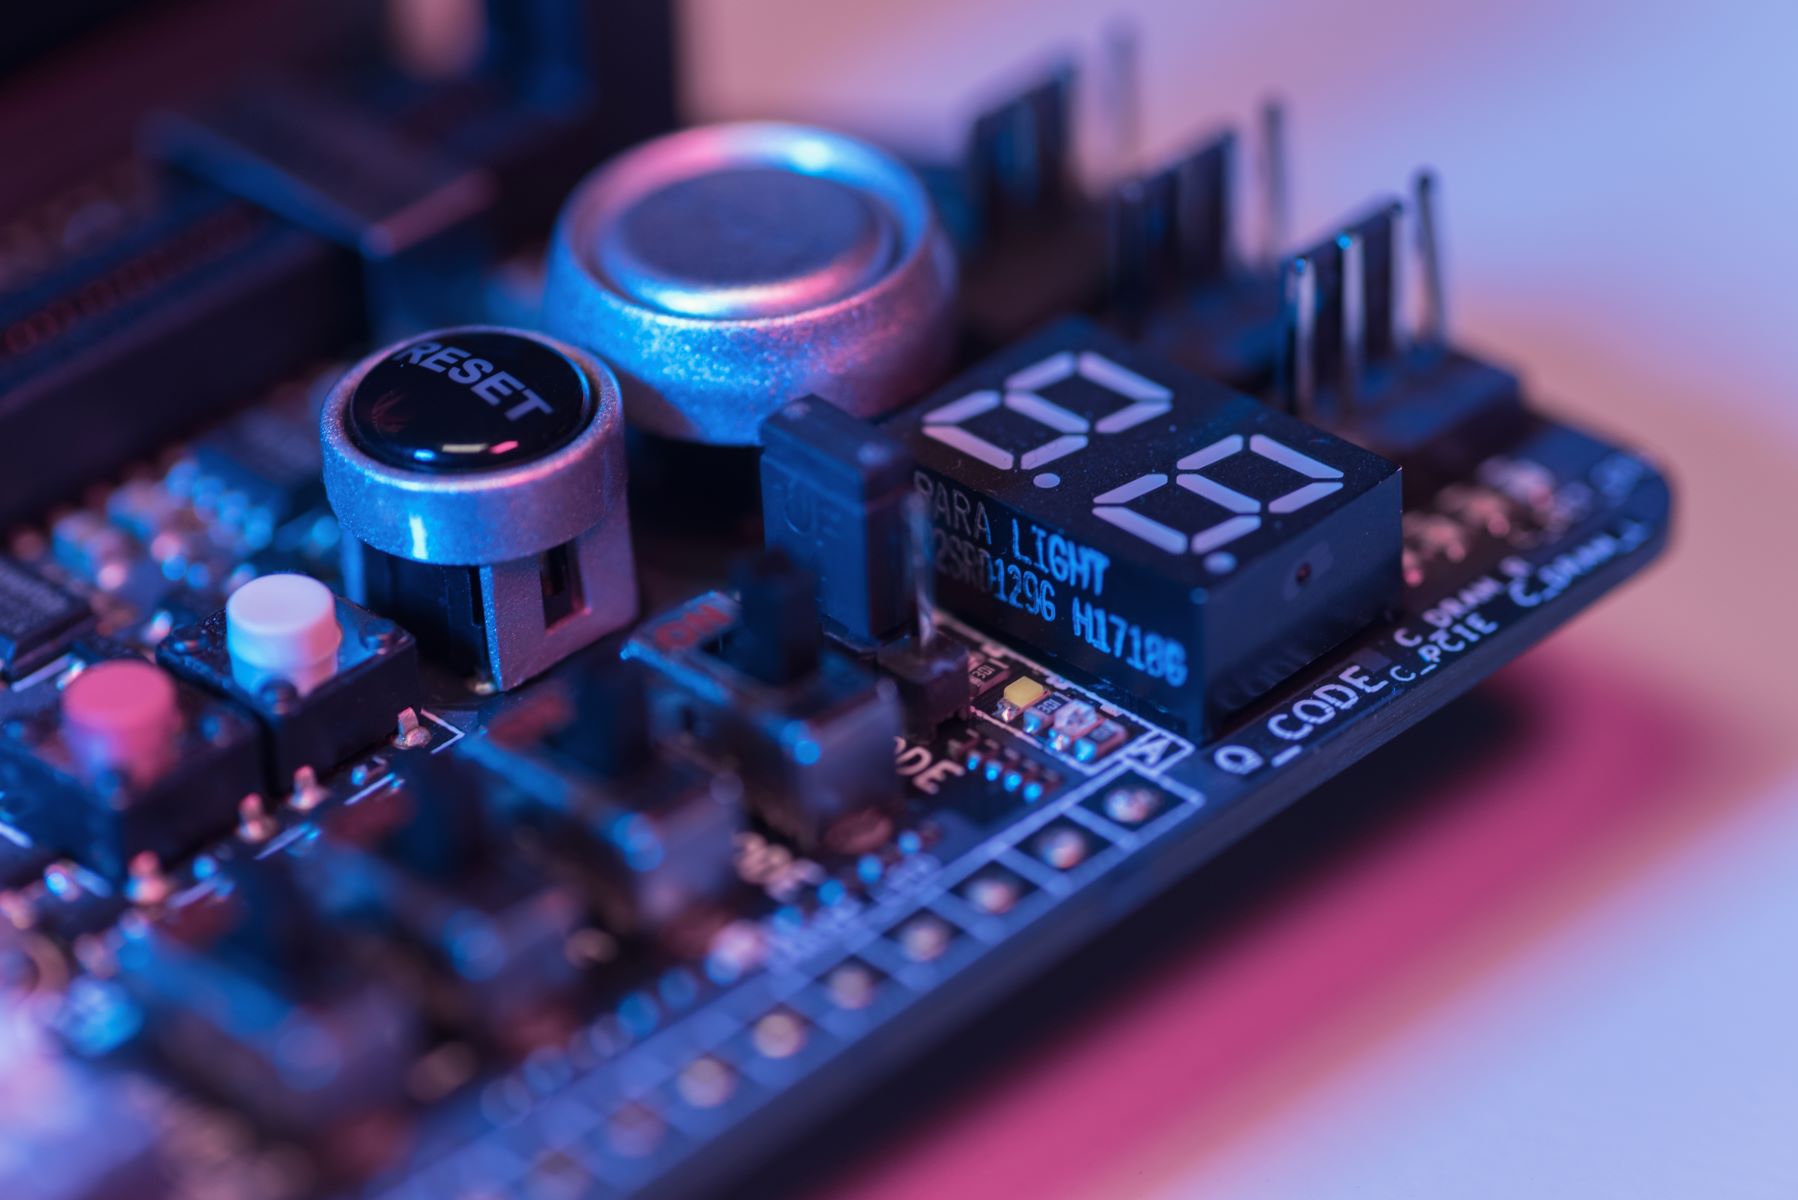
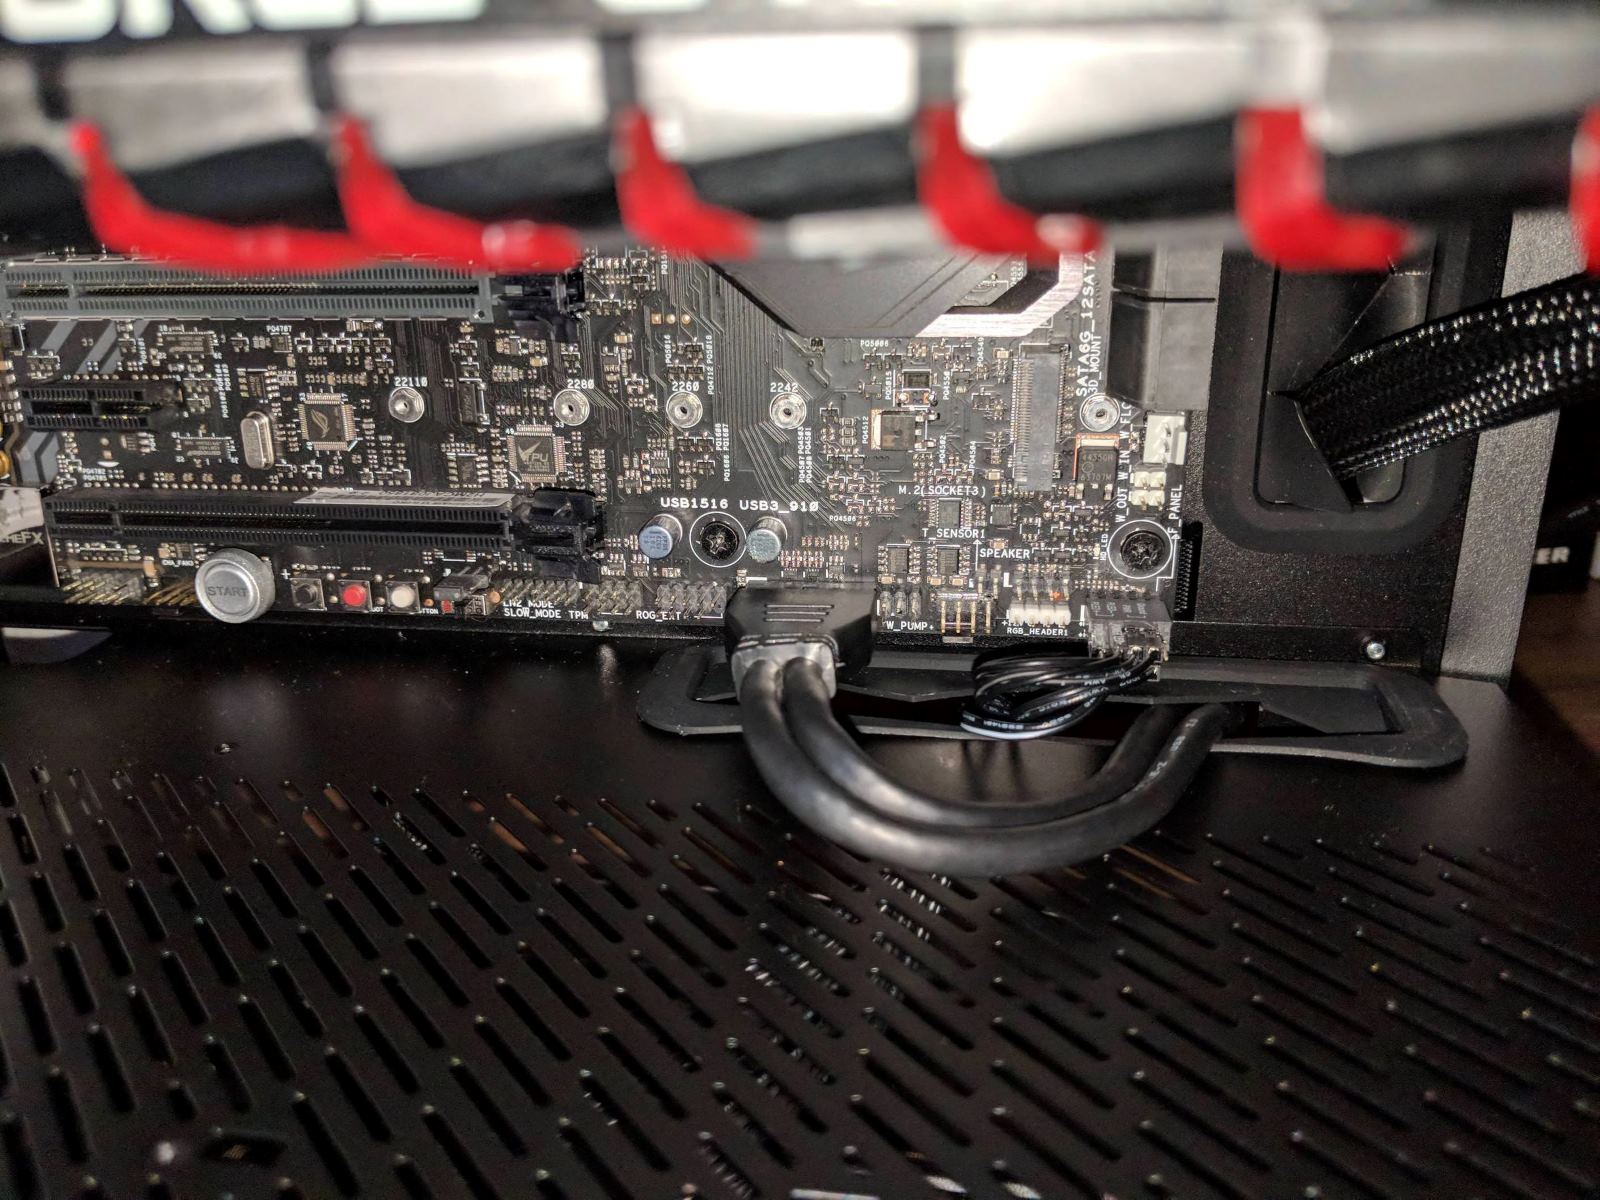
Now that you have gathered the necessary tools, it’s time to identify the power switch header on the motherboard. The power switch header is a specific connector on the motherboard where you will connect the power switch cable. Follow these steps to locate it:
- Refer to your motherboard manual: If you have access to your computer’s motherboard manual, it will provide detailed information about the layout and placement of the various connectors. Look for the section that describes the front panel connectors or headers.
- Inspect the motherboard: If you don’t have the motherboard manual, you can still identify the power switch header by visually inspecting the motherboard. Look for a group of small, rectangular pins near the bottom or side of the motherboard. These pins should be labeled or organized in a way that indicates the presence of front panel connectors.
- Look for labels or markings: Some motherboards have labels or markings near the power switch header to make it easier to identify. These labels might say “POWER_SW” or “PWR_BTN,” or they might be abbreviated. Take note of these labels, as they will guide you in connecting the power switch cable correctly.
Once you have successfully identified the power switch header on the motherboard, you’re ready to proceed to the next step: connecting the power switch cable.
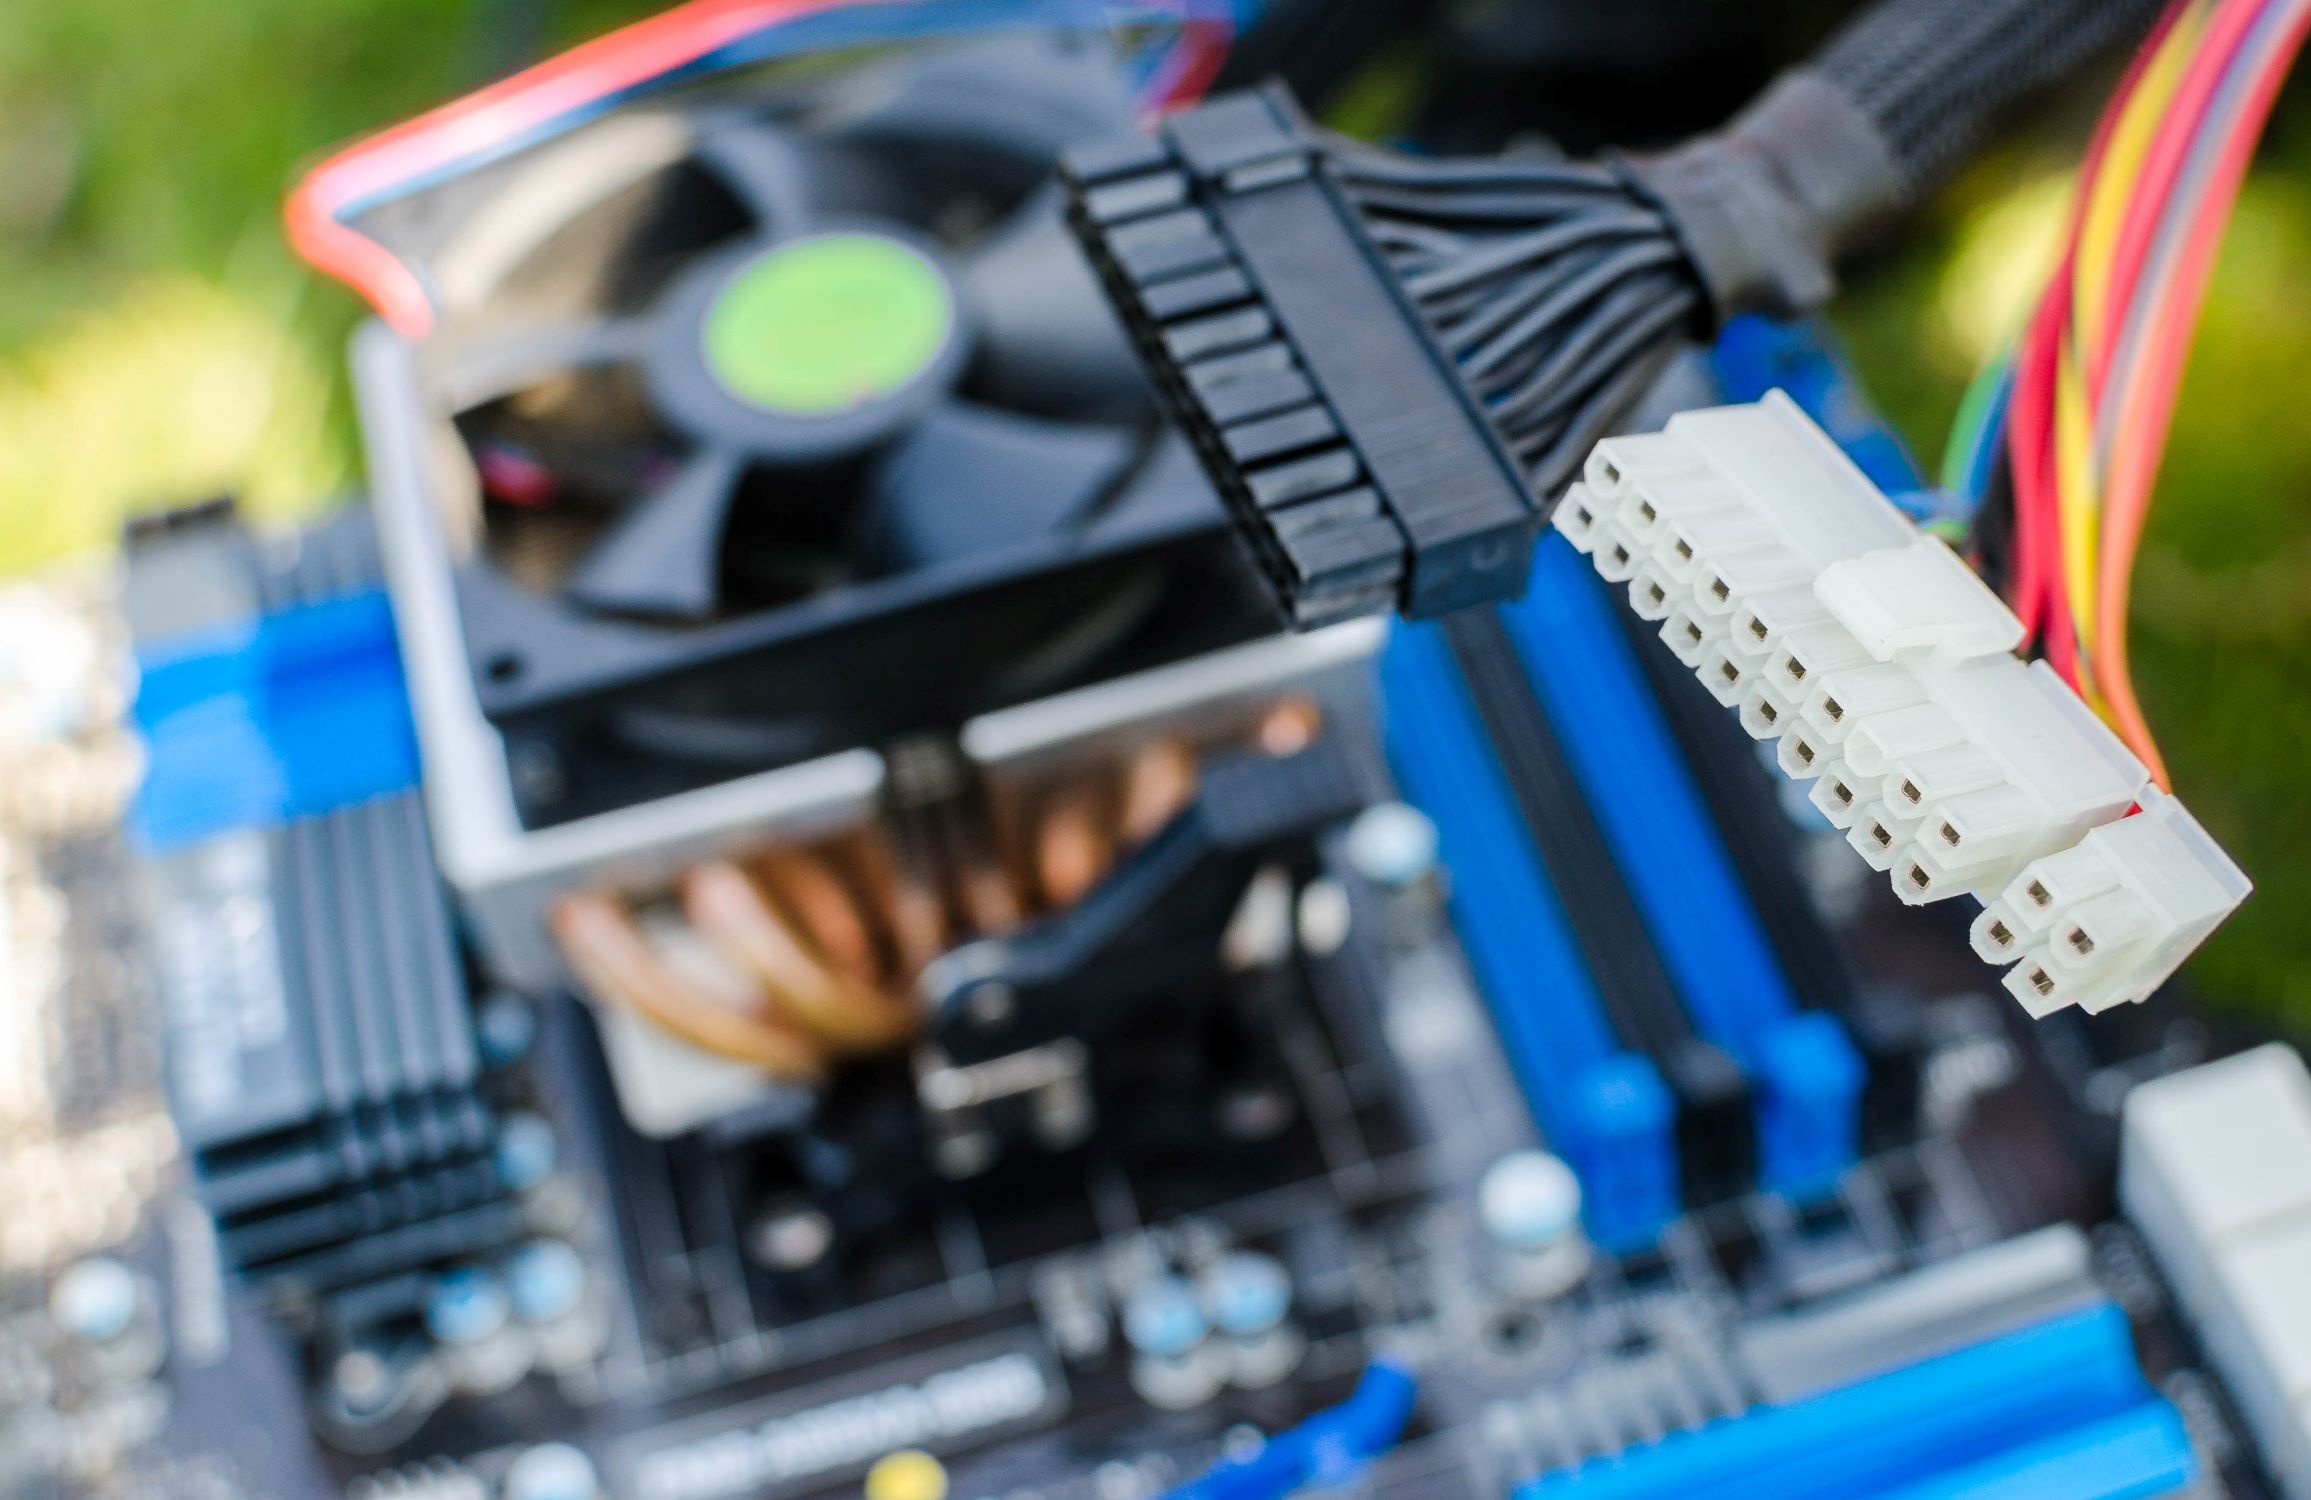
Step 3: Connect the power switch cable to the motherboard
With the power switch header identified, it’s time to connect the power switch cable to the motherboard. Follow these steps to ensure a proper connection:
- Locate the power switch cable: The power switch cable is a small, two-pin connector that is usually part of the set of front panel connectors. It is often labeled or color-coded to distinguish it from other cables.
- Align the power switch cable: Take a close look at the power switch header on the motherboard. Ensure that the power switch cable pins align with the corresponding pins on the header. The pins are typically labeled with positive (+) and negative (-) indicators.
- Connect the power switch cable: Gently insert the power switch cable onto the power switch header, ensuring that the pins go into the correct slots. Apply gentle pressure until the connector is fully seated on the header. It should fit snugly and not wiggle when properly connected.
- Double-check the connection: Once the power switch cable is connected, carefully inspect the connection to ensure that it is secure. Make sure that the cable is not twisted or bent and that it is making proper contact with the pins on the power switch header.
It’s important to note that some motherboards may have different layouts or configurations for their front panel connectors. If you are uncertain about the correct orientation or placement of the power switch cable, refer to the motherboard manual for specific instructions.
With the power switch cable successfully connected to the motherboard, you’re ready to move on to the next step: double-checking the connections.
Step 4: Double-check the connections
After connecting the power switch cable to the motherboard, it’s crucial to double-check the connections to ensure everything is properly aligned. Follow these steps to verify the integrity of the connections:
- Inspect the power switch cable: Take a close look at the power switch cable and ensure that it is securely attached to the power switch header. Check for any loose or disconnected pins, and make sure that the cable is not twisted or tangled.
- Verify the orientation: Check the orientation of the power switch cable and ensure that it matches the labeled or color-coded indicators on the motherboard. The positive (+) and negative (-) indicators should align correctly with the corresponding pins on the power switch header.
- Check for other loose cables: While you’re inspecting the power switch cable, also check for any other loose cables in the vicinity. It’s important to secure all connections to prevent future issues and ensure the smooth functioning of your computer.
- Reassemble the computer case: If you had to remove the side panel of your computer case to access the motherboard, carefully reassemble the case. Ensure that all screws are tightened securely, and the case is properly closed.
By thoroughly double-checking the connections, you can avoid potential problems such as loose cables causing intermittent power issues or improper functioning of the power switch.
Now that you have verified the connections, it’s time to move on to the final step: testing the power switch functionality.
Step 5: Test the power switch functionality
After ensuring that all connections are secure, it’s important to test the functionality of the power switch to verify that it works as intended. Follow these steps to test the power switch:
- Reconnect the power supply: Plug in the power cord to your computer and connect it to a power source. Make sure the power supply switch is turned on.
- Press the power switch: Locate the power switch on your computer case, usually found on the front panel. Press the power switch firmly to turn on your computer.
- Observe the computer’s response: Pay attention to see if the computer powers on. You should hear the fans spinning, and the motherboard’s LED lights may also light up. Check that the computer starts up and progresses through the boot process.
- Test the power switch functionality: Press the power switch again to turn off your computer. Observe whether the computer shuts down properly.
If the computer powers on and off as expected when you press the power switch, congratulations! You have successfully connected and tested the power switch. However, if the computer fails to respond or exhibits unusual behavior, double-check the power switch connection and consult your motherboard manual for further troubleshooting steps.
Remember to exercise caution while handling the inside of your computer and ensure that you are properly grounded to avoid static electricity damage.
With the power switch functionality successfully tested, you have completed the process of connecting the power switch to the motherboard. Enjoy using your computer with the convenience of a fully functional power switch!
Conclusion
Connecting the power switch to the motherboard may seem like a daunting task, but with the right tools and proper guidance, it can be easily accomplished. By following the step-by-step instructions outlined in this guide, you can ensure that your computer’s power switch is correctly connected and functioning properly.
Remember to gather the necessary tools, such as a screwdriver and your motherboard manual, before starting the process. Take the time to locate the power switch header on the motherboard, ensuring that you have identified the correct pins.
Once you have located the power switch header, carefully connect the power switch cable, double-checking the alignment and security of the connection. Ensure that there are no loose cables and that everything is properly reassembled within the computer case.
After completing the physical connections, it is crucial to test the functionality of the power switch. Plug in the power supply, press the power switch, and observe the computer’s response. If the computer powers on and off as expected, you have successfully connected and tested the power switch.
However, if any issues arise during the connection process or if the power switch does not function as intended, consult your motherboard manual or seek assistance from a professional to troubleshoot the problem.
Properly connecting the power switch to the motherboard ensures that you can easily turn your computer on and off, enhancing its convenience and usability. Taking the time to follow these steps correctly will contribute to the smooth functioning of your computer system.
We hope this guide has been helpful in assisting you in connecting your power switch to the motherboard. Happy computing!