Introduction
When your computer’s motherboard starts exhibiting issues, such as not booting up or displaying errors, it may be necessary to jumpstart the motherboard. Jumpstarting the motherboard can help reset its settings and resolve software or hardware conflicts that may be causing these issues. This process involves temporarily disconnecting the motherboard’s power supply and configuring a jumper or removing the CMOS battery to clear the motherboard’s memory.
Jumpstarting the motherboard can be done by following a few simple steps and requires minimal technical expertise. However, it is important to exercise caution and ensure that you have gathered all the necessary materials before proceeding. In this guide, we will walk you through the steps to jumpstart your motherboard, helping you troubleshoot and potentially resolve any issues you may be facing.
Before you begin, it is essential to note that jumpstarting the motherboard should be done cautiously and only as a last resort. This process will reset the BIOS settings to their default state and may require additional configuration after jumpstarting. It is also recommended to back up any important data on your computer before proceeding.
Step 1: Gathering the Necessary Materials
Before you begin the process of jumpstarting your motherboard, it is important to gather all the necessary materials. Having these items ready will ensure a smooth and hassle-free experience. Here’s what you’ll need:
- A screwdriver: You’ll need a screwdriver to open the computer case and access the motherboard.
- Anti-static wrist strap (optional): It is recommended to use an anti-static wrist strap to prevent static electricity damage to sensitive components.
- CMOS jumper: Check your motherboard’s manual or manufacturer’s website to determine the location and type of jumper required. Most motherboards use a three-pin jumper to reset the CMOS.
- CMOS battery: In some cases, you may need to remove the CMOS battery to reset the motherboard. Ensure you have a compatible replacement battery on hand, if required.
- User manual: It is a good practice to keep a copy of the motherboard’s user manual handy. It will provide detailed instructions specific to your motherboard model.
With these materials gathered, you are now ready to proceed to the next step of jumpstarting your motherboard. Taking the time to gather these items beforehand will save you from potential frustration during the process.
Step 2: Disconnecting the Power Supply
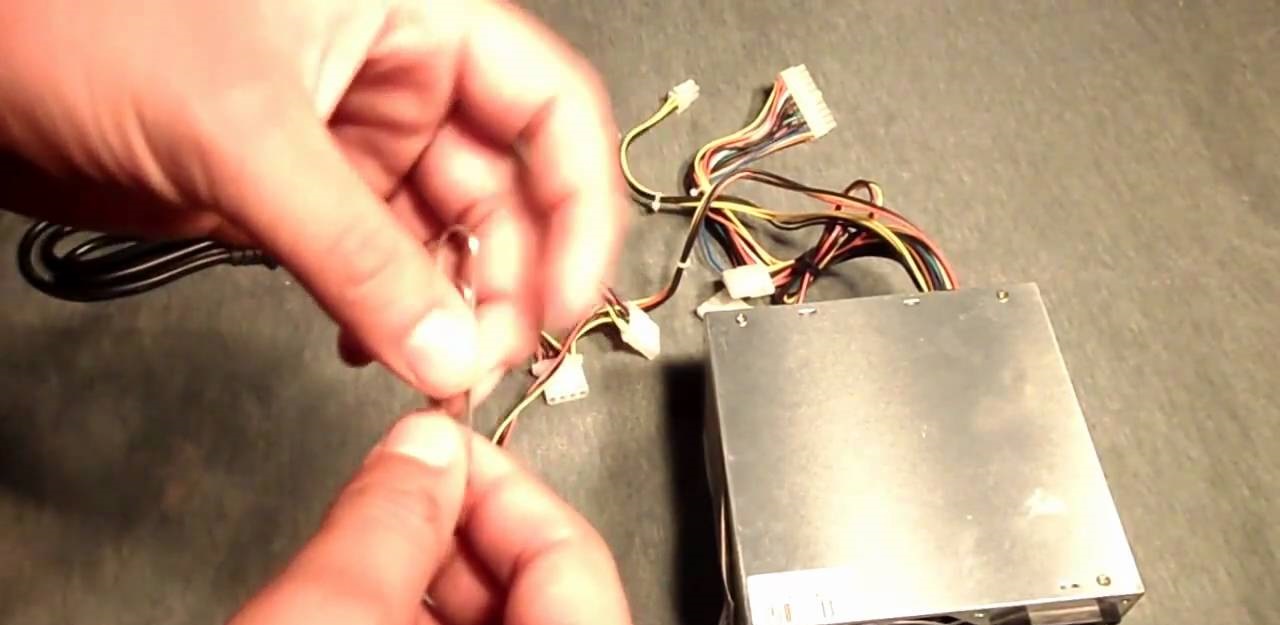
The next step in jumpstarting your motherboard is to disconnect the power supply. This is an essential safety measure to ensure that no electrical current is running through the motherboard while you are working on it. Here’s how you can safely disconnect the power supply:
- Shut down your computer completely: Before disconnecting the power supply, make sure your computer is powered off and shut down properly.
- Unplug the power cord: Locate the power cord connected to your computer’s power supply and unplug it from the wall socket.
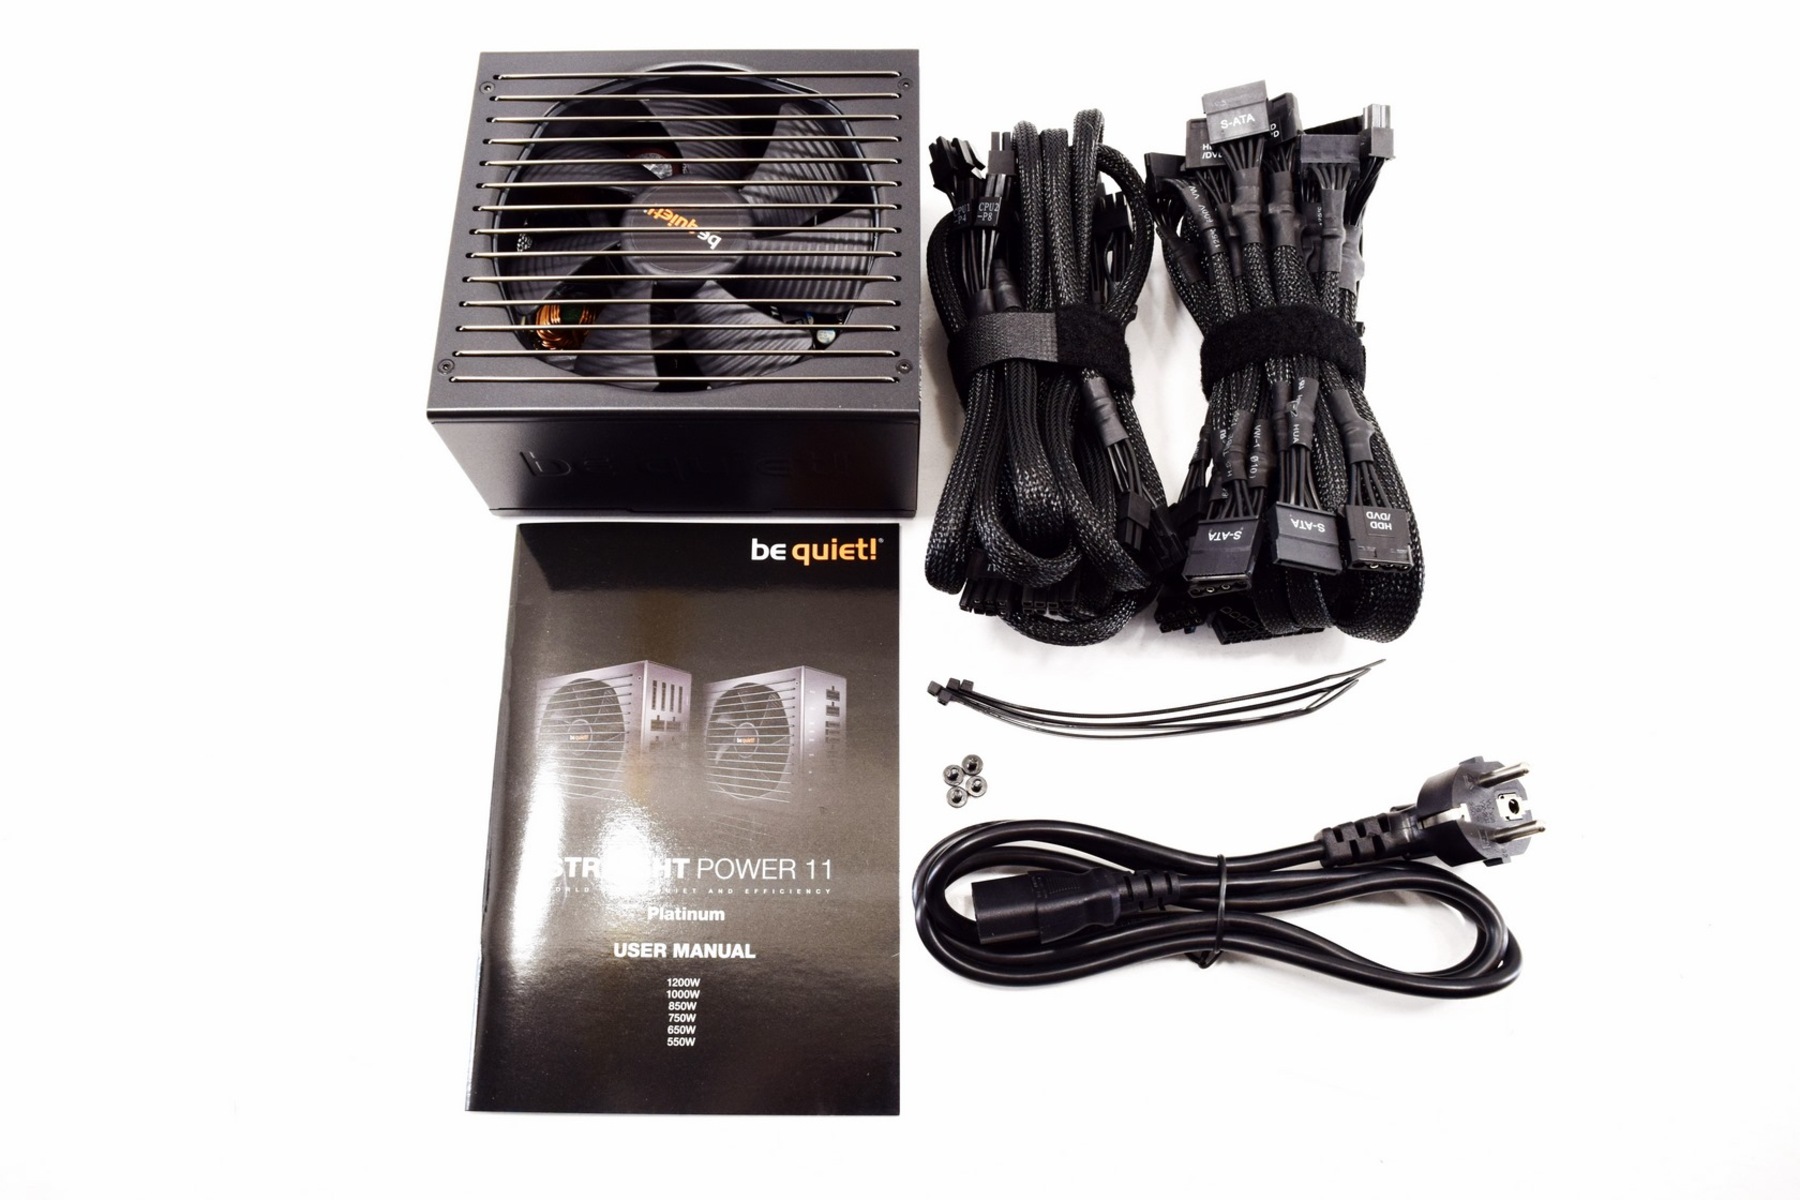
- Turn off the power switch on the power supply: On some computer cases, there is a power switch located on the power supply itself. Make sure to turn it off to ensure no power is flowing to the motherboard.
- Wait for residual power to discharge: After turning off the power supply, it is essential to wait for a few minutes to allow any residual power to discharge before proceeding further. This will ensure that there is no remaining electrical charge within the system.
By disconnecting the power supply, you are ensuring your safety and preventing any potential damage to the motherboard or other components. Remember, safety should always be the top priority when working with computer hardware.
Step 3: Opening the Computer Case
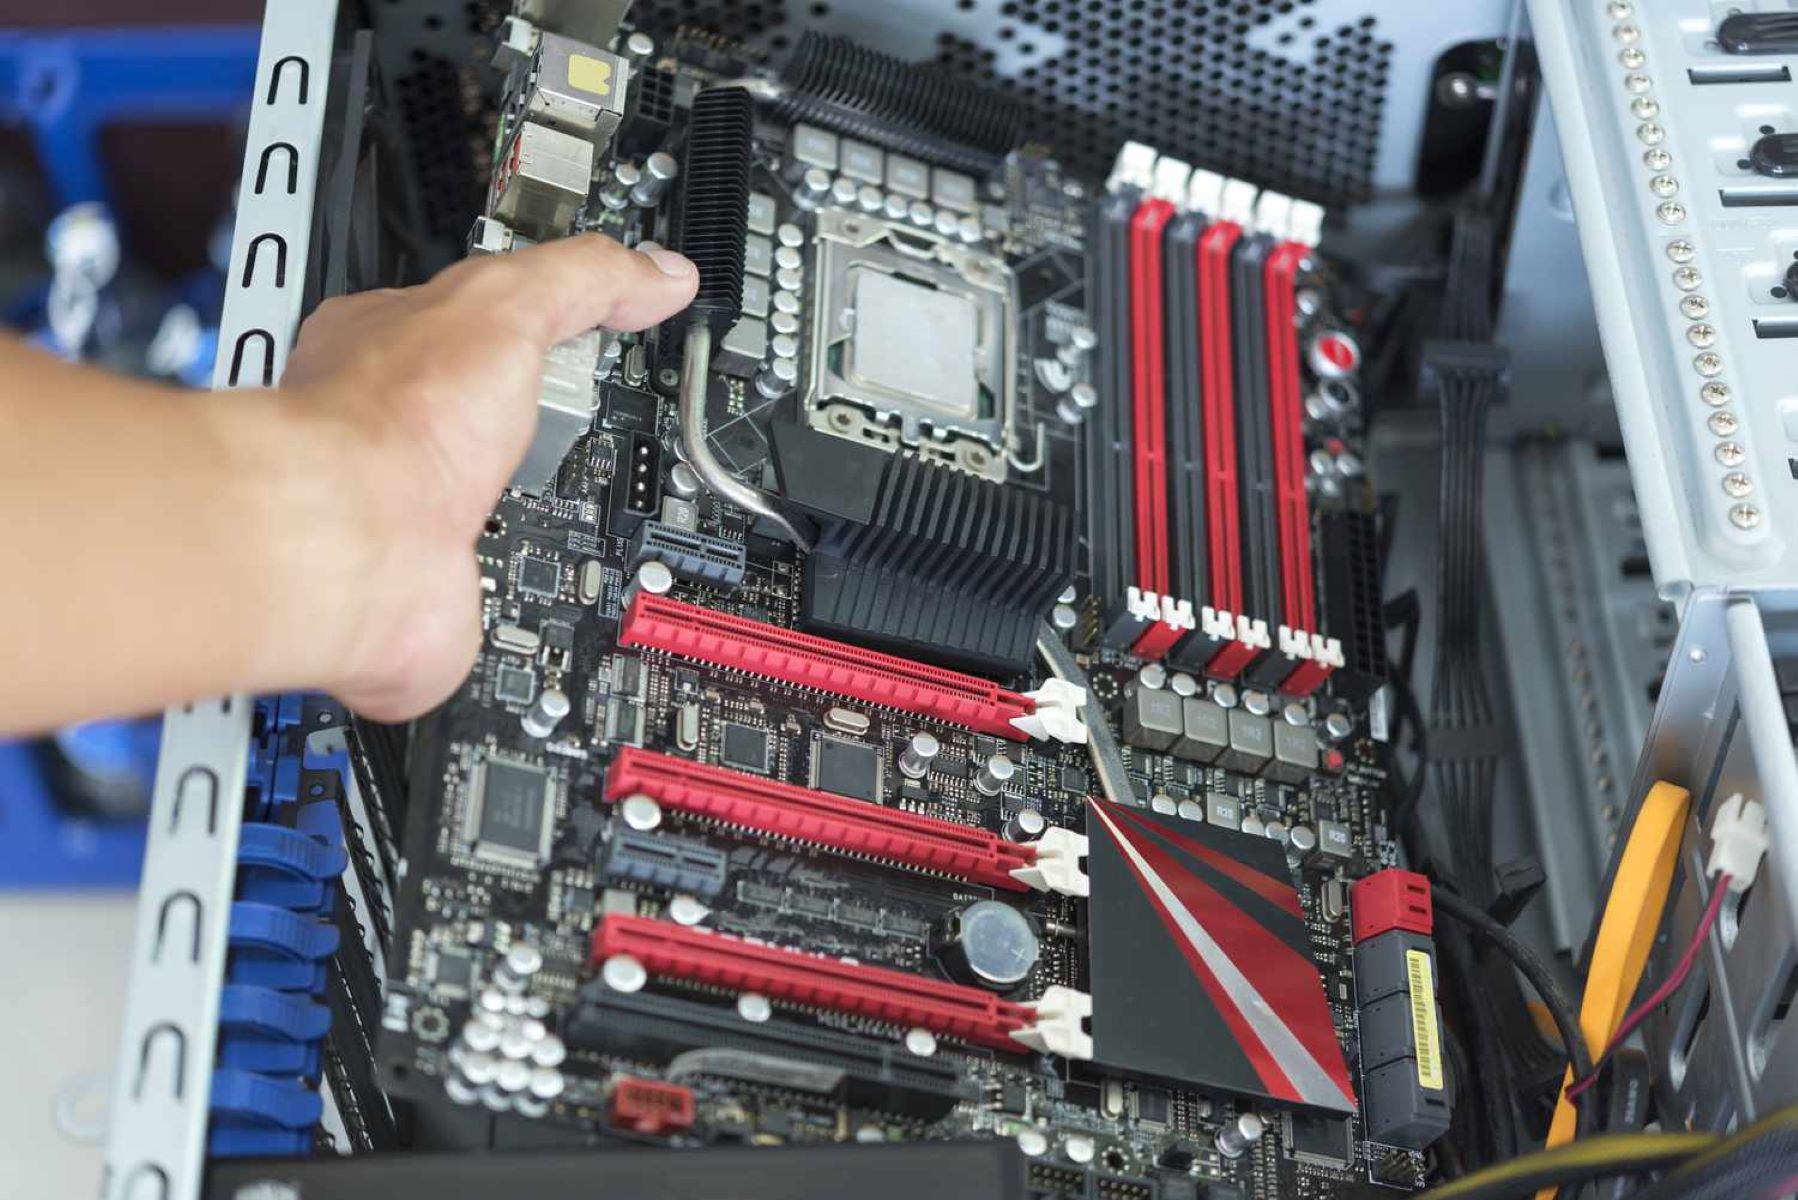
With the power supply disconnected, the next step is to open the computer case. Opening the case will give you access to the internal components, including the motherboard. Follow these steps to open your computer case:
- Locate the screws: Most computer cases have screws securing the side panel. Look for the screws on the back or side of the case.
- Use a screwdriver to remove the screws: Once you have located the screws, use a screwdriver to loosen and remove them. Place the screws in a safe place as you’ll need them to secure the side panel later.
- Remove the side panel: Once the screws are removed, gently slide or lift the side panel away from the computer case. Some cases may have a latch or lever that needs to be released to open the panel.
With the computer case open, be mindful of any cables or components inside. Take care not to damage any connections while working on the motherboard. You may want to use an anti-static wrist strap to ground yourself and prevent static electricity discharge that can damage sensitive components.
Opening the computer case may vary depending on your specific case model. If you’re unsure about how to open your case, consult the manufacturer’s manual or search for specific instructions online for your particular computer model.
Step 4: Locating the Motherboard Jumper
Once you have opened the computer case, the next step is to locate the motherboard jumper. The motherboard jumper is a small plastic connector that can be used to reset the CMOS and jumpstart the motherboard. Here’s how you can locate the jumper:
- Refer to the motherboard manual: The motherboard manual is an essential resource that provides detailed information about the layout and components of your motherboard. Check the manual to locate the jumper’s exact position on the motherboard.
- Identify the CMOS header: The jumper is typically located near the CMOS header, which is a set of pins on the motherboard labeled “CLR_CMOS” or “BIOS_RST.” The CMOS header may also be identified with a diagram in the motherboard manual.
- Inspect the jumper’s position: The jumper is a small plastic connector that can be connected to one or two of the pins on the CMOS header. Check the current position of the jumper to determine if it is in the default or reset position.
It is important to note that the exact location of the jumper may vary depending on the motherboard model. If you are having trouble locating the jumper or are unsure about its position, consult the motherboard manual or visit the manufacturer’s website for specific instructions.
Once you have located the motherboard jumper, you are ready to proceed to the next step of jumpstarting your motherboard.
Step 5: Removing the CMOS Battery
In some cases, instead of using a jumper, you may need to remove the CMOS battery to jumpstart the motherboard. The CMOS battery is a round, silver-colored battery located on the motherboard. Here’s how you can remove the CMOS battery:
- Locate the CMOS battery: Refer to the motherboard manual or visually inspect the motherboard to find the CMOS battery. It is typically located near the CPU socket or in a corner of the motherboard.
- Prepare yourself: Before removing the CMOS battery, take precautions to avoid static electricity discharge. You can wear an anti-static wrist strap or make sure to touch a grounded metal surface to discharge any static electricity.
- Remove the battery: Gently push the locking mechanism holding the battery in place to release it. Once released, carefully lift the battery out of its socket. Take note of the battery’s orientation, so you can correctly reinsert it later.
Removing the CMOS battery effectively clears the motherboard’s memory and resets the BIOS settings. This can help in resolving software or hardware conflicts that may be causing issues. If you are using a jumper to jumpstart the motherboard, you can skip this step and proceed to the next one.
Remember to handle the CMOS battery with care and store it in a safe place while you jumpstart the motherboard. Once you have successfully removed the battery, you can move on to the next step.
Step 6: Placing the Jumper
If your motherboard requires a jumper to jumpstart it, you will need to correctly place the jumper on the designated pins. The jumper acts as a bridge between certain pins to reset the CMOS and clear the motherboard’s memory. Here’s how you can place the jumper:
- Refer to the motherboard manual: The motherboard manual provides specific instructions on how to correctly place the jumper. It will indicate which pins the jumper needs to connect.
- Inspect the jumper: The jumper consists of a small plastic connector that can be placed on different sets of pins. Make sure the jumper is in the correct position for clearing the CMOS and resetting the motherboard.
- Place the jumper: Gently lift the jumper and align it with the designated pins. Ensure that it is firmly seated on the correct pins, connecting them to create a closed circuit.
Placing the jumper correctly is crucial for jumpstarting the motherboard. Double-check the manual and verify that the jumper is correctly positioned before proceeding to the next step. Once the jumper is in place, you can move on to the next step of jumpstarting your motherboard.
Step 7: Reinserting the CMOS Battery
If you have removed the CMOS battery in Step 5, now is the time to reinsert it into its socket on the motherboard. Reinserting the CMOS battery ensures that the motherboard retains the correct date, time, and BIOS settings. Here’s how you can reinsert the CMOS battery:
- Inspect the battery: Before reinserting the CMOS battery, take a moment to ensure it is clean and free from any debris or damage. If necessary, gently wipe it with a clean, dry cloth.
- Check the battery’s orientation: Take note of the orientation of the battery before removing it in Step 5. It typically has a positive (+) or a negative (-) symbol on one side. Align the battery correctly to match the markings on the battery socket.
- Place the battery back: Carefully lower the CMOS battery back into its socket, ensuring it is oriented correctly. Press it down gently to make sure it is securely seated in the socket.
Reinserting the CMOS battery allows the motherboard to retain the necessary settings and data. This step is important to ensure the proper functioning of the motherboard after jumpstarting it. With the CMOS battery successfully reinserted, you can proceed to the next step of jumpstarting your motherboard.
Step 8: Closing the Computer Case
Now that you have completed the necessary adjustments inside your computer case, it’s time to close it up. Closing the computer case ensures that all components are properly secured and protected. Here’s how you can close the computer case:
- Position the side panel: Take the side panel that you removed earlier and align it with the case. Make sure the panel properly fits into the designated slots or grooves.
- Slide or push the side panel back: Gently slide or push the side panel back into its original position, ensuring it is firmly in place. Use minimal force to avoid damaging any cables or components inside the case.
- Secure the side panel with screws: Grab the screws you removed in Step 3, and use a screwdriver to securely fasten the side panel back onto the case. Tighten the screws but avoid over-tightening, as it may strip the screw holes.
By closing the computer case, you are protecting the internal components from dust, debris, and accidental damage. It also helps to maintain proper airflow, which is crucial for cooling your computer.
Once the computer case is closed, you’re ready to move on to the next step and prepare to reconnect the power supply.
Step 9: Reconnecting the Power Supply
After successfully closing the computer case, the next step is to reconnect the power supply. Reconnecting the power supply will provide the necessary power to the motherboard and other components. Here’s how you can safely reconnect the power supply:
- Locate the power cord: Take the power cord that you disconnected earlier and locate the corresponding power socket on the back of your computer case.
- Plug in the power cord: Align the plug with the power socket and insert it firmly until it is fully connected. Ensure that there are no loose connections.
- Turn on the power switch on the power supply: If your power supply has a power switch, make sure to turn it on. This will enable the flow of power to the motherboard and other components.
With the power supply reconnected, your computer is now ready to be powered on. However, before you do so, it’s essential to conduct one final check to ensure everything is in place and secure.
Make sure that all cables are properly connected and securely fastened. Additionally, ensure that the computer case is free from any tools or debris that may have been left behind during the process. Taking a few extra moments to double-check will help prevent any potential issues when powering on your computer.
Once you are confident that everything is in order, you can proceed to the final step of jumpstarting your motherboard.
Step 10: Testing the Motherboard
Now that you have completed the jumpstarting process, it’s time to test the motherboard and see if the issues you were experiencing have been resolved. Here’s how you can test the motherboard:
- Reconnect peripherals: Connect your monitor, keyboard, mouse, and any other peripheral devices that you normally use with your computer.
- Reconnect power: Plug in your computer and turn on the power switch on the power supply.
- Power on the computer: Press the power button on your computer case to turn it on.
- Observe the startup process: Watch the screen and listen for any error messages or abnormal behavior during the startup process.
- Check for functionality: After the computer has started up, test various functions, such as accessing the BIOS, running programs, and connecting to the internet. Ensure that everything is working as expected.
If the motherboard appears to be functioning properly and your computer is running without any issues, the jumpstarting process was successful in resolving the problems you were facing. However, if you still encounter any issues, it may be necessary to seek further assistance or consult a professional technician for additional troubleshooting.
Remember to monitor your computer over the next few days to ensure that the issues do not reoccur. If they persist, it may indicate a more serious problem that requires professional attention.
Congratulations! You have successfully jumpstarted your motherboard and tested its functionality. With your computer up and running smoothly, you can now continue using it without the previous issues hindering your experience.