Introduction
Welcome to our guide on how to jump-start a PSU (Power Supply Unit). If you’re experiencing issues with your computer not turning on or certain components not receiving power, jump-starting the PSU can be a useful troubleshooting step. In this article, we’ll explain what a PSU is, why jump-starting is necessary, the tools you’ll need, precautions to take, step-by-step instructions, how to test the PSU afterwards, and common troubleshooting tips.
A PSU is a critical component of a computer that supplies power to all other hardware components. It converts AC power from the wall outlet into DC power that is safe and compatible with the computer’s internal components. Sometimes, the PSU can fail to start due to various reasons, such as a faulty power switch or internal component failure. Jump-starting the PSU can help determine if it is the cause of the problem.
Before diving into the process of jump-starting a PSU, it’s important to gather the necessary tools. You’ll need a paperclip or a PSU jumper wire, which will be used to bypass the power switch and manually start the PSU. Additionally, having a multimeter can come in handy for testing the output voltage of the PSU later on.
When dealing with electricity, it’s crucial to take precautions to ensure your safety and prevent damage to your computer. Always make sure to unplug the computer from the power outlet and disconnect all cables before working inside the case. Be cautious of static electricity by grounding yourself by touching a metal object before handling any sensitive components.
Now that we’ve covered the basics, let’s jump right into the step-by-step process of jump-starting a PSU. Following these instructions carefully will help you safely power up your PSU and determine if it’s the cause of the issues you’re experiencing.
What is a PSU and Why is Jump-Starting Necessary?
A Power Supply Unit (PSU) is a crucial component in a computer that provides electrical power to all the other hardware components. It takes the alternating current (AC) power from the wall outlet and converts it into direct current (DC) power that is used by the computer’s internal components.
Jump-starting a PSU becomes necessary when you encounter issues with your computer not powering on or certain components not receiving power. There can be several reasons why a PSU fails to start, such as a faulty power switch, loose connections, or internal component failures. Jump-starting the PSU is a way to bypass these potential issues and determine if the PSU itself is causing the problem.
By jump-starting the PSU, you essentially bypass the power switch and directly apply power to the PSU. This allows you to check if the PSU can properly supply power to the other components of the computer. If the PSU turns on and the computer powers up after jump-starting, it indicates that the PSU is functioning correctly, and the problem lies elsewhere in the system.
Jump-starting the PSU can help you narrow down the source of the power-related issues in your computer. It eliminates the need to replace the PSU unnecessarily and prevents you from spending money on a new PSU when the problem may be due to other factors.
Additionally, jump-starting a PSU can help in troubleshooting other hardware problems. For example, if certain components are not receiving power, jump-starting the PSU can help determine if the issue lies with the PSU or the specific component itself. This information can be valuable when seeking further assistance or considering replacement options.
It’s important to note that jump-starting a PSU should be done with caution and only as a diagnostic step. If you’re not confident or comfortable working with electrical components, it’s best to seek assistance from a professional or an experienced individual.
Now that we have a better understanding of what a PSU is and why jump-starting is necessary, let’s move on to the tools you’ll need to jump-start a PSU.
The Tools You’ll Need
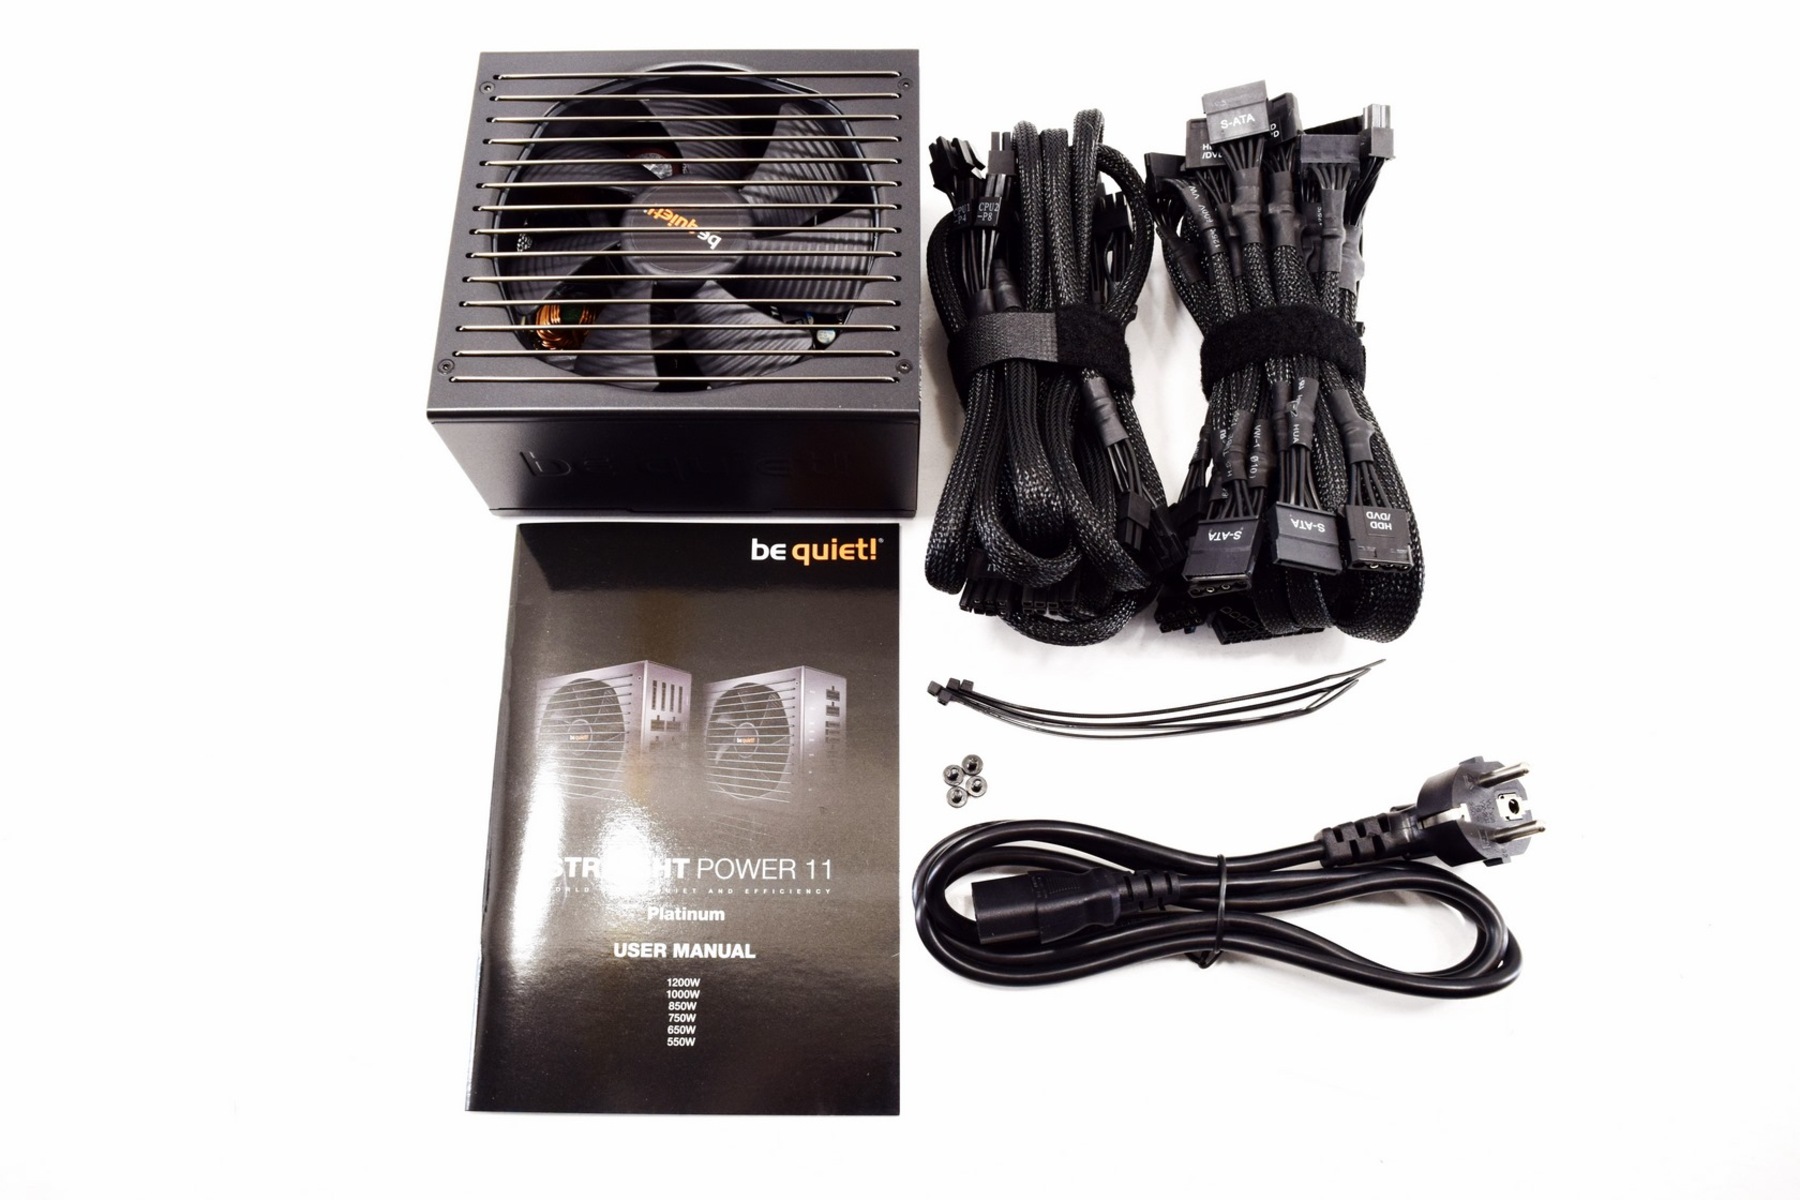
Before you can jump-start a PSU, it’s important to gather the necessary tools. Most of these tools are readily available and can be found around your home or easily purchased from electronics stores. Here are the tools you’ll need:
- 1. Paperclip or PSU jumper wire: This is the main tool you’ll use to jump-start the PSU. A paperclip can be bent into a U-shape to bridge the necessary pins, or you can use a PSU jumper wire if you have one.
- 2. Multimeter (optional): While not absolutely necessary, having a multimeter can be handy for testing the output voltage of the PSU after jump-starting. It helps you determine if the PSU is delivering the correct voltage to the components.
- 3. Screwdriver: You may need a screwdriver to open the computer case and access the PSU. The type of screwdriver required may vary depending on your computer’s casing.
It’s important to note that not all PSUs are the same, and the specific method of jump-starting may vary slightly depending on your PSU model. You may need to consult the manufacturer’s documentation or online resources specific to your PSU for more accurate instructions.
Now that we’ve covered the tools you’ll need, let’s move on to the precautions you should take before jump-starting the PSU to ensure your safety and the safety of your computer.
Precautions before Jump-Starting
Before you begin the process of jump-starting a PSU, it’s important to take certain precautions to ensure your safety and prevent any damage to your computer. Here are the precautions you should follow:
- 1. Unplug the computer: Before you start working inside the computer case, always remember to unplug your computer from the power outlet. This will prevent any potential electrical shocks while handling the PSU or other components.
- 2. Disconnect all cables: Ensure that all cables, including the power cord, monitor cables, and any connected peripheral cables, are unplugged from the computer. This will minimize the risk of accidental contact with live wires and prevent any damage to the components.
- 3. Ground yourself: Static electricity can damage sensitive computer components. To prevent any static discharge, ground yourself by touching a metal object before handling any internal components. You can also wear an anti-static wrist strap for added protection.
- 4. Choose a safe work area: Find a clean, well-lit, and static-free work area to perform the jump-starting process. Make sure the surface is non-conductive to avoid any electrical hazards.
- 5. Follow manufacturer’s instructions: Different PSUs may have specific instructions for jump-starting. It’s recommended to refer to the manufacturer’s documentation or online resources for your specific PSU model to ensure you follow the correct procedure.
By following these precautions, you can minimize the risk of electrical hazards and protect both yourself and your computer from any potential damage.
With the necessary precautions in mind, let’s now proceed to the step-by-step instructions on how to jump-start a PSU.
Steps to Jump-Start a PSU
Jump-starting a PSU may seem daunting, but it’s a relatively straightforward process. Follow these steps carefully to safely jump-start your PSU:
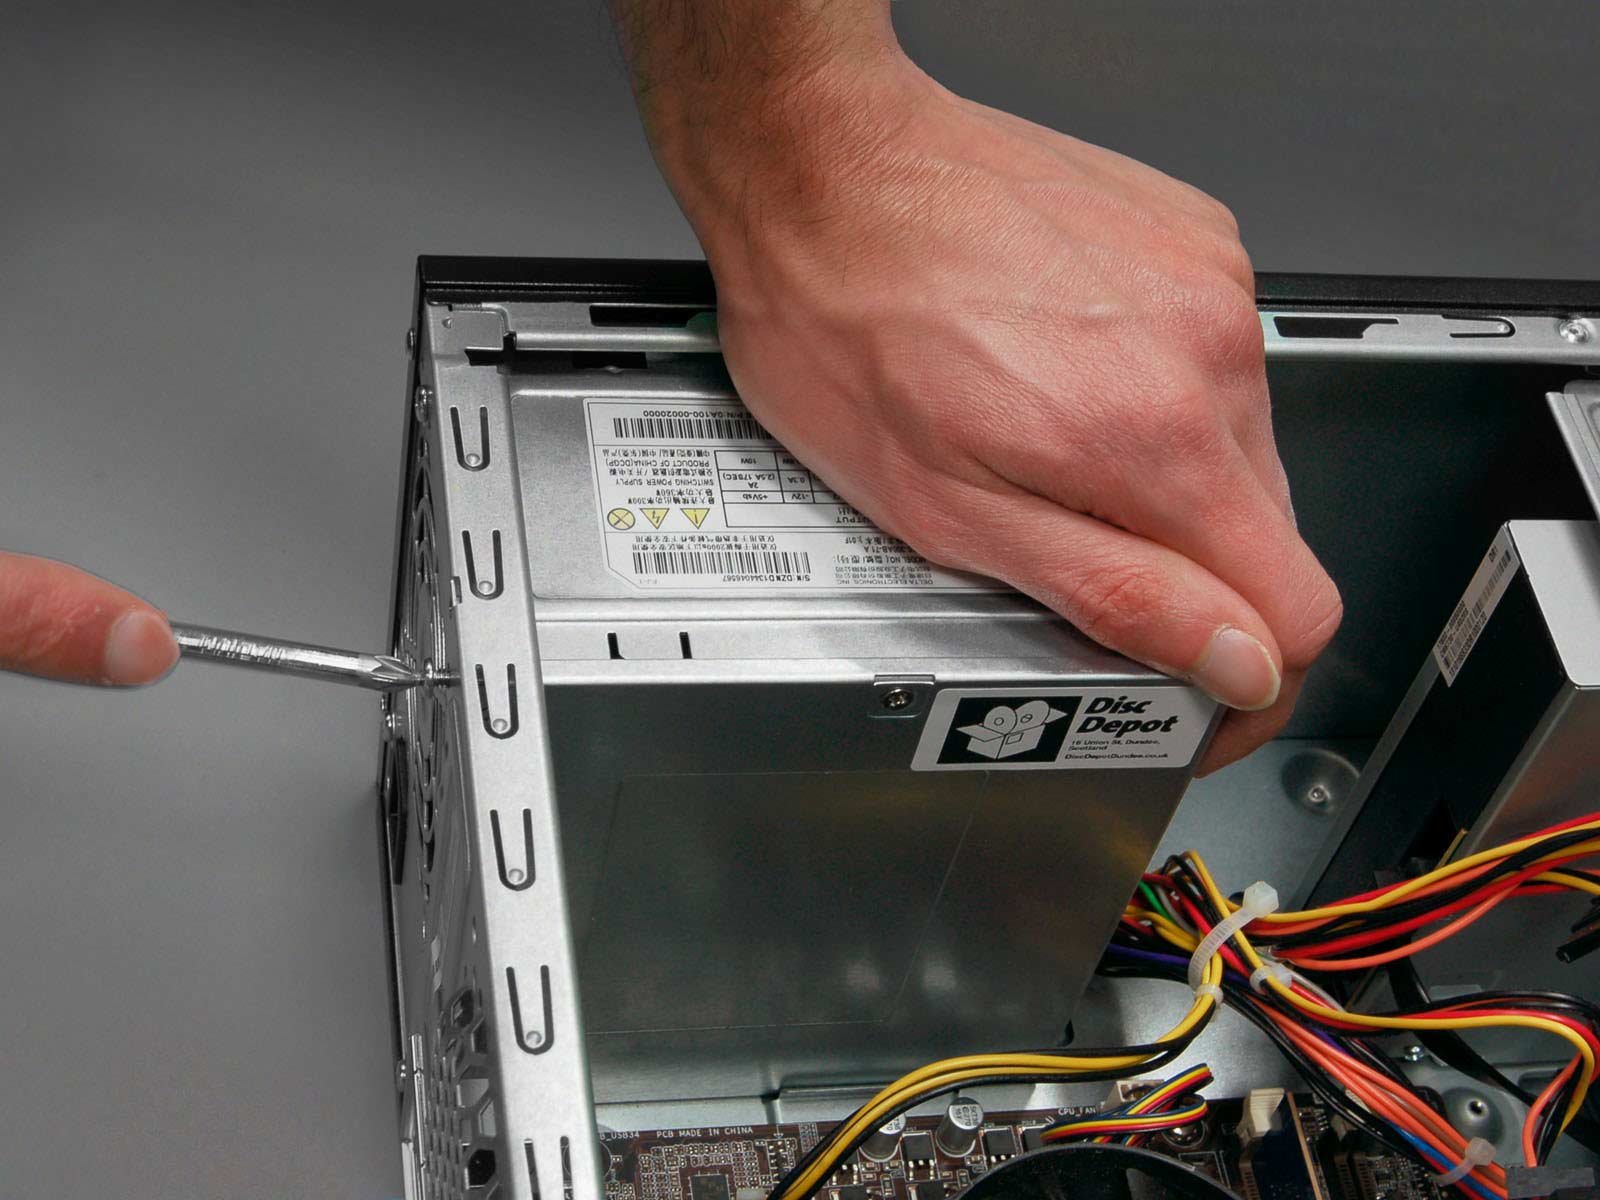
- 1. Prepare the PSU: Make sure your computer is powered off and unplugged from the power outlet. Open the computer case by removing the screws holding the side panel in place. Locate the PSU, which is typically at the top or bottom of the case. Identify the main 24-pin connector that connects the PSU to the motherboard.
- 2. Locate the green wire: Look for the green wire in the 24-pin connector. This wire should be connected to a black wire. These two wires are the ones you’ll need to bridge or connect to jump-start the PSU.
- 3. Form a bridge: Take a paperclip or PSU jumper wire and bend it into a U shape. Insert one end of the paperclip or the PSU jumper wire into the green wire socket and the other end into any of the black wire sockets.
- 4. Connect the PSU to power: Plug the PSU into a power outlet using the power cord but do not turn it on just yet.
- 5. Testing the PSU: If everything is properly connected, you should see the PSU fan start spinning, indicating that power is being supplied. You can also use a multimeter to measure the output voltage from the PSU to ensure it’s within the specified range.
- 6. Disconnect the bridge: Once you’ve confirmed that the PSU is running and delivering power, carefully remove the paperclip or PSU jumper wire from the 24-pin connector. Make sure the PSU is powered off and unplugged before removing the bridge.
- 7. Reassemble your computer: Put the computer case back together by securing the side panel with the screws. Reconnect all the cables and peripherals that were disconnected earlier. Plug the computer back into the power outlet.
By following these steps, you can safely jump-start your PSU and determine if it is functioning correctly. Remember to always exercise caution and refer to the manufacturer’s instructions specific to your PSU model for any additional guidance.
Keep in mind that jump-starting the PSU is a diagnostic step and does not fix underlying issues. If you continue to experience problems with your computer, it’s advisable to seek professional help or further troubleshoot the specific components causing the problems.
Now that you’ve successfully jump-started the PSU, let’s move on to testing the PSU to ensure it’s functioning properly.
Testing the PSU after Jump-Starting
After jump-starting your PSU, it’s important to test its functionality to ensure that it’s delivering the correct voltage to your computer’s components. Here are the steps to test the PSU after jump-starting:
- 1. Power off your computer: Make sure your computer is powered off and unplugged from the power outlet.
- 2. Disconnect power cables: Remove all power cables connected to the components such as hard drives, graphics cards, and motherboard.
- 3. Connect the multimeter: Set your multimeter to DC voltage mode and connect the black probe to a ground point or any black wire on a molex connector. Then, connect the red probe to the yellow wire on the 24-pin connector.
- 4. Turn on the PSU: Plug the PSU back into the power outlet and flip the switch to turn it on.
- 5. Read the multimeter: The multimeter should display the voltage output from the PSU. Depending on your PSU and computer setup, you should see +3.3V, +5V, and +12V readings. Compare the actual readings to the specifications provided by the PSU manufacturer.
- 6. Check for stability: Observe the multimeter readings for any fluctuations or abnormal behaviors. The readings should remain stable within an acceptable range. Fluctuations or significant deviations from the specified voltage levels may indicate a problem with the PSU.
- 7. Power off and reassemble: Once you’ve completed the testing, power off the PSU and disconnect it from the power outlet. Reconnect the power cables to your components and ensure they are securely connected. Close the computer case and tighten the screws.
Performing these tests will help you determine if the PSU is functioning correctly and providing the required power to your computer’s components. If you notice any anomalies or readings outside the specified ranges, it may indicate a faulty PSU that requires further investigation or replacement.
It’s important to note that multimeters vary, so consult the user manual for your specific model to understand how to use it correctly and read the measurements accurately.
With the PSU tested, you can now troubleshoot any other issues you may encounter during the booting process. Let’s discuss some common troubleshooting tips in the next section.
Troubleshooting Common Issues
While jump-starting the PSU can help identify power-related problems, there may still be other issues that can prevent your computer from functioning properly. Here are some common troubleshooting tips to help you address these issues:
- 1. Check connections: Ensure that all cables and components are securely connected inside your computer. Loose cables or improperly seated components can cause power issues.
- 2. Test individual components: If you have multiple components connected to your PSU, such as hard drives or graphics cards, try disconnecting them one by one and testing if the computer powers on. This helps identify if a specific component is causing the problem.
- 3. Reset the BIOS: Resetting the BIOS to its default settings can sometimes resolve booting or power-related issues. Check your motherboard manual for instructions on how to reset the BIOS.
- 4. Check for overheating: Overheating can cause your computer to shut down or not power on at all. Make sure your CPU and GPU temperatures are within normal ranges and check that your cooling system (fans, heat sinks) is functioning properly.
- 5. Use a different power outlet: Sometimes, the issue can be related to the power outlet itself. Try plugging your computer into a different outlet to rule out any electrical problems.
- 6. Test with a different PSU: If all else fails, consider testing your computer with a different, known-working PSU. This will help determine if the problem lies with the original PSU or elsewhere in the system.
It’s important to approach troubleshooting systematically and eliminate potential causes step by step. By isolating specific components or testing with alternative hardware, you can narrow down the root cause of the issue and apply the appropriate fix.
If you’re unable to resolve the problem on your own, it’s advisable to seek assistance from a professional technician or consult the support resources provided by your computer or component manufacturer.
By following these troubleshooting tips, you can address common issues that may arise even after jump-starting the PSU.
Conclusion
Jump-starting a PSU can be a valuable step in troubleshooting power-related issues with your computer. By bypassing the power switch and directly supplying power to the PSU, you can determine if it is functioning correctly or if there are other underlying issues causing the problem.
In this guide, we’ve covered the basics of what a PSU is, why jump-starting is necessary, the tools you’ll need, precautions to take, step-by-step instructions, how to test the PSU after jump-starting, and common troubleshooting tips.
Remember to always prioritize safety when working with electrical components. Unplug your computer from the power outlet, disconnect all cables, ground yourself to prevent static discharge, and follow the manufacturer’s instructions for your specific PSU model.
If you encounter issues that persist even after jump-starting the PSU, be sure to follow the troubleshooting tips we provided. Check connections, test individual components, reset the BIOS, monitor temperatures, and consider testing with a different PSU if necessary.
If you’re unsure or uncomfortable with jump-starting the PSU or troubleshooting on your own, don’t hesitate to seek assistance from a professional technician or consult the support resources provided by your computer or component manufacturer.
We hope this guide has helped you understand the process of jump-starting a PSU and provided helpful insights for troubleshooting power-related issues. By following these steps and tips, you’ll be well-equipped to diagnose and resolve common problems with your computer’s power supply.