Choosing the Right Cables and Adapters
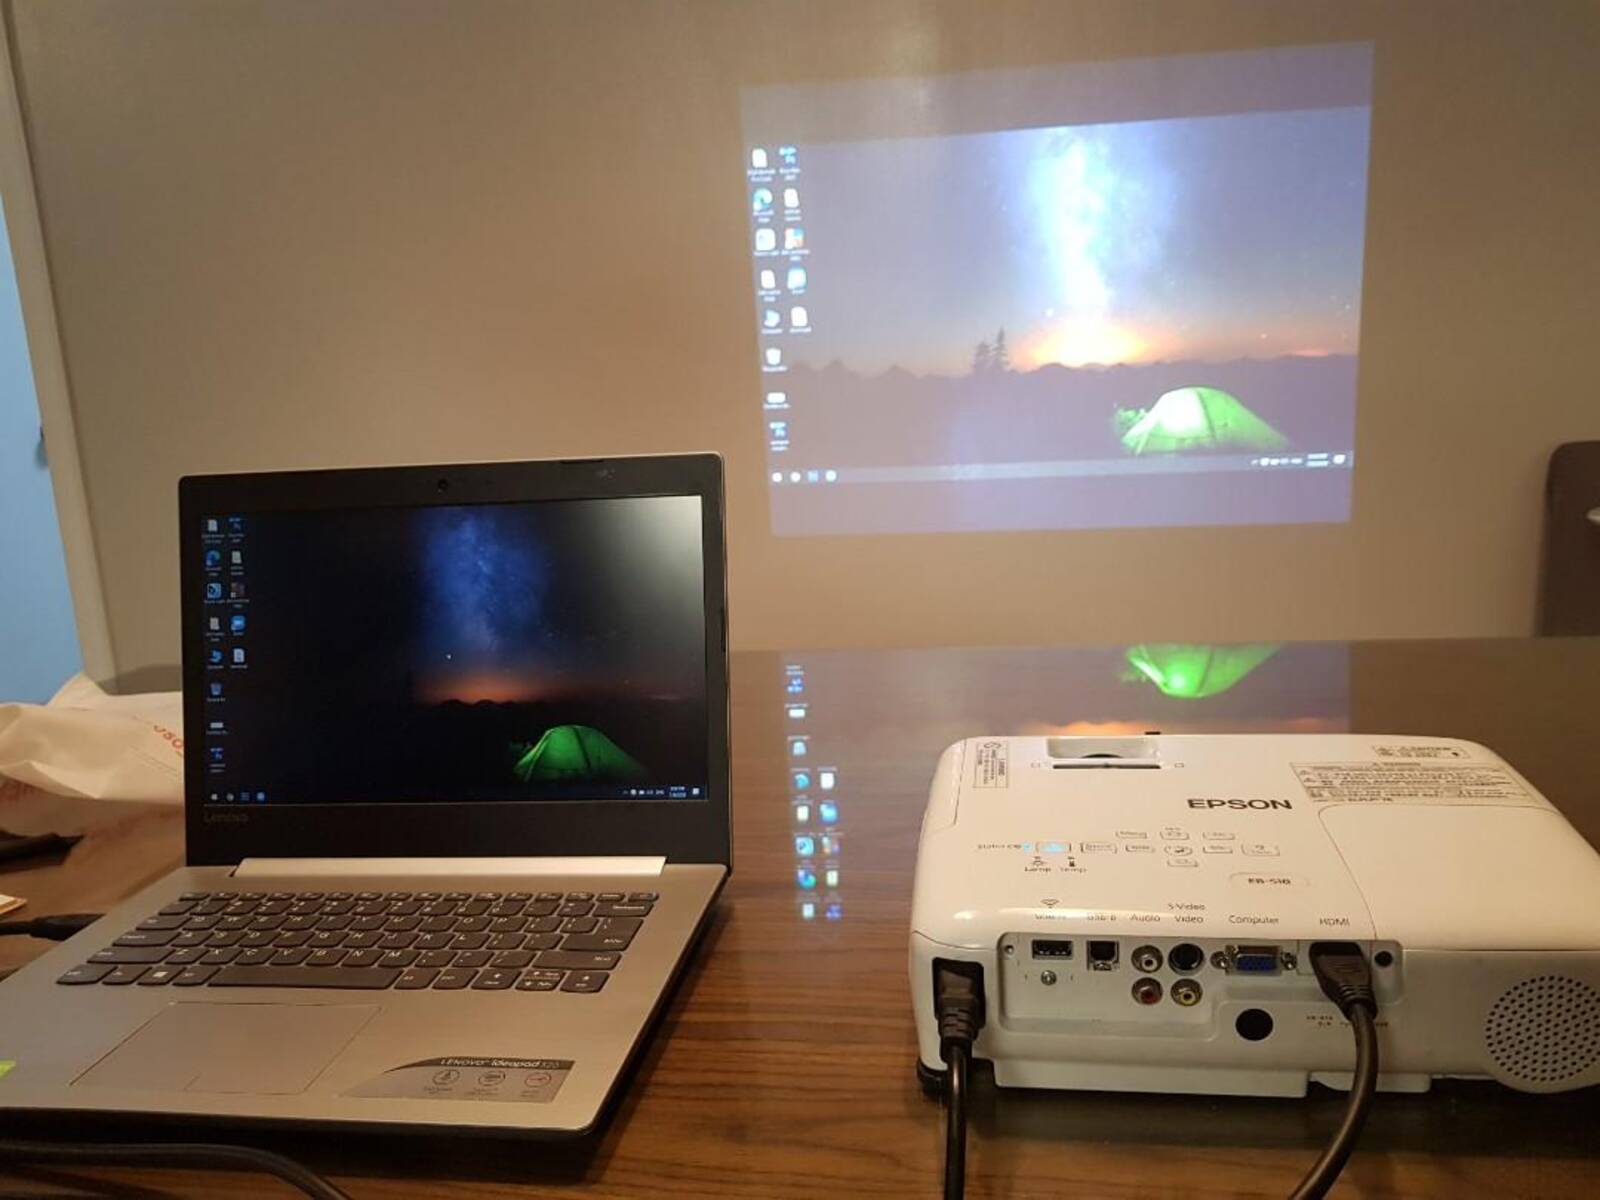
Before you can connect your laptop to a projector, you need to make sure you have the right cables and adapters. The type of connection you’ll need depends on the available ports on both your laptop and the projector.
There are three common types of connections: VGA, HDMI, and USB-C. VGA is the oldest and most widely used, while HDMI and USB-C offer better image quality and additional features.
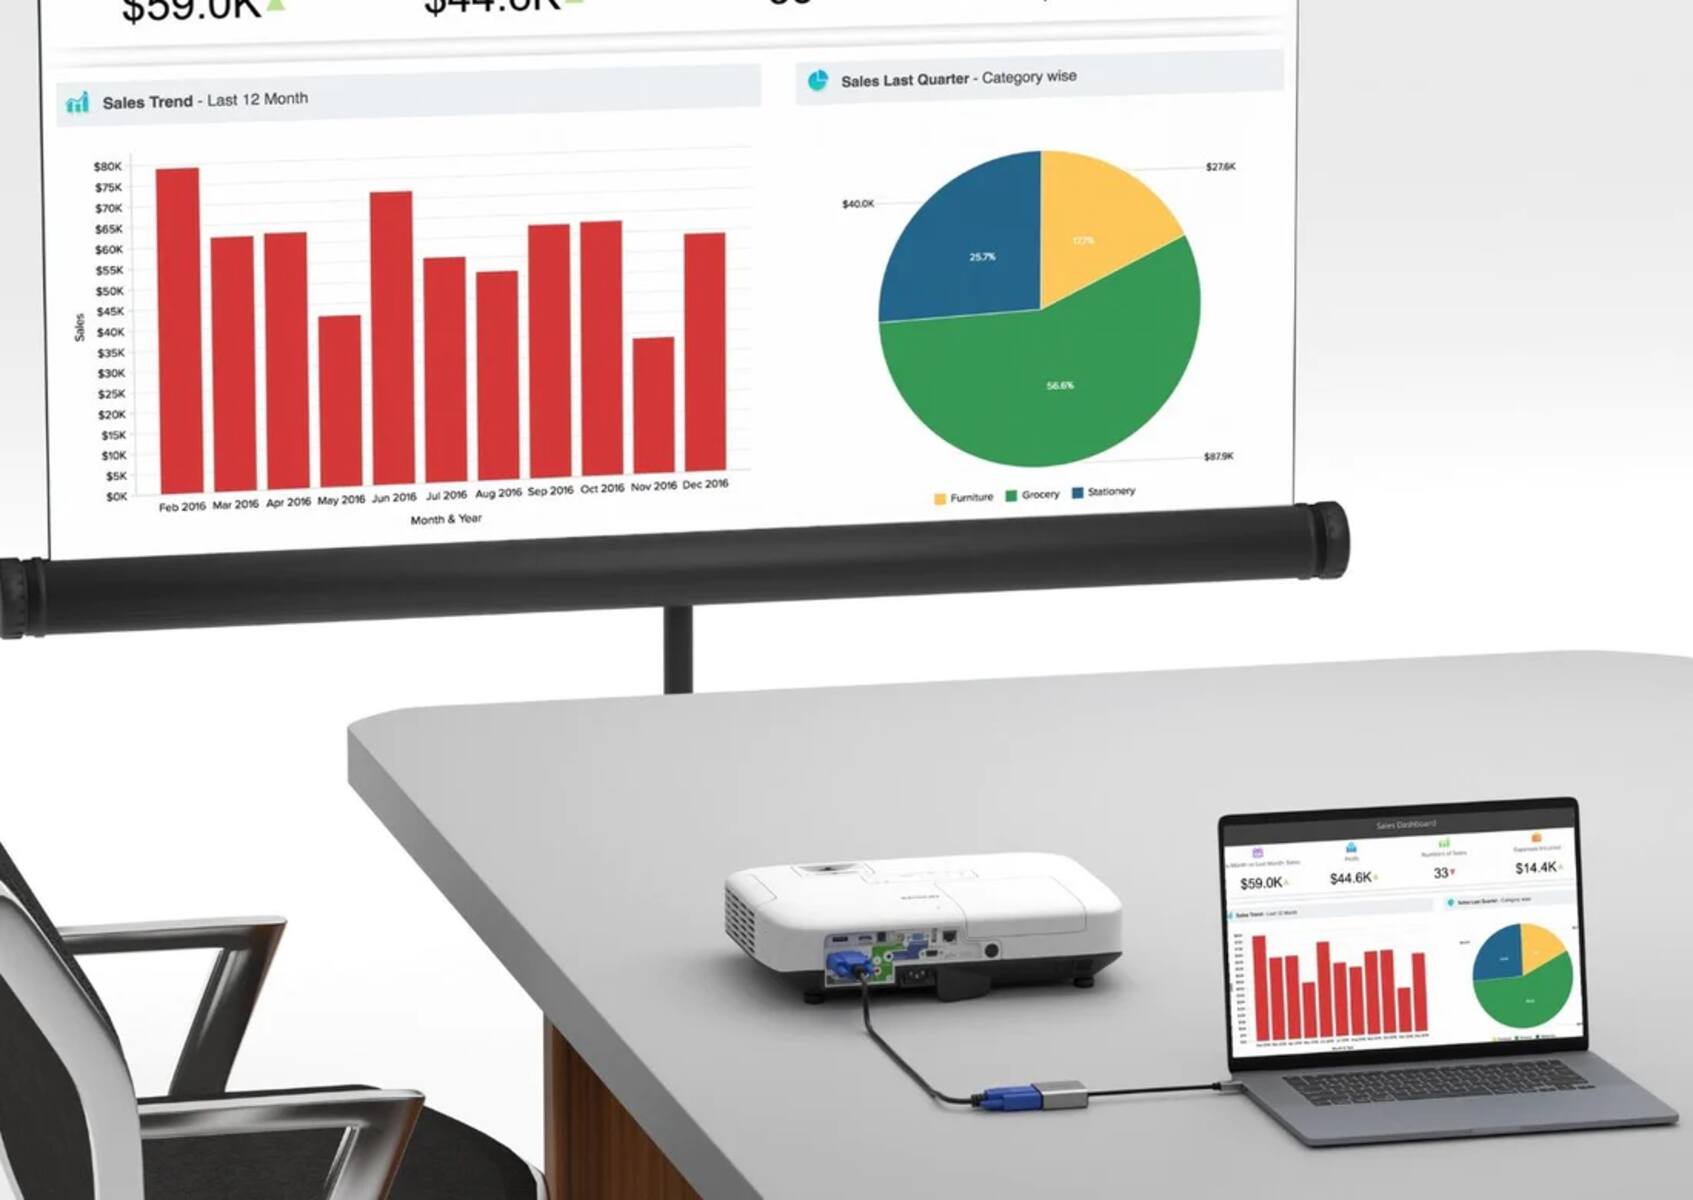
If your laptop and projector both have VGA ports, all you’ll need is a VGA cable to connect them. Make sure the cable is long enough to reach from your laptop to the projector. VGA cables typically have blue connectors and are easy to identify.
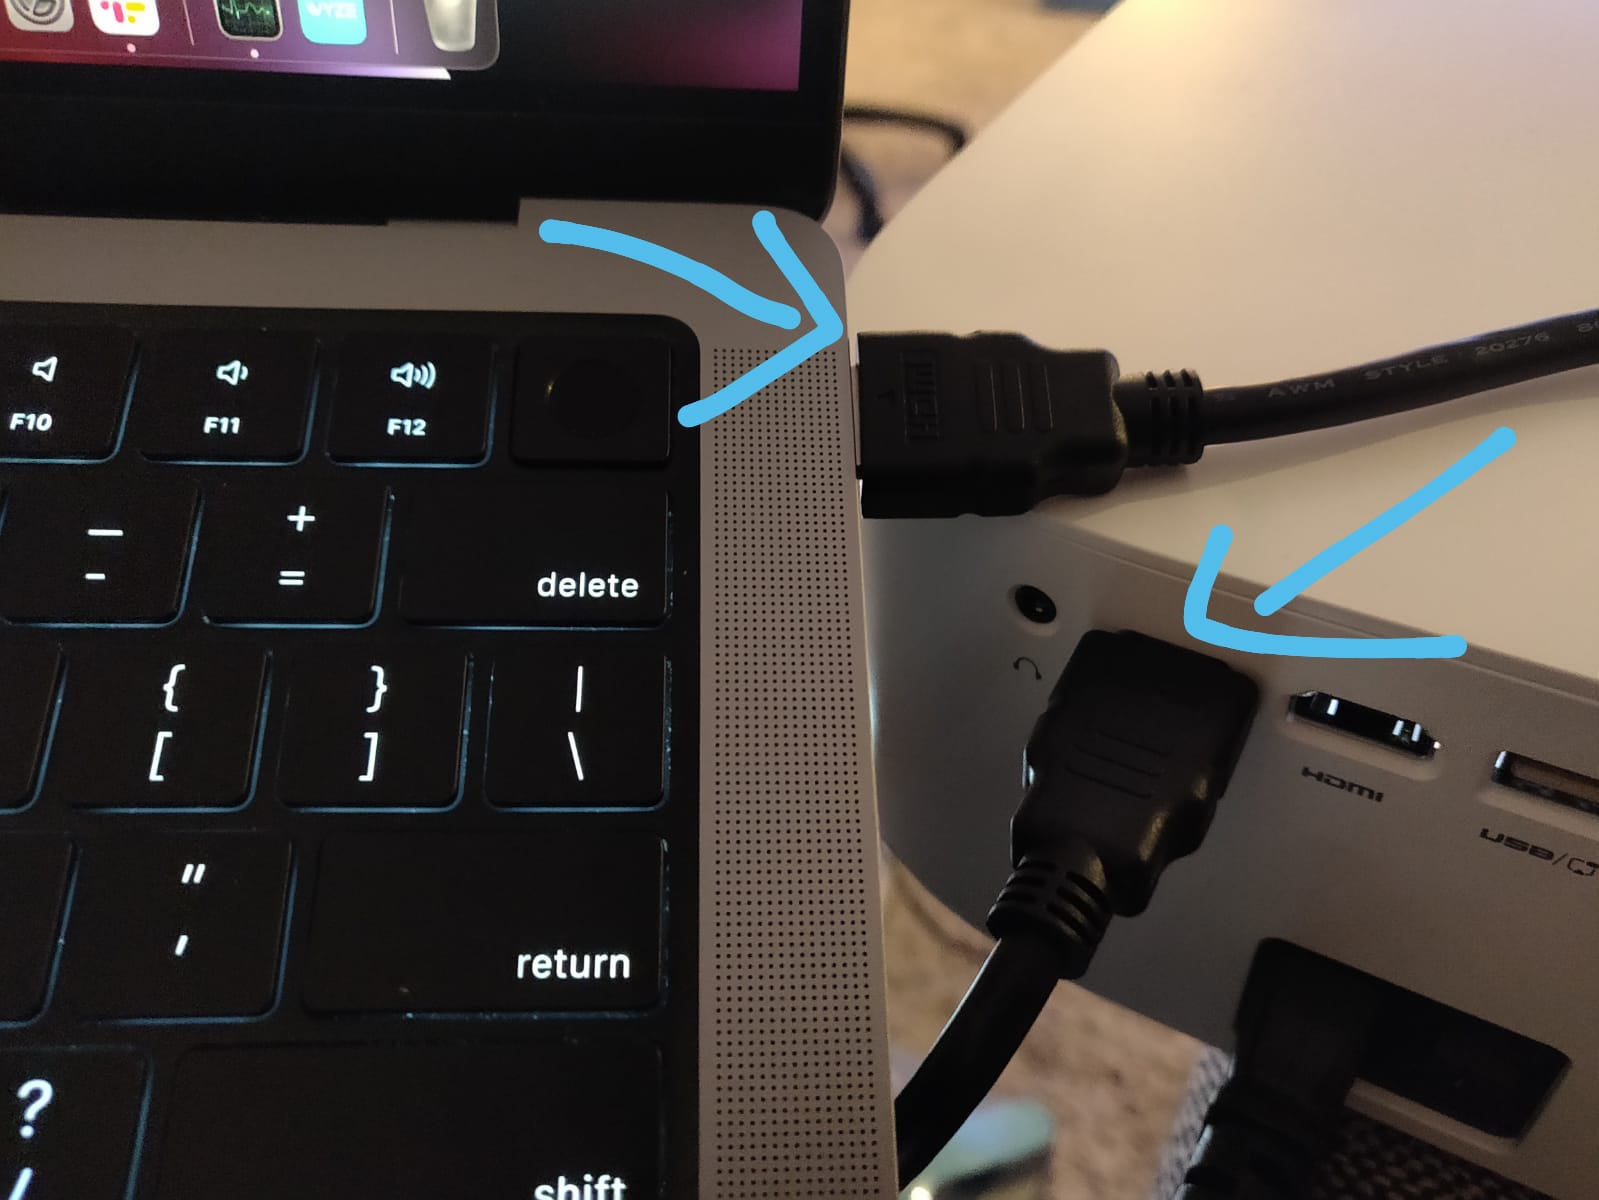
If your laptop and projector have HDMI ports, a simple HDMI cable will be sufficient. HDMI cables transmit both audio and video signals, making them ideal for high-definition presentations. Look for HDMI cables with gold-plated connectors for optimal signal transfer.
If your laptop has a USB-C port, you can use a USB-C to HDMI adapter to connect to the projector. This is a convenient option for newer laptops that may not have dedicated HDMI ports. Make sure the adapter is compatible with your laptop and supports video output.
Remember to check the available ports on both your laptop and the projector to ensure compatibility. It’s also a good idea to have a few different cables and adapters on hand, just in case you encounter different connection requirements in various settings.
Now that you know which cables and adapters to use, let’s move on to the next step: connecting your laptop to the projector.
Connecting the Laptop to the Projector via VGA
If your laptop and projector both have VGA ports, connecting them is a straightforward process. Here’s a step-by-step guide:
- Ensure that both your laptop and the projector are turned off before you start.
- Locate the VGA ports on your laptop and the projector. The VGA port on your laptop is usually blue and has three rows of pins.
- Take one end of the VGA cable and connect it to the VGA port on your laptop. Make sure the connection is secure by tightening the screws on either side of the connector.
- Take the other end of the VGA cable and connect it to the VGA port on the projector. Again, secure the connection with the screws.
- Once the cable is connected, turn on both your laptop and the projector.
- On your laptop, press the Windows key and the P key simultaneously. This will open the display settings on your laptop.
- In the display settings, select the “Duplicate” or “Extend” option to choose how you want the display to appear on the projector. “Duplicate” will mirror your laptop’s screen, while “Extend” will extend the display to the projector.
- After selecting the display option, give your laptop a moment to recognize the projector. You should see your laptop’s screen displayed on the projector.
- Adjust the position and resolution of the projected image, if needed, by accessing the display settings on your laptop or the projector itself.
- Once you’re done, properly shut down your laptop and turn off the projector.
Connecting your laptop to a projector via VGA is a reliable and straightforward method. However, keep in mind that VGA cables do not transmit audio, so you’ll need a separate audio connection if you want sound to come from the projector.
Now that you’ve successfully connected your laptop to the projector via VGA, let’s explore other connection options.
Connecting the Laptop to the Projector via HDMI
If your laptop and projector both have HDMI ports, connecting them is a breeze. HDMI offers superior video quality and the convenience of transmitting audio and video signals through a single cable. Here’s how you can connect your laptop to the projector via HDMI:
- Make sure your laptop and the projector are turned off before you begin.
- Locate the HDMI ports on your laptop and the projector. The HDMI port on your laptop is typically rectangular and labeled as “HDMI”.
- Take one end of the HDMI cable and insert it into the HDMI port on your laptop.
- Connect the other end of the HDMI cable to the HDMI port on the projector.
- Once the cable is connected, turn on both your laptop and the projector.
- On your laptop, press the Windows key and the P key simultaneously to access the display settings.
- In the display settings, choose either the “Duplicate” or “Extend” option to determine how you want the display to appear on the projector.
- Wait for your laptop to recognize the projector. After a few moments, the projector should display your laptop’s screen.
- If necessary, adjust the position and resolution of the projected image by accessing the display settings on your laptop or the projector itself.
- After you’re finished, properly shut down your laptop and turn off the projector.
Connecting your laptop to a projector via HDMI is a convenient option because it supports both audio and video signals. This eliminates the need for additional audio connections and provides a seamless multimedia experience.
Now that you’ve successfully connected your laptop to the projector via HDMI, let’s explore another popular connection option: USB-C.
Connecting the Laptop to the Projector via USB-C
If your laptop has a USB-C port and the projector supports USB-C connectivity, connecting them is convenient and hassle-free. USB-C offers a versatile and high-speed connection, capable of transmitting both audio and video signals. Here’s how you can connect your laptop to the projector via USB-C:
- Ensure that both your laptop and the projector are turned off.
- Locate the USB-C port on your laptop. It is a small, oval-shaped port that may be labeled as “USB-C”.
- Obtain a USB-C to HDMI adapter that is compatible with your laptop.
- Connect the USB-C end of the adapter to the USB-C port on your laptop.
- Take an HDMI cable and connect one end to the HDMI port on the adapter.
- Connect the other end of the HDMI cable to the HDMI port on the projector.
- Ensure all connections are secure.
- Turn on both your laptop and the projector.
- Press the Windows key and the P key on your laptop simultaneously to access the display settings.
- In the display settings, select the “Duplicate” or “Extend” option to choose how you want the display to appear on the projector.
- Wait for your laptop to recognize the projector, and you should see your laptop’s screen displayed on the projector.
- If necessary, adjust the position and resolution of the projected image through the display settings on your laptop or the projector’s menu.
- After you’re done, properly shut down your laptop and turn off the projector.
Connecting your laptop to the projector via USB-C provides a seamless and efficient experience, thanks to the combined audio and video transmission capabilities. It’s important to note that compatibility may vary between different laptop models and adapters. Make sure to check the specifications and compatibility of your devices before making a purchase.
Now that you’ve successfully connected your laptop to the projector via USB-C, let’s move on to the next step: adjusting the display settings on your laptop.
Adjusting Display Settings on the Laptop
Once you have connected your laptop to the projector, it’s important to adjust the display settings to ensure the best viewing experience. Here’s how you can tweak the display settings on your laptop:
- On your laptop, right-click on the desktop and select “Display settings” from the context menu.
- A window will open with various display settings options.
- Make sure the correct display is selected. In most cases, you will see two options: your laptop’s built-in display and the external projector.
- If you want to mirror your laptop’s screen on the projector, select the “Duplicate” option. This will show the same content on both screens.
- If you want to extend your laptop’s screen onto the projector, select the “Extend” option. This allows you to have separate content on each screen.
- Adjust the resolution settings if needed. Higher resolutions can provide sharper and clearer images, but make sure the projector supports the selected resolution.
- Explore other display settings like orientation, scaling, and color calibration to ensure optimal visual quality.
- Some laptops have dedicated function keys that allow you to quickly switch between display settings. Look for icons that resemble a monitor or screen on your laptop’s keyboard.
- Test the display settings by opening a presentation or any other content on your laptop and see how it appears on the projector.
- If necessary, make further adjustments to the settings until you are satisfied with the projected image.
Remember, different laptops may have slightly different display settings interfaces. It’s always recommended to consult your laptop’s user manual or online resources for specific instructions related to your laptop model.
Now that you have adjusted the display settings on your laptop, let’s move on to the next step: adjusting the display settings on the projector itself.
Adjusting Display Settings on the Projector
After connecting your laptop to the projector, it’s essential to adjust the display settings on the projector itself to optimize the projected image. Here’s how you can adjust the display settings on the projector:
- Access the menu or settings options on the projector. This can usually be done by pressing the menu button on the projector or using a remote control.
- Navigate through the menu options using the arrow buttons or the remote control.
- Look for the display or image settings section in the menu.
- Adjust the brightness and contrast settings to ensure the projected image is clear and vibrant.
- Depending on the projector, you may also have options to adjust the color temperature, sharpness, and aspect ratio.
- Explore any additional settings that may enhance the visual quality, such as keystone correction to correct image distortions or zoom settings to adjust the size of the projected image.
- Take note of any specific settings that work well for your presentation setup and personal preferences. You can save these settings for future use.
- Once you have made the necessary adjustments, exit the menu or settings section on the projector to apply the changes.
It’s important to note that the available display settings may vary depending on the make and model of the projector. Consult the projector’s user manual for specific instructions and additional features that your particular projector may offer.
By adjusting the display settings on both your laptop and the projector, you can ensure that the projected image is optimized for your presentation or viewing experience. Now that you’re familiar with adjusting the display settings on the projector, let’s move on to troubleshooting common issues that may arise during the connection process.
Troubleshooting Common Issues
While connecting your laptop to a projector is usually a straightforward process, you may encounter some common issues along the way. Here are a few troubleshooting tips to help you resolve these issues:
- No Display on the Projector: Ensure that all the cables and connections are securely plugged in. Try unplugging and re-plugging the cables to establish a proper connection. Additionally, make sure that the projector is set to the correct input source.
- Poor Image Quality: Check the resolution settings on both your laptop and the projector. Try adjusting the settings to match the capabilities of the projector. If the image still appears blurry or distorted, ensure that the cables you are using are of good quality.
- No Sound from the Projector: If you are using a VGA or HDMI connection, make sure that the audio is not being routed to the laptop’s speakers. Adjust the audio settings on your laptop to direct the sound output to the projector. If necessary, check if the projector has built-in speakers and adjust the volume on the projector itself.
- Color or Display Issues: If the colors on the projected image appear inaccurate or the display seems off, adjust the color settings on both your laptop and the projector. You can also try calibrating the projector to achieve the desired color accuracy.
- Connection Drops or Flickering: If you experience intermittent connection drops or flickering on the projected image, ensure that all cables are securely plugged in and not loose. Try using a different cable or adapter to see if the issue persists. In some cases, updating the graphics drivers on your laptop might also resolve the problem.
If you encounter any other issues that are not mentioned here, refer to the user manuals of your laptop and projector for specific troubleshooting guidelines. Additionally, check for any firmware updates for your projector that might address known issues and provide improvements.
Now that you’ve learned some troubleshooting tips, let’s move on to a few additional tips for ensuring a successful connection and presentation.
Tips for a Successful Connection
To ensure a successful connection between your laptop and the projector, consider the following tips:
- Test the Connection Beforehand: Always test the connection before your presentation or event. Set up the laptop and the projector in advance to make sure everything is working correctly.
- Bring Spare Cables and Adapters: It’s always a good idea to have spare cables and adapters on hand in case of any unforeseen compatibility issues or cable failures.
- Use Good Quality Cables: Invest in high-quality cables and adapters to ensure a reliable and stable connection. Cheap or low-quality cables may result in signal degradation or poor image quality.
- Turn Off Screen Savers and Notifications: Disable screen savers or any notification settings on your laptop that may interrupt the presentation. This will prevent any interruptions or distractions during your presentation.
- Check Power Sources: Ensure that both your laptop and the projector are properly connected to power sources. Having fully charged batteries or power supplies will prevent any unexpected shutdowns or disruptions.
- Keep Your Laptop Updated: Regularly update your laptop’s operating system and graphics drivers to ensure compatibility with the projector and to benefit from any performance improvements.
- Consider Using a Wireless Connection: If your laptop and projector support it, consider using a wireless connection to avoid the hassle of cables and adapters. Wireless HDMI or screen mirroring devices offer convenient and seamless connectivity.
- Arrive Early: Give yourself enough time to set up the connection and troubleshoot any issues that may arise. Arriving early will help you avoid any last-minute stress or delays.
By following these tips, you can increase the chances of a successful and seamless connection between your laptop and the projector, ensuring a smooth and professional presentation.
Now that you have learned some essential tips let’s conclude this article with a recap of the key steps and considerations we’ve covered throughout the process of connecting your laptop to a projector.
Conclusion
Connecting your laptop to a projector is a simple and effective way to share your screen and present content to a larger audience. By choosing the right cables and adapters, such as VGA, HDMI, or USB-C, you can ensure a seamless connection between your laptop and the projector.
Throughout this guide, we’ve walked you through the step-by-step process of connecting your laptop to a projector via different connection types. We covered adjusting the display settings on both your laptop and the projector to optimize the projected image. We also provided troubleshooting tips for common issues that may arise during the connection process.
Remember to test your laptop and projector connection before your presentation, and always have spare cables and adapters on hand. Disabling screen savers and notifications, as well as keeping your laptop and projector up to date, will help ensure a smooth presentation experience.
Whether you’re giving a business presentation, sharing multimedia content, or enjoying a movie night with friends, connecting your laptop to a projector opens up a world of possibilities. With the right cables, proper adjustments, and troubleshooting know-how, you can deliver impactful presentations and enjoy immersive viewing experiences.
We hope this guide has provided you with the information and insights you need to connect your laptop to a projector successfully. Now, it’s time to grab your cables, set up your equipment, and start projecting!


