Introduction
Welcome to the world of keyboards! Whether you’re a seasoned computer user or a complete beginner, knowing how to connect a keyboard is a basic skill that can come in handy. Keyboards are an essential input device that allows you to interact with your computer, whether for work, gaming, or just browsing the web.
In this guide, we will walk you through the process of connecting a keyboard to your computer. We’ll cover both wired and wireless keyboards, ensuring that you have all the information you need, regardless of the type of keyboard you have or prefer to use.
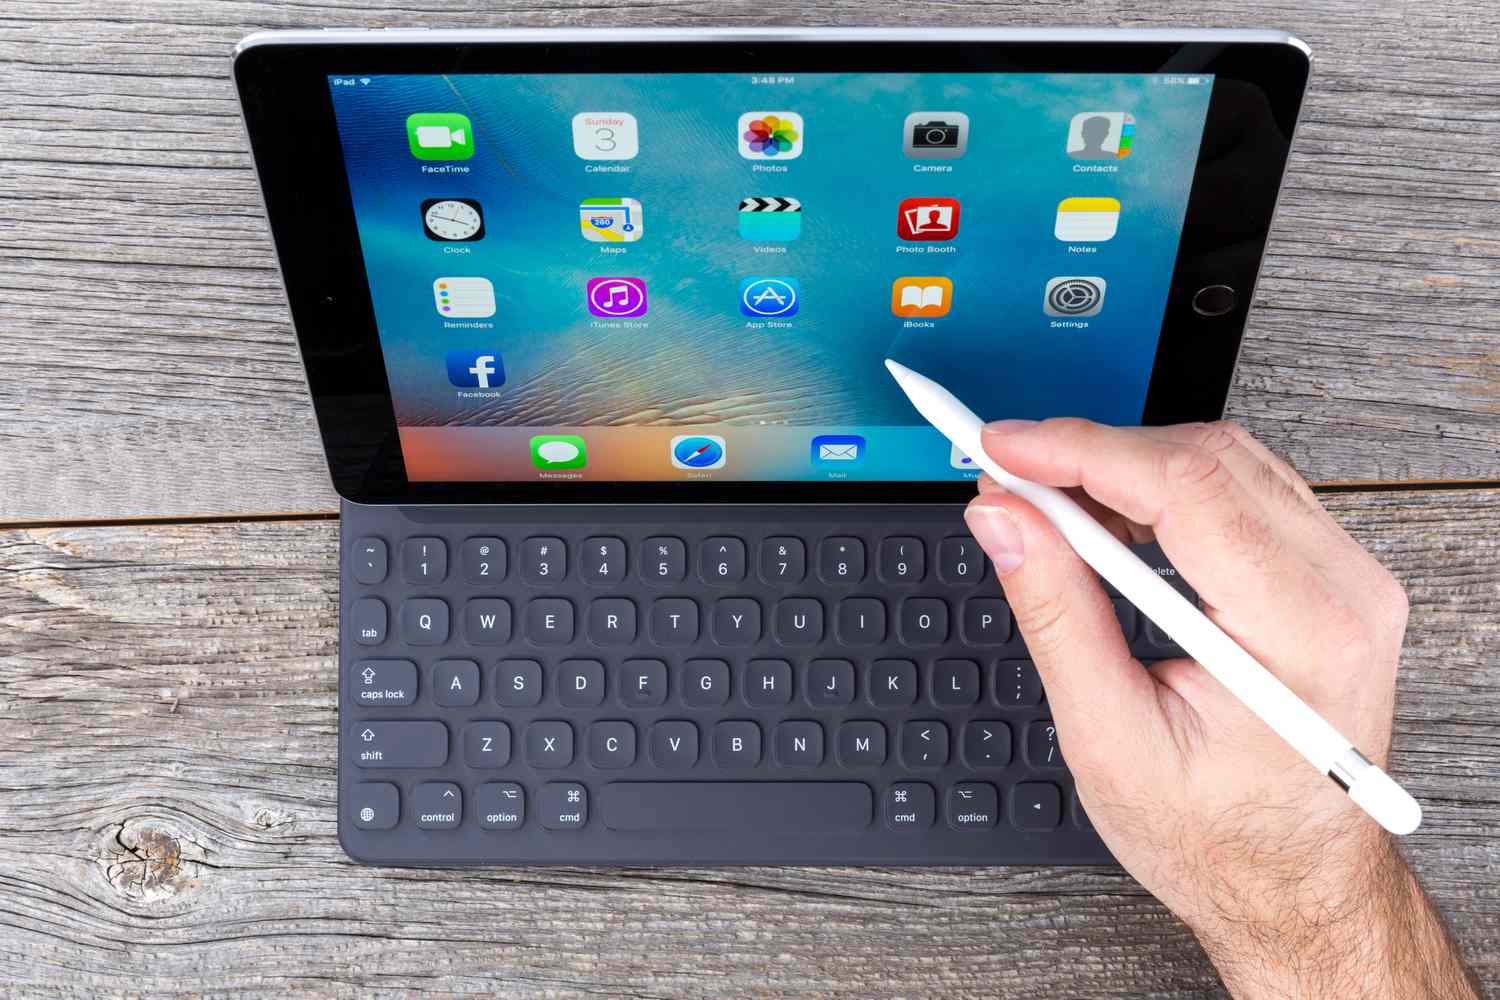
Before we dive into the steps, it’s important to note that keyboards are generally compatible with a wide range of devices. Whether you’re using a desktop computer, laptop, or even a tablet, the process of connecting a keyboard is relatively straightforward. So, let’s get started and learn how to connect your keyboard in just a few simple steps!
Step 1: Check Compatibility
Before you connect a keyboard to your computer, it’s crucial to ensure that the keyboard is compatible. Most keyboards on the market today are designed to work with a wide range of devices, including desktop computers, laptops, and even tablets. However, it’s always a good idea to double-check for compatibility to avoid any potential issues.
Firstly, determine the type of connector your keyboard requires. The most common types of keyboard connectors are USB and PS/2. USB keyboards have a rectangular-shaped connector, while PS/2 keyboards have a round connector with six pins. Check the available ports on your computer to find out which type of connector is compatible. If your computer only has USB ports, you will need a USB keyboard. If it has both USB and PS/2 ports, you can choose either type.
It’s also important to check if your keyboard requires any specific drivers or software to function properly. Most keyboards are plug-and-play, meaning they don’t need additional drivers. However, some high-end gaming keyboards or specialty keyboards may require specific software for full functionality. Visit the manufacturer’s website to find and install the necessary drivers if required.
Furthermore, ensure that your operating system supports the keyboard. Most keyboards are compatible with popular operating systems like Windows, macOS, and Linux. However, it’s always beneficial to double-check the system requirements to avoid any compatibility issues.
By verifying compatibility before connecting your keyboard, you can save time and frustration by ensuring that all the necessary components and software are compatible with your system. Once you have confirmed compatibility, you can proceed to the next steps in connecting your keyboard to your computer.
Step 2: Gather Necessary Tools
Before you can connect a keyboard to your computer, it’s important to gather the necessary tools. While connecting a wired keyboard may not require any additional tools, connecting a wireless keyboard may involve a few extra steps. Let’s take a look at the tools you will need for each type of keyboard connection.
For a wired keyboard connection, you will generally only need the keyboard itself and a USB cable. Most keyboards come with a USB cable attached, so if you’re using a brand new keyboard, it’s likely that you already have everything you need. However, if you’re using an older keyboard that requires a separate USB cable, make sure you have one available.
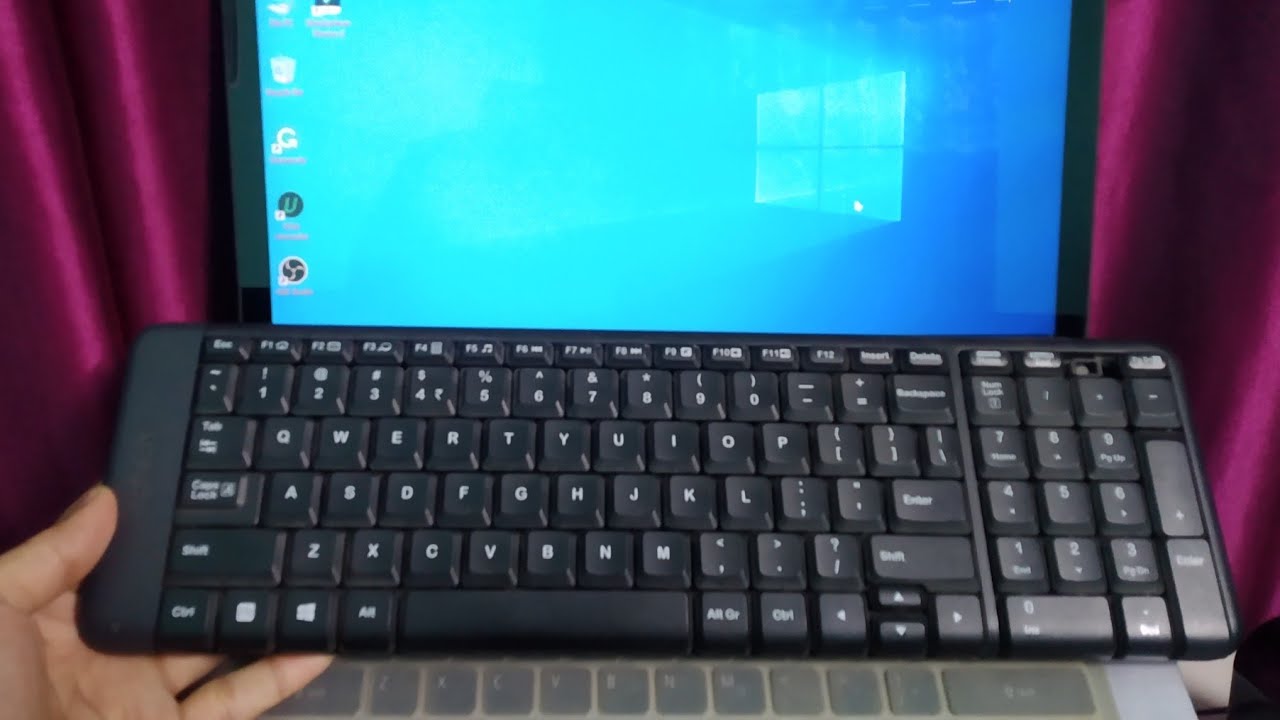
On the other hand, if you’re connecting a wireless keyboard, you will need a few additional tools. Firstly, check if your wireless keyboard uses Bluetooth or requires a USB receiver. If it’s Bluetooth-enabled, ensure that the Bluetooth functionality on your computer is turned on. For keyboards that require a USB receiver, make sure you have the appropriate receiver that came with your keyboard.
Additionally, wireless keyboards typically require batteries for operation. Check the manufacturer’s instructions to determine the type and number of batteries needed for your specific keyboard model. It’s a good idea to have a fresh set of batteries on hand to ensure uninterrupted usage.
By gathering all the necessary tools before connecting your keyboard, you can eliminate the need to search for them later and ensure a smooth and hassle-free setup process.
Step 3: Connect Wired Keyboard
Connecting a wired keyboard to your computer is typically a straightforward process. Follow these steps to get your wired keyboard up and running in no time:
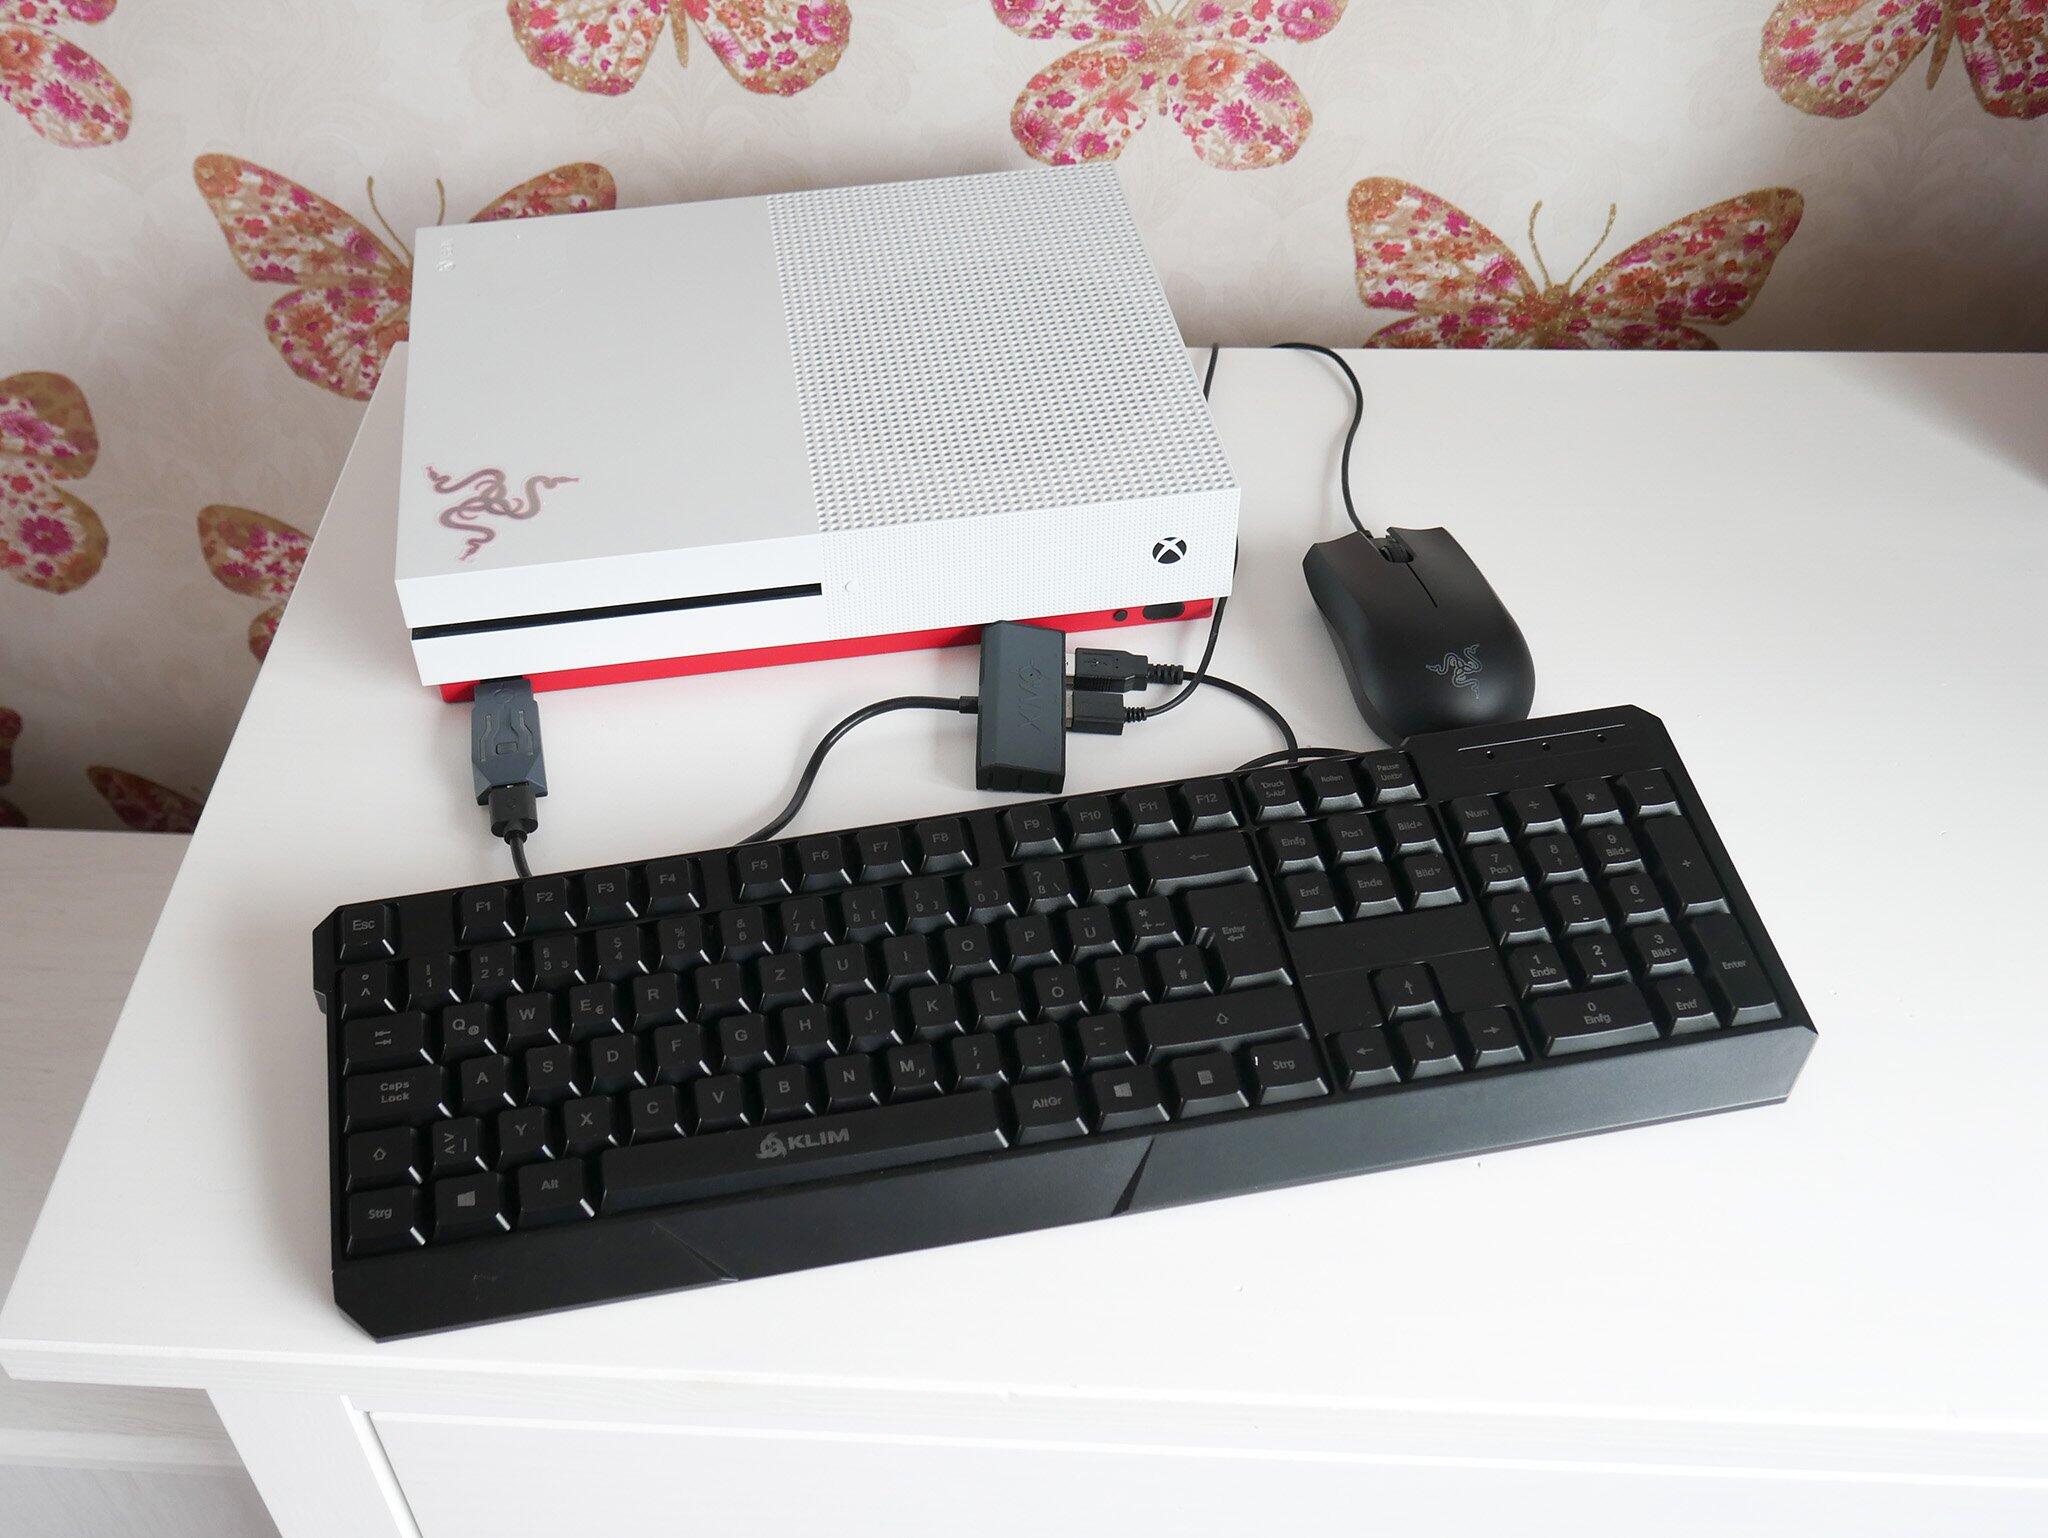
- Locate an available USB port on your computer.
- Take the USB cable attached to your keyboard (or plug in the separate USB cable), and insert it into the USB port. Make sure it’s firmly connected.
- Your operating system should automatically recognize the new keyboard and install any necessary drivers. If prompted, follow the on-screen instructions to complete the driver installation process. Most modern operating systems, such as Windows and macOS, will automatically install the drivers.
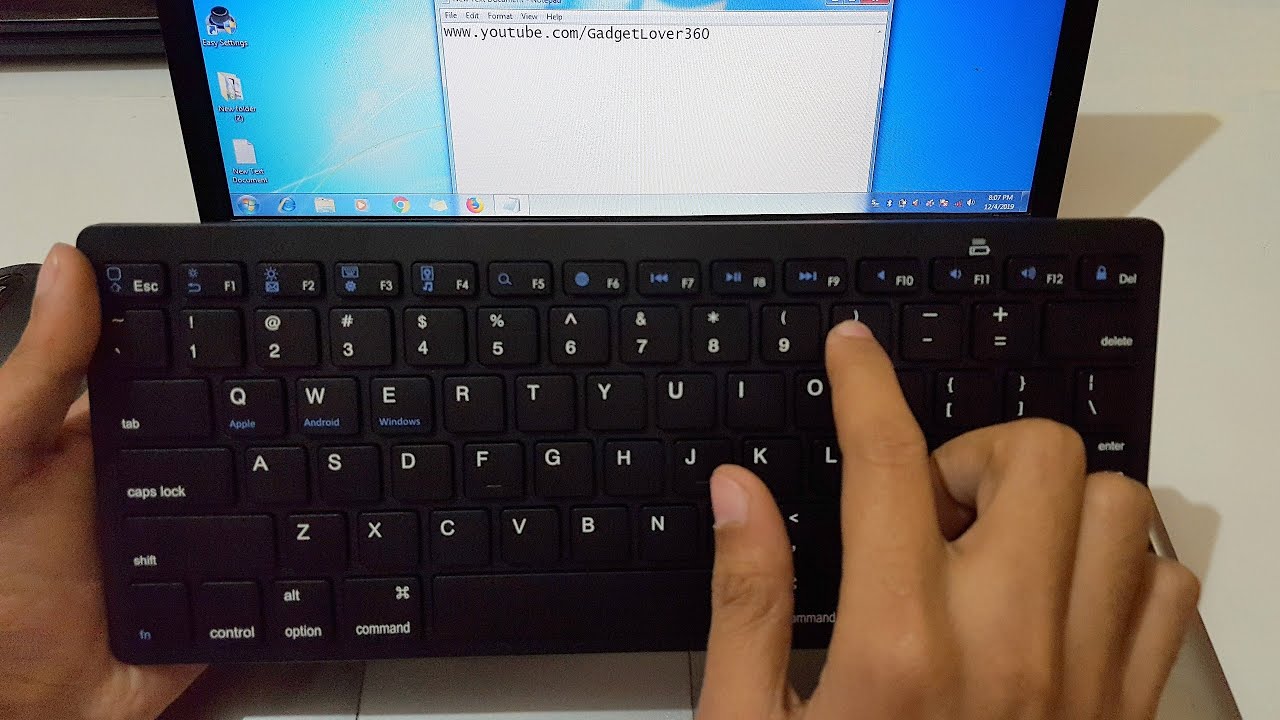
- Once the driver installation is complete, you can start using your wired keyboard immediately. Test it by typing into a text document or using the keyboard shortcuts.
That’s it! You have successfully connected your wired keyboard to your computer. If you encounter any issues, such as the keyboard not working or certain keys not functioning correctly, try restarting your computer or checking for any software updates available for your operating system.
Remember, if you ever need to disconnect the wired keyboard, simply unplug the USB cable from the USB port on your computer. For convenience, you can also leave the keyboard connected and powered on even when you turn off your computer. This way, it will be ready for use whenever you need it.
Step 4: Connect Wireless Keyboard
Connecting a wireless keyboard may require a few more steps compared to a wired keyboard, but it’s still a relatively simple process. Here’s how you can connect your wireless keyboard to your computer:
- Ensure that your wireless keyboard has batteries installed and that they are functional.
- For Bluetooth-enabled keyboards, make sure the Bluetooth functionality on your computer is turned on. Navigate to the settings menu of your computer and enable Bluetooth if it’s not already activated. Consult the user manual of your keyboard to put it in pairing mode.
- If your wireless keyboard uses a USB receiver, plug it into an available USB port on your computer. The receiver will automatically pair with the keyboard.
- Your operating system should recognize the wireless keyboard and install any necessary drivers. Follow any on-screen instructions that may appear during the installation process.
- Once the driver installation is complete, you can start using your wireless keyboard. Test its functionality by typing into a text document or using the keyboard shortcuts.
If you experience any issues with your wireless keyboard, such as connection problems or unresponsive keys, try the following troubleshooting steps:
- Ensure that the keyboard is within range of the computer or Bluetooth receiver.
- Replace the batteries with a fresh set if the keyboard becomes unresponsive.
- Re-pair the keyboard by following the manufacturer’s instructions for your specific model.
- Check for any available software updates for your operating system that may resolve compatibility issues.
By following these steps, you should be able to successfully connect your wireless keyboard to your computer and enjoy the freedom of a cordless typing experience.
Step 5: Test the Keyboard Connection
After connecting your keyboard to your computer, it’s crucial to test the keyboard connection to ensure everything is working correctly. This step allows you to confirm that all the keys are functioning as intended and that there are no issues with the connection. Follow these steps to test your keyboard connection:
- Open a text document, word processor, or any application that allows you to type.
- Begin by typing on the keyboard and ensure that all the keys are responsive. Test both the standard keys and any additional function keys or multimedia keys your keyboard may have.
- Try out various keyboard shortcuts to verify that they are functioning correctly. For example, copy (Ctrl+C), paste (Ctrl+V), undo (Ctrl+Z), and save (Ctrl+S).
- If you are using a gaming keyboard or a specialized keyboard, test the unique features specific to your keyboard model. This could include macro keys, customizable lighting, or multimedia controls.
- Pay attention to any lag or delays in key response. If you notice any issues, try reconnecting the keyboard or restarting your computer to see if it resolves the problem.
By thoroughly testing your keyboard connection, you can ensure that the keyboard is fully functional and meets your needs. If you encounter any persistent issues or key malfunctions, consult the manufacturer’s support resources or consider contacting customer support for further assistance.
Remember to regularly clean and maintain your keyboard to keep it in optimal condition. Remove any dust or debris that may accumulate between the keys, and refer to the manufacturer’s instructions for proper cleaning techniques.
Conclusion
Congratulations! You have successfully learned how to connect a keyboard to your computer. Whether you opted for a wired or wireless connection, following the steps outlined in this guide should have allowed you to establish a reliable and functional keyboard connection.
Remember to double-check compatibility before connecting a keyboard, ensuring that you have the necessary tools and drivers for a smooth setup. For wired keyboards, simply plug in the USB cable to an available port. For wireless keyboards, pair the keyboard using Bluetooth or connect the USB receiver, and ensure the appropriate batteries are installed.
After connecting your keyboard, always test its functionality by typing in a text document or trying out keyboard shortcuts. This step ensures that all the keys are responsive, and there are no connection issues. If you encounter any problems, consult the troubleshooting tips provided earlier or reach out to the manufacturer’s support resources.
Once your keyboard is connected and working seamlessly, you can enjoy an enhanced computing experience. Keyboards are essential tools for productivity, gaming, and communication, so it’s important to have a reliable and comfortable keyboard at your disposal.
Lastly, don’t forget to regularly clean and maintain your keyboard to keep it in optimum condition. By doing so, you can prolong its lifespan and ensure smooth and accurate typing.
We hope this guide has been helpful in assisting you with connecting your keyboard to your computer. Happy typing!